

Page 1
WDBSED0080JNC-WESN :
WD ARKEIA DA2300 DISK AND MEMORY EXPANSION KIT 8TB RAW, 4TB
USABLE WITH LICENSE WORLDWIDE
WD Arkeia DA2300 Disk Expansion Kit
Product SKU and Description:
Documentation Translations and Updates
For latest updates and document translations, please visit:
www.wd.com/wdarkeia/install
Pour les dernières mises à jour et traductions de documents, visitez s'il vous plaît :
www.wd.com/wdarkeia/install
Für die neuesten Updates und Übersetzung von Dokumenten, besuchen Sie bitte:
www.wd.com/wdarkeia/install
This disk expansion kit consists of two 4 TB WD enterprise-class hard drives (enclosed), two 4 GB ECC
SODIMM memory modules for memory expansion (enclosed) and a Disk Storage Expansion license key
(sent via email). This license key must be declared (from within the WD Arkeia web user interface) in
order to use the additional disk capacity on your appliance. The system memory must be expanded
using the included SODIMM memory modules in order to ensure the optimal performance of backup
and deduplication with the additional disk storage.
The following sections provide step-by-step instructions to guide you through the process.
Obtaining the Disk Storage Expansion License Key
This package contains just the hard drives and the SODIMM memory modules. You should have
received the license key at the email address you provided at the time of purchase.
If you have not yet received the license key or have questions regarding the expansion kit, please
contact the WD Arkeia support team by submitting a support ticket at the URL below. We ask you to
submit a support ticket, rather than call or email, because a support ticket is the fastest mechanism to
route your inquiry and return a response—while ensuring that no request is overlooked as support shifts
change.
www.arkeia.com/request-support
-1-
Page 2
Instructions
IMPORTANT: This is a mandatory step. The license key must be declared in the web user
interface in order to use the additional disk capacity on your appliance.
1. Adding Disk Storage Expansion License
2. Adding SODIMM Memory Modules to WD Arkeia DA2300 Appliance
3. Adding and Configuring Expansion Disks in WD Arkeia DA2300 Appliance
1. Adding Disk Storage Expansion License
Steps to follow:
Use the following steps to add the Disk Storage Expansion License to your WD Arkeia DA2300 appliance.
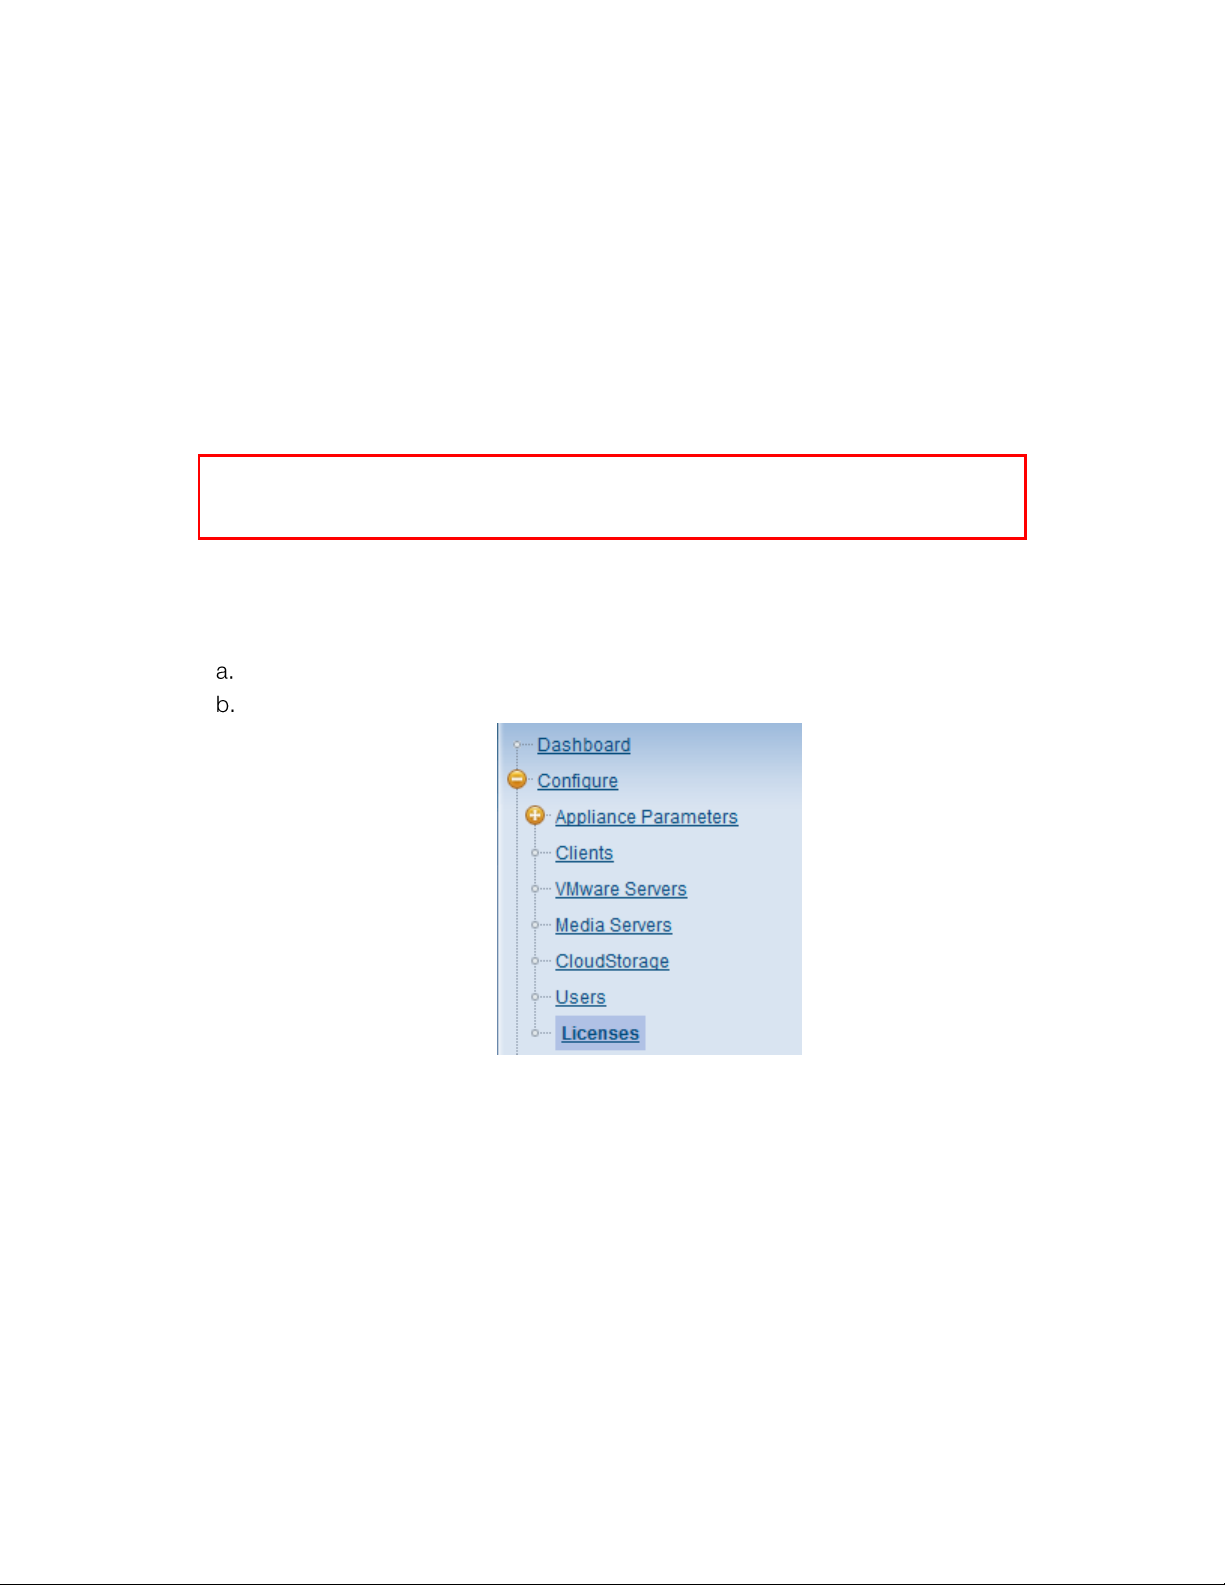
Login to WD Arkeia web user interface using a user account with administrator role.
On the navigation menu on the left, click: Configure
Licenses
-2-
Page 3
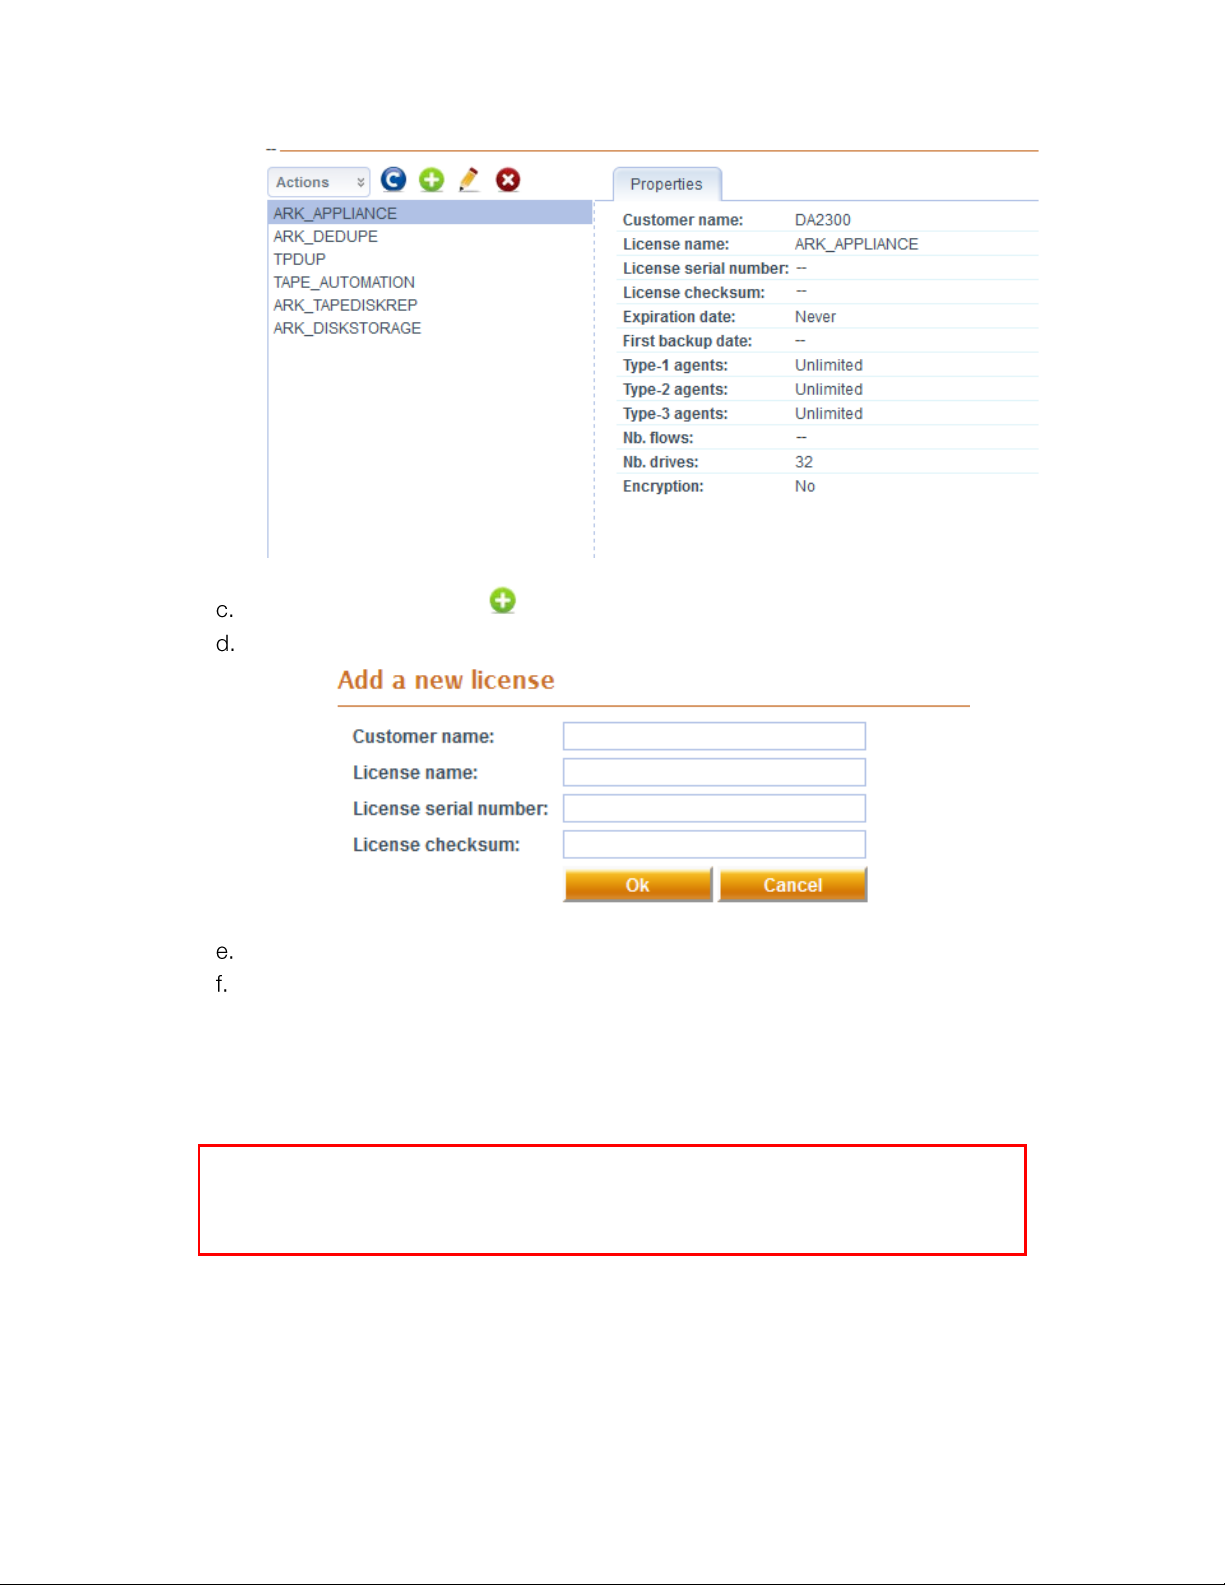
Click “Add a License” icon
WARNING: The following procedure requires handling of delicate electronic components
in a tight tolerance environment and should be performed by a skilled IT professional.
Please carefully review the instructions before beginning the procedure.
Enter the license information
Click “OK” to complete adding the disk storage expansion license.
Shutdown your WD Arkeia DA2300 appliance for disk and memory expansion.
2. Adding SODIMM Memory Modules to WD Arkeia DA2300 Appliance
What you’ll need:
Phillips screwdriver
-3-
Page 4

2.1 Remove the Unit Cover
To avoid electrostatic discharge (ESD) problems, ground yourself by touching
metal before handling the device.
Use the following steps to remove the cover on the WD Arkeia DA2300 appliance.
Steps to follow:
a. Before getting started, shut down your WD Arkeia DA2300 appliance and disconnect all
external connections.
b. Place the unit on a clean and stable surface, with the back of the unit facing you.
c. Release five (5) screws on the back of the unit (
d. Figure 1: Unscrew and remove unit cover1).
Figure 1: Unscrew and remove unit cover
e. Pull the unit cover toward you and then up to release the cover (Figure 1). (Note: When
reinstalling cover, reverse this process – taking care that the cover is fully engaged and
the edges are flush to the main chassis)
2.2 Adding the SODIMM Memory Modules
The SODIMM memory modules in the WD Arkeia DA2300 appliance are “cold swappable”; i.e.
the appliance must be shut down prior to adding the memory modules.
Steps to follow:
a. Ensure that your WD Arkeia DA2300 appliance is powered off and all external
connections are disconnected.
-4-
Page 5

b. Carefully disconnect the 3 connector cables attached to the assembly (Figure 2 and 3).
(Note that the Display (LCD) ribbon cable (Figure 3) is held in place by a clamping
mechanism – Do not use force to disconnect)
Figure 2: Disconnect DOM connector cable
-5-
Page 6

Figure 3: Disconnect Display and Video connector cables
c. On the top of the unit, loosen and remove the six (6) screws holding the motherboard
(PCBA) unit in place (Figure 4).
-6-
Page 7

Figure 4: Remove screws from PCBA unit
Do not remove the center screw from the Cross Brace Member.
d. Carefully hinge and pull out the PCBA up and away from the rest of the unit (Figure 5)-
then gently place the flipped PCBA assembly on a clean, stable flat surface.
-7-
Page 8

Figure 5: Hinge and pull out the PCBA unit
Do not use force. Ensure that the USB connectors clear the plate when
removing the assembly.
e. Add the additional SODIMM memory modules (Figure 6).
Figure 6: Add SODIMM memory modules
-8-
Page 9

2.3 Reassembling the unit
Once the SODIMM modules have been added, reverse the steps above to reassemble the unit.
Again, be careful to not use force.
a. Replace the PCBA back on the WD Arkeia DA2300 appliance. (Note: This operation will
require gentle persistence)
b. Reattach the cables and ensure they are securely attached to the assembly.
c. Replace and tighten the six (6) screws holding the PCBA in place. Do not over-tighten the
PCBA screws.
d. Replace the unit cover and replace and tighten the five (5) exterior screws. Do not over-
tighten the exterior screws. (Note: please ensure that the edges of the cover are flush
with the main chassis)
e. Connect all external connections and restart the appliance.
3. Adding and Configuring Expansion Disks in WD Arkeia DA2300 Appliance
Steps to follow:
Use the following steps to add and configure the additional disk capacity to your WD Arkeia DA2300
appliance.
a. Ensure that your WD Arkeia DA2300 appliance is powered off.
b. Open the front door on the appliance to access the drive bays.
c. Apply HDD label "3" to one of the included expansion disks and insert into drive bay 3.
d. Apply HDD label "4" to the remaining included expansion disk and insert into drive bay
4.
e. Power up your WD Arkeia DA2300 appliance and login to the WD Arkeia Web User
Interface with administrator role.
f. On the navigation menu on the left, click: Configure
g. The WD Arkeia DA2300 appliance supports two Arrays in a RAID 1 configuration.
h. In the Example below: Array 0 is populated with disks and RAID1 is active. Array 1 is
NOT populated with disks, but disk expansion is possible.
Appliance Parameters RAID
-9-
Page 10

Click "Create" to create the new RAID array, “Array 1”.
j. Once created, the RAID Array 1 will need to initialize and you can monitor the progress
on the screen.
The initialization phase can take up to 9 hours. However, the new created array can be
used immediately for backups, data will be stored on disks with a very slight impact on
performance .
4579-705109-A00
-10-
 Loading...