

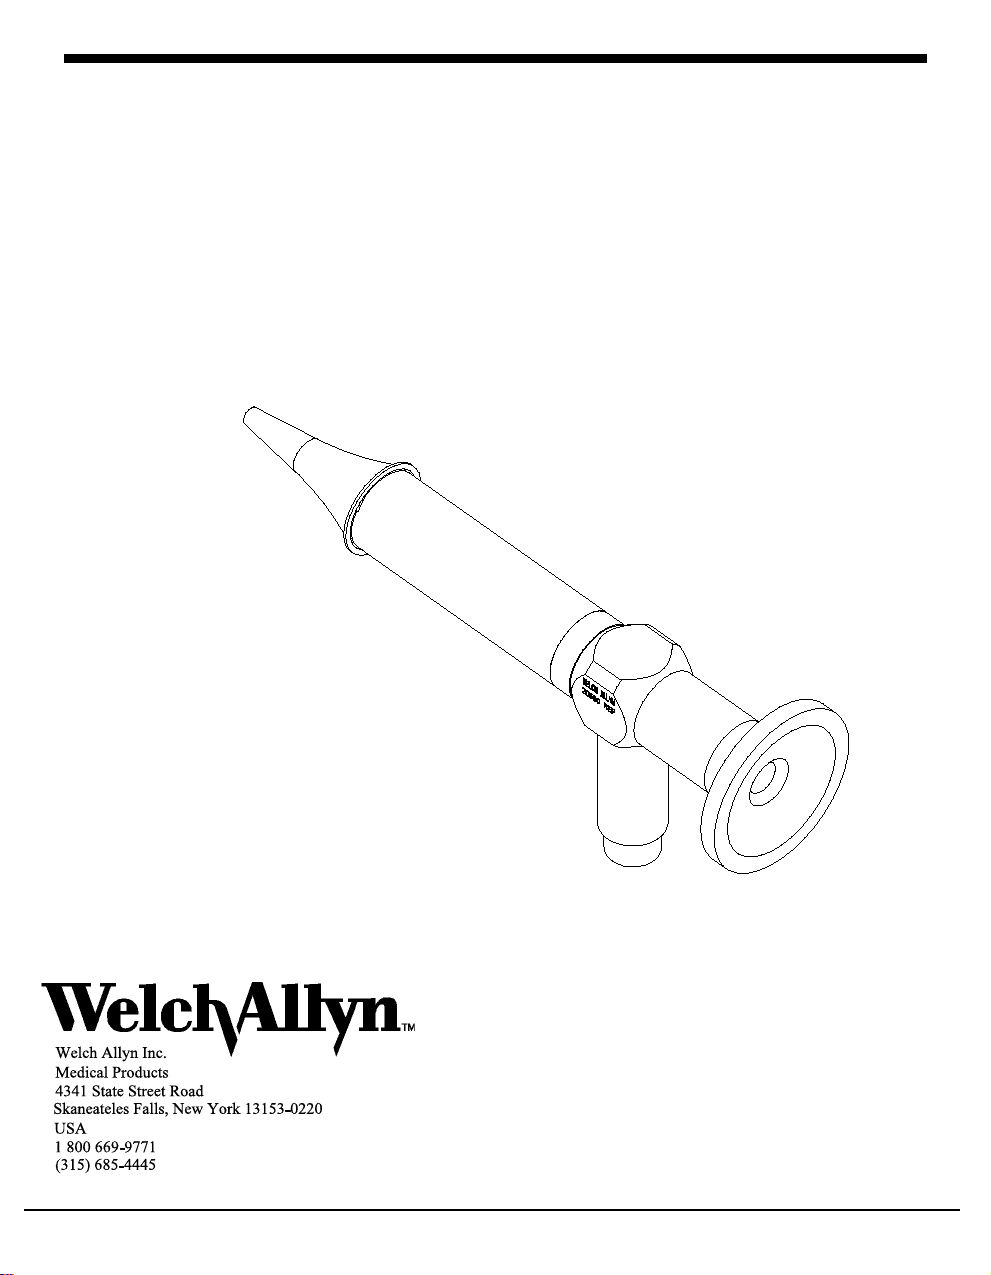
Page 1
Video Otoscope 2
Manuals
Operation Manual
Service Document
Copyright 1997
Part No. 205807 Rev A
Page 2

Introduction
g
Revision Pa
Rev Change Description ECN# Date Initiator
A New Release (Copyright) 5-34600 2/20/97 M Dahlin
e
Video Otoscope 2 Service Document Page 1
Page 3

Introduction
Table of Contents
Section 1: General Information
Product Description ................................... Page 3
Cleaning/Sterilization .................................. Page 4
Specifications........................................ Page 4
System leakage Current ............................... Page 5
Tools and Equipment .................................. Page 4
Recommended Inventory ............................... Page 3
Section 2: Problem Solving
Troubleshooting ...................................... Page 6
Disassembly......................................... Page 7
Illustrations
Figure 1 Component Description .............................. Page 3
Figure 2 Leakage Current Test Setup .......................... Page 5
Drawings
Video Otoscope Assembly Drawing #205800
Ear Endoscope Drawing #205803
Note that drawings are for reference only. Consult factory for current
drawing and/or revision levels.
For system setup information, refer to LCI-100/200 Service Manual #VA316
Video Otoscope 2 Service Document Page 2
Page 4

General Information
Description
Otoscope's are optical instruments used to explore the ear canal. This device is basically a 0(
straight view length of tube containing a series of lenses. At the distal end, an objective lens
captures the image of the object. A series of lenses then focus that image along the length of
the tube to the proximal end of the scope. At the proximal end, the image is focused into a
separate proximal coupling lens that transfers the image onto a CCD (C
That image is then processed through video equipment for viewing, storing or printing.
Illumination is obtained from the video device through the use of a fiber optics bundle to a fiber
optic light post.
harged Couple Device).
Figure 1
Recommended Inventory
Spec Holder Adaptor Assembly ............................................ 205804
Set Screw........................................................... 106113-21
Loctite-222 ............................................................ M30375
4mm Disposable tip ..................................................... 235037
Video Otoscope 2 Service Document Page 3
Page 5

Section 1 General Information
Cleaning/Sterilization
The otoscope has three optical surfaces that must be checked routinely to ensure optimal
illumination and imaging. These are the distal working tip, the rear view eye piece, and the fiber
optic light post. These should be cleaned with warm water and a mild soap. A mixture of
alcohol and acetone may be used for heavy or persistent staining. Optical lens paper should be
used to avoid marring the optical surface.
Note: To avoid fogging, the rear portion of the scope should be entirely free of moisture before
attaching to the coupler and/or camera.
Disinfect the scope per users manual. Avoid subjecting the scope to extreme temperature
changes.
Specifications
Part Number (Assembly) .................................................. 20580
Dimensions: .................................................... 2.7mm diameter
Resolution on 16mm object distance (Focal Point) ........... 10 line pairs per mm @ center
..................................................... 7 line pairs per field at -0.7 R
..................................................... 7 line pairs per field at +0.7 R
Locking Device ...................................................... Storz type
Field of View: .................................................. Wide angle 80°
Apparent Field of View ........................................................6°
Exit Pupil............................................................... 1.8mm
Light Guide Connector ............................................... Circon ACMI
Tools and Equipment
Associated Research 411A1 AC Hipot JR or equivalent
45mm Optics Adaptor
0.035 Allen Wrench
Video Otoscope 2 Service Document Page 4
Page 6

Section 1 General Information
System Leakage Current
When a camera system is used in conjunction with other video accessories, it
may be necessary to measure the leakage current level of the entire set-up. A
typical system setup is shown below using a standard leakage tester, this setup will allow the overall system leakage current to be measured. If this value
exceeds 100 microamps for the system, or 10 microamps at the otoscope
patient contact point (or whatever the maximum requirements are for a
particular region), an isolation transformer should be used.
Typical Current Leakage Test Set-Up
Figure 2
Video Otoscope 2 Service Document Page 5
Page 7

Problem Solving
Symptom Possible Cause Solution
Otoscope view not clear or dark Exposed optical surfaces dirty.
Otoscope or coupler not focused.
Otoscope damaged internally.
Light guide does not attach to
otoscope.
Video image dark or no image. Broken fibers in light guide.
Cloudy or foggy image. Moisture between Coupler and
Wrong or missing instrument
adaptor.
Adaptor or end tip damaged.
Broken fibers in Otoscope.
Defective video setup.
Otoscope.
Deposits on the Otoscope's optics.
Probe temperature is less than
optimal.
Moisture has penetrated the
Otoscope.
Clean with swab & Alcohol.
Turn coupler/focus ring until image
becomes clear.
Return to scope manufacturer for
service.
Install correct adaptor
Return for service.
Replace light guide.
Return for service.
Correct setup problem (refer to
video components operators or
service manual).
Detach and wipe dry.
Inspect (Use magnifying glass) and
clean as necessary.
distal tip is recessed and may trap
materials that will affect the
image. Clean the distal ti p
thoroughly.
Warm probe between your hands or
use an anti-fog solution.
Return for service.
Note that the
Speculum Holder does not fit on
Otoscope.
Speculum Holder art work (WA logo)
does not line up properly with
Otoscope.
Damaged or bent Otoscope.
Damaged Speculum Holder or
Adaptor.
Incorrect Speculum Holder matched
to Otoscope.
Return for service.
Replace Speculum Holder and
adaptor.
SpeculumHolder and Adaptor are
a matched set and must be
replaced as such.
Find and match up correct
Speculum Holder or replace with
new Speculum Holder and Adaptor
assembly.
Note that the
Video Otoscope 2 Service Document Page 6
Page 8

Problem Solving
Video Otoscope 2 Service Document Page 7
Page 9

Section 2 Problem Solving
Disassembly
1. Remove the speculum holder by un-threading counter clockwise.
2. Remove the adapter by unscrewing the set screw, turning the adaptor 90
clockwise or counter clockwise, and removing. Be sure to torque and loctite (see
recoommended inventory) the set screw per drawing during reassembly.
Note that the Speculum and Adaptor are a matched set and must be replaced as
such together.
Reassemble in reverse order.
( either
Video Otoscope 2 Service Document Page 8
Page 10

Video Otoscope 2 Service Document 205807
 Loading...