

Page 1
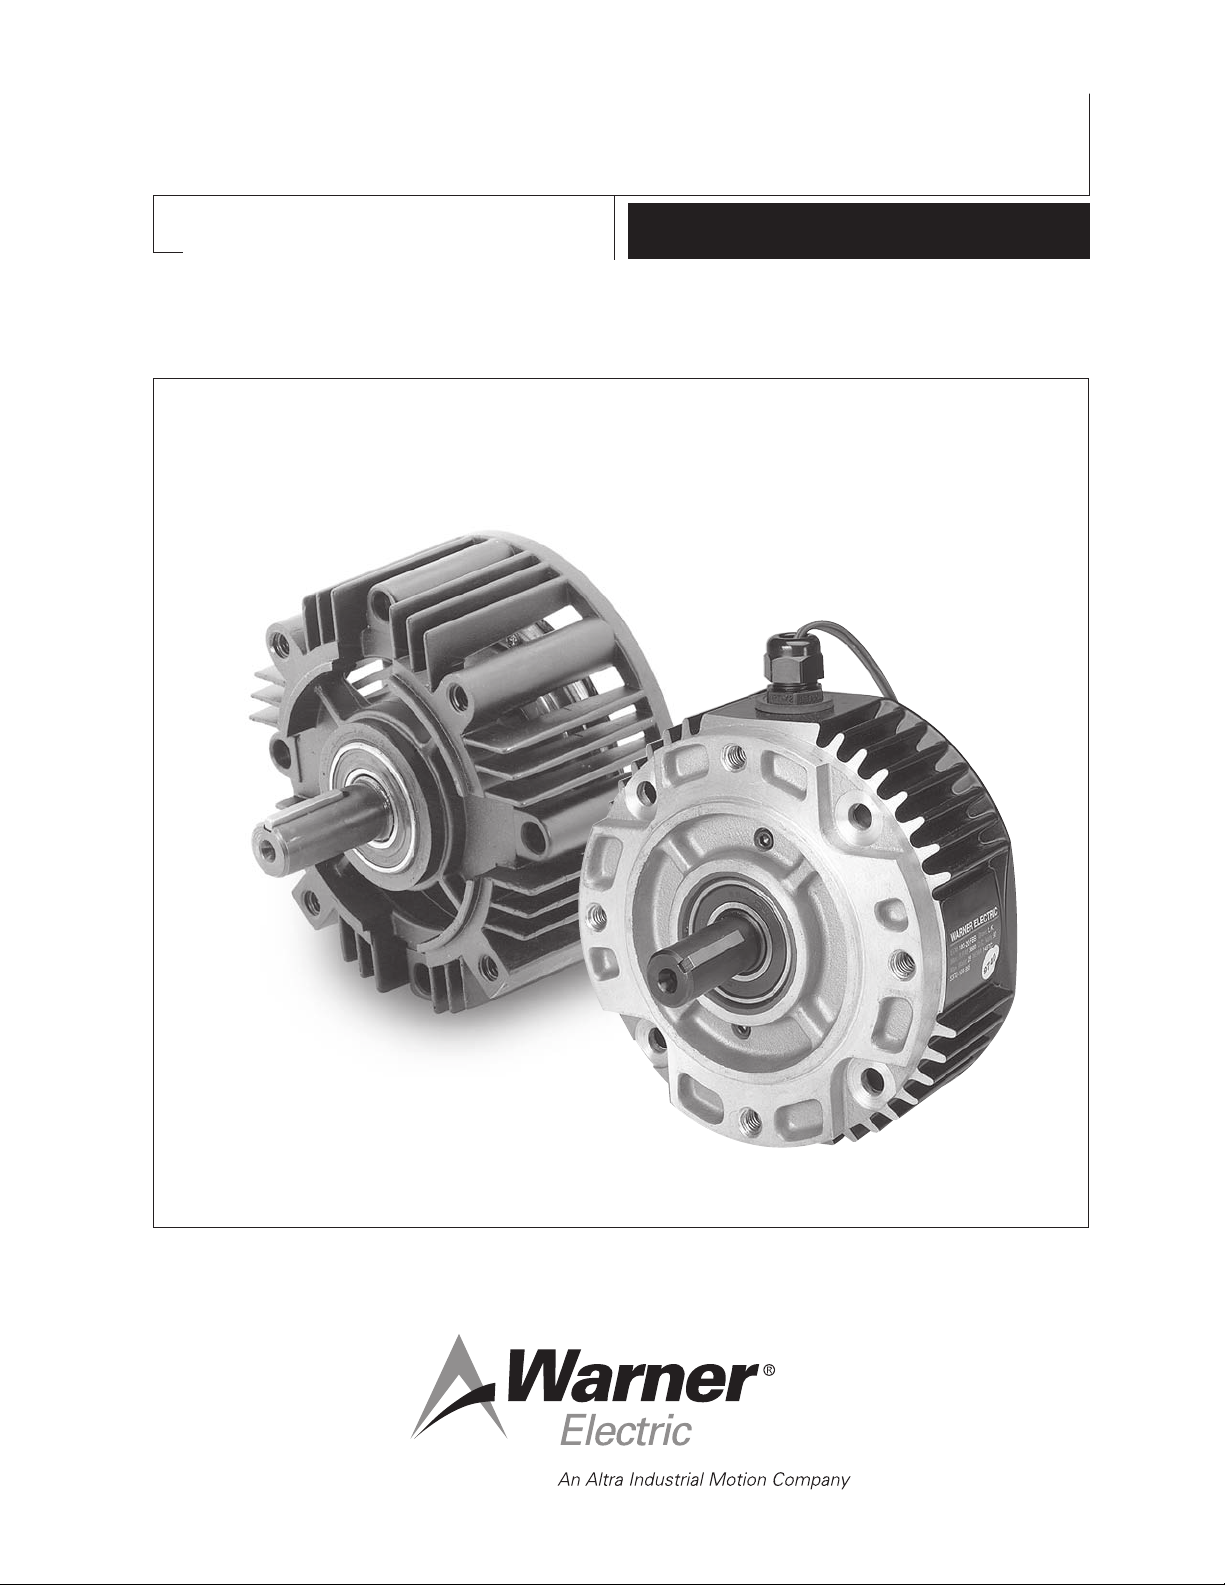
Ele ctrically Released Brake Module
For EM-FBB a nd EUM-FBB
Installation Instructions
P-1337-1
819-0317
Page 2

Warner Electric’s FBB series of Electrically
Released Brake Modules are designed for
brake only applications when mounted to the
front of a NEMA C-face motor. The fail safe
brake engages when power goes off.
EM 210-20 FBB
EM 215-20 FBB
EUM 210-20 FBB
EUM 215-20 FBB
Failure to follow these
instructions may result in product damage,
equipment damage, and serious or fatal injury
to personnel.
If brake is to be applied with
the brake output shaft in a vertical position
Warner Electric's application engineering
should evaluate application.
Mounting Instructions
Step 1: Mounting the Brake to a Motor
The brake module can be mounted directly to
the motor as follows:
A. Insert a key in the motor shaft keyway. Prick
punch the end of the motor shaft keyway to
prevent the key from sliding out.
B. Align the motor shaft and key with the mating
shaft hole and key slot in the brake module.
C. Slide the module onto the motor shaft so the
module surface is snug against the motor
face. NOTE: Brake Module should slide
freely onto shaft and fit flush with motor
C-face.
D. Secure the brake module in the motor C-face
with the four (4) long hex head capscrews.
Suggested torque for capscrews is 30-35
lb.ft.
If any problems should occur during
adjustments or application questions arise
please contact:
Technical Support at 1-800-825-9050.
Monday through Friday 7:30 a.m. - 4:30 p.m.
central time.
Step 2: Electrical Connections and
Control Requirements
A. The wiring diagram included with each
Warner Electric control shows the proper
electrical connections to be made.
B. Controls used must have adjustable output
voltage.
C. All Permanent Magnet Type Electrically
Released Brake Modules are polarity
sensitive. Therefore, the (+) red wire must be
connected to the (+) terminal and the
(-) black wire to the (-) terminal.
90 Volt Brake recommended controls are:
CBC-160-1
CBC-160-2
CBC-200
CBC-300
CBC-500-90
CBC-550-90
24 Volt Brake recommended controls are:
CBC-500-24
CBC-550-24
2
Warner Electric • 800-825-9050 P-1337-1 • 819-0317
Page 3

Step 3: Burnishing and Maintenance
. No burnishing required, units are
A
pre-burnished at factory.
B. Improper voltage setting can reduce the
braking life.
C. Wear grooves appear on the friction surfaces.
This is a normal wear condition, and does not
impair functioning of the unit. Never machine
the friction surfaces to remove grooves or
score marks resulting from normal wear.
D. Excessive heat and high operating
temperatures are causes of rapid wear.
Units should be ventilated as efficiently
as possible.
E. If brakes are used on machinery where fine,
abrasive dust, chips or grit are dispelled,
brake should be shielded.
F. Where brakes are used near a possible oil
contamination source, brake should be
shielded.
G. Oil and grease accidentally reaching the
friction surfaces may be removed by wiping
with a rag dampened with a suitable cleaner,
which leaves no residue. In performing this
operation, do not drench the friction material.
If the friction materials have been saturated
with oil or grease, no amount of cleaning will
be effective. Replace brake.
No power is applied to motor
during this procedure. Power normally
supplied by motor to brake control should
be supplied by alternate method.
1. With power off, connect the positive lead of
the power supply to the positive (red) lead of
the brake and the negative lead of the power
supply to the negative (black) lead of the
brake.
2. Connect a volt-meter to measure the voltage
applied across the brake.
3. Adjust the power supply to its lowest
possible output, then energize the power
supply only, to apply power to the brake.
4. Starting from the low point, slowly increase
the applied voltage until the brake armature
disengages from the magnet. Note and
record the applied voltage at this point.
5. Continue to slowly increase the applied
voltage until the armature re-engages the
magnet. If the maximum voltage available
from the supply does not cause the armature
to re-engage, the armature should be
manually assisted into engagement.
NOTE: If armature needs to be manually
assisted, armature should be pressed on
back side to make contact with friction
face of magnet.
Brake Release Adjustment
6. With the armature re-engaged, slowly reduce
the applied voltage until the armature
The following procedure will
result in the brake releasing and allowing the
disengages from the magnet. Note and
record the applied voltage at this point.
load to be free to move. Be sure the load is in
a safe condition before proceeding with this
process.
7. The optimum release point for the brake is
half-way between the two recorded voltage
readings. Adjust the supply to this optimum
The following procedure describes how to set
the adjustable power supply to the optimum
release point of the brake. A volt-meter is
required to perform the procedure.
release voltage.
NOTE: The above procedure should be
done by visually watching the armature
move and may be repeated if necessary
from Step 1 through Step 7.
Warner Electric • 800-825-9050 P-1337-1 • 819-0317
3
Page 4

Warranty
Warner Electric LLC warrants that it will repair or replace (whichever it deems advisable) any
product manufactured and sold by it which proves to be defective in material or workmanship
within a period of one (1) year from the date of original purchase for consumer, commercial or
industrial use.
This warranty extends only to the original purchaser and is not transferable or assignable without
Warner Electric LLC’s prior consent.
Warranty service can be obtained in the U.S.A. by returning any defective product, transportation
charges prepaid, to the appropriate Warner Electric LLC factory. Additional warranty information
may be obtained by writing the Customer Satisfaction Department, Warner Electric LLC, 449
Gardner Street, South Beloit, Illinois 61080, or by calling 815-389-3771.
A purchase receipt or other proof of original purchase will be required before warranty service is
rendered. If found defective under the terms of this warranty, repair or replacement will be made,
without charge, together with a refund for transportation costs. If found not to be defective, you
will be notied and, with your consent, the item will be repaired or replaced and returned to you
at your expense.
This warranty covers normal use and does not cover damage or defect which results from
alteration, accident, neglect, or improper installation, operation, or maintenance.
Some states do not allow limitation on how long an implied warranty lasts, so the above limitation
may not apply to you.
Warner Electric LLC’s obligation under this warranty is limited to the repair or replacement of the
defective product and in no event shall Warner Electric LLC be liable for consequential, indirect,
or incidental damages of any kind incurred by reason of the manufacture, sale or use of any
defective product. Warner Electric LLC neither assumes nor authorizes any other person to give
any other warranty or to assume any other obligation or liability on its behalf.
WITH RESPECT TO CONSUMER USE OF THE PRODUCT, ANY IMPLIED WARRANTIES WHICH
THE CONSUMER MAY HAVE ARE LIMITED IN DURATION TO ONE YEAR FROM THE DATE OF
ORIGINAL CONSUMER PURCHASE. WITH RESPECT TO COMMERCIAL AND INDUSTRIAL
USES OF THE PRODUCT, THE FOREGOING WARRANTY IS IN LIEU OF AND EXCLUDES ALL
OTHER WARRANTIES, WHETHER EXPRESSED OR IMPLIED BY OPERATION OF LAW OR
OTHERWISE, INCLUDING, BUT NOT LIMITED TO, ANY IMPLIED WARRANTIES OF
MERCHANTABILITY OR FITNESS.
Some states do not allow the exclusion or limitation of incidental or consequential damages, so
the above limitation or exclusion may not apply to you. This warranty gives you specic legal
rights and you may also have other rights which vary from state to state.
Changes in Dimensions and Specifications
All dimensions and specications shown in Warner Electric catalogs are subject to change without
notice. Weights do not include weight of boxing for shipment. Certied prints will be furnished
without charge on request to Warner Electric.
Warner Electric LLC
31 Industrial Park Road • New Hartford, CT 06057
815-389-3771 • Fax: 815-389-2582
www.warnerelectric.com
P-1337-1 • 8 19-0 317 4/08 Pr in ted in U S A
 Loading...