

8
GB
Instructions for Use Protective Tube Light AWDCE 113/118
General
Designated use:
Intended purpose:
This light was developed specially
for use on machines. It is protected
against the ingress of liquids (protection class IP 67 or IP65).
Different ballast units and different
luminous media are available for
the light (see „Technical Data“).
Place of use:
Only suited for rooms not subject
to explosion hazards.
Operating mode:
The light is designed for continuous
operation.
The manufacturer cannot be held liable for damage caused by
using the unit for purposes contrary to the designated use or
by ignoring safety instructions and warnings.
Safety instructions:
The luminaire may only be operated
in rooms not subject to explosion
hazards!
Mounting and connection of the
luminaire may only be carried out
by a qualified electrician!
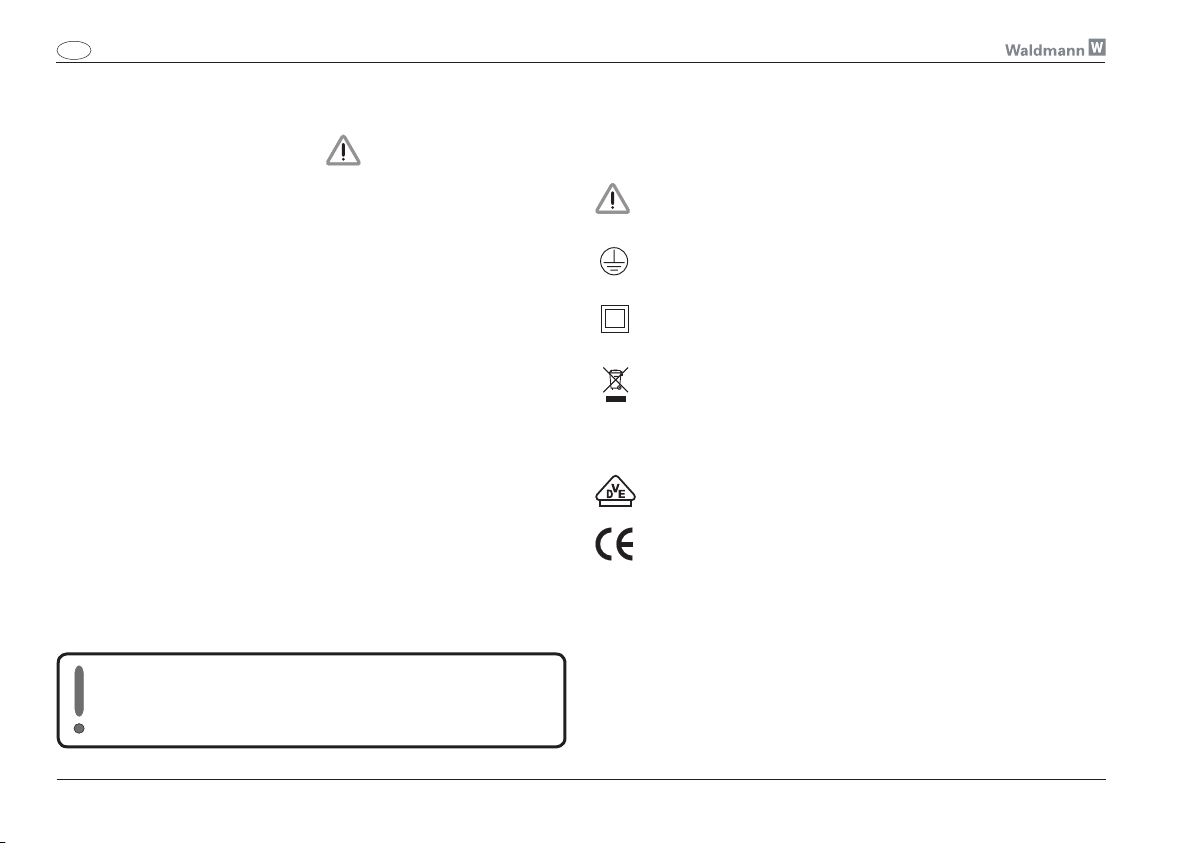
Abbreviations and symbols:
Attention,
take note of the accompanying documents!
Protective earth terminal
(unit of protection class I)
Protection class II
(protective insulation)
Take note of the disposal
instructions!
VDE Approval
CE
conformity mark
Parts of the light
(see Fig. 2-3 on page 3)
1) Housing
2) Light glass
3) Fluorescent lamp
4) Reflector sheet,
(evtl. with parabolic louvre)
5) Seal
6) Terminal strip
7) Hexagon nut
8) Reduction
9) Cable screw joint
10) Angle adapter*
11) Locking screw*
12) Seal*
* Special accessory

9
GB
Instructions for Use Protective Tube Light AWDCE 113/118
Mounting
See fig. 2-3 on page 3.
The light can be mounted directly
by means of a hexagon nut (7)
(ideal torque 7.5 Nm).
An angle adapter (see Fig. 3) can
be applied as accessory.
Mount the reductions (8), screw
joints (9) and seals (5), included in
the delivery range, according to the
type of mounting.
We recommend to grease the
seals before mounting.
Secure the light by means of the
locking screw (11) when mounting
with the angle adapter (10).
Installation
The light is delivered with the
ballast unit mounted and can be
directly connected to the voltage
supply via the terminal strip (6).
+ = red
– = black (blue)
A special model of this light with an
attached plug (Fig.4 to 6) instead of
a screw joint is available.
Operation
The light is not equipped with a
switch, it is, usually, switched on/
off via an external switch.
Light exit
Depending on the light exit, the
reflector sheet (4) can be replaced
by a parabolic louver (4*).
If the light is emitted from the front
side, the reflector sheet can be
opened at this point.

10
a
b
a
2
4 *
4
GB
Instructions for Use Protective Tube Light AWDCE 113/118
Maintenance and repair
Disconnect the light from the
mains before carrying out any
maintenance or repa ir work!
This work must be carried out by a
qualifed electrician only!
As replacement parts only use
comp on ents approved by the
manufacturer!
Changing the lamp
Attention! Before removing the
light cover disconnect the light
from mains!
Screw off the light glass (2). Pull
off the reflector sheet (4) or the
parabolic louvre (4*). Press both
wire clips (a) outward.
Pull the lamp out upwards (b).
The light is remounted in inverse
order. Before doing so, clean and
grease the light.
Care
Please use a cloth and a normal
household cleaning agent to clean
the light parts.
Please ensure that the cleaning
agent used does not damage
paints and plastics!
Disposal
Return the unit at the end of
its service life to the available
recycling systems.
Defective fluorescent lamps must
be disposed of as special refuse.

11
GB
Instructions for Use Protective Tube Light AWDCE 113/118
Technical Data
General data
Dimensions
- Light body
approx. ø 89 x 290 mm
- Mount thread PG 29
or M 40 x 1.5
Protection class IP 67
with DIN 43650 connector IP 65
with connector 330420 IP 65
Electronic ballast unit is integrated
AWDCE 113
Power 13 W
available for: 24 V DC
230 V 50/60 Hz
Luminous medium TC-DEL 13W
AWDCE 118
Power 18 W
available for: 24 V DC
230 V 50/60 Hz
Luminous medium TC-DEL 18W
Further variants
If required, this series of units will
be supplemented by further variants. The technical data may therefore be subject to modifications.
Always observe the indications and symbols given
on the rating plate.
 Loading...