

Waldmann ACANEO HIAL Instructions For Use Manual
Instructions For Use
ENG
Mode d‘emploi
ACANEO
FRA
HIAL
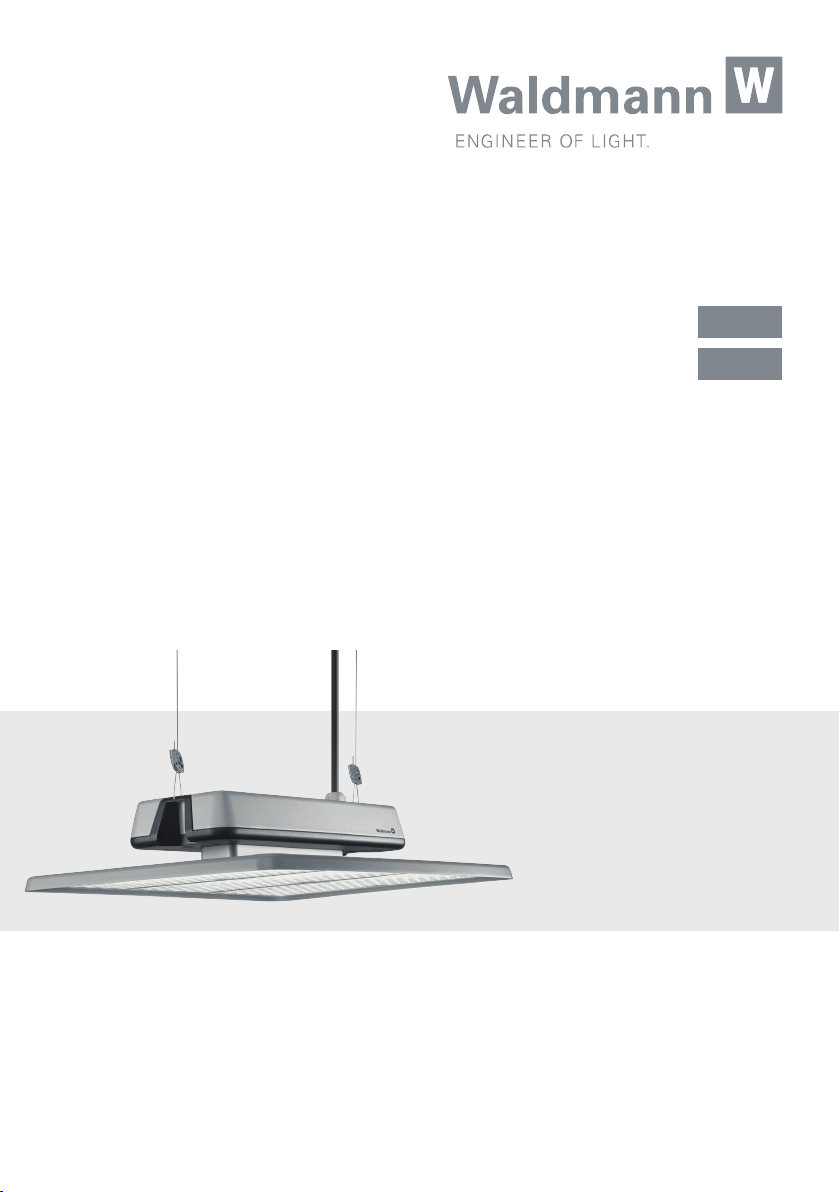
High Bay Luminaire
Luminaire grande hauteur


ENG
Welcome to Waldmann
Thank you for having purchased a product of the Waldmann brand. Highest product
quality and a customer-friendly service are the basis for the successful distribution of
Waldmann products throughout the world.
If you want to make use of our service, our service team can be reached at:
Service Hotline: +49 (0) 77 20 / 6 01 - 170
Service E-Mail: service@waldmann.com
Your Waldmann team
FRA
Bienvenue a Waldmann
Nous aimerions vous remercier d‘avoir choisi un produit de la marque Waldmann.
Une qualité de produit élevée ainsi qu‘un service convivial pour le client sont la base du
succès mondial grandissant des produits Waldmann.
En cas de besoin, contacter notre équipe du service après-vente :
Service Hotline : +49 (0) 77 20 / 6 01 - 170
Service-E-Mail : service@waldmann.com
Votre équipe Waldmann
ENG
FRA
Table of Contents ............................................................................................ 4
Sommaire ...................................................................................................... 16
3

ENG
Table of Contents
1. For your safety ..................................................................................................... 5
1.1 Designated use ........................................................................................... 5
1.2 Safety instructions.......................................................................................5
1.3 Warning levels ............................................................................................. 6
2. Model overview ................................................................................................... 7
3. Mounting .............................................................................................................. 8
3.1 Mounting types ........................................................................................... 8
3.2 Mounting the luminaire of mounting type "Rope suspension" .................... 8
3.3 Mounting the luminaire of mounting type "Ceiling holder" .......................... 9
3.4 Mounting the luminaire of mounting type "Wall holder" .............................. 9
3.5 Mounting the luminaire of mounting type "Adjustable holder" .................. 10
4. Connection ......................................................................................................... 11
5. Operation ...........................................................................................................12
5.1 Switch-on and switch-off ........................................................................... 12
6. Replacing the lamp ............................................................................................ 12
7. Retrofitting a safety glass .................................................................................12
8. Cleaning .............................................................................................................13
9. Repair .................................................................................................................13
10. Disposal ..............................................................................................................13
11. Technical data ....................................................................................................14
11.1 Dimensions, weight .................................................................................. 14
11.2 Ambient conditions ................................................................................... 14
11.3 Electrical values .........................................................................................14
11.4 Classifications ........................................................................................... 15
11.5 Luminous values ....................................................................................... 15
11.6 Symbols .................................................................................................... 15
4

For your safety
ENG
1. For your safety
The luminaire has been designed in accordance with state-of-the-art standards, manufactured with utmost care using high-quality
materials, and tested.
Nevertheless, its use may constitute a risk
to persons or cause material damage.
X Read all enclosed instructions and infor-
mation.
X Please observe the warnings included
in the documentation and attached to
the unit.
X The device must only be used in tech-
nically perfect condition, and only by
persons being aware of the risks and
dangers involved in operating the
device.
X Keep this document available near the
device.
1.1 Designated use
This luminaire is a high bay luminaire for illuminating factory halls. The luminaire is suitable for wet and damp locations.
1.2 Safety instructions
Explosion hazard
Operating the luminaire in rooms subject
to explosion hazards can trigger an explosion and result in serious injuries or death.
X Do not operate the luminaire in rooms
subject to explosion hazards.
Danger due to electric current
Improper use and faulty work on the luminaire may result in injuries and material damage.
X Connection by a skilled electrician only.
X Compare the mains voltage with the
nominal voltage and the frequency
specified on the rating plate and make
sure that they are identical.
X Disconnect a damaged connecting
cable immediately from the power supply and have it replaced by the manufacturer or his service representative.
X Have maintenance and repair work car-
ried out by a trained electrician only.
X Before performing work on the lumi-
naire, disconnect the luminaire from
the power supply.
Safe mounting
A falling luminaire can result in death or
serious injuries.
X Have the mounting performed by a
qualified professional only.
X Mount the luminaire on a suitable wall
or ceiling using suitable fastening elements only.
X Mount fastening elements correctly.
Hazard caused by unsuitable spare parts
Unsuitable spare parts can result in injuries
and material damage.
X Use only spare parts approved by the
manufacturer.
Hazard caused by broken safety glass
A broken safety glass can result in injuries
and material damage.
X A broken safety glass must be replaced.
5
ENG
For your safety
Danger due to high ambient temperature
Exceeding the allowed ambient temperature will shorten the useful life of the electronic components.
X Do not exceed the maximum allowed
ambient temperature.
1.3 Warning levels
DANGER
Warning against hazards that result directly
in serious injuries or death in case of
non-observance.
WARNING
Warning against hazards that may result
in serious injuries or death in case of
non-observance.
CAUTION
Warning against hazards that may result in
injuries in case of non-observance.
NOTICE
Warning against hazards that may result
in material damage in case of non-ob-
servance.
6
Model overview
ENG
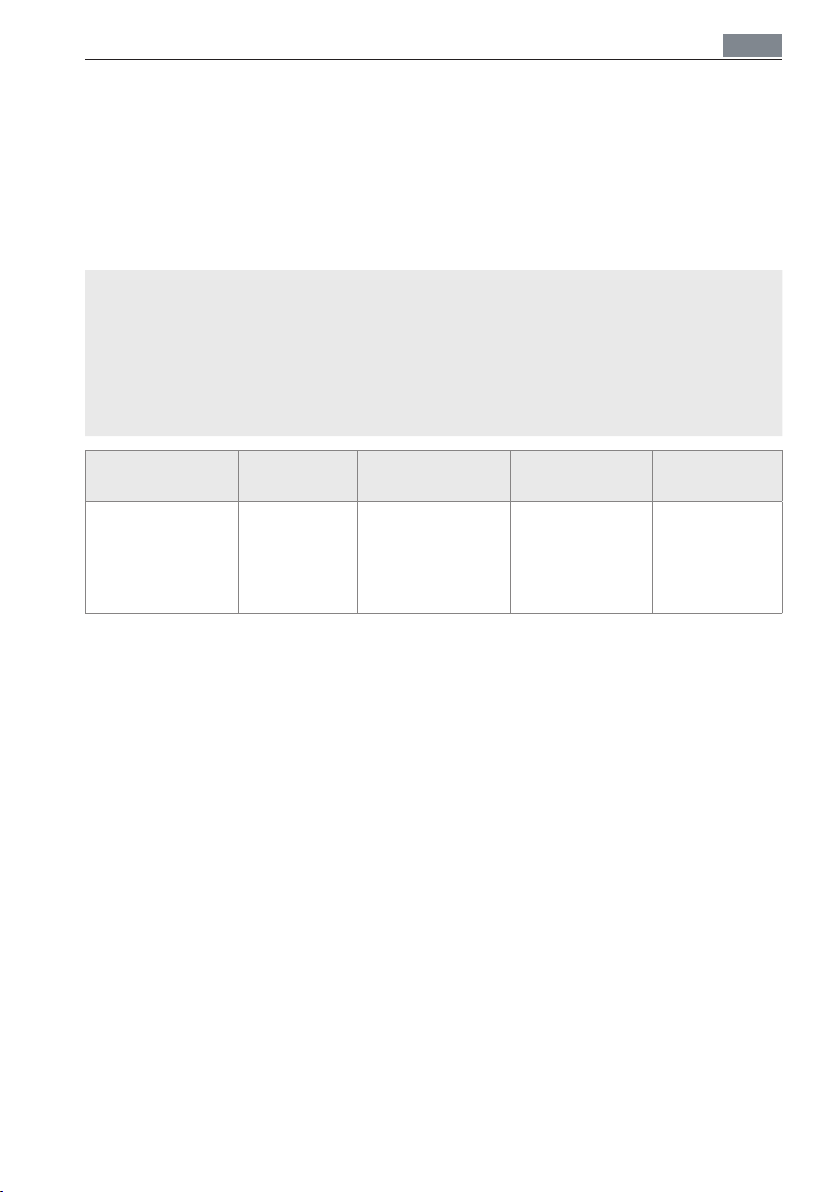
2. Model overview
For optimum installation and use of the luminaire, you have to identify the luminaire model.
To do so, you will require the model number of the luminaire.
NOTE: The model number can be found on the rating plate of the luminaire.
X Check which model number the luminaire has.
X Determine the luminaire model by referring to the following table, see Tab. 1.
Example: The model number HIAL 14000/840/N/DALI stands for the following
luminaire model:
HIAL 14000 840 N DALI
ACANEO
High Bay
Luminaire
Light current:
14000 lm
Colour code:
Ra 80, 4000 K
Lens:
Narrow-beam
Activation
Type Light cur-
rent
HIAL
ACANEO
High Bay
Luminaire
Tab. 1: Model overview.
14000 lm
20000 lm
30000 lm
Colour code Lens Activation
840 (4000 K)
850 (5000 K)
865 (6500 K)
N
Narrow-beam
W
Wide-beam
DALI
1-10 V
ON/OFF
7
ENG
Mounting
3. Mounting
WARNING
Danger of death caused by a falling
luminaire.
Death or serious injuries.
X Have the luminaire mounted by a
qualified professional only.
X Mount the luminaire on a suitable
wall or ceiling using suitable fastening elements only.
X Mount fastening elements cor-
rectly.
NOTE: Fastening elements are not included
in the scope of delivery. Suitable fastening
elements can be found in the Waldmann
range of accessories.
3.1 Mounting types
The luminaire can be mounted in different ways.
The following mounting types are possible:
Mounting type "Rope suspension"
Mounting type "Ceiling holder"
Mounting type "Wall holder"
Mounting type "Adjustable holder"
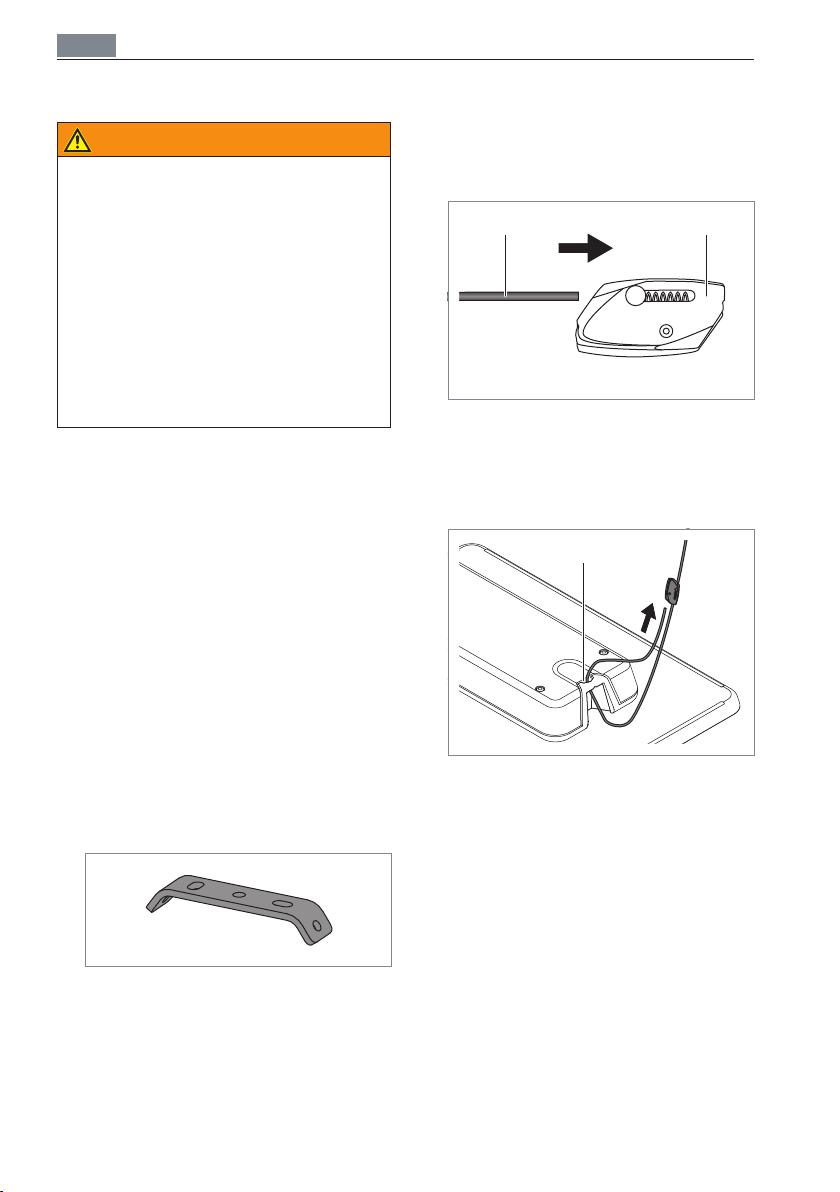
3.2 Mounting the luminaire
of mounting type "Rope
suspension"
Fig. 1: One-point suspension.
X If you want to mount the one-point sus-
pension by Waldmann: Mount the onepoint suspension to the ceiling using
suitable screws.
X If you do not want to mount the one-
point suspension by Waldmann: Make
sure that a suitable device is present
from which the luminaire can be suspended later on.
A B
Fig. 2: Fastening the wire rope holder to
the wire rope.
X Guide the wire rope A through the first
eyelet of the wire rope holder B, see
Fig. 2.
C
Fig. 3: Fastening the wire rope to the luminaire.
X Guide the wire rope through the
recess C of the luminaire, see Fig. 3.
X Guide the wire rope through the sec-
ond eyelet of the wire rope holder, see
Fig. 3.
X Adjust the wire rope length using the
springs on the wire rope holder.
X Mount the second wire rope.
X Suspend the luminaire.
8
Mounting
ENG
3.3 Mounting the luminaire
of mounting type "Ceiling
holder"
X Mount the ceiling holder to the ceiling
using suitable screws.
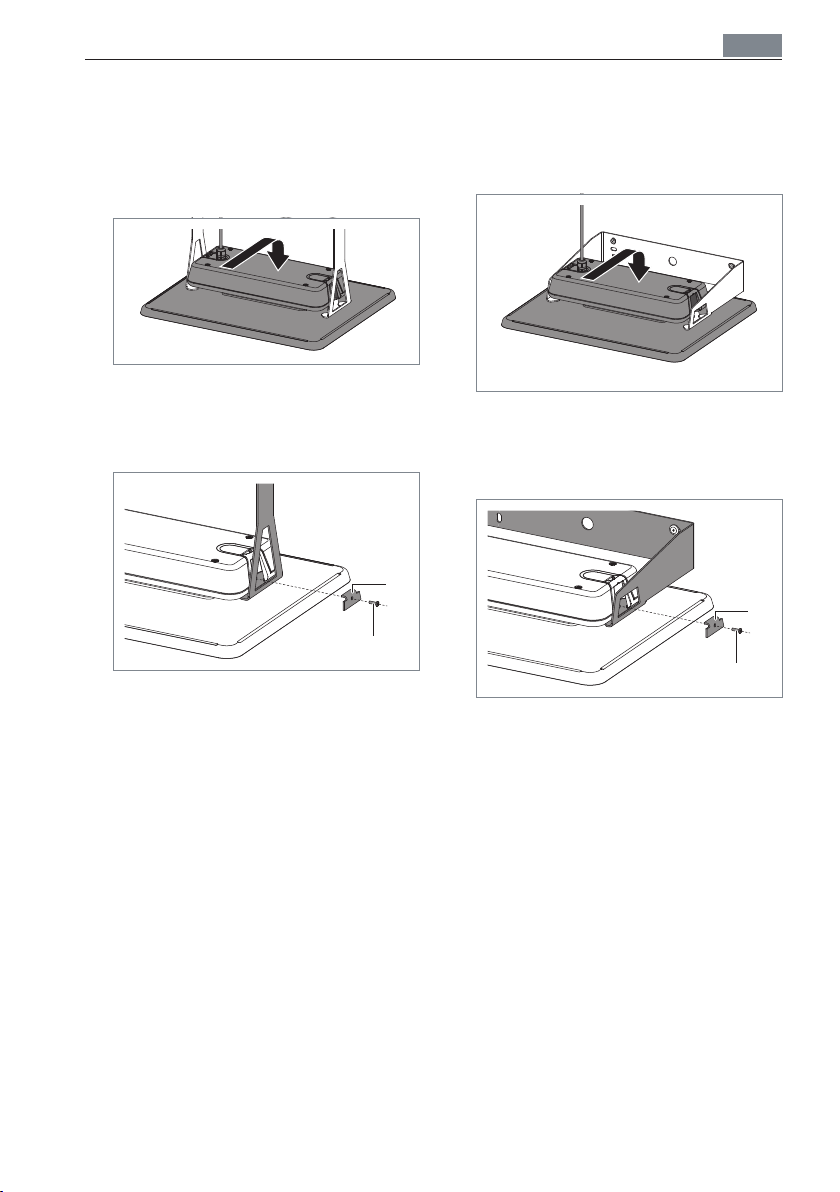
Fig. 4: Hanging the luminaire into the ceiling holder.
X Hang the luminaire into the ceiling
holder, see Fig. 4.
B
Fig. 5: Screwing the bracket to the ceiling
holder.
X Screw the bracket A to the ceiling
holder using the screw B, see Fig. 5.
X Screw the second bracket to the ceil-
ing holder.
3.4 Mounting the luminaire of
mounting type "Wall holder"
X Mount the wall holder to the wall using
suitable screws.
Fig. 6: Hanging the luminaire into the wall
holder.
X Hang the luminaire into the wall holder,
see Fig. 6.
A
A
B
Fig. 7: Screwing the bracket to the wall
holder.
X Screw the bracket A to the wall holder
using the screw B, see Fig. 7.
X Screw the second bracket to the wall
holder.
9
 Loading...