


Battery-Powered 1080p
IP Camera with Infrared
Model:
UVC-G3-BATTERY
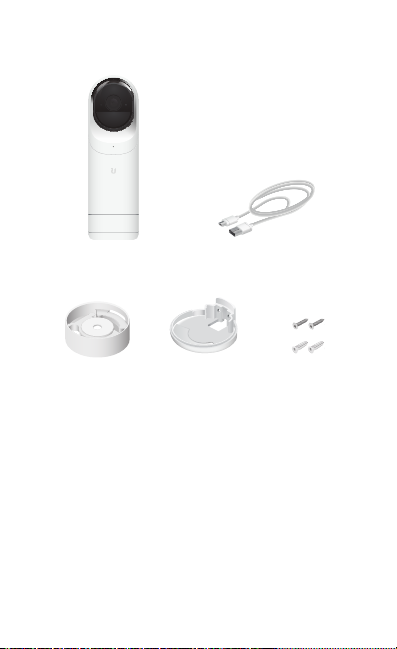
Package Contents
G3 Battery Camera USB-C Cable
Bridge Mount Wall Mount Screw Kit
(Qty. 2)

Before You Begin
The G3 Battery camera is designed to work with Ubiquiti’s new
integrated management system, UniFi Protect.
UniFi Protect is a flexible and powerful IP video surveillance
system that can manage UniFi Protect cameras and the UniFi
Protect mobile app. The software is free from all hosting and
licensing fees and comes pre-installed on UniFi’s Cloud Key
Gen2 Plus, model UCK-G2-PLUS.
UniFi Cloud Key Gen2 Plus, model UCK-G2-PLUS
For more information on UniFi Protect, visit us on the web at:
unifi-protect.ui.com
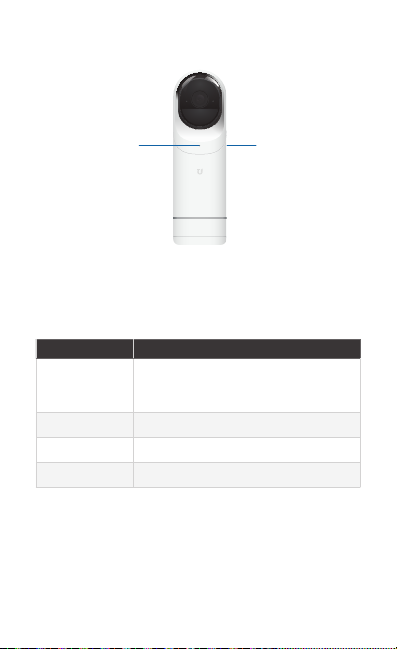
Hardware Overview
LED
LED The LED will flash blue during bootup. When the camera
is ready to connect to the Wi-Fi network, the LED pattern
will flash two times accompanied by two beep tones. Once
connected to the network, the LED will glow with a steady
breathing pattern.
State Status
Alternating
White/Blue
Steady Blue Connected to controller.
Flashing White Connecting to Wi-Fi
Steady White Wi-Fi Connected, Awaiting Configuration
Reset To reset network settings to factory defaults, press and
hold the Reset button until the camera emits two short tones.
Device is busy; do not touch or unplug it.
This usually indicates that a process such
as a firmware upgrade is taking place.
Reset
Installation
The G3 Battery camera can be installed using one of the
following methods:
• Desktop For installing on a flat surface such as a desktop
or table/shelf; could be set up for temporary installations.
• Wall/Ceiling For installing in a secure location; used more
for stationary or permanent installations.
• Pole For installing on a pole.
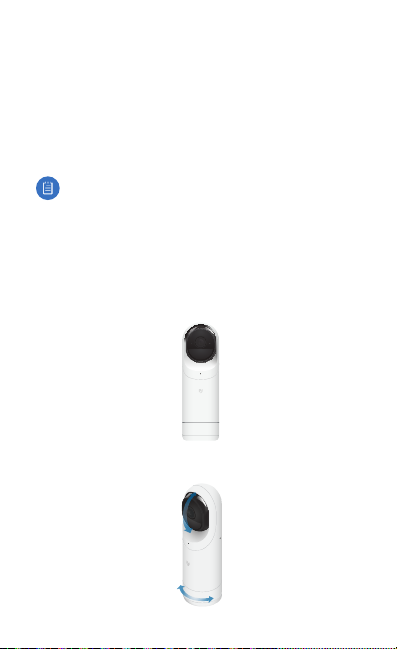
Note: The viewing angle or surveillance coverage of the
G3 Battery camera can be changed at any time.
• Tilt the lens up or down for vertical adjustment
• Turn the base left or right for horizontal adjustment
Proceed to the appropriate section for your installation.
Desktop Mount
1. Place the camera on a desk or table in its upright position.
2. Adjust the viewing angle or surveillance coverage as
needed.

Wall Mount
1. Use the Screws and Screw Anchors to secure the
Wall Mount to the wall.
2. Attach the G3 Battery to the magnetic Bridge Mount.
3. Attach the G3 Battery to the magnetic Wall Mount.
 Loading...