


CONTENTS
1. BEFORE USE........................................................................................ 2
1. Important Safety Instructions......................................................................... 2
2. How to Change the Power Plug .................................................................... 4
2. NAMES OF PARTS............................................................................... 5
3. PREPARATION FOR SEWING............................................................. 6
1. Connecting Power Cord ................................................................................ 6
2. Setting Telescopic Thread Stand .................................................................. 7
3. Opening the Front Cover and Side Cover ..................................................... 7
4. Turning the Moveable Cutter to the Non-operating Position ......................... 8
5. How to Change Threads................................................................................ 8
6. Replacing Needles ........................................................................................ 9
7. Changing the Presser Feet.......................................................................... 10
8. Setting Waste Tray...................................................................................... 10
9. Threading .................................................................................................... 11
10. Preparation for Sewing and Checking......................................................... 14
4. FOUR THREAD OVEREDGING STITCH USING 2 NEEDLES .......... 15
1. Before Sewing ............................................................................................. 15
2. Presser Foot Lever...................................................................................... 15
3. Beginning and Ending of Sewing................................................................. 15
4. Adjustment of the Presser Foot Pressure.................................................... 16
5. Thread Tension Adjustment ........................................................................ 17
6. Adjustments for the Differential Feed Ratio................................................. 19
7. Adjustments for Size of Bight ...................................................................... 20
8. How to Adjust Stitch Length ........................................................................ 21
9. Sewing for Curved Seams........................................................................... 21
10. Corded Overlock ......................................................................................... 22
5. THREE THREAD OVEREDGING STITCH USING ONE NEEDLE..... 23
6. HOW TO ROLL HEM........................................................................... 24
7. REPLACING THE UPPER/LOWER CUTTERS .................................. 25
8. CHANGING THE LIGHT BULB ........................................................... 26
9. MAINTENANCE................................................................................... 27
10. TABLE OF SEWING MATERIALS, NEEDLES AND THREAD ........... 28
11. ACCESSORIES................................................................................... 29
12. SPECIFICATIONS............................................................................... 30
13. TROUBLE SHOOTING........................................................................ 31
14. SERVICING ......................................................................................... 32
15. RECYCLING........................................................................................ 33
1 -1
BEFORE USE
1. BEFORE USE
Be sure to read this section before use
1. Important Safety Instructions
These safety instructions are designed to prevent danger or damage arising from the incorrect
operation of the machine. Read carefully and always follow the instructions.
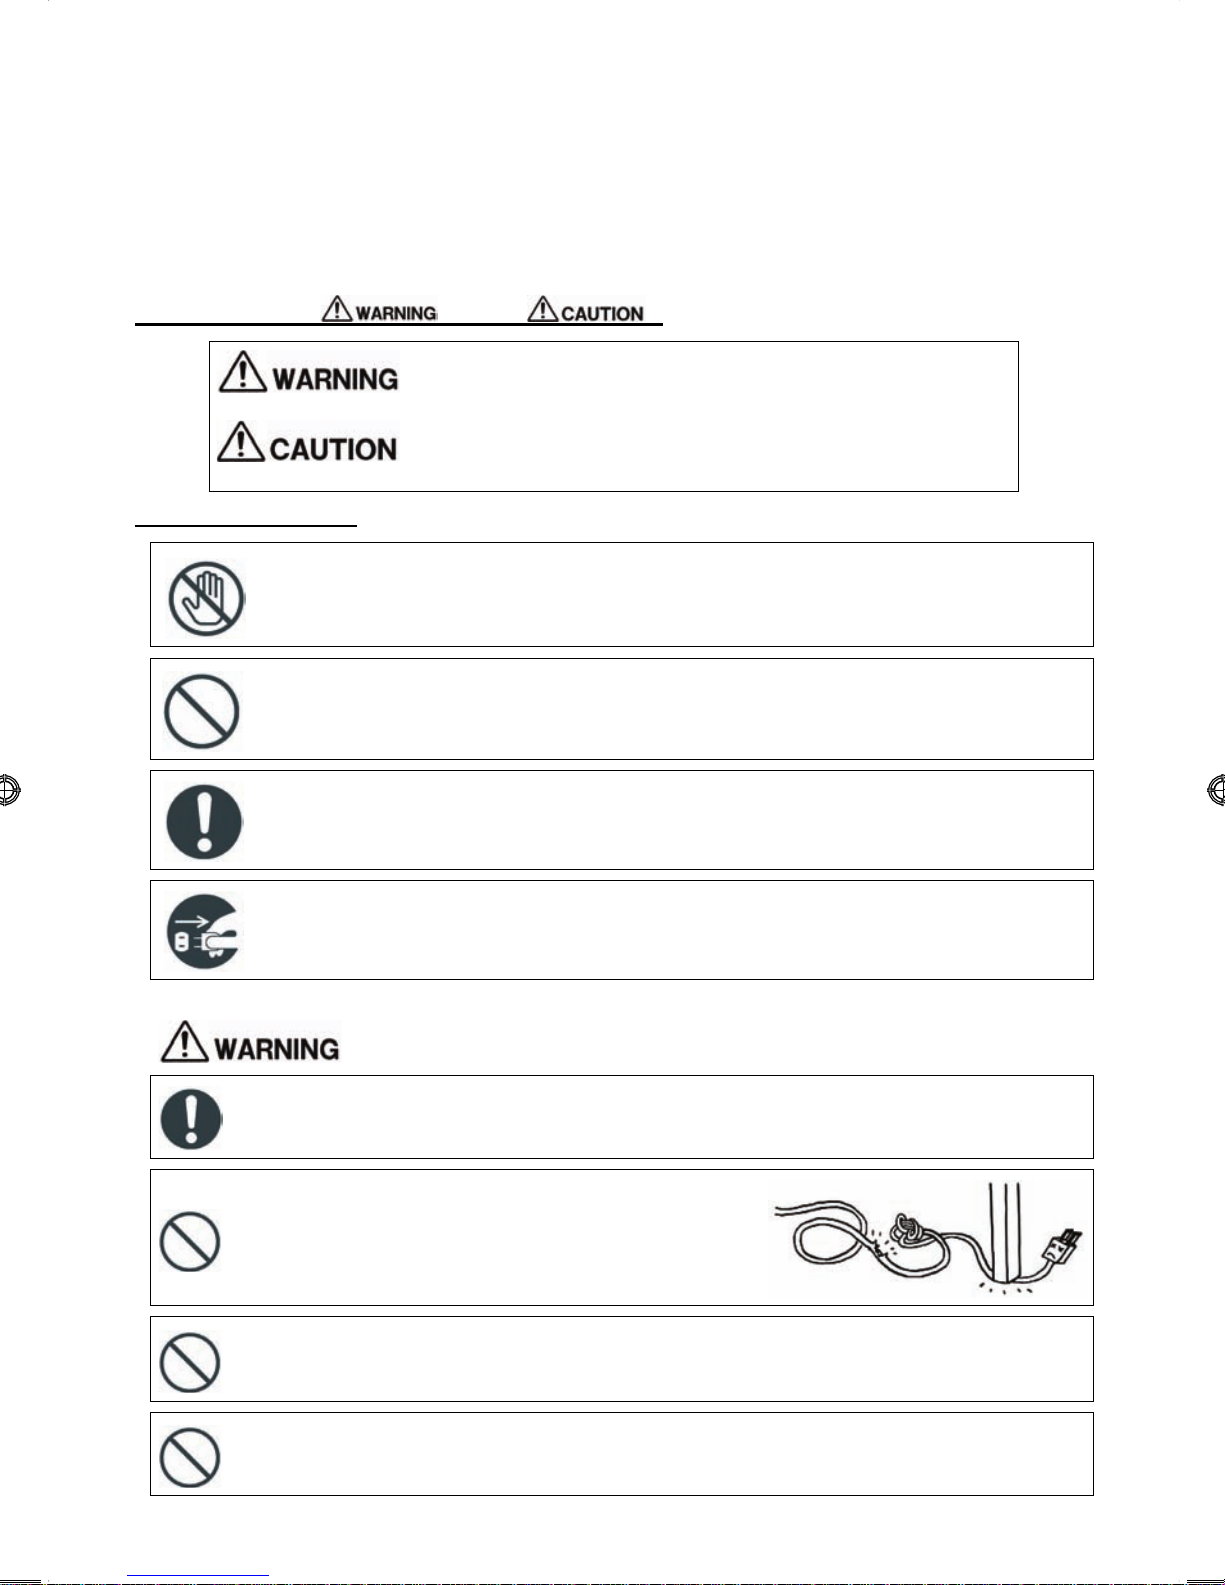
Explanation of " " and " "
An incorrect operation could result in death or serious injury.
An incorrect operation could result in an injury or damage to the machine.
Symbol explanation
Do not touch
Prohibited actions
Required actions
Remove the power plug from the outlet.
Use an AC 220 to 230 V power supply.
Not doing so could cause an electric shock or a fire.
Do not damage the power cord, modify it, bend it
excessively, jerk it or twist it.
Doing so could cause an electric shock or a fire.
If the power cord is damaged, it must be replaced by the
manufacturer or its service agent.
Do not operate where aerosol ( spray ) products are being used or where oxygen is
being administered.
Doing so could cause a fire.
Do not use outdoors.
Doing so could cause an electric shock or a fire.
1 -2

BEFORE USE
When the machine is not in use, it should be stored safely, not on the floor as protruding
parts could cause injury if a person fell on the machine.
Not doing so could cause an injury.
Use with the front cover and the side cover closed.
Not doing so could cause an injury.
Before replacing the needle or presser foot or when threading, switch the machine off.
Not doing so could cause an injury.
Do not look away from the needle while operating the machine.
If the needle breaks it could cause an injury.
Do not touch moving parts such as the needle, upper cutter, take-up lever or hand
wheel.
Doing so could cause an injury.
Children should only use the machine under the supervision of a parent or a guardian.
Otherwise they could injure themselves.
Do not use when young children are near the machine.
They could touch the needle and be injured.
Before leaving the machine after using it, remove the power plug from the outlet.
Not doing so could cause an injury.
Before using the machine, make sure that the presser foot holder set screw, needle
set screw and needle plate set screw are firmly tightened, and that the presser foot
is properly set in the presser foot holder.
Not doing so could cause an injury.
Do not perform the following
actions.
Doing so could cause an injury.
Overlocking without lowering the presser foot.
Overlocking while the needle is incorrectly installed.
Using a bent needle.
Overlocking while jerking the fabric.
Do not operate on an unstable surface such as a sofa or a bed.
If the machine falls down, it could cause an injury or damages to the machine.
Do not drop or insert any foreign objects into any openings.
Doing so could cause an injury or damages to the machine.
Do not repair, disassemble or modify except what is mentioned in the instruction
manual.
Doing so could cause an electric shock, a fire or an injury.
1 -3

BEFORE USE
UK ONLY IMPORTANT PLEASE READ CAREFULLY
2. How to Change the Power Plug
When you change the power plug or cord, do not repair, disassemble or modify except
at the authorised dealer or service centre.
Doing so could cause an electric shock or a fire.
If for any reason the power plug for this product is removed it should be immediately
disposed of safety and not stored anywhere where it could be inadvertently used again.
Doing so could cause an electric shock or a fire.
The wires in this mains lead are coloured in accordance with the following code:
BLUE-NEUTRAL
As the colours of the mains lead of this appliance may not correspond with the coloured
markings identifying the terminals in your plug - PROCEED AS FOLLOWS:
The earth plug pin in unnecessary. As the machine is designed under double insulation
structure, the earth wire is removed from the machine. The wire coloured BROWN must be
connected to the terminal marked L or A or coloured RED. The wire coloured BLUE must
be connected to the terminal marked N or coloured BLACK. Neither core is to be connected
to the earth terminal of a three-pin plug.
BROWN-LIVE ( OR ACTIVE )
1 -4

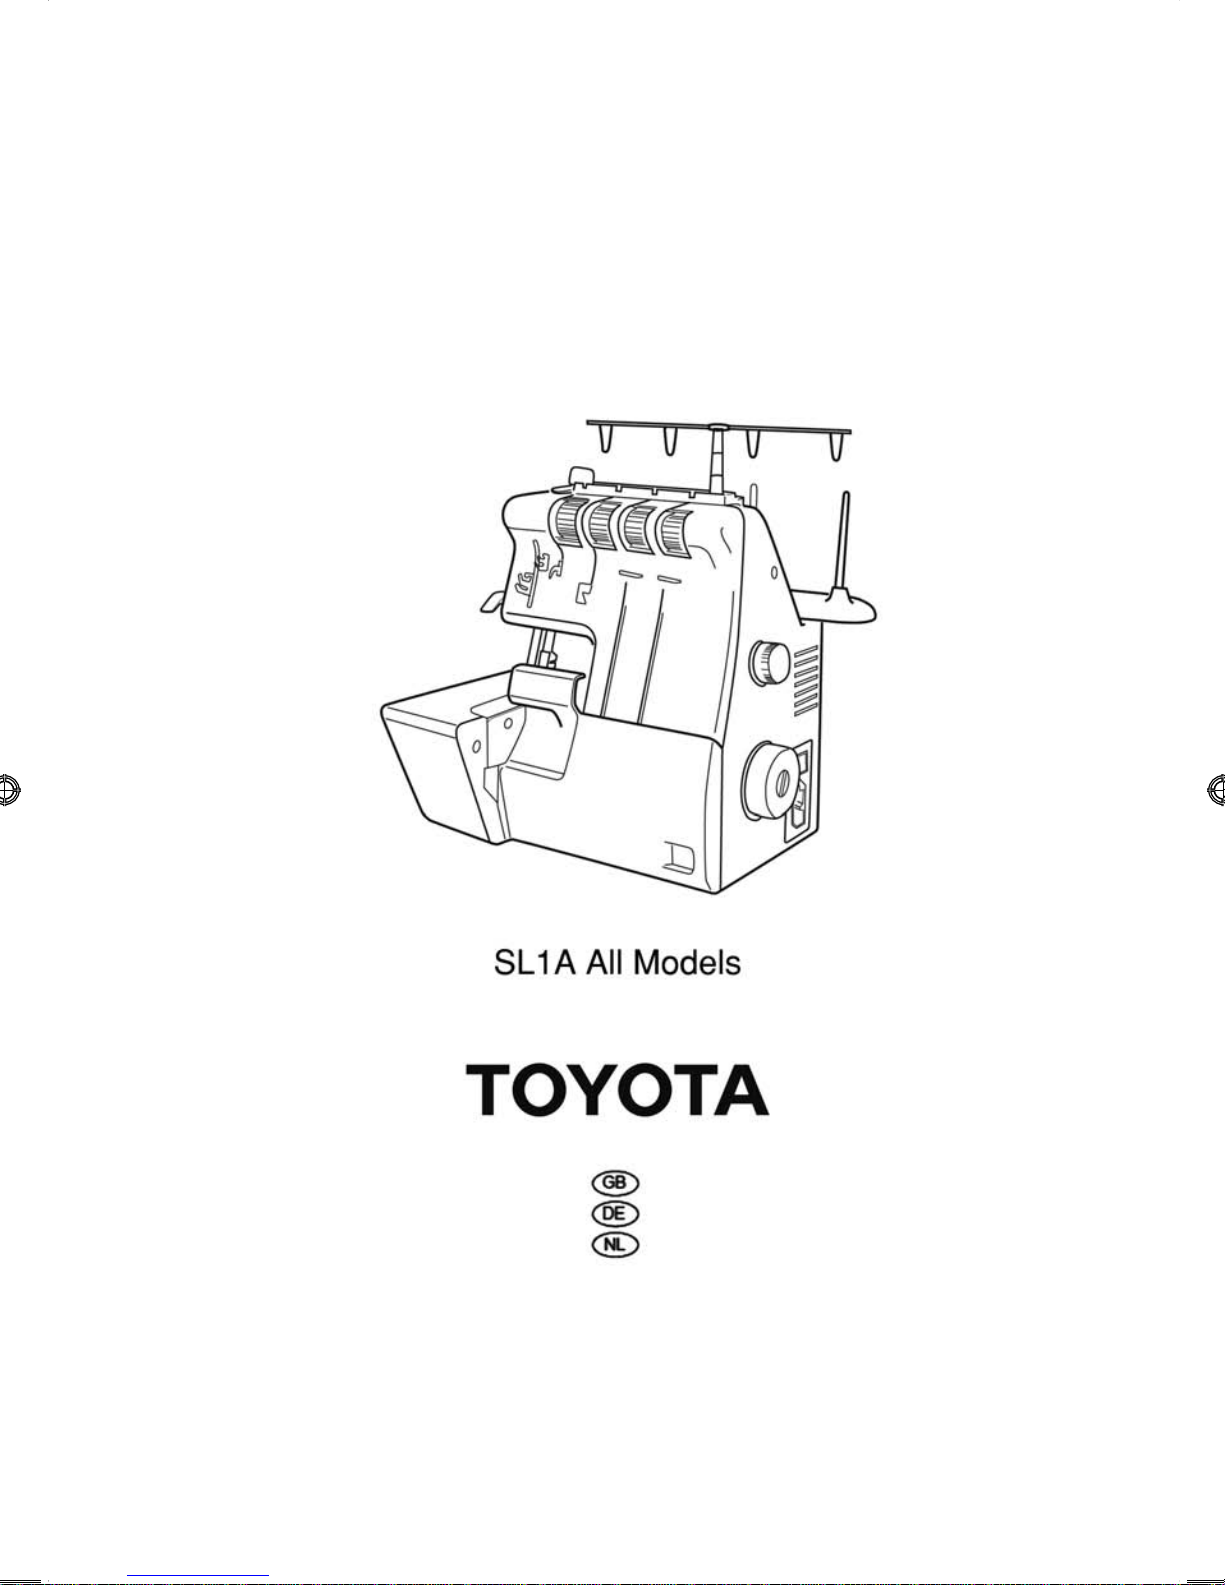
2. NAMES OF PARTS
NAMES OF PARTS
1. Spool pin 8. Front panel
2. Presser foot lever 9. Side cover
3. Take-up lever 10. Stitch length adjusting lever
4. Pressure adjusting dial 11. Presser foot
5. Thread tension guide 12. Stitch width adjusting dial
6. Telescopic thread stand 13. Upper cutter
7. Y Left needle thread tension dial 14. Tweezers (Accessories found in the carton )
G Right needle thread tension dial 15. Front cover
B Upper looper thread tension dial 16. Hand wheel (Right side of machine)
R Lower looper thread tension dial 17. Differential feed adjusting dial
1 -5

PREPARATION FOR SEWING
3. PREPARATION FOR SEWING
1. Connecting Power Cord
Turn the power switch off when inserting the power plug.
Not doing so could cause an injury.
Hold the power plug when removing it from the outlet.
Not doing so could damage the cord and cause an electric shock, fire or injury.
Do not touch the power plug with wet hands.
Doing so could cause an electric shock.
Connect foot controller and power cord 偋䢢偌 .
倩 Specifications vary from country to country.
倩 Before plugging in your machine, be sure
that the voltage is the same as that of your
machine.(written on a plate at back of machine).
Press the switch on the machine to turn on the
power and the sewing light.
Always switch off or unplug the machine when
not in use.
Press hard to foot controller, the machine runs
faster.
When the power switch is turned off, the machine
will not operate even by pressing on the foot
controller.
Power switch
On
Off
1 -6

2. Setting Telescopic Thread Stand
Extend the telescopic thread stand to its full
height, then turn it until the shaft clicks into its
locked position.
3. Opening the Front Cover and Side Cover
Before opening the front cover and side cover, switch the machine off.
Not doing so could cause an injury.
PREPARATION FOR SEWING
How to Open the Front Cover:
a. Push cover to the right as far as it will go, and
b. Pull cover down towards you.
How to Open Side Cover:
a. Push cover to the left to unlock, and
b. Swing cover back away from you.
How to Close Side Cover:
a. Push cover to the right, and
b. Lock into place.
Setting the Tweezers
Front cover
Side cover
Take out the tweezers from accessory box to
set it inside of the front panel.
Tweezers
1 -7

PREPARATION FOR SEWING
䷵
4. Turning the Moveable Cutter to the Non-operating Position
Push the upper cutter set screw from 之 with the
forefinger of your left hand and grasp the right
end of the dial 乍 and turn it in the direction of
arrow 乌 with your right hand.
Return the moveable cutter to the cutting
position.
Non-operating position
倩 For ease in threading, turn the moveable cutter
to the non-operating position.
5. How to Change Threads
Before changing threads, switch the machine off.
Not doing so could cause an injury.
The machine is supplied with thread but the
following is an easy way to change them:
(1) Cut the thread in use near the cone spool
(behind the telescopic thread stand). Place
the new thread on the spindle and tie it to
the end of the original thread.
Upper cutter
Do not touch the blade of the upper cutter.
Doing so could cause an injury.
Cut thread
Tie threads
(2) Lower the presser foot lever to lift up the
presser foot.
(3) Set tensions to "0" so that the thread knot
can pass through smoothly, draw out the
looper thread until the thread knot comes to
about 10 cm past the presser foot.
(4) When changing the needle thread, cut off
the thread knot before it reaches the eye of
the needle to avoid bending the needle as the
knot is pulled and caught in the needle's eye.
To make the above threading easier, use
tweezers.
Needle eye
1 -8

Cover the spool with the "NET" as chemical fibers
(fibers) and the like are easily frayed.
When using a real type thread spool, insert
the spool adapter (supplied with the machine)
(as shown).
PREPARATION FOR SEWING
Net
6. Replacing Needles
Before changing the needle, switch the machine off.
Not doing so could cause an injury.
Replace needles in the following way:
(1) Bring needles to their highest position by
turning the hand wheel towards you.
(2) Loosen the Right/Left needle set screw and
remove the Right/Left needles separately.
(3) With the flat side away from you, insert the
new needles into the groove of needle bar and
push them up as far as they will go.
(4) Firmly tighten the Right/Left needle set screw
with screw driver.
If you are using one needle, remove the Right/Left
needle.
Use "HA x1T (705/130)" #11(80) or #14(90) or
other homeuse sewing machine needles.
Needle set screw
Left
needle
Right
needle
1 -9

PREPARATION FOR SEWING
7. Changing the Presser Feet
Before changing the presser feet, switch the machine off.
Not doing so could cause an injury.
1. Raise the presser foot and bring the needle
to its highest position. Press the presser foot
holder button in the direction of the arrow to
release the regular foot.
2. Position the presser foot pin below the groove
in the presser foot holder. Lower the presser
foot lever by pressing the button to set the
presser foot.
Button
Presser foot
Presser foot
holder
Presser foot
pin
8. Setting Waste Tray
(Optional Accessory)
(1) Insert the right guide 乥 of the waste tray to
the right leg of the overlock machine as
illustrated.
Turn the waste tray in the direction of arrow.
(2) Push the left end of the waste tray in the
direction of arrow.
Groove
1 -10
 Loading...