

Toro 136-5802 Installation Instructions
BatteryKit
TX1000CompactToolCarrier
ModelNo.136-5802
FormNo.3412-226RevB
InstallationInstructions
Safety
WARNING
CALIFORNIA
Proposition65Warning
Thisproductcontainsachemicalorchemicals
knowntotheStateofCaliforniatocausecancer,
birthdefects,orreproductiveharm.
Installation
LooseParts
SafetyandInstructional
Decals
Safetydecalsandinstructionsareeasily
visibletotheoperatorandarelocatednear
anyareaofpotentialdanger.Replaceany
decalthatisdamagedormissing.
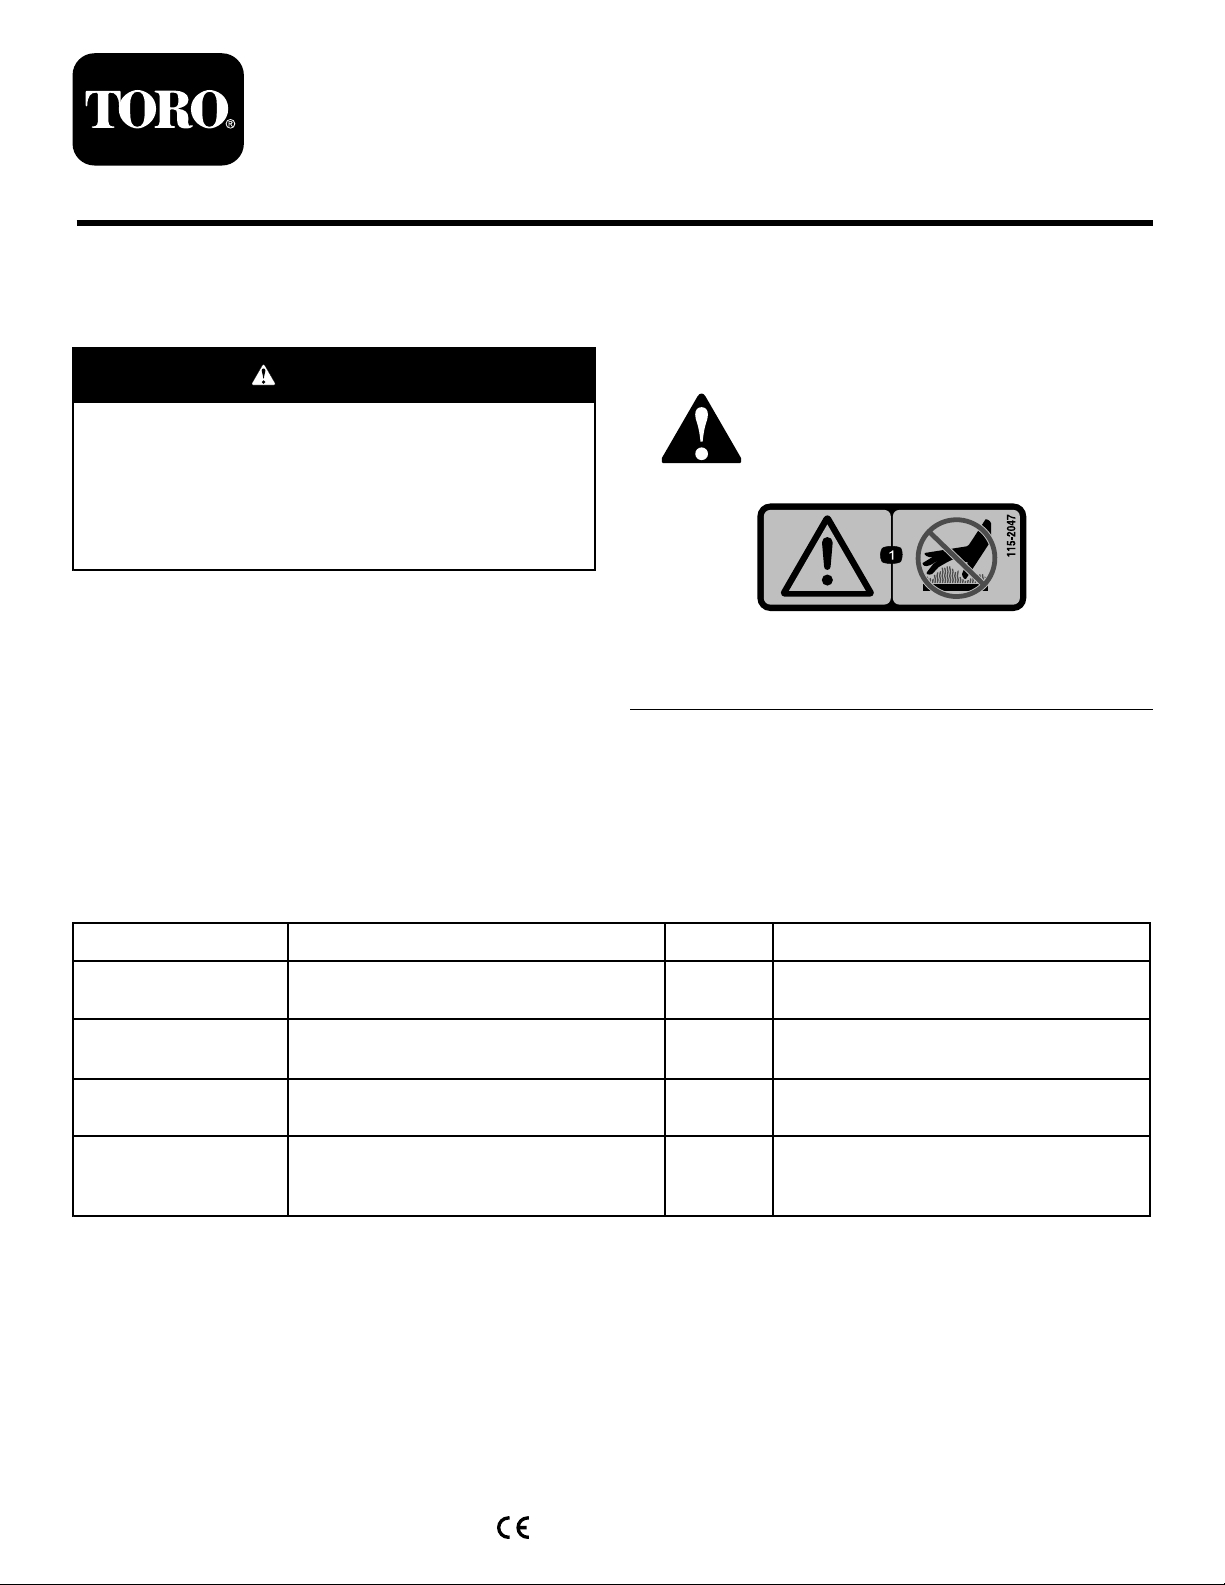
decal115-2047
115-2047
1.Warning—donottouchthehotsurface.
Usethechartbelowtoverifythatallpartshavebeenshipped.
ProcedureDescription
1
2
3
4
Nopartsrequired
Battery1
Nopartsrequired
Strap
Hold-downrod2
Frontscreen1
Qty.
Use
–
–
1
Preparethemachine.
Activateandchargethereplacement
battery.
Removetheexistingbattery.
Installthereplacementbatteryandfront
cover.
©2017—TheToro®Company
8111LyndaleAvenueSouth
Bloomington,MN55420
Registeratwww.T oro.com.
OriginalInstructions(EN)
PrintedintheUSA
AllRightsReserved
*3412-226*B
1
PreparingtheMachine
NoPartsRequired
Procedure
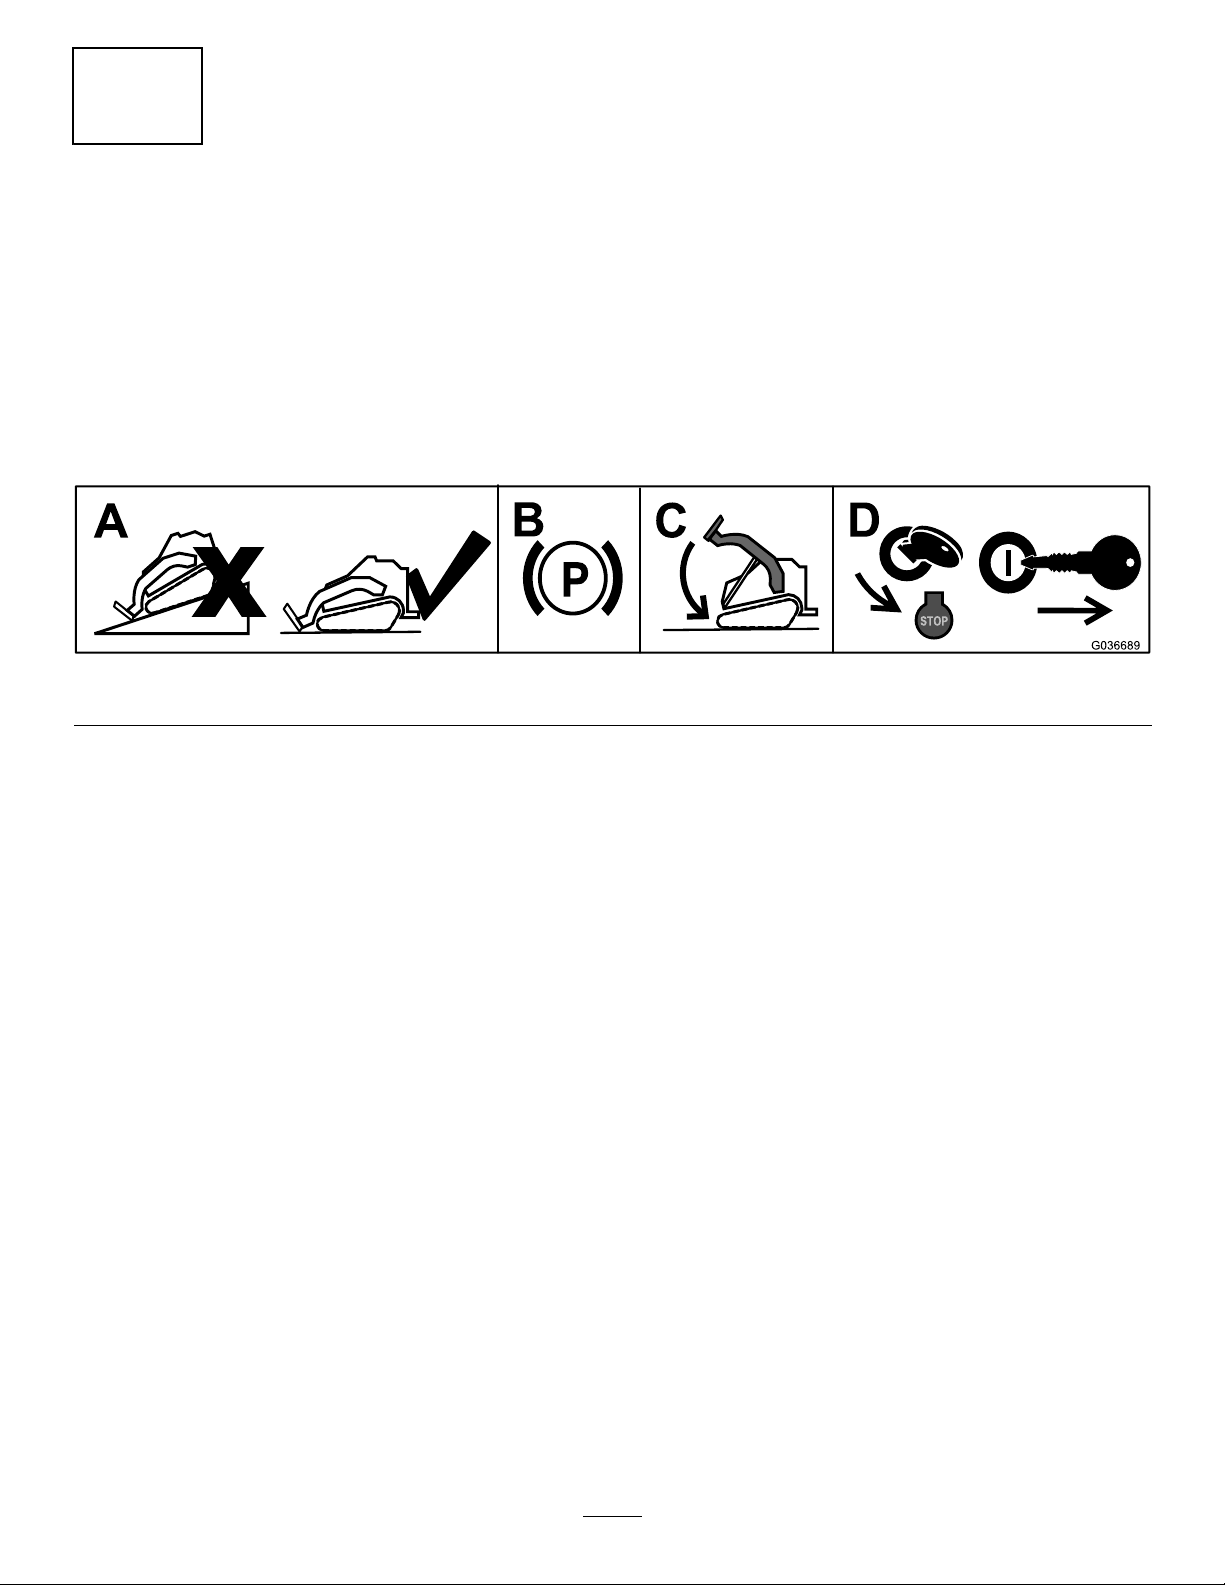
1.Parkthemachineonalevelsurface.
2.Engagetheparkingbrake.
3.Lowertheloaderarms.
4.Shutofftheengineandremovethekey .
g036689
Figure1
2
2
G015344
1
2
ActivatingandCharging theReplacementBattery
Partsneededforthisprocedure:
1Battery
DANGER
Batteryelectrolytecontainssulfuricacid,
whichisfatalifconsumedandcausessevere
burns.
•Donotdrinkelectrolyteandavoidcontact
withskin,eyes,orclothing .Wearsafety
glassestoshieldyoureyesandrubber
glovestoprotectyourhands.
•Fillthebatterywherecleanwaterisalways
availableforushingtheskin.
Procedure
WARNING
CALIFORNIA
Proposition65Warning
Batteryposts,terminals,andrelated
accessoriescontainleadandleadcompounds,
chemicalsknowntotheStateofCalifornia
tocausecancerandreproductiveharm.
Washhandsafterhandling .
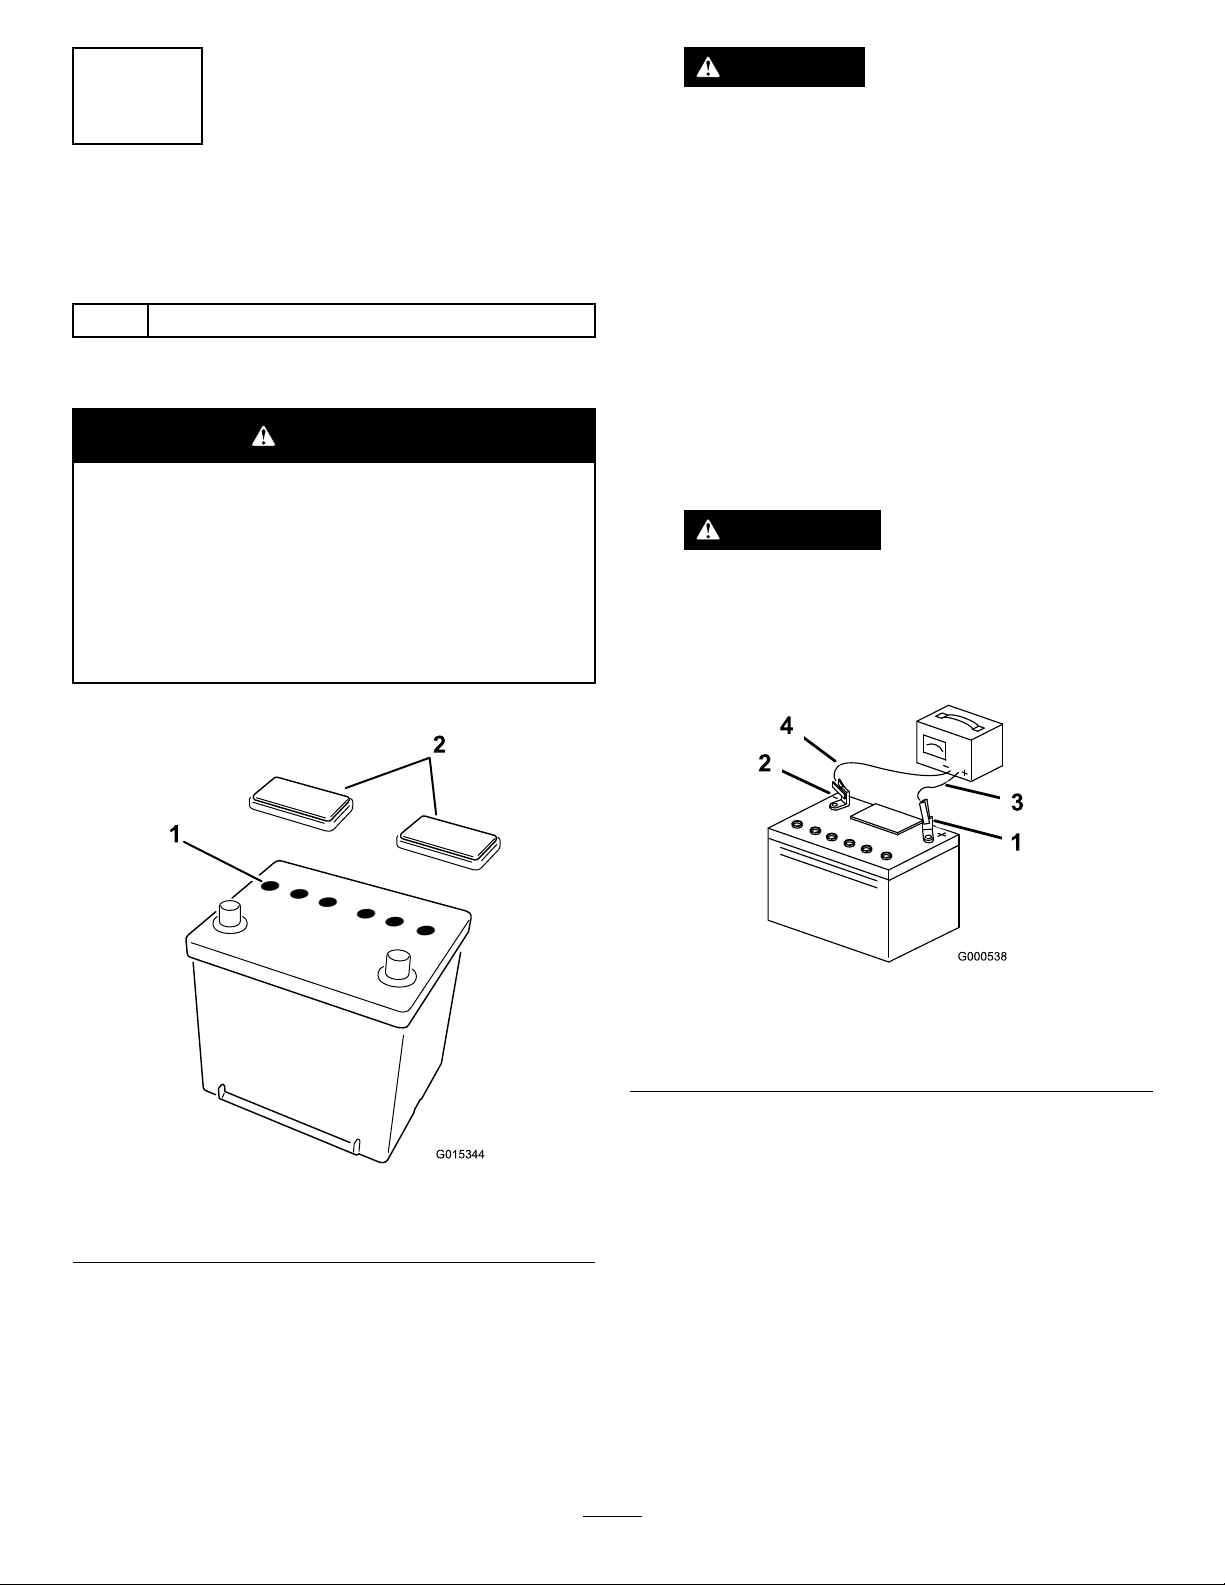
1.Removetheventcapsfromthebattery(Figure2).
3.Installtheventcaps(Figure2).
4.Connecta3to4Abatterychargertothebatteryposts.
Chargethebatteryatarateof3to4Afor4to8hours
(Figure3).
WARNING
Chargingthebatteryproducesgassesthatcan
explode.
Neversmokenearthebatteryandkeepsparks
andamesawayfromthebattery.
g000538
Figure3
1.Positivebatterypost
2.Negativebatterypost
5.Whenthebatteryischarged,disconnectthecharger
fromthebatteryposts.Allowthebatterytositfor5
Figure2
1.Cellvents
2.Ventcaps
2.Carefullylleachcellwithelectrolyteuntilthe
electrolyteisuptothellline.
Note:Useonlyelectrolyte(1.260specicgravity)to
llthebatteryinitially.
Important:Important:Donotaddelectrolyte
whilethebatteryisinthemachine.Youcouldspill
it,causingcorrosion.
g015344
3
to10minutes.
Note:Afterthebatteryhasbeenactivated,addonly
distilledwaterwhentheelectrolytelevelislow ,although
maintenance-freebatteriesshouldnotrequirewater
undernormaloperatingconditions.
3.Red(+)chargerlead
4.Black(-)chargerlead
 Loading...