

Thetford SHB981 Series User And Installation Instructions Manual
1
THETFORD AUSTRALIA PTY LTD
www.thetford-europe.com
Build-in cooking hob
Topline hybrid glass hobs
SHB981XXZ Series dual fuel
For use with mains electricity and Universal LPG
User and installation instructions
Please read and keep for future reference
For use in Australia
41 LARA WAY CAMPBELLFIELD VIC
TEL: 03 9358 0700 FAX: 03 9357 7060
INS1021Z -0-
2
CAUTION
• Appliance and accessible parts become hot during use. Avoid
touching the heating elements or pan supports when in use.
• The use of a gas cooking appliance results in the production of
heat, moisture and products of combustion in the room in which
it is installed. Ensure that the kitchen is well ventilated especially
when the appliance is in use. Keep natural ventilation holes open
or install a mechanical ventilation device (mechanical extractor
hood).
• Prolonged intensive use of the appliance may call for additional
ventilation by opening of a window or more effective ventilation
by increasing the level of mechanical ventilation where present.
• Do not use or store flammable materials in the appliance storage
drawer or near this appliance.
• Do not spray aerosols in the vicinity of this appliance whilst it is in
operation.
• This appliance is not intended for use by persons (including
children) with reduced physical, sensory or mental capabilities or
lack of experience or knowledge, unless they have been given
supervision or instruction by a person responsible for their
safety.
• Children less than 8 years of age shall be kept away unless
continuously supervised.
• Children shall not be permitted to play with the appliance.
• Cleaning and user maintenance shall not be made by children
without supervision.
• Unattended cooking on a hob with fat or oil can be dangerous
and may result in fire. Do not leave the appliance unattended
when in use.
• Never extinguish a cooking fire with water, switch off the
appliance and cover the flames with a lid or fire blanket.
• Danger of Fire: Do not store items on the cooking surface.
• The use of inappropriate hob guards can cause accidents and
may affect safe combustion of the appliance.
3
CAUTION
• Do not modify this appliance. Do not make any adjustments
unless such work is carried out by authorized personnel, the
manufacturer or their representative. No parts other than those
supplied by the manufacturer shall be used on this appliance.
• Do not allow cooking vessels to overlap the edges of the
appliance – use the correct sizes of pans and position them
centrally over the burners.
• Do not use harsh abrasive cleaners or sharp metal scrapers to
clean the glass since they can scratch the surface, which may
result in shattering of the glass.
• Do not use steam cleaners or pressure washers to clean the
appliance. Refer to cleaning and maintenance instructions.
• This appliance is for cooking purposes only. Where this
appliance is installed in marine craft or in caravans, it shall not
be used as a space heater.
• This appliance is not intended to be operated by means of an
external timer or separate remote-control system.
• Do not allow oils, fats or food residues to build up on the
appliance – clean the appliance after each use.
• If the supply cord becomes damaged it must be replaced by the
manufacturer or agent in order to avoid a hazard.
• Do not heat sealed tins of food, they could explode.
• Do not leave empty pans on a heating zone.
• Do not use kitchen foil on any part of the hob, it can melt and
cause damage to the hob surface.
• If the glass surface becomes cracked, switch off and disconnect
the appliance from the electrical supply to avoid the possibility
of electric shock and contact your Service Agent.
• Metal objects such as knives, forks, spoons and lids must not
be placed on the hob surface since they can become very hot.
• This appliance must be earthed.

4
INTRODUCTION
This appliance is designed for cooking foods and any other use is incorrect and
may be dangerous. Failure to install the appliance correctly or improper use will
invalidate any warranty or liability claims.
This appliance must only be installed by a qualified installer or engineer in
accordance with the relevant local and national regulations in force. Failure to
install the appliance correctly could invalidate any warranty or liability claims and
lead to prosecution. Please refer to the methods of installation and use supplied
with this appliance.
Our policy is one of continuous development and improvement. Specifications
and illustrations may change without notice, subsequent to publication.
Provision of ventilation
The use of a gas cooking appliance results in the production of heat, moisture
and products of combustion in the room in which it is installed. Ensure that the
area where the appliance is used is well ventilated especially, when the
appliance is in use. Keep natural ventilation holes open or install a mechanical
ventilation device (mechanical extractor hood).
Prolonged intensive use of the appliance may call for additional ventilation, for
example opening of a window, or more effective ventilation, for example
increasing the level of mechanical ventilation where present.
The room containing the cooker shall be ventilated in accordance with all local
and national regulations in force.
Initial Cleaning
Before using the hob for the first time, check the power supply is switched off and
use a dampened soft cloth to remove any soiling or residual factory lubricants.
Once clean apply a thin coating of ceramic glass cleaner conditioner to the glass
surface and polish with a clean dry cloth.
The conditioner provides a protective surface coating which will make cleaning
the hob easier. Occasionally reapplying the conditioner will reduce the
accumulation of deposits from cooking.
If the glass surface becomes discoloured due to cooking deposits, clean the
glass using a mild cream cleaner or use a ceramic hob scraper. Wipe the surface
clean and re-apply the cleaner conditioner. See Care and Maintenance section.
This appliance is approved for use with Universal LPG.
The burners on this appliance have fixed aeration and no adjustment is required.
The burners should flame as follows;
ULPG: Normally on initial lighting, a small amount of yellow tipping will
occur which increases slightly as the burner heats up.
5
OPERATION OF THE GAS BURNERS
The burners are controlled individually and each is monitored by a thermocouple
probe. In the event the burner flames are accidentally extinguished, turn off the
burner control and do not attempt to re-ignite the burner for at least one minute.
1. Ensure gas and electric supply is connected and turned on.
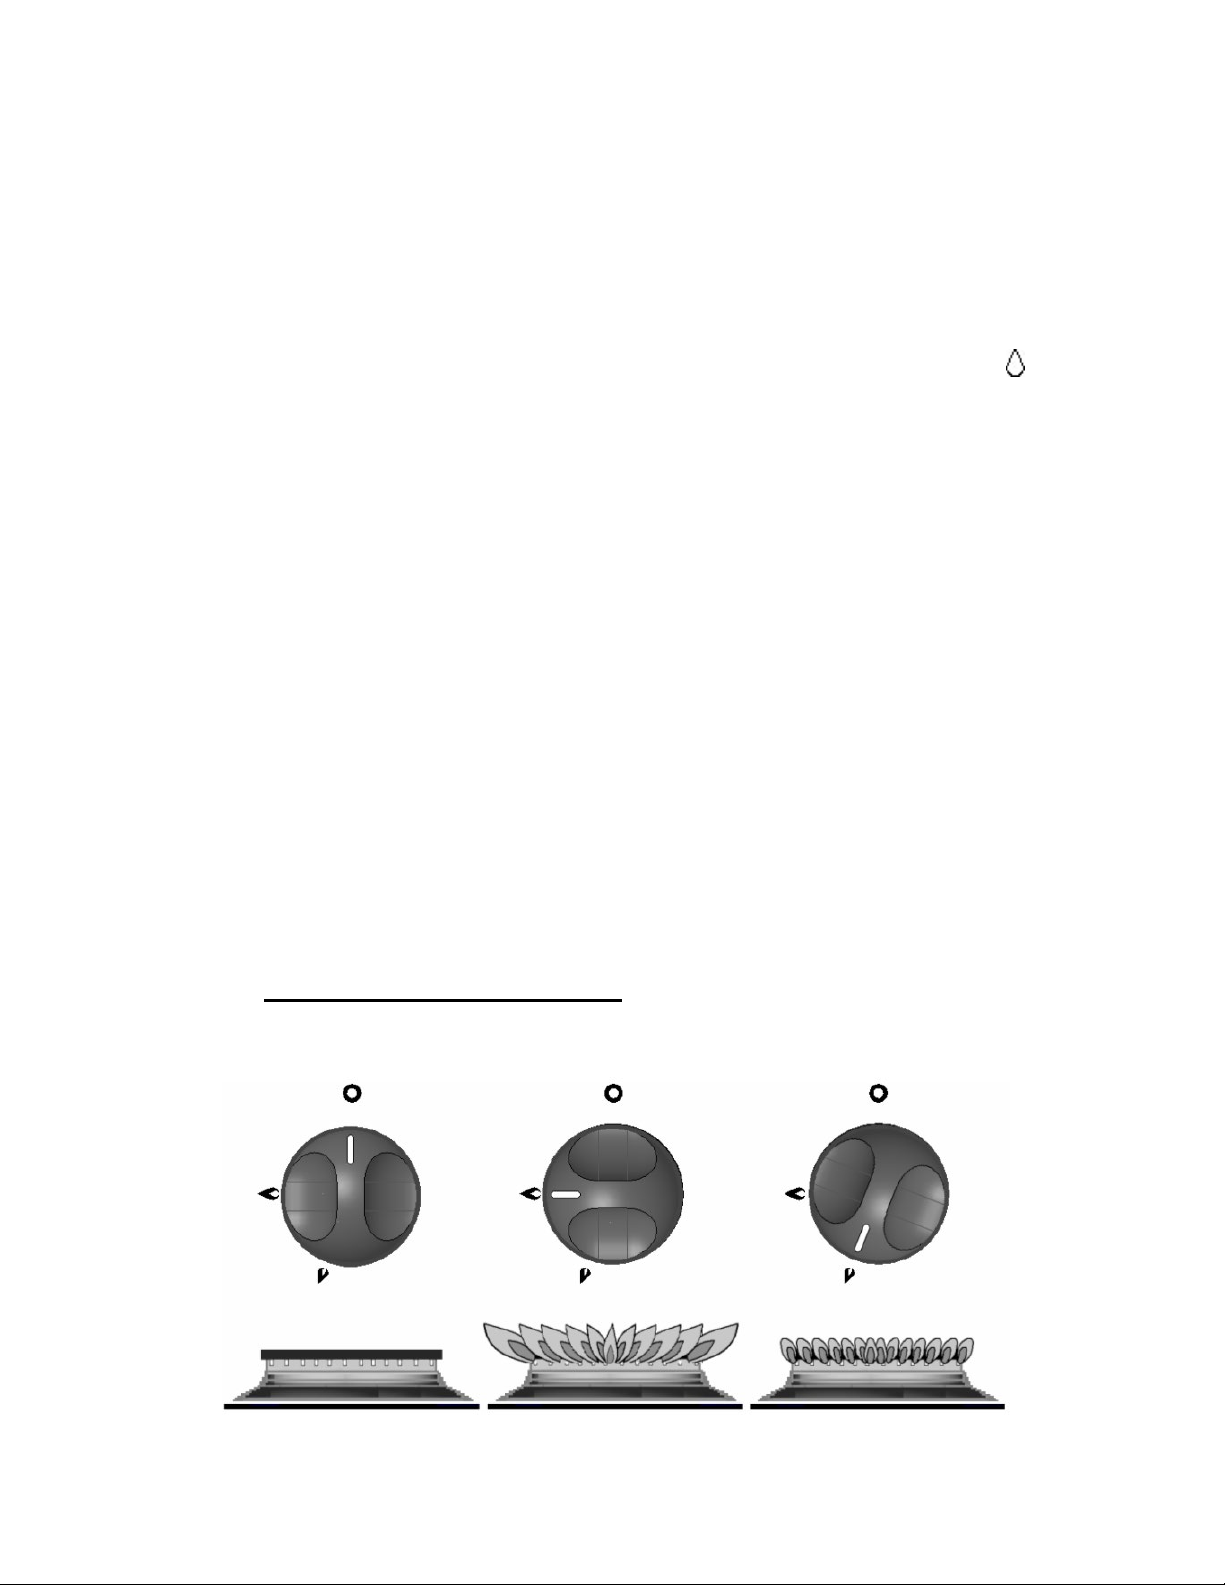
2. Push in the control knob and turn anticlockwise to full rate – large flame ( ),
see Fig 1.
3. Continue depressing the knob whilst holding a lighted match or taper to the
burner.
For models fitted with ’Auto-Spark’ the procedure is similar except burner
ignition is automatic whilst the knob is depressed.
4. After the burner is lit continue depressing the knob for approximately 10 - 15
seconds.
5. Release the knob and turn it to the required heat setting.
6. If burner has not lit within 15 seconds, release knob and wait at least 1
minute before repeating operations (2) to (5).
7. To turn off, rotate the control knob until the line on the knob is aligned with
the dot on the control panel.
8. Always make sure the control knobs are in the off positions when you have
finished using the hotplate burners.
The gas burners will accept minimum pan sizes of Ø 100mm. A minimum gap of
10mm must be maintained between pans and the pans must not overlap the
edges of the appliance.
Fig. 1 - Control Positions, Gas Burners
OFF FULL RATE LOW RATE
6
• Avoid old or miss-shaped pans as these may cause instability.
• Using excessively large pans may reduce performance or cause
damage.
GLASS SYMBOL DESCRIPTIONS
OPERATION OF THE INDUCTION HOB
Cooking on Induction
Cooking with an Induction Hob is different to a conventional hob which has either
heating elements or hotplates. An induction hob uses powerful electro magnets
which are located below the glass surface. When a pan manufactured from
magnetic material is placed directly above an electro-magnet, energy is induced
into the metal of the pan. This energy causes the metal pan to become hot and is
sufficient to provide the heat for cooking. Since heat for cooking is created inside
the pan, only the area of glass in direct contact with the pan will become very hot.
To ensure you achieve maximum cooking efficiency from your Induction hob we
recommend the use of pans which are specifically made for this type of
appliance. Choose pans which show a coil symbol and state ‘Induction’ on the
underside. If however you wish to use your existing pans and are unsure if they
are suitable, you can check if they are the correct type by using a magnet. If the
magnet will attach to the base then the pan should be suitable for induction.
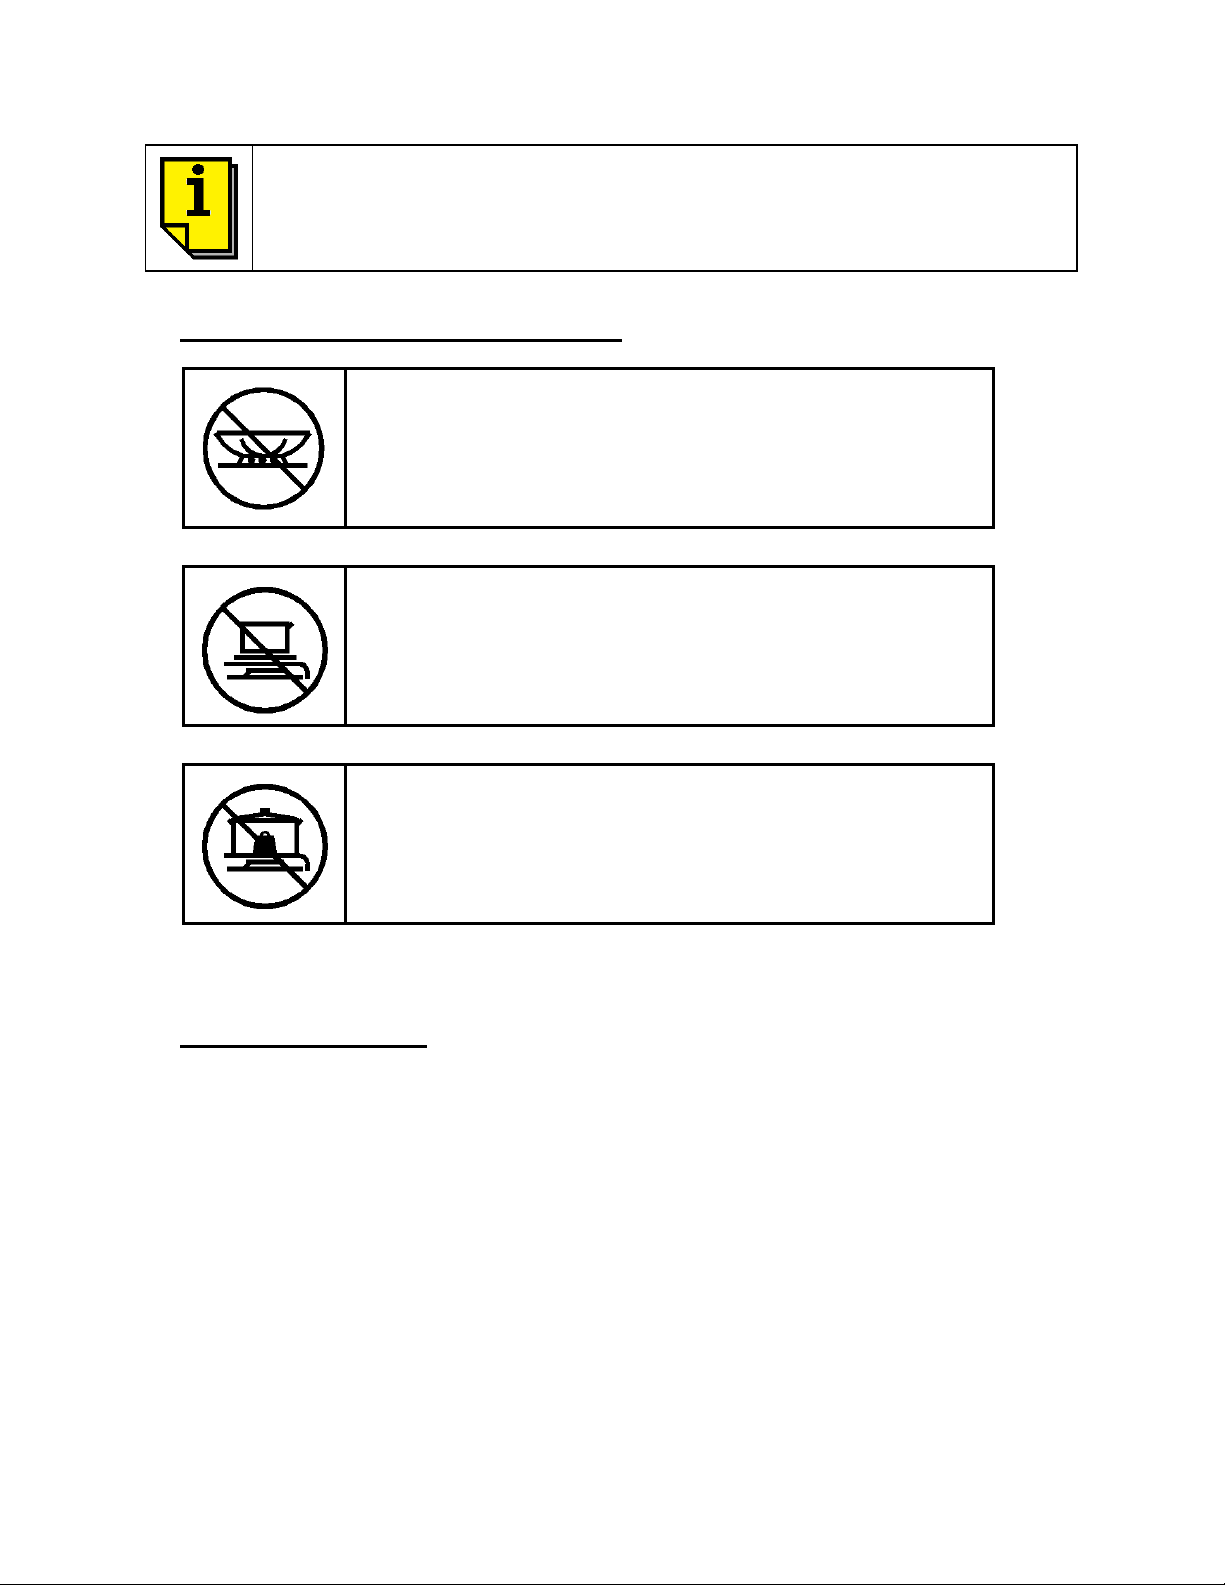
Do not remove the pan support and enclose the burner
with a wok stand as this will concentrate and deflect heat
onto the hotplate
Do not place anything, e.g. flame tamer, asbestos mat,
between pan and pan support as serious damage to the
appliance may result
Do not use large pots or heavy weights which can bend
the pan support or deflect flame onto the hotplate
7
OPERATION OF THE INDUCTION HOB
The induction heating zone is marked with a circular dotted line with the symbol
‘IN’ at the centre.
Please ensure, regardless of pan type (stainless, enameled steel, cast iron, etc)
the pan base is smooth and flat to avoid the risk of scratching the glass. Never
slide the pan across the glass surface, lift the pan to avoid scratches.
We recommend pans with a base diameter of Ø135mm to Ø220mm for the
induction heating zone.
Glass, ceramic or earthenware pans, aluminium (unless they have a special
base), copper pans and some non-magnetic stainless steel pans are not suitable
for use on Induction hobs.
Using the Induction Hob
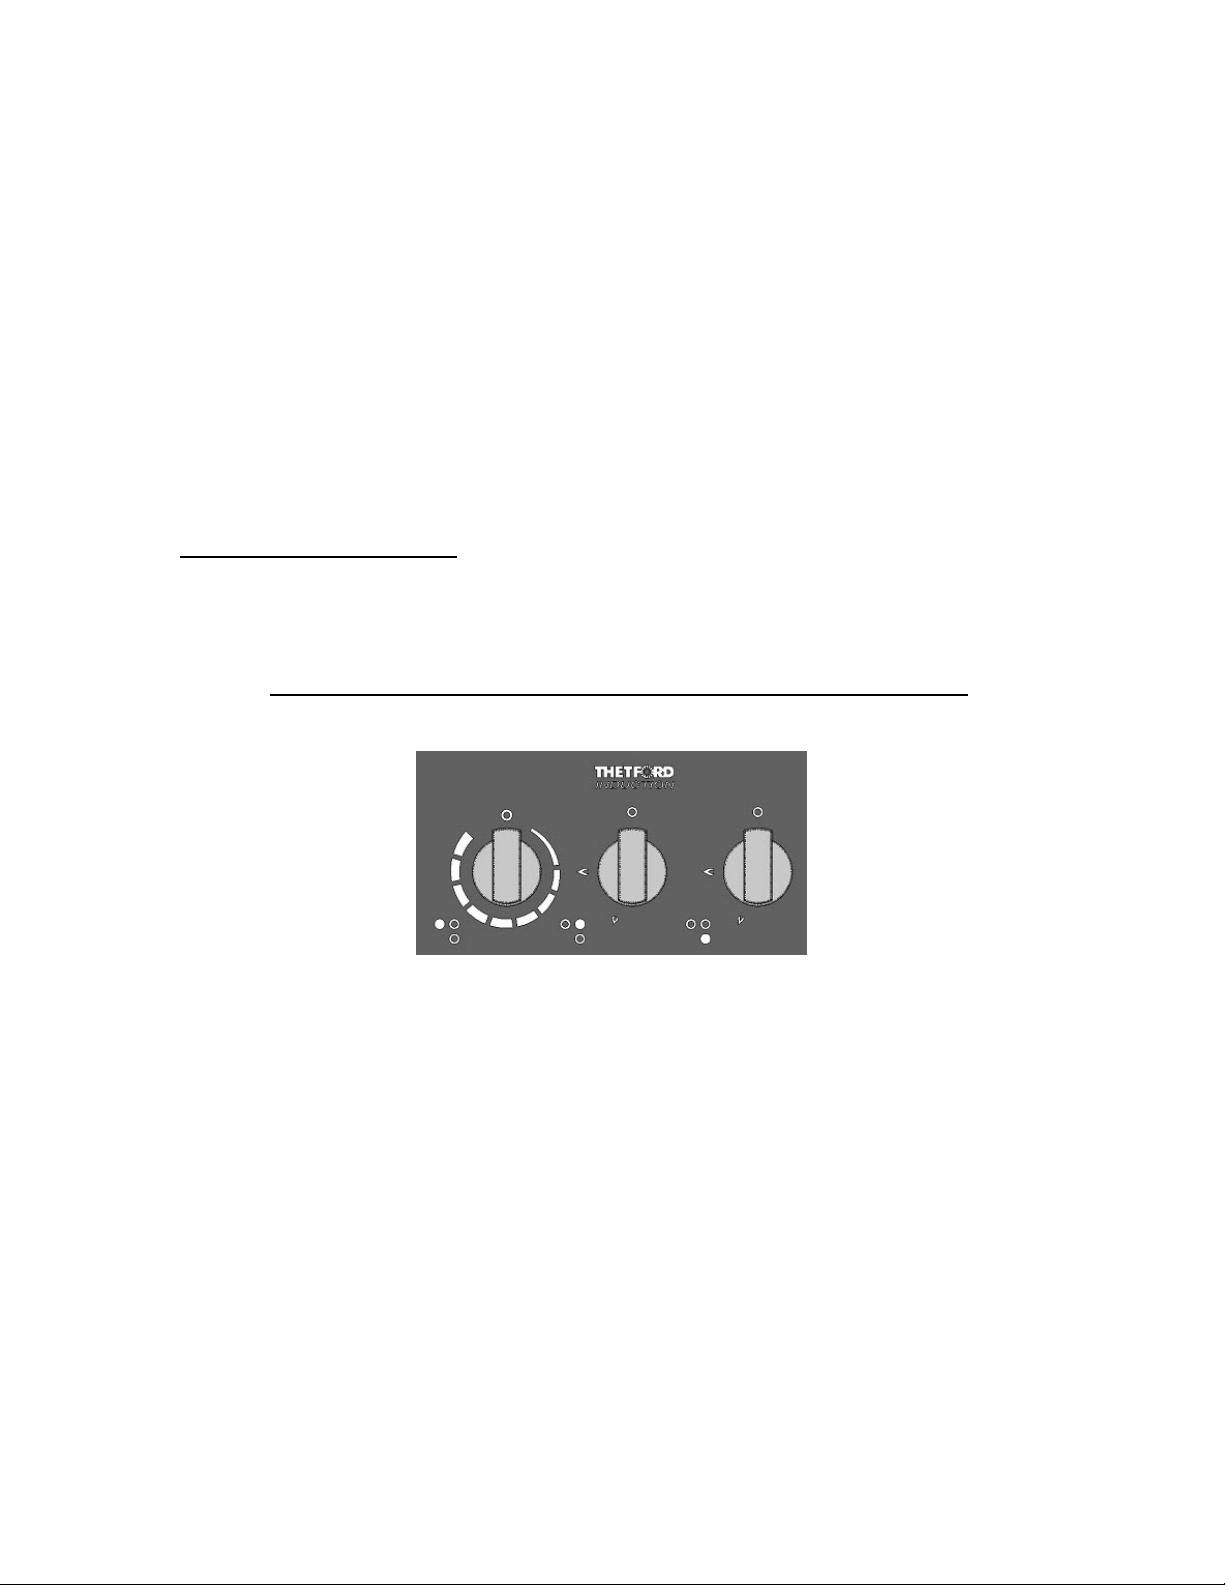
The induction heating zone on the hob is controlled separately using the rotary
control switch (Fig 2). An LED indicator illuminates when the induction hob is
activated and when the hob is hot during or after use.
Fig. 2 – Induction Hob Controls, (with Separate Gas Controls shown).
SHB981XX Series
Start Up: Upon initial connection to the mains electricity supply, the LED
illuminates briefly with ‘8’, then ‘0’, then goes blank. As a safety feature, if the
control knob is not in the '0' (Off) position on initial connection, the LED display
will go blank. The induction unit cannot be operated until the control is reset to ‘0’
and the LED will display ‘0’ if the control is moved to any other position.
To reset the unit, rotate the control anticlockwise to the '0' position, the LED
indicator then goes blank and the induction heater is ready for use.
The induction hob will accept a minimum pan size of Ø 100mm.
 Loading...