

Tenma 72-7730A, 72-7732A User Manual
1
Model: 72-7730A & 72-7732A
Pocket Size Digital Multimeter with USB
2
Please read these instructions carefully before use and retain for future
reference.
This instrument is designed & manufactured in compliance with: G84793, lEC61010-1,
CAT III 600V, & CAT IV 1000V Pollution Degree 2 and Double Insulation standards.
• Please operate according to this manual, otherwise the protection provided by the
device will be impaired or fail.
• Check the test leads, probe and case insulation condition before using. If you nd
any breakage, damage or abnormality, or you consider the device is broken, stop
using the device immediately.
• When using the test probes, keep your ngers behind the nger protection rings.
• Ensure all inputs are less than the range selected otherwise it may cause electrical
shock or meter damage.
• Take caution when voltages are above 60V DC and 30V AC rms.
• Disconnect circuit power and discharge all high-voltage capacitors before testing
resistance, diode and current.
• Do not use the meter with the back cover removed.
• Do not adjust the range selector during measurement.
• Replace the batteries as soon as the low battery indicator appears on the display.
• Remove dead batteries from the meter or if it is not going to be used for a long
time.
• Never mix old and new batteries together, or different types of batteries.
• Never dispose of batteries in a re, or attempt to recharge ordinary batteries.
• Before replacing the battery, turn off the meter and disconnect all the test probes.
• To prolong battery life turn off the meter after use..
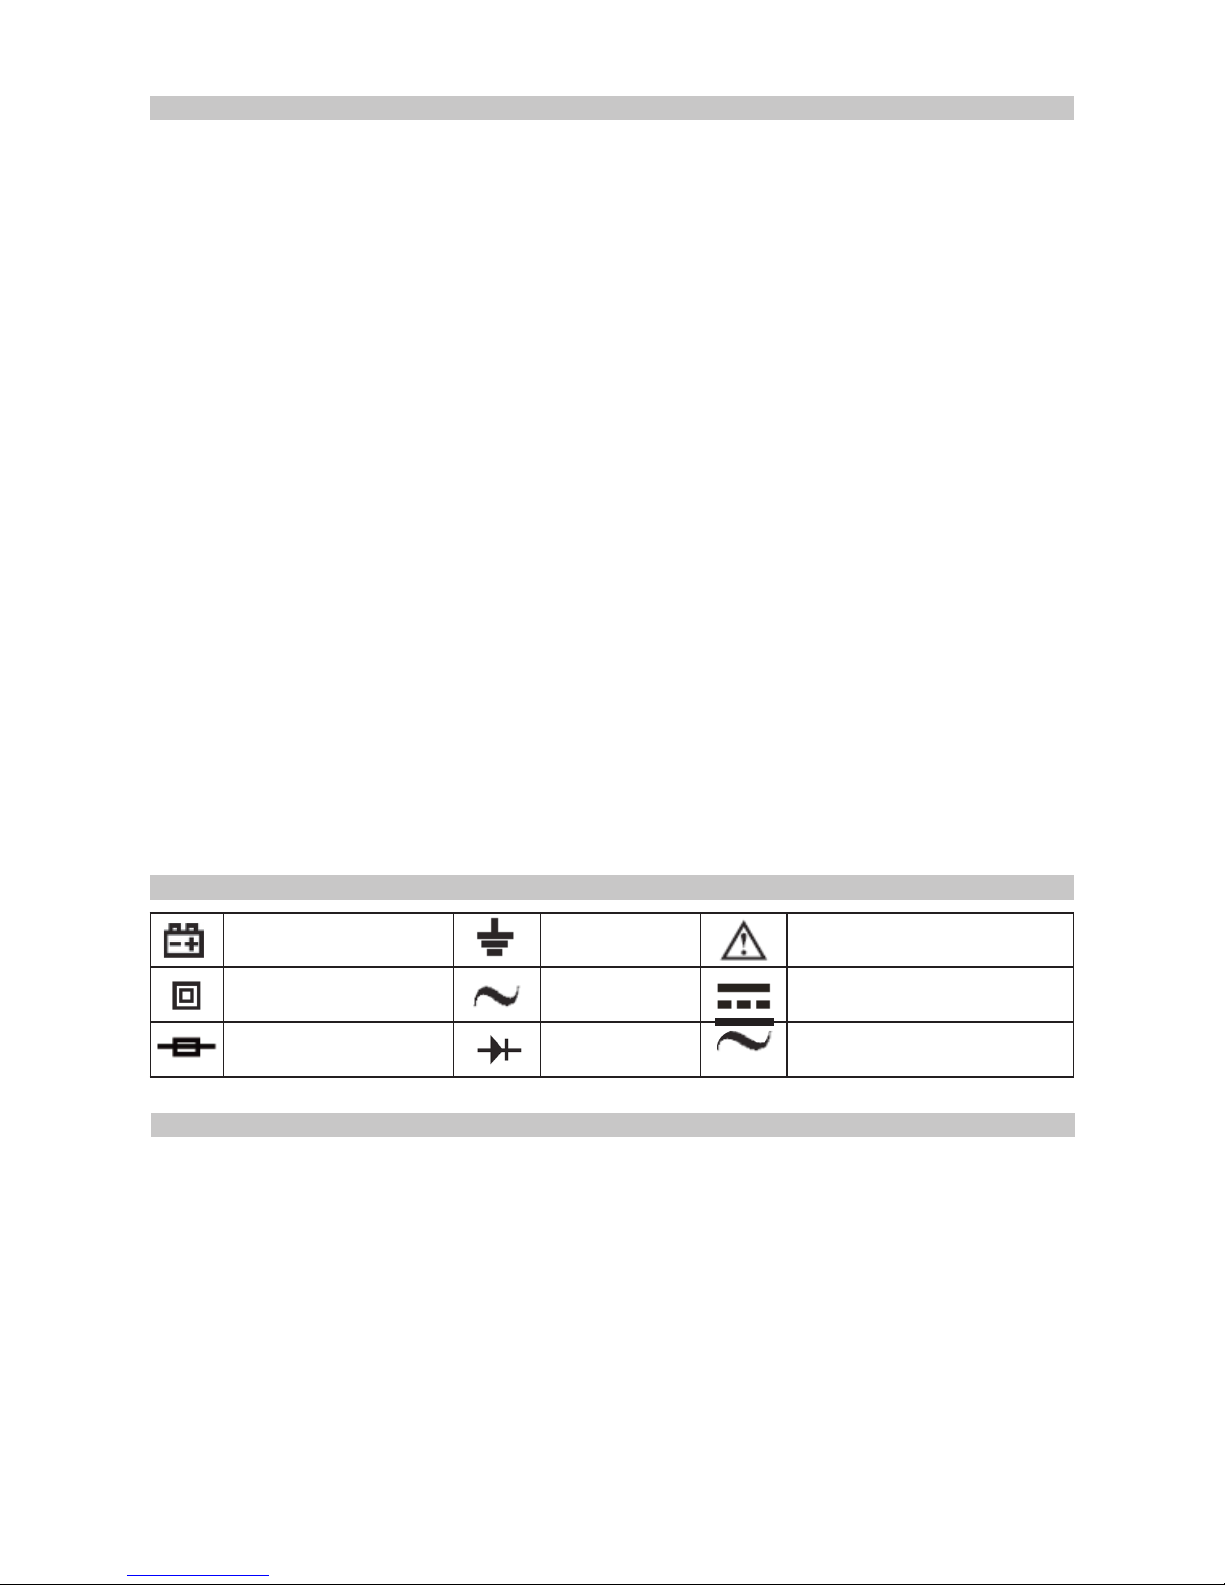
ELECTRICAL SYMBOLS GUIDE
WHAT’S INCLUDED
• Digital Multimeter with USB.
• 1 pair of test leads.
• Temperature probe.
• Alligator clip.
• Test clip.
• USB interface cable.
• CD Rom PC software.
• Storage bag.
• 9V battery.
Low battery Grounding Warning
Double insulated AC DC Measurement
Fuse Diode AC/DC Measurement
IMPORTANT SAFETY INFORMATION
3
OVERVIEW
1. LCD display
2. Function buttons.
3. Range selector.
4. Input terminals.
Automatic Power Off
• The display blanks and the meter goes into sleep mode
after a 10 minute period of inactivity.
• While in Sleep mode, pressing the blue button or turning
the range selector will reactivate the meter.
• The meter then returns to the display for the function
selected with the range selector; all previously activated
button features are discarded.
Display Backlight
• Press LIGHT button to turn the backlight on and press
LIGHT again to turn it off. Press EXIT to exit the feature.
• Press LIGHT to select the backlight level (low or high) in the Setup menu where
you could specify a time to automatically turn off the backlight (10 seconds, 20
seconds, 30 seconds or OFF). If the period is set to OFF, the backlight feature is
disabled.
1
2
4
3
RANGE SELECTOR FUNCTIONS
Position Function Blue Key function
OFF Turn the meter off None
V
DC voltage measurement None
V
~
AC voltage measurement None
mV
DC millivolt measurement None
Hz % mV
DC millivolt measurement
Frequency measurement
Frequency signal duty cycle
Resistance measurement
Diode test
Continuity test
Capacitance measurement None
Hz % Frequency measurement Frequency signal duty cycle
oC o
F
Centigrade measurement Fahrenheit measurement
μA~
DC current measurement
(400µA, 4000µA)
Switch between DC and AC
μA~
4-20mA
%
DC current measurement
(40mA, 400mA)
Switch between AC or DC
current 4~20mA loop current as
% reading
A~
AC or DC current measurement Switch between AC and DC
• Press the blue key to access alternate functions of the main range selected.
Ω
4
Function buttons
• The buttons activate features that augment the function selected with the range
selector.
• Press the button once to access the main feature (e.g. STORE).
• To access the rst additional feature of the button (e.g. RECALL), press and hold
the button for over 1 second. This additional feature illuminates above or on the
left hand side of the appropriate keys.
Note: The RANGE and EXIT buttons have only one additional feature.
Button Description Access Method
Range feature: Exit AUTO and enter MANUAL
ranging. In MANUAL, select next input range.
EXIT to return to AUTO. AUTO is default.
Press the button once.
Testing resistance signal from calibrator:
When testing resistance signal from calibrator,
it is necessary to press this button to change
the maximum display to 4000 counts but the
accuracy remains unchanged.
Press and hold the button
while turning on the meter.
Setup feature: Access Setup selections, the
display shows “SET”. In the Setup mode,
each press of SETUP button steps to the next
selection.
Press and hold the button for
more than 1 second.
Store feature: Store the current measurement
value. Press EXIT to exit.
Press the button once.
Recall feature: Recall the stored value. Press
EXIT to exit the Recall feature.
Press and hold the button for
more than 1 second.
Setup feature: In Setup, press to select OFF at
the selection of HIGH and LOW.
Press the button once after
entering Setup mode.
Hold feature: Press HOLD to freeze the
displayed value. Press EXIT to release the
display.
Peak Hold feature: Press to access Peak
Hold feature, the primary display shows PEAK
HOLD. Press EXIT to exit.
Press the button once.
Press and hold the button for
over 1 second.
In Setup, each press to select the digit you
want to edit.
In Recall, press to enable SEND feature
In Store, press to toggle between clearing all
the stored reading or start storing reading from
the current index number.
Press the button once after
entering Setup or Recall or
Store mode.
Steps to perform Peak Hold function:Peak Value : True RMS Value (Sinewave).
Peak Value is a half of Peak-to-Peak Value.
Input rst, then press down
Peak Hold button.
Press EXIT button to quit the
function. If measuring high
voltage rst, and then low
voltage, Peak Hold needs to
be reset.
RANGE
HOLD
STORE

5
Button Description Access Method
Press to exit certain button functions and the
meter will return to the factory default setting.
Press the button once.
Press to turn the backlight on. It is possible to
switch between 1st and the 2nd backlight level
and Exit the feature by pressing
this button. After exiting the light feature, it is
necessary to press and hold the button for
over 1 second to turn the backlight on again.
Press and hold the button for
over 1 second.
Press to display max, min and average values.
Press EXIT to stop and return to current
measurement mode.
Press the button once.
In Setup, each press to decrement an Option.
Press the button once after
entering SEND mode.
Press to display max, min and average values.
Press EXIT to stop and return to current
measurement mode.
Press the button once.
Press to output the data, AUTO mode switch
off. The primary display shows “SEND”.
Press EXIT to exit.
Press and hold the button for
over 1 second.
In Setup, each press to decrement an Option.
In Recall, each press to go back to the
previous stored reading. In Store, each press
to decrease a second on the storing interval.
Press EXIT to exit.
Press the button once after
entering SEND mode.
Press to enter relative mode, the primary
display shows . The left secondary display
shows the present measurement value. The
right secondary display shows the stored
value. The primary display shows the present
measurement value minus the stored value.
Press EXIT to exit relative mode.
Press the button once.
In Setup, each press to increment an Option.
In Recall, each press to recall the next stored
reading.
In Store, each press to increase a second on
the storing interval.
Press and hold the button for
over 1 second.
When it is at AC measurement mode, press
the button to display AC+DC True RMS value
in the primary display and the left secondary
display “AC+DC”.
Press the yellow button once.
Use the blue button to select any range
selector alternate function (labeled in blue).
Press the blue button once.
Press and hold the button while turning on the
meter to toggle to it’s fastest 4000 counts for
all functions. If you turn the meter off then on,
or if the resuming from Auto Power Off mode,
the meter will revert to 40,000 count mode.
EXIT
MAXMIN
REL
AC+DC
6
Function Primary Display Right Secondary Display Left Secondary Display
DCV The tested DC voltage value No display Full range: 4, 40, 400, 1000
ACV
The tested AC voltage value
The tested frequency value:
45.00Hz~ 100.0kHz
Full range: 4, 40, 400, 1000
DCmV
The tested DCmV value No display
Full range: 400
Ω
The tested resistance value No display
Full range: 400, 4, 40,
400, 4, 40
The tested resistance value No display
Full range value: 400
The tested resistance value No display
Full range: 4
Hz
The tested frequency value No display
Full range: 40, 400, 4, 40,
400, 4, 40, 400
The tested capacitance value No display
Full range: 40, 400, 4, 40,
400, 4, 40
o
C
The tested oC value
No display
1000
o
F
The tested oF value
No display
1832
DC
μA
The tested DC
μA No display
Full range: 400, 4000
AC
μA
The tested AC
μA
The tested frequency value:
45.00Hz~10.00kHz
Full range: 400, 4000
DCmA The tested DCmA value
No display
Full range: 40, 400
ACmA The tested ACmA value
The tested frequency value:
45.00Hz~10.00kHz
Full range: 400, 4000
DCA The tested DC current value No display Full range: 10
ACA The tested AC current value
The tested frequency value:
45.00Hz~10.00kHz
Full range: 10
STO
The current measurement
reading
The value of the
corresponding index
number
Index number increase one.
Index number:
no.0001~no.0100
RCL The recalled value
The total number of the
stored value
Index number
no.0001~no.0100
MAXMIN Send
The present measurement
value minus the stored value
The stored value
The present measurement
value
REL
Selecting the Range
• Press RANGE to select either a xed range or the autorange feature.
• Autoranging (AUTO lit in the display) always comes on initially when you select
a new function. In autorange, the meter selects the lowest input range possible,
ensuring that the reading appears with the highest available resolution.
• If AUTO is already on, press RANGE to enter MANUAL ranging in the present
range. You can then select the next manual range each time you press RANGE.
• Return to autoranging by press EXIT.
Note: There is no MANUAL ranging on REL feature.
 Loading...