

tc electronic DVR250 NATIVE, DVR250-DT User Manual
User Manual
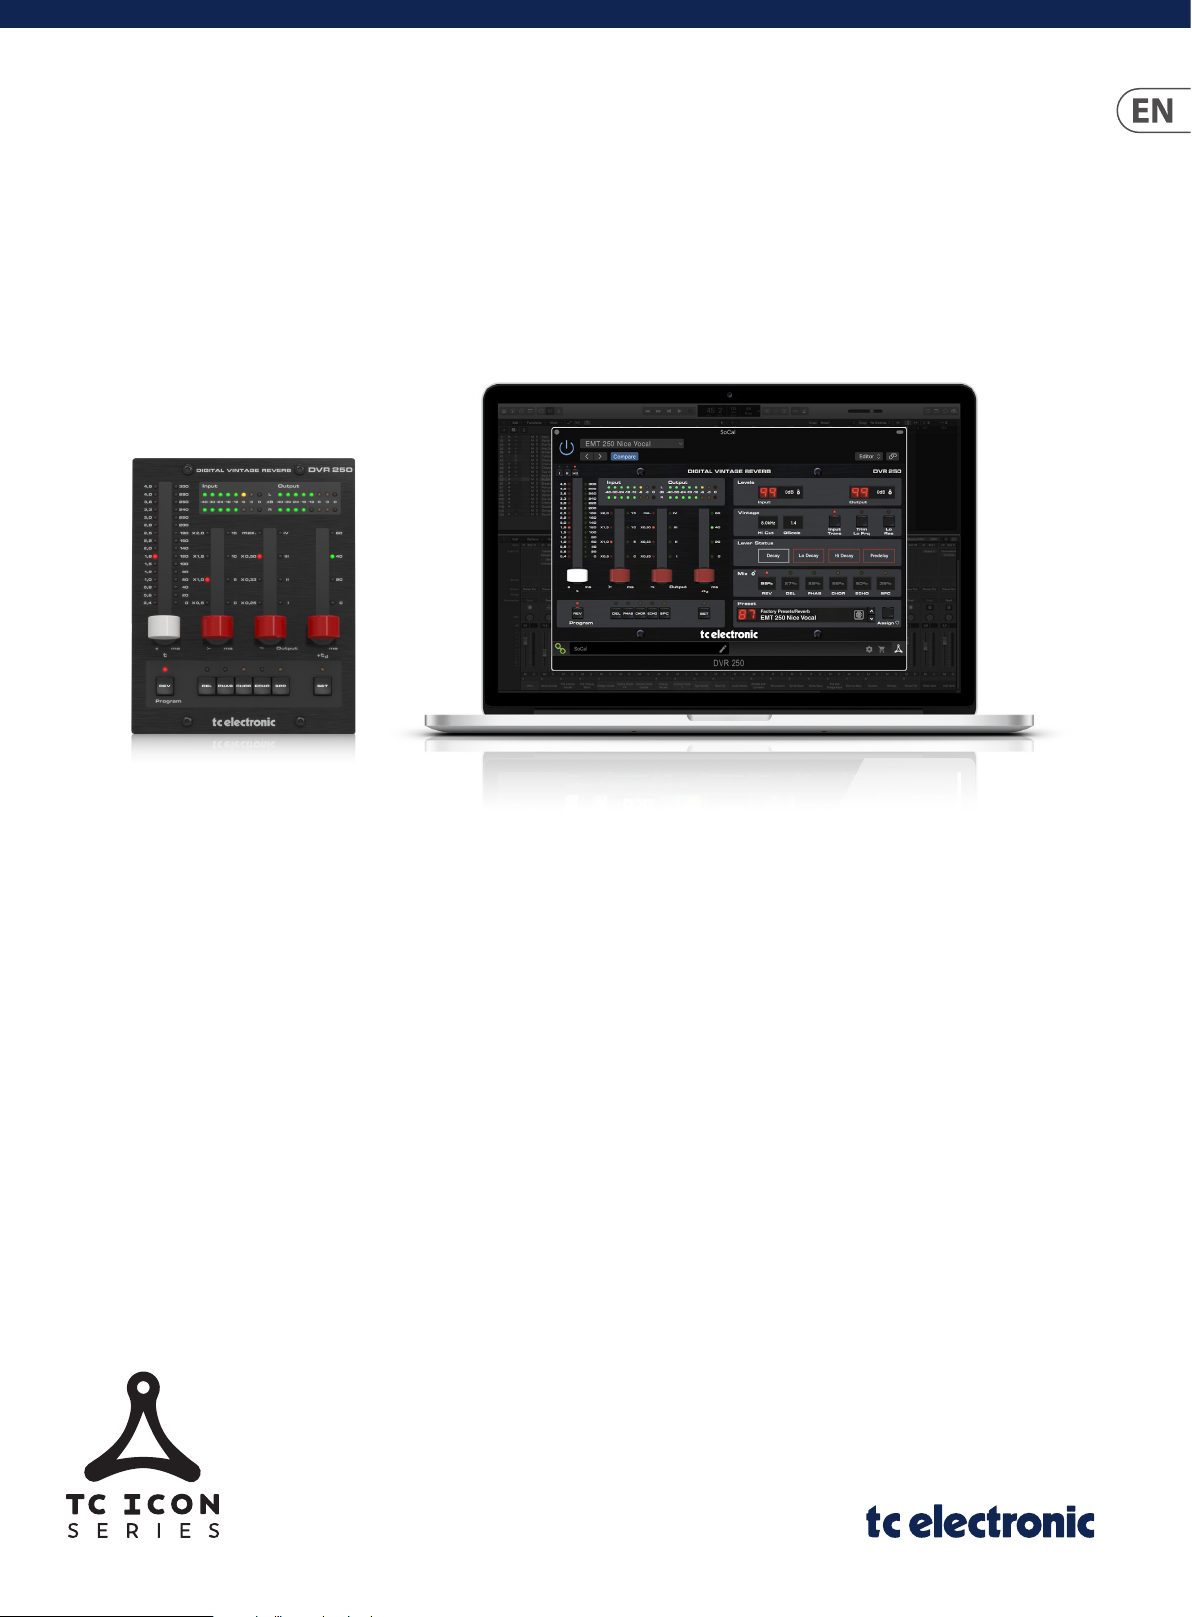
DVR250 NATIVE / DVR250-DT
Digital Vintage Reverb Plug-In with Optional Hardware
Interface and Signature Presets
Rev 2.0

2 DVR250 User Manual
Table of Contents
1. Introduction ............................................................... 4
2. Plug-in Installation .................................................... 5
2.1 Installation on a PC ............................................................. 5
2.2 Installation on a Mac ......................................................... 6
3. Activate your DVR250 iLok License ......................... 7
3.1 Activation when you have
purchased the NATIVE version ............................................... 7
3.2 Get a Free Demo License ................................................. 7
4. Connection and Setup .............................................. 8
4.1 Connecting the DVR250-DT
Desktop Controller (when you have
purchased the DT Desktop Controller version) ............... 8
4.2 Operating the DVR250 ..................................................... 8
4.3 Insert vs Aux Eect............................................................. 8
4.4 Mono/Stereo Operation ................................................... 8
4.5 Travel Period and Module Connection
(when you have purchased the DT version):..................... 9
4.6 Primary and Secondary Controls .................................. 9
4.7 Connection Status to the Hardware Unit .................10
5. Plug-in and Hardware Controls .............................. 11
5.1 Primary Plug-in and Hardware Controls ................... 11
5.2 Plug-in Controls - Secondary Parameters ................ 11
5.3 Parameter Details ............................................................. 12
6. Presets ...................................................................... 15
7. Software Updates .................................................... 17
7.1 Hardware Unit Software Updates (optional) ........... 17
8. Specications ........................................................... 17
9. Signal Flow Diagrams .............................................. 18
3 DVR250 User Manual
9. Do not defeat the safety purpose of the polarized
20. Please keep the environmental aspects of battery
Important Safety
Instructions
Terminals marked with this symbol carry
electrical current of sucient magnitude
to constitute risk of electric shock.
Use only high-quality professional speaker cables with
¼" TS or twist-locking plugs pre-installed. Allother
installation or modication should be performed only
by qualiedpersonnel.
This symbol, wherever it appears,
alertsyou to the presence of uninsulated
dangerous voltage inside the
enclosure-voltage that may be sucient to constitute a
risk ofshock.
This symbol, wherever it appears,
alertsyou to important operating and
maintenance instructions in the
accompanying literature. Please read the manual.
Caution
To reduce the risk of electric shock, donot
remove the top cover (or the rear section).
No user serviceable parts inside. Refer servicing to
qualied personnel.
Caution
To reduce the risk of re or electric shock,
do not expose this appliance to rain and
moisture. The apparatus shall not be exposed to dripping
or splashing liquids and no objects lled with liquids,
suchas vases, shall be placed on the apparatus.
Caution
These service instructions are for use
by qualied service personnel only.
Toreduce the risk of electric shock do not perform any
servicing other than that contained in the operation
instructions. Repairs have to be performed by qualied
servicepersonnel.
1. Read these instructions.
2. Keep these instructions.
3. Heed all warnings.
4. Follow all instructions.
5. Do not use this apparatus near water.
6. Clean only with dry cloth.
7. Do not block any ventilation openings. Install in
accordance with the manufacturer’s instructions.
8. Do not install near any heat sources such as
radiators, heat registers, stoves, or other apparatus
(including ampliers) that produce heat.
or grounding-type plug. A polarized plug has two blades
with one wider than the other. A grounding-type plug
has two blades and a third grounding prong. The wide
blade or the third prong are provided for your safety. Ifthe
provided plug does not t into your outlet, consult an
electrician for replacement of the obsolete outlet.
10. Protect the power cord from being walked on or
pinched particularly at plugs, convenience receptacles,
and the point where they exit from the apparatus.
11. Use only attachments/accessories specied by
themanufacturer.
12. Use only with the
cart, stand, tripod, bracket,
or table specied by the
manufacturer, orsold with
the apparatus. When a cart
is used, use caution when
moving the cart/apparatus
combination to avoid
injury from tip-over.
13. Unplug this apparatus during lightning storms or
when unused for long periods of time.
14. Refer all servicing to qualied service personnel.
Servicing is required when the apparatus has been
damaged in any way, such as power supply cord or plug
is damaged, liquid has been spilled or objects have fallen
into the apparatus, the apparatus has been exposed
to rain or moisture, does not operate normally, or has
beendropped.
15. The apparatus shall be connected to a MAINS socket
outlet with a protective earthing connection.
16. Where the MAINS plug or an appliance coupler is
used as the disconnect device, the disconnect device shall
remain readily operable.
17. Correct disposal of this
product: This symbol indicates
that this product must not be
disposed of with household
waste, according to the WEEE
Directive (2012/19/EU) and
your national law. This product
should be taken to a collection center licensed for the
recycling of waste electrical and electronic equipment
(EEE). The mishandling of this type of waste could have
a possible negative impact on the environment and
human health due to potentially hazardous substances
that are generally associated with EEE. At the same time,
your cooperation in the correct disposal of this product
will contribute to the ecient use of natural resources.
For more information about where you can take your
waste equipment for recycling, please contact your local
city oce, or your household waste collection service.
18. Do not install in a conned space, such as a book
case or similar unit.
19. Do not place naked ame sources, such as lighted
candles, on the apparatus.
disposal in mind. Batteries must be disposed-of at a
battery collection point.
21. Use this apparatus in tropical and/or
moderate climates.
LEGAL DISCLAIMER
Music Tribe accepts no liability for any loss which
may be suered by any person who relies either
wholly or in part upon any description, photograph,
or statement contained herein. Technical specications,
appearances and other information are subject to
change without notice. All trademarks are the property
of their respective owners. Midas, Klark Teknik,
Lab Gruppen, Lake, Tannoy, Turbosound, TC Electronic,
TC Helicon, Behringer, Bugera, Auratone and Coolaudio
are trademarks or registered trademarks of Music
Tribe Global Brands Ltd. © Music Tribe Global Brands
Ltd. 2020 All rights reserved.
LIMITED WARRANTY
For the applicable warranty terms and conditions
and additional information regarding Music Tribe’s
Limited Warranty, please see complete details online at
musictribe.com/warranty.

4 DVR250 User Manual
1. Introduction
DVR250 is a groundbreaking reverb unit that brings the iconic EMT 250 Electronic
Reverberator to your DAW. With its original fusion of hardware and software
features, it captures the amazing vintage sound and unique tactile controls of
one of the best-sounding reverb eects ever designed.
The algorithm hails from our celebrated high-end processor platform, the triple
TEC Award-winning System 6000, and oers a sound quality second to none.
For nearly 20 years its sonic magic and depth has been put to the test by brilliant
mixing engineers and musicians around the world, and has shone its vintage
light on countless music, TV and lm projects.
The DVR250 is available both as a pure Native plug-in and with the optional
Desktop Controller as part of the TC ICON series. With their superior algorithms,
fun and intuitive hardware controls and seamless DAW integration, the TC ICON
modules are great additions to any modern studio environment.
Recreating the classic
The development of our emulation has been a process extending several years,
with the goal of recreating the EMT 250. As part of our extensive research,
we tracked down two of the few original units that have survived years of wear
and tear. Fortunately they were both particularly great-sounding units!
After refurbishing and measuring the two units, our cross-disciplinary team
rened and polished the algorithm to make sure the DVR250 captures all
the nuances that made the original stand out, down to the most minute
spectral characteristics.
Perceptual:
Making sure the qualities of the original processor was preserved. Sweet
modulation, spectral characteristics, spaciousness, distortion, saturation etc.
Hundreds of hours spent listening and measuring!
User:
The four basic parameters of the EMT 250 were carefully laid out, oering a
remarkably simple user interface with complex, yet optimized interactions under
the hood. DVR250-DT is a resemblance of that including range and coarseness
of parameters.
About this manual
Read this manual to learn how to install and use your TC Electronic DVR250 reverb
unit. This manual is only available in PDF format from the TC Electronic website.
To get the most from this manual, please read it from start to nish, or you may
miss important information.
To download the most current version of this manual, visit the web page:
www.tcelectronic.com/Categories/c/Tcelectronic/Downloads
If you still have questions about your TC Electronic product after reading its
manual, please get in touch with TC Suppor t:
www.tcelectronic.com/brand/tcelectronic/support
On top of recreating the legendary reverb sound, we also included the ve
additional eects that the original boasted, namely chorus, echo, delay, phasing
and space.
Making the DVR250 involved engineers and specialists within a multitude of
design disciplines:
Hardware technical:
What was the precision of the converters and how were they implemented in
the 80s with regard to emphasis, block scaling, linearity, lters et cetera? How
much processing and RAM was available in the original unit? What was the
sample rate?
Software technical:
Which kind of processing was done in the discrete circuitry, and what type of
truncation and noise oor artifacts would result? How could the low sample
rate be mimicked precisely, and how could all of this be transferred to a modern
native processing platform?
5 DVR250 User Manual
2. Plug-in Installation
Visit www.tcelectronic.com/dvr250-dt/support/ to download the installer
le. The plug-in requires either an iLok license (delivered when you purchase
the NATIVE version) or the DVR250 DT Desktop Controller (when you purchase
the DT Desktop Controller version) or an iLok Trial License. All parameters are
available in the plug-in and most are available on the DT Desktop Controller.
Select the Mac or PC version and save the le to your hard drive. The latest
rmware for the DVR250 Desktop Controller will be included in the software
as well.
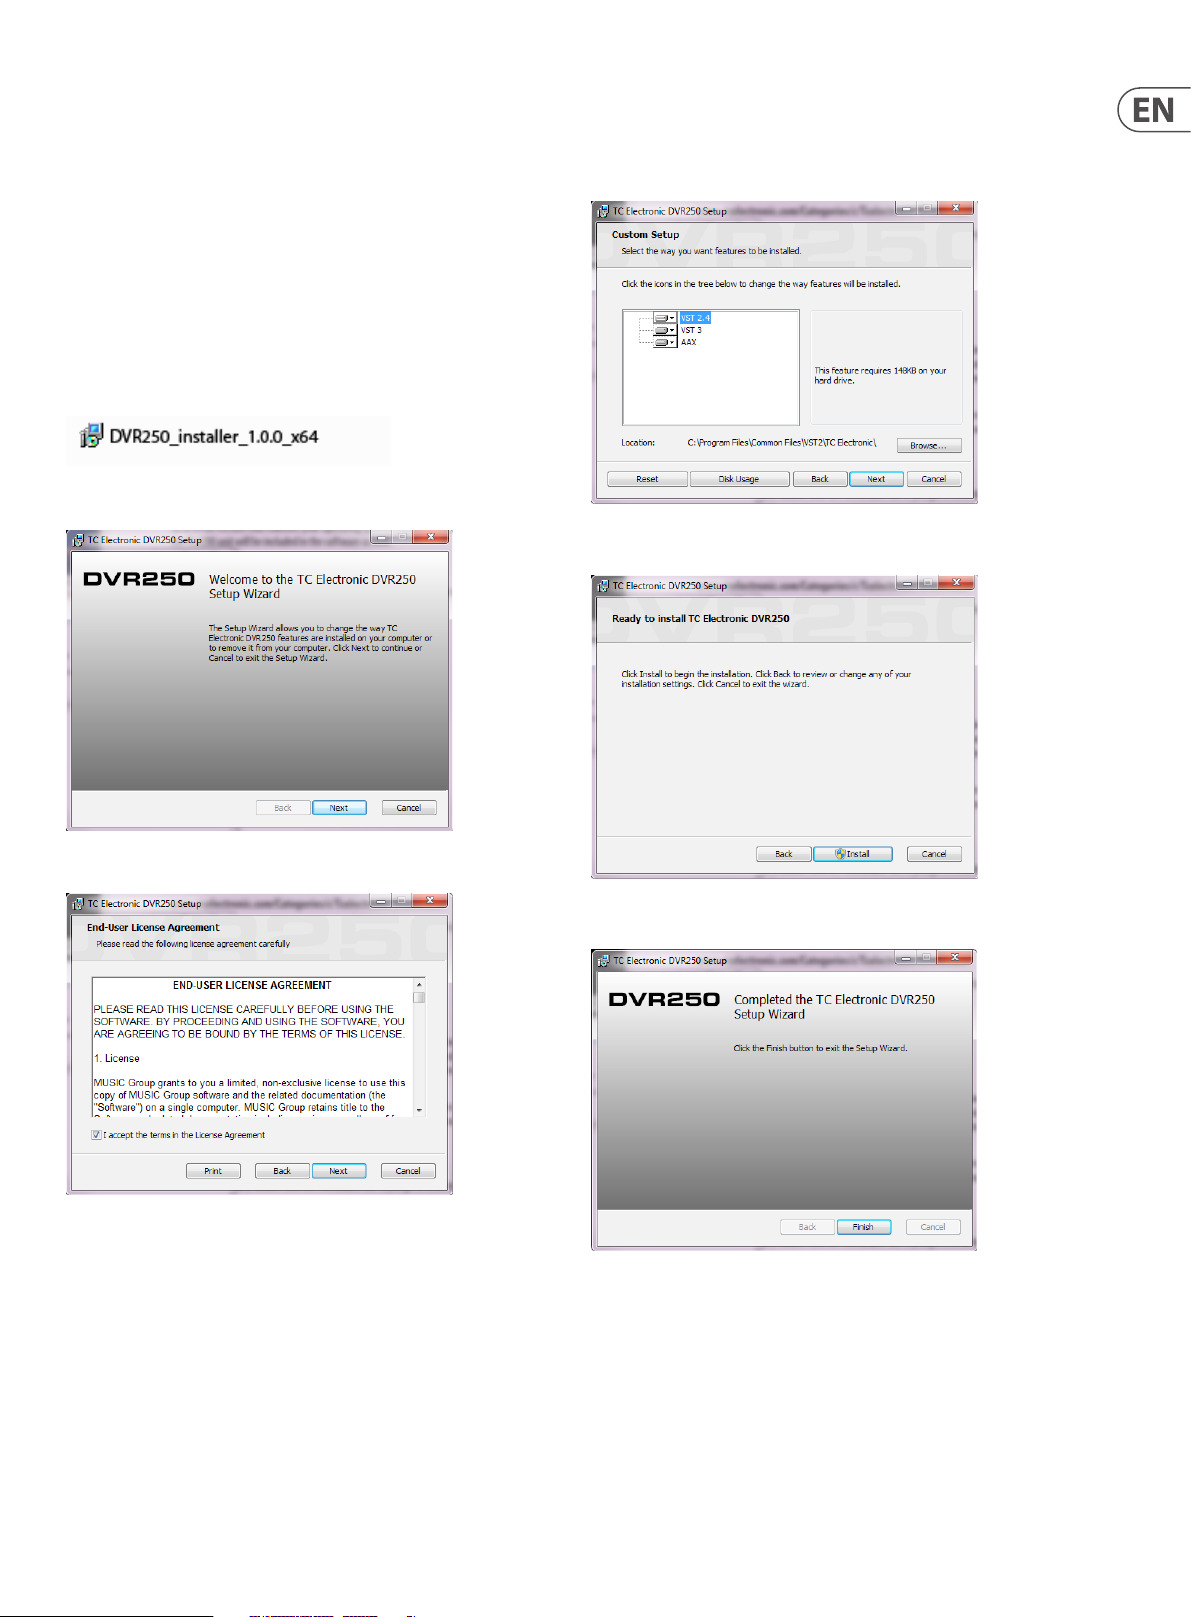
2.1 Installation on a PC
Open the zip le and double click the executable le.
Follow the steps in the Setup Wizard.
Select which VST and/or AAX components you want to install. Pro Tools uses AAX
and most other DAW programs use VST. The installer will oer a default location
to save the le, but you can choose another location by clicking the
‘Browse’ button.
Click ‘Next ’ to begin the installation.
Accept the license agreement and click ‘Next’.
When installation is complete, click ‘Finish’.

6 DVR250 User Manual
2.2 Installation on a Mac
Open the zip folder and double click the installer icon.
Proceed through the prompts to begin installation.
A default location will be selected for installation, or you can select another
folder manually. If you have administrator authorization in place, you will need to
enter your password before beginning installation.
 Loading...