


USER MANUAL
Version 1.2
Riverside - Multistage Drive |
® |
|
|
Read Before Using
This manual covers the feature set for Riverside pedals running version 1.2 firmware and later. To check if your Riverside is running version 1.2 firmware, follow the instructions in the note at the bottom of page 20.
The User Manual for Riverside version 1.0 is available here.
Riverside version 1.2 adds the ability to remotely control your Riverside via a MIDI connection.
If you wish to install the latest update, go to strymon.net/firmwareupdate and follow the directions.
Technology Overview – Multistage Drive Topology
Riverside achieves its sound by passing the signal through a cascade of individual gain stages. Dynamic complexity and additional harmonics are generated at each stage as the signal travels from one stage to
the next.
STAGE ONE: Class A Analog JFET Input Gain Stage
Touch response and dynamic interaction with your guitar are optimized with the class A JFET input gain stage. This analog gain stage is digitally controlled to maximize headroom and noise performance while adding as much as 20dB of analog gain.
STAGE TWO, THREE AND FOUR: Tube-Inspired DSP Gain Stages
Our analysis of tube gain circuits has resulted in a wide-band series of cascading gain stages that are detailed, rich and full of complex harmonics. At each stage, more harmonics are generated and the signal dynamically evolves as the inter-stage circuitry optimally conditions the response for the following stage.
VARIABLE CIRCUIT TUNING
Riverside’s continuously variable circuit tuning dynamically tweaks multiple parameters as you adjust the Drive, optimizing the signal path to sit in the ‘sweet spot’ at any gain setting. This results in a super-versatile drive pedal that is equally comfortable providing sparking clean and mildly-overdriven tones, to high-gain lead and heavily saturated distortion.
pg 2
Riverside - Multistage Drive |
® |
|
|
Controls and Connections – Controls
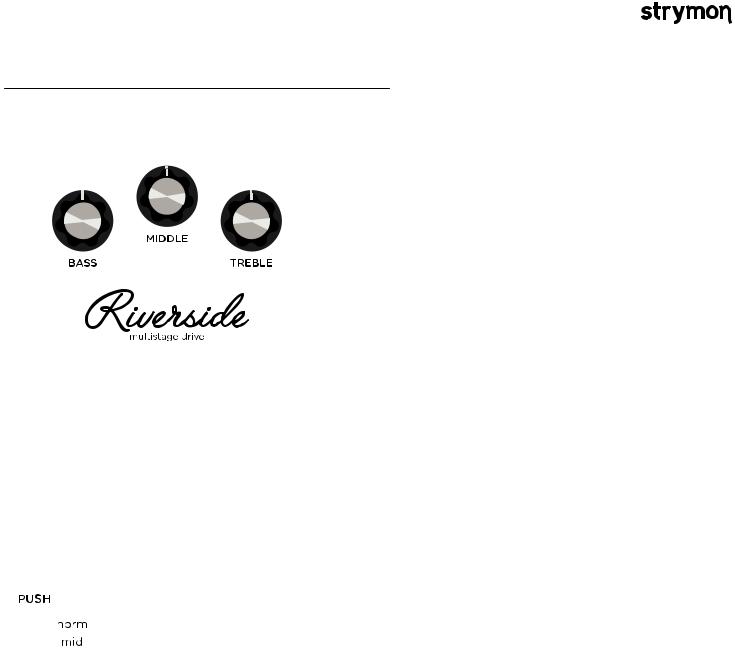
3-BAND EQ
Riverside’s 3 band EQ, with independent Bass, Middle and Treble knobs, is designed to complement your amp’s tone with the flexibility needed to dial in your sound effectively and efficiently. The controls are post-drive, meaning they effectively sculpt and shape the harmonics generated in Riverside’s gain stages.
PUSH SWITCH
Adding a mid-band EQ push just after the analog front-end gain results in pushing the subsequent
drive stages harder, and tightens up the response. This works great
when looking for fat drive tones, or for pushing a distorted or on-the-edge amp into further breakup. For cleaner or more transparent tones, select the ‘normal’ position.
PRESENCE SWITCH
The minus (-) position provides
clarity with a controlled top end
that works well with many amps that have a brighter voice or extended top end character. The
enhanced (center) position extends the top end to allow for more sizzle on high gain tones. This works well with amps that have a warmer voicing, or if you want enhanced detail in the uppermost frequencies. When plugging directly into a power amp, the plus (+) position further increases high end detail that may be required. The plus (+) position will also deliver extended high end detail to the darkest amps.
GAIN SWITCH
The ‘low’ channel selects a gain structure that allows for a wide range of low to medium gain sounds
while still getting heavily overdriven at maximum Drive settings. The
voicing is dynamic and touch-sensitive, and at high Drive settings is slightly ‘loose’ like a dimed vintage amp.
The ‘high’ channel increases the gain throughout the signal path and tightens things up. While still staying clean at lower Drive settings, the ‘high’ gain mode goes to heavy crunch and high gain as the Drive knob is increased.
pg 3

Riverside - Multistage Drive |
® |
|
|
Controls and Connections – Front Panel
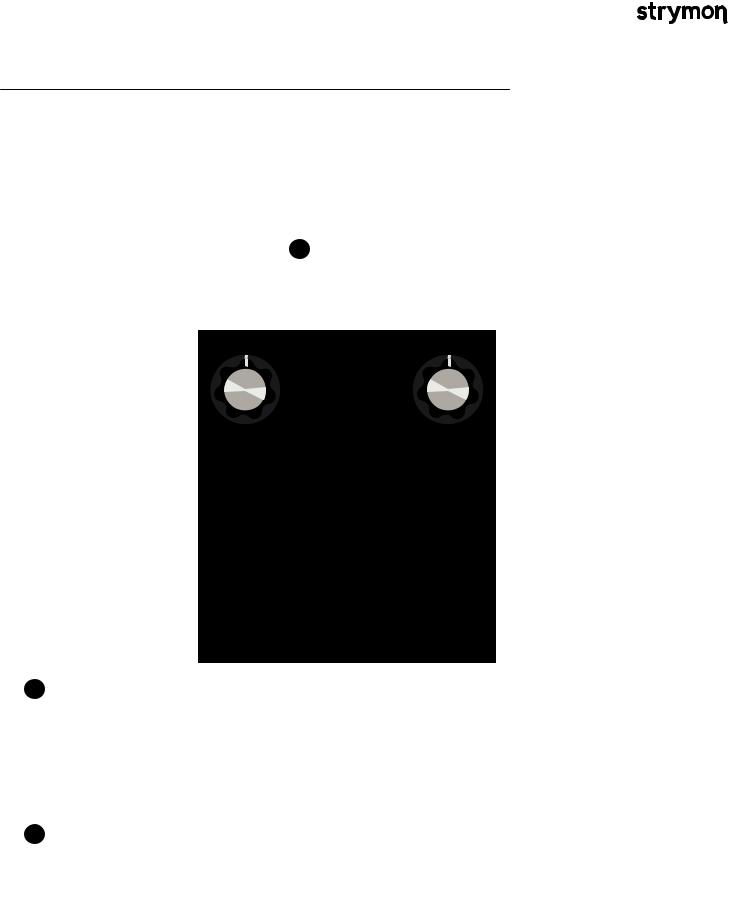
• GAIN
Toggles between the low or high gain channel.
• DRIVE
Adjusts the amount of
gain applied to the signal. Employs continuously
variable circuit tuning to adjust many circuit
parameters as you turn the knob.
• BASS
Active shelving/parametric low frequency control.
• FAVORITE
Used to recall a single stored on-board favorite setting, which consists of all knob, switch, and noise gate settings.
RED LED indicates that the on-board Favorite setting is selected. Press and hold FAVORITE switch for 2 seconds to save a new on-board favorite sound.
COMPARE MODE
With FAVORITE on, LED turns from RED to GREEN if current position is identical to saved favorite.
NOTES:
Saving Presets works differently when using MIDI. (See page 20 for more info.)
When using MIDI, RED LED still indicates that the on-board Favorite setting (MIDI Preset 0) has been selected, and AMBER LED indicates that any other MIDI Preset is currently selected.
Pressing the FAVORITE switch while any MIDI preset is active will return back to the manual (knobs and switches) setting of Riverside. The FAVORITE switch will always toggle between the MANUAL MODE setting and the on-board Favorite setting regardless of whether a different MIDI Preset was previously selected.
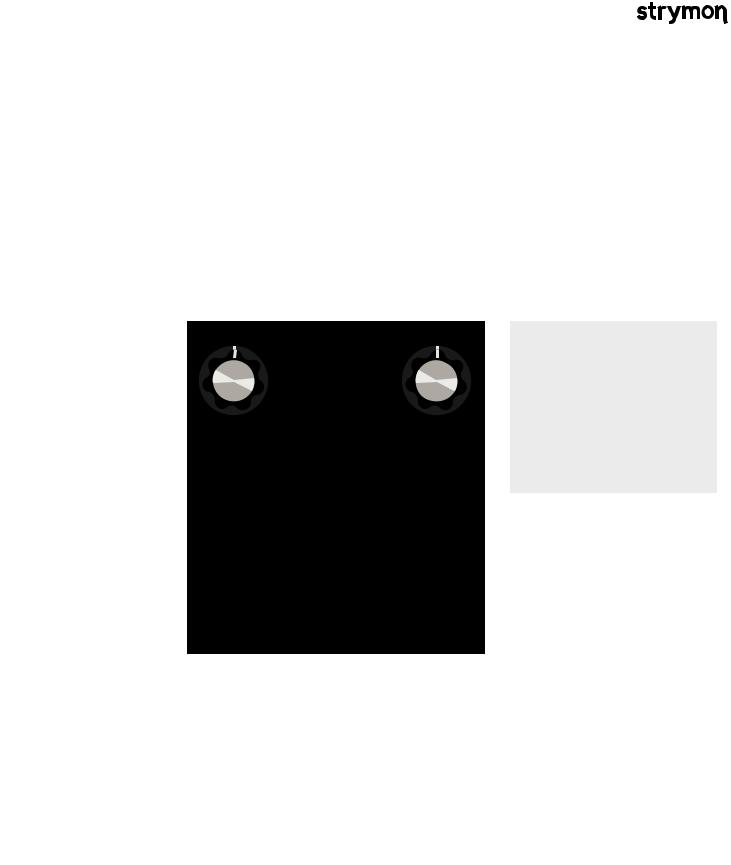
• PUSH
Toggles between flat or enhanced midrange frequencies.
• LEVEL
Controls the output volume level when the effect is ON.
• TREBLE
Wide-ranging high frequency active shelf control.
• MIDDLE
Parametric mid boost/ cut control with optimized frequency center.
• ON
Bypasses analog and digital gain stages. Defaults to relay based true bypass, but can also be set to buffered bypass mode in which the volume pedal and boost functionality are preserved.
pg 4

Riverside - Multistage Drive |
® |
|
|
Controls and Connections – Rear Panel
• PRESENCE SWITCH
Tailors the top end character of the output to match your amp. Try minus (-) or center in front of an amp. Try plus (+) when plugging straight into a power amp.
• IN
Mono instrument input.
• OUT
Mono signal output.
• BOOST
Can be used in one of four ways:
Boost Switch Mode – Use an external Favorite switch to toggle up to +6dB of post boost on/off
(See page 9 for setup.)
Favorite Output Mode – Connect to the EXP input of another Strymon pedal set to work in Favorite EXP mode to toggle the Favorite setting of that pedal with Riverside’s on-board FAVORITE switch. (See page 12 for more info.)
Expression Pedal Mode – Allows continuous control over any of the knobs with a standard TRS expression pedal. (See page 13 for more info.)
Volume Mode – Allows control of the output volume of the effect with a standard TRS expression pedal. (See page 14 for more info.)
• POWER
Use an adapter with the following rating: 9VDC center negative. 250mA minimum.
• EXP
Can be used in one of four ways:
Expression Pedal Mode – Allows continuous control over any of the knobs with a standard TRS expression pedal. (See page 13 for more info.)
Volume Mode – Allows control of the output volume of the effect with a standard TRS expression pedal. (See page 14 for more info.)
MIDI Mode – Allows a MIDI connection for remote preset changes and control messages. (See page 18 for more info.)
Favorite Input Mode – Use a Strymon MiniSwitch to remotely toggle the saved Favorite setting on and off. (See page 11 for more info.)
pg 5
Riverside - Multistage Drive |
® |
|
|
Live Edit Functions – Noise Reduction Threshold
Riverside has a variable-threshold noise reduction feature to tame hum and buzz when you’re not playing. A downward expander with advanced signal detection techniques creates a seamless transition to noise reduced silence with all types of input signal dynamics, including staccato bursts and slowly sustained notes.
1Press and hold the ON footswitch until the LED rapidly blinks.
Release the ON footswitch.
2Turn the DRIVE knob past the 12 o’clock noon position to engage the noise reduction.
The FAVORITE LED will change from GREEN to AMBER to indicate the noise reduction has been engaged. Turning DRIVE past 12 o’clock increases the noise reduction threshold for louder and noisier setups. The FAVORITE LED will change from AMBER to RED to indicate the increased noise reduction threshold level.
3Press the ON footswitch to store the new
noise reduction setting to Riverside. NOTE: The noise reduction setting can be
saved independently for the onboard Favorite setting, MIDI presets and the MANUAL settings of Riverside.
pg 6

Riverside - Multistage Drive |
® |
|
|
Live Edit Functions – Boost Level
Connect an external footswitch with a TRS cable to toggle the boost of up to +6dB on and off.
1 |
Press and hold the ON |
|
footswitch until the LED rapidly |
|
blinks. |
2 |
Release the ON footswitch. |
OR
3Turn the LEVEL knob to set the amount of boost up to +6dB. As
you turn the boost amount up, the color of the blinking LED changes from GREEN for low boost settings to RED for high boost settings.
 TRS
TRS
®
+3dB |
|
4 |
Press the ON footswitch to store the new boost |
|
|||
|
|||
|
|
|
level to Riverside. |
NOTE: The Boost setting is saved globally to the Manual, Favorite, and Bypass settings of Riverside.
+6dB
pg 7

Riverside - Multistage Drive |
® |
|
|
Power Up Modes – Bypass Mode Selection
Setting Riverside to Buffered Bypass mode preserves the high frequency response of your guitar signal through your pedal chain and long cable runs.
1Press and hold the ON footswitch while powering up the pedal. Once both LEDs flash, release the footswitch.
2Turn the LEVEL knob to select True Bypass or Buffered Bypass
GREEN - True Bypass (default)
RED - Buffered Bypass: Using Buffered Bypass allows Volume mode and Boost Switch mode.
3Press the ON or FAVORITE footswitch to store The Bypass mode and begin using Riverside.
pg 8
Riverside - Multistage Drive |
® |
|
|
Power Up Modes - BOOST Jack Options
Select what the BOOST jack will do.
1FAVORITE (Press and hold the FAVORITE footswitch while powering up the pedal.) Once both LEDs flash, release the footswitch.
2 Turn the DRIVE knob to set the BOOST jack mode.
NOTE: If version 1.0 firmware is installed, Expression and Volume modes are not available. Please refer to the Riverside version 1.0 manual at strymon.net/ support/riverside.
GREEN – Expression Pedal Mode
(See page 13 for more info)
RED – Volume Mode
(See page 14 for more info)
AMBER – Favorite OUT Mode |
3 Press the ON or FAVORITE |
(See page 12 for more info) |
footswitch once again to store |
PURPLE – Boost Switch Mode (default) |
power up modes and begin using |
Riverside. |
|
(See page 7 for more info) |
|
pg 9
 Loading...