

Page 1
ComfortGel™ support surface
2850
Operations Manual
2017/08 A.0 2850-109-001 REV A www.stryker.com
Page 2

sample text
Page 3
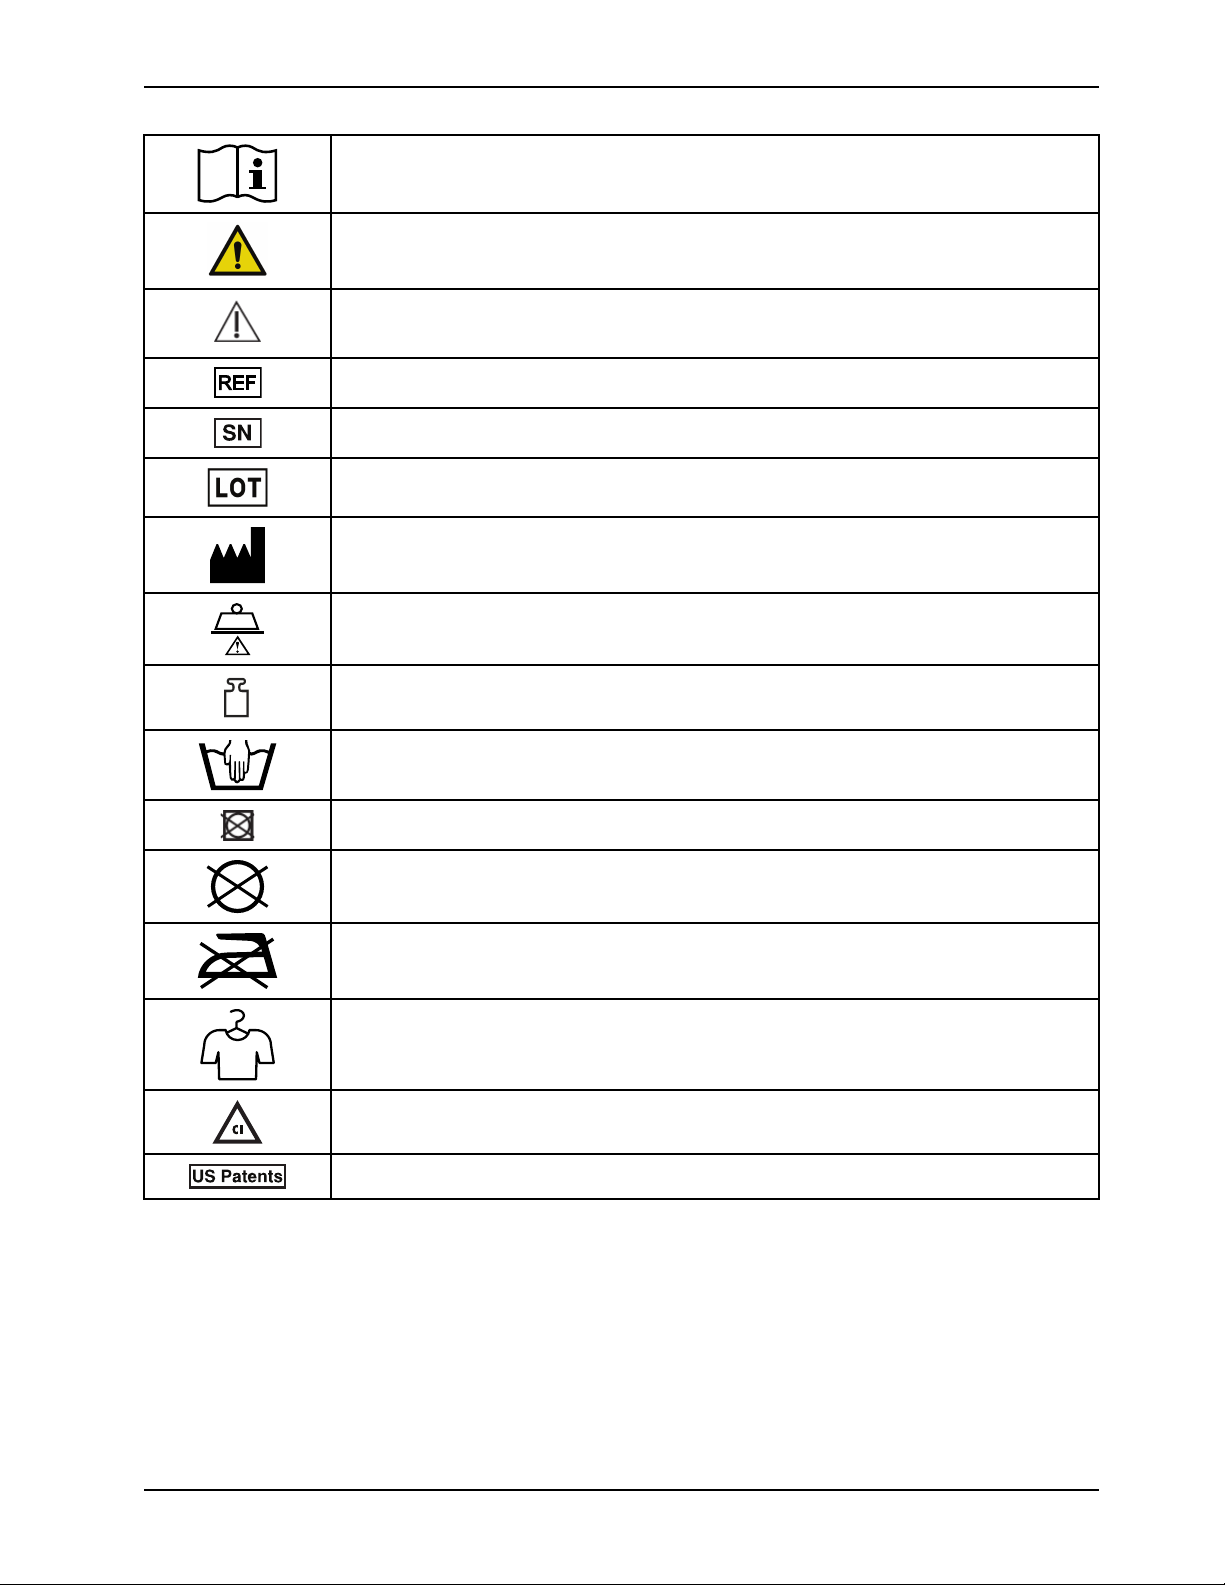
Symbols
Operating instructions/Consult instructions for use
General warning
Caution
Catalogue number
Serial number
Batch code
Manufacturer
Safe working load
Mass of equipment
Wash by hand
Do not tumble dry
Do not dry-clean
Do not iron
Allow to completely air dry
Chlorinated bleach
For US Patents see www.stryker.com/patents
www.stryker.com 2850-109-001 REV A
Page 4

sample text
Page 5

Table of Contents
Warning/Caution/Note Definition ... .. .. ............. .. ............. .. .. ............. .. ............. .. .. ............. .. ............. .. .. ...........2
Summary of safety precautions... .. .. ............. .. ............. .. .. ............. .. ............. .. .. ............. .. ............. .. .. .......2
Introduction......... .. ............. .. .. ............. .. ............. .. .. ............. .. ............. .. .. ............. .. ............. .. .. ............. .. ...4
Product description.. ............. ............... .. .. ............. .. ............. .. .. ............. .. ............. .. .. ............. .. ............. 4
Intended use .. ............. .. .. ............. .. ............. .. .. ............. .. ............... .. ............. .. ............... .. ............. .. .... 4
Expected service life. .. ............. .. ............. .. .. ............. .. ............. .. .. ............. .. ............. .. .. ............. .. .......... 5
Contraindications ...... .. .. ............... ............. .. .. ............... ............... .. ............... .. ............. .. ............... .. .....5
Specifications.......... .. ............. .. .. ............. .. ............. .. .. ............. .. ............. .. .. ............. .. ............. .. .. ........ 5
Contact information .............. ............... .. ............... ............... .. .. ............. .. ............. .. .. ............. .. ............. 6
Serial number location ............. .. .. ............. .. ............. .. .. ............... ............. .. .. ............... ............... .. .. ...... 6
Date of manufacture .. ............... .. ............. .. ............... .. ............. .. .. ............. .. ............. .. .. ............. .. .........6
Operation ...... .. ............... .. ............... ............... .. ............... ............... .. .. ............. ............... .. .. ............. .. ...... 7
Installing the support surface. .. .. ............. .. ............... .. ............. .. ............... .. ............. .. ............... .. ............7
Transferring a patient from one patient support platform to another......... .. .. ............. .. ............. .. .. ............. .. ...7
Managing incontinence and drainage ............ .. ............. .. .. ............. .. ............. .. .. ............. .. ............. .. .. .......8
Selecting the appropriate CPR protocol ..... .. .. ............... ............... .. .. ............. .. ............. .. .. ............. .. .........8
Cleaning............ .. ............. .. .. ............. .. ............. .. .. ............. .. ............... .. ............. .. ............... .. ............. .. .... 9
Disinfecting......... .. ............. .. .. ............. .. ............. .. .. ............. .. ............. .. .. ............. .. ............. .. .. ............... . 10
Preventive maintenance ... ............... .. ............. .. ............... .. ............. .. .. ............. .. ............. .. .. ............. .. ....... 11
Checking the compression set of the foam . .. .. ............... ............. .. .. .. ............. ............... .. .. ............. .. ....... 11
Quick reference replacement parts.......... .. ............... .. ............. .. ............... .. ............... ............... .. .. ........ 12
Cover replacement .. ............. .. ............. .. .. ............. .. ............. .. .. ............. .. ............. .. .. ............. .. ........... 12
Fire barrier replacement .. ............... .. ............. .. .. ............. .. ............... .. ............. .. ............... .. ............. .. .. 13
Warranty ..... .. ............. .. .. ............. .. ............. .. .. ............. .. ............. .. .. ............. .. ............. .. .. ............. .. ........ 14
Warranty exclusion and damage limitations ........... .. .. ............. .. ............. .. .. ............. .. ............. .. .. ............. 14
To obtain parts and service ........ .. ............. .. ............... .. ............. .. .. ............. .. ............. .. .. ............. .. ....... 14
Return authorization.. .. ............. .. .. ............. .. ............. .. .. ............. .. ............. .. .. ............. .. ............. .. .. ...... 14
Damaged product............. .. .. ............. .. ............. .. .. ............. .. ............. .. .. ............. .. ............. .. .. ............. 14
International warranty clause ............ .. .. ............. .. ............. .. .. ............. .. ............. .. .. ............. .. ............... . 15
www.stryker.com 2850-109-001 REV A 1
Page 6
Warning/Caution/Note Definition
The words WARNING, CAUTION, and NOTE carry special meanings and should be carefully reviewed.
WARNING
Alerts the reader about a situation which, if not avoided, could result in death or serious injury. It may also describe
potential serious adverse reactions and safety hazards.
CAUTION
Alerts the reader of a potentially hazardous situation which, if not avoided, may result in minor or moderate injury to the
user or patient or damage to the product or other property. This includes special care necessary for the safe and
effective use of the device and the care necessary to avoid damage to a device that may occur as a result of use or
misuse.
Note: Provides special information to make maintenance easier or important instructions clearer.
Summary of safety precautions
Always read and strictly follow the warnings and cautions listed on this page. Service only by qualified personnel.
WARNING
• Always check patient’s skin regularly. Consult a physician if erythema or skin breakdown occurs. Serious injury
could result if the patient’s skin condition is left untreated.
• Always use extra caution and supervision to help reduce the risk of a patient fall. Patient stability and siderail
coverage may be compromised with the use of an overlay.
• Always leave the bed frame in the lowest position when the patient is unattended to help reduce the number and
severity of falls.
• Always consider the use of siderails. The safe use of the support surface is maximized when used in conjunction
with siderails and there may be an increased risk of falls when siderails are not present. Serious injury or death can
result from the use (potential entrapment) or non-use (potential patient falls) of siderails or other restraints.
Consider local policies regarding the use of siderails. The physician operator, or responsible parties should
determine whether and how to use siderails based on each patient’s individual needs.
• Always use extra caution with a patient at risk of a fall (such as agitated or confused) to help reduce the likelihood
of a fall.
• Always use extra caution when reading radiology images taken of a patient on this support surface as internal
components can cause artifacts and distort readings.
• Do not use the support surface on a larger or smaller bed frame width or length (as stated in the intended use), to
avoid the risk of the support surface sliding and patient injury.
• Do not use the support surface when gaps are present. The risk of entrapment can develop when the support
surface is placed on bed frames that leave gaps of even a few inches between the support surface and the
headboard, footboard, and siderails.
• Do not stick needles into a support surface through the support surface cover. Holes may allow body fluids to enter
the inside (inner core) of the support surface and could cause cross-contamination, product damage, or product
malfunction.
• Do not use the support surface as a transfer device.
• Do not use the support surface handles to lift or move the support surface with a patient on board.
• Do not exceed the safe working load of the hospital bed frame when supporting both the patient and the support
surface. Excess weight could cause unpredictable safety and performance of this product.
• Do not use the transfer bridge to support patient load.
2 2850-109-001 REV A www.stryker.com
Page 7

Warning/Caution/Note Definition
Summary of safety precautions (Continued)
WARNING (CONTINUED)
• Always make sure that the patient support platforms and their respective transfer gaps are adequate to support the
patient. If the space between the two patient support platforms is greater than 3 in. (7.6 cm), use the transfer bridge
to fill the gap. The transfer bridge is meant to ease transfer of a patient from one patient support platform to
another.
• Always make sure that the opposite siderail is raised when placing a patient on the support surface to reduce the
risk of patient fall.
• Always monitor the patient condition at regular intervals for patient safety.
• Do not wash the internal components of this support surface. Discard the support surface if a contamination is
found inside.
• Do not immerse the support surface in cleaning or disinfectant solutions.
• Always inspect support surface covers (top and bottom) for tears, punctures, excessive wear, and misaligned
zippers each time the covers are cleaned. If compromised immediately remove the support surface from service
and replace the covers to prevent cross-contamination.
• Always perform preventative maintenance more frequently based on the usage level of the product. An increase in
usage which may include more frequent cleaning and disinfection, may adversely affect the life of the support
surface.
• Always disinfect the support surface between patients to avoid the risk of cross-contamination and infection.
• Always make sure that you wipe each product with clean water and thoroughly dry each product after cleaning.
Some cleaning agents are corrosive in nature and may cause damage to the product if you use them improperly. If
you do not properly rinse and dry the product, a corrosive residue may be left on the surface of the product that
could cause premature degradation of critical components. Failure to follow these cleaning instructions may void
your warranty.
• Do not allow fluid to pool on the support surface.
CAUTION
• Improper usage of the product can cause injury to the patient or operator. Operate the product only as described in
this manual.
• Do not modify the product or any components of the product. Modifying the product can cause unpredictable
operation resulting in injury to patient or operator. Modifying the product also voids its warranty.
• Always be aware of devices or equipment that are placed on the top of the support surface. Damage to the surface
may occur due to the weight of the equipment, heat generated by the equipment, or sharp edges on the equipment.
• Do not put overlays or accessories inside the cover to avoid the risk of reducing pressure redistribution
performance.
• Always evaluate the appropriate CPR protocol to be used with this product before operating.
• Do not allow liquid to seep into the zipper area or watershed cover barrier when cleaning the underside of the
support surface. Fluids allowed to come in contact with the zipper may leak into the support surface.
• Do not iron, dry-clean, or tumble dry the support surface covers.
• Do not power wash the support surface as this may cause malfunction and damage the product.
• Always completely dry the support surface covers before storing, adding linens, or placing a patient on the surface.
Drying the product helps to prevent the performance of the product from being impaired.
• Do not over expose the covers to higher concentration disinfectant solutions as these may degrade the covers.
• Do not use accelerated hydrogen peroxides or quaternaries that contain glycol ethers as they may damage the
cover and reduce the legibility of the silk screen.
www.stryker.com 2850-109-001 REV A 3
Page 8

Introduction
This manual assists you with the operation or maintenance of your Stryker product. Read this manual before operating
or maintaining this product. Set methods and procedures to educate and train your staff on the safe operation or
maintenance of this product.
CAUTION
• Improper usage of the product can cause injury to the patient or operator. Operate the product only as described in
this manual.
• Do not modify the product or any components of the product. Modifying the product can cause unpredictable
operation resulting in injury to patient or operator. Modifying the product also voids its warranty.
Notes
• This manual is a permanent part of the product and should remain with the product even if the product is sold.
• Stryker continually seeks advancements in product design and quality. This manual contains the most current
product information available at the time of printing. There may be minor discrepancies between your product and
this manual. If you have any questions, contact Stryker Customer Service or Technical Support at 1-800-327-0770.
Product description
ComfortGel™ is a non-powered support surface that assist in improving human patient outcomes, by focusing on
equalizing pressure and enhancing comfort. ComfortGel is available with or without a fire barrier, and in two models
with different dimensions: 84 x 35 x 7 inches, and 80 x 35 x 7 inches.
Intended use
ComfortGel assists in the prevention and treatment of all pressure injury stages (including stages 1, 2,3, 4, Unstageable
Pressure Injury, and Deep Tissue Pressure Injury) and is recommended to be implemented in combination with clinical
evaluation of risk factors and skin assessments made by a health care professional. ComfortGel model 84 x 35 x 7 is
for use on Stryker and other flat deck frames that support 84 in. x 35 in. support surfaces. ComfortGel model 80 x 35 x
7 is for use on other flat deck frames that support 80 in. x 35 in. support surfaces.
This support surface is for use with human patients with existing or at risk of incurring pressure injuries. The safe
working load for ComfortGel is 500 lb (226,8 kg). The patient must not exceed the safe working load as specified by the
support surface. A healthcare professional should determine the use of this support surface by patients outside of the
therapeutic weight range of 50 lb to 350 lb (22.7 kg to 158.7 kg).
ComfortGel shall be used with a support surface cover at all times. The support surface cover can interact with all
external skin.
This support surface is for use by patients in an acute care setting. This may include critical care, step down,
progressive care, med/surg, subacute care, and post anesthesia care unit (PACU), or other locations as prescribed by a
physician. Operators of this support surface include healthcare professionals (such as nurses, nurse aids, or doctors).
ComfortGel is not intended to:
• be used in a home health environment setting
• be a sterile product
• include a measuring function
• support a patient in a prone position
• be used with a patient less than two years of age
Stryker promotes the clinical assessment of each patient and appropriate usage by the operator.
4 2850-109-001 REV A www.stryker.com
Page 9

Introduction
104 °F
(40 °C)
50 °F
(10 °C)
158 °F
(70 °C)
-40 °F
(-40 °C)
75%
30%
95%
10%
1060 hPa
700 hPa
1060 hPa
500 hPa
Expected service life
The ComfortGel support surface has a five year expected service life under normal use, conditions, and with
appropriate periodic maintenance.
The ComfortGel cover has a three year expected service life under normal use, conditions, and with appropriate
periodic maintenance.
Contraindications
None known.
Specifications
Model 2850-000-013, 2850-000-015 2850-000-014
Dimensions 84 in. x 35 in. x 7 in. 213,4 cm x 88,9 cm x 17,8 cm
500 lb 226,8 kg
Safe working load
Product compliance
Compliance reference 16 CFR 1632
Environmental conditions
Ambient temperature
Relative humidity (non-condensing)
Atmospheric pressure
Without fire barrier With fire barrier
EN 597-1
EN 597-2
Canada-Method 27.7-1979 of
CAN 2-4.2 M77
Operation Storage and transportation
16 CFR 1632
16 CFR 1633
CAL TB 129
Canada Method 27.7-1979 of CAN 2-4.2
M77
BOSTON-BFD IX - 11
UNI 9175 Class 1.IM
EN 597-1
EN 597-2
BS 6807
Stryker reserves the right to change specifications without notice.
www.stryker.com 2850-109-001 REV A 5
Page 10

Introduction
A
Contact information
Contact Stryker Customer Service or Technical Support at: 1-800-327-0770.
Stryker Medical
3800 E. Centre Avenue
Portage, MI 49002
USA
To view your operations or maintenance manual online, see https://techweb.stryker.com/.
Have the serial number (A) of your Stryker product available when calling Stryker Customer Service or Technical
Support. Include the serial number in all written communication.
Serial number location
Date of manufacture
The year of manufacture is the first four digits of the serial number.
6 2850-109-001 REV A www.stryker.com
Page 11

Operation
Installing the support surface
WARNING
• Always check patient’s skin regularly. Consult a physician if erythema or skin breakdown occurs. Serious injury
could result if the patient’s skin condition is left untreated.
• Always use extra caution and supervision to help reduce the risk of a patient fall. Patient stability and siderail
coverage may be compromised with the use of an overlay.
• Always leave the bed frame in the lowest position when the patient is unattended to help reduce the number and
severity of falls.
• Always consider the use of siderails. The safe use of the support surface is maximized when used in conjunction
with siderails and there may be an increased risk of falls when siderails are not present. Serious injury or death can
result from the use (potential entrapment) or non-use (potential patient falls) of siderails or other restraints.
Consider local policies regarding the use of siderails. The physician operator, or responsible parties should
determine whether and how to use siderails based on each patient’s individual needs.
• Always use extra caution with a patient at risk of a fall (such as agitated or confused) to help reduce the likelihood
of a fall.
• Always use extra caution when reading radiology images taken of a patient on this support surface as internal
components can cause artifacts and distort readings.
• Do not use the support surface on a larger or smaller bed frame width or length (as stated in the intended use), to
avoid the risk of the support surface sliding and patient injury.
• Do not use the support surface when gaps are present. The risk of entrapment can develop when the support
surface is placed on bed frames that leave gaps of even a few inches between the support surface and the
headboard, footboard, and siderails.
• Do not stick needles into a support surface through the support surface cover. Holes may allow body fluids to enter
the inside (inner core) of the support surface and could cause cross-contamination, product damage, or product
malfunction.
CAUTION
• Always be aware of devices or equipment that are placed on the top of the support surface. Damage to the surface
may occur due to the weight of the equipment, heat generated by the equipment, or sharp edges on the equipment.
• Do not put overlays or accessories inside the cover to avoid the risk of reducing pressure redistribution
performance.
To install the support surface:
1. Make sure that the support surface properly fits the bed frame on that the product is being placed.
2. Make sure that the dedicated sloped heel section is installed at the foot end of the bed frame.
3. Place linens on the support surface per hospital protocols.
Transferring a patient from one patient support platform to another
WARNING
• Do not use the support surface as a transfer device.
• Do not use the support surface handles to lift or move the support surface with a patient on board.
www.stryker.com 2850-109-001 REV A 7
Page 12

Operation
Transferring a patient from one patient support platform to another (Continued)
WARNING (CONTINUED)
• Do not stick needles into a support surface through the support surface cover. Holes may allow body fluids to enter
the inside (inner core) of the support surface and could cause cross-contamination, product damage, or product
malfunction.
• Do not exceed the safe working load of the hospital bed frame when supporting both the patient and the support
surface. Excess weight could cause unpredictable safety and performance of this product.
• Do not use the transfer bridge to support patient load.
• Always make sure that the patient support platforms and their respective transfer gaps are adequate to support the
patient. If the space between the two patient support platforms is greater than 3 in. (7.6 cm), use the transfer bridge
to fill the gap. The transfer bridge is meant to ease transfer of a patient from one patient support platform to
another.
• Always make sure that the opposite siderail is raised when placing a patient on the support surface to reduce the
risk of patient fall.
To transfer the patient from one patient support surface to another:
Prerequisite: Follow hospital protocols required to transfer a patient from one surface to another.
1. Position one patient support platform alongside the other patient support platform while minimizing the gap between
the two platforms.
2. Set the brakes to on for both patient support platforms.
3. Adjust the patient support platform heights so that they are level with one another.
4. Transfer the patient following all applicable safety rules and institution protocols for patient and operator safety.
Managing incontinence and drainage
WARNING
Always monitor the patient condition at regular intervals for patient safety.
You can use disposable diapers or incontinence pads to manage incontinence. Always provide appropriate skin care
after each incontinence episode.
Selecting the appropriate CPR protocol
CAUTION
Always evaluate the appropriate CPR protocol to be used with this product before operating.
8 2850-109-001 REV A www.stryker.com
Page 13

Cleaning
WARNING
• Do not wash the internal components of this support surface. Discard the support surface if a contamination is
found inside.
• Do not immerse the support surface in cleaning or disinfectant solutions.
• Do not allow liquid to pool on the support surface.
• Always inspect support surface covers (top and bottom) for tears, punctures, excessive wear, and misaligned
zippers each time the covers are cleaned. If compromised immediately remove the support surface from service
and replace the covers to prevent cross-contamination.
• Always perform preventative maintenance more frequently based on the usage level of the product. An increase in
usage which may include more frequent cleaning and disinfection, may adversely affect the life of the support
surface.
• Always make sure that you wipe each product with clean water and thoroughly dry each product after cleaning.
Some cleaning agents are corrosive in nature and may cause damage to the product if you use them improperly. If
you do not properly rinse and dry the product, a corrosive residue may be left on the surface of the product that
could cause premature degradation of critical components. Failure to follow these cleaning instructions may void
your warranty.
CAUTION
• Do not allow liquid to seep into the zipper area or watershed cover barrier when cleaning the underside of the
support surface. Fluids allowed to come in contact with the zipper may leak into the support surface.
• Do not iron, dry-clean, or tumble dry the support surface covers.
• Do not power wash the support surface as this may cause malfunction and damage the product.
• Always completely dry the support surface covers before storing, adding linens, or placing a patient on the surface.
Drying the product helps to prevent the performance of the product from being impaired.
Always follow hospital protocol for cleaning and disinfecting.
To clean the support surface covers between patient uses, follow these steps in order:
1. Using a clean, soft, damp cloth, wipe the support surface covers with a mild soap and water solution to remove
foreign material.
2. Wipe the support surface covers with a clean, dry cloth to remove any excess liquid or cleaning agent.
3. Dry thoroughly.
www.stryker.com 2850-109-001 REV A 9
Page 14

Disinfecting
WARNING
• Always disinfect the support surface between patients to avoid the risk of cross-contamination and infection.
• Always make sure that you wipe each product with clean water and thoroughly dry each product after cleaning.
Some cleaning agents are corrosive in nature and may cause damage to the product if you use them improperly. If
you do not properly rinse and dry the product, a corrosive residue may be left on the surface of the product that
could cause premature degradation of critical components. Failure to follow these cleaning instructions may void
your warranty.
• Do not immerse the support surface in cleaning or disinfectant solutions.
• Do not allow fluid to pool on the support surface.
CAUTION
• Always completely dry the support surface covers before storing, adding linens, or placing a patient on the surface.
Drying the product helps to prevent the performance of the product from being impaired.
• Do not over expose the covers to higher concentration disinfectant solutions as these may degrade the covers.
• Do not allow liquid to seep into the zipper area or watershed cover barrier when cleaning the underside of the
support surface. Fluids allowed to come in contact with the zipper may leak into the support surface.
• Do not use accelerated hydrogen peroxides or quaternaries that contain glycol ethers as they may damage the
cover and reduce the legibility of the silk screen.
Suggested disinfectants:
• Quaternaries
• Phenolic Disinfectants
• Chlorinated Bleach Solution (5.25% bleach 1:100 dilution with water)
• 70% Isopropyl Alcohol
To disinfect the support surface covers after each patient use, follow these steps in order:
1. Thoroughly clean and dry the support surface covers before you apply disinfectants.
2. Apply recommended disinfectant solution by spray or pre-soaked wipes (do not soak the support surface).
Note: Make sure that you follow the disinfectant’s instructions for appropriate contact time and rinsing
requirements.
3. Wipe the support surface covers with a clean, dry cloth to remove any excess liquid or disinfectant.
4. Allow the support surface covers to dry completely before returning to service.
10 2850-109-001 REV A www.stryker.com
Page 15

Preventive maintenance
At a minimum, check all items listed during annual preventive maintenance for all Stryker Medical products. You may
need to perform preventive maintenance checks more frequently based on your level of product usage.
Remove product from service before performing preventive maintenance.
Note: Clean and disinfect the exterior of the support surface before inspection, if applicable.
Inspect the following items:
Zipper and covers (top and bottom) are free of tears, cuts, holes, or other openings
Internal components for signs of staining from fluid ingress or contamination by fully unzipping the covers
Labels for legibility, proper adherence, and integrity
Handles are free of rips or cracks and stitching is intact
Cover straps are free from rips, cracks, or tears
Straps properly secure the support surface to the crib assembly
Foam and other components have not degraded or come apart
Compression set of the foam is less than 1.25” (3.2 cm) (see Checking the compression set of the foam on
page 11)
Optional fire barrier for rips, cracks, or other visible signs of damage (If excessive wear of the fire barrier is
observed, replacement is recommended)
Product serial number:
Completed by:
Date:
Checking the compression set of the foam
Tools required:
• 35” + Straight Edge
• Tape Measure
Procedure:
1. Raise the bed height to the full up position.
2. Lower the fowler and gatch sections to the full down position.
Note: Before taking the compression set measurement, make sure that there has not been a patient on the support
surface for a minimum of one hour.
3. Unzip the cover. Start at the foot end patient right corner of the support surface and stop at the head end patient
right corner.
4. Fold the top of the cover to the patient’s right side.
5. If the support surface has the optional fire barrier, starting at the foot end, roll up the fire barrier on the foam crib
assembly.
Note: Work from side to side a little at a time to get the fire barrier past the seat section of the foam crib.
6. Place a straight edge (at least 35 in. (88.9 cm) long) across the foam crib from left to right at the sacral region
(patient seat section) of the support surface (Figure 1 on page 12).
www.stryker.com 2850-109-001 REV A 11
Page 16

Preventive maintenance
Checking the compression set of the foam (Continued)
7. Using a tape measure, measure the maximum depth (lowest point) from the bottom of the straight edge to the top of
the foam (Figure 2 on page 12).
Note: Do not push down on the tape measure when taking the measurement. The tape measure should just lightly
touch the top of the foam.
Figure 1: Straight edge
8. Document the measurement, serial number, and date the measurement was taken. This information will be required
for warranty information, if applicable.
Note: If the measurement is greater than 1.25" (3.2 cm), the compression set is out of tolerance and the support
surface should be replaced. See the warranty page for replacement requirements. Call Customer Service at 1-800327-0770 with the information recorded above for a replacement support surface.
9. Reverse steps to reinstall.
10. Verify proper orientation of the product before returning to service.
Figure 2: Measure maximum depth
Quick reference replacement parts
These parts are currently available for purchase. Call Stryker Customer Service: 1-800-327-0770 for availability and
pricing.
Part name Part number
Cover assembly, 84 x 35 x 7 (213,4 cm x 88,9 cm x 17,8 cm)
Fire barrier sleeve 2850-035-001
2850-030-100
Cover replacement
Tools required:
• None
Procedure:
12 2850-109-001 REV A www.stryker.com
Page 17

Preventive maintenance
Cover replacement (Continued)
1. Raise the bed height to the full up position.
2. Lower the fowler and gatch sections to the full down positions.
3. Unzip the cover. Start at the foot end patient right corner of the support surface and stop at the head end patient
right corner.
4. Fold the top of the cover to the patient’s right side and then remove the foam crib assembly from the bed and set
aside.
5. Discard the old cover.
6. Place the new cover, unzipped and open, on the bed with the black bottom cover on the litter and the top cover
folded over the patient’s right side of the bed.
7. Carefully place the foam crib assembly on top of the bottom part of the cover to make sure that the foam crib is
square with the cover.
Note: If equipped with the fire barrier option, spread the excess fire barrier material equally below the foam crib
assembly at the foot end.
8. Fold the top cover over the top of the foam crib assembly to make sure that the top cover is square with the foam
crib assembly.
9. Zip the cover to close. Start at the head end patient right corner and stop at the foot end patient right corner.
10. Verify proper operation before returning the product to service.
Fire barrier replacement
Tools Required:
• None
Procedure:
1. Raise the bed height to the full up position.
2. Lower the fowler and gatch sections to the full down positions.
3. Unzip the cover. Start at the foot end patient right corner of the support surface and stop at the head end patient
right corner.
4. Fold the top of the cover to the patient’s right side.
5. Starting at the foot end, roll up the fire barrier on the foam crib assembly.
Note: Work from side to side, a little at a time, to move the fire barrier to the top of the support surface.
6. Discard the old fire barrier.
7. Starting at the head end, roll the new fire barrier down and slide over the foam crib assembly.
Note: Align the fire barrier on the foam crib before sliding over the foam crib assembly.
8. Carefully slide the fire barrier down the foam crib assembly, working from side to side, to make sure that the fire
barrier is tight on the foam crib assembly.
9. Align the foam crib assembly on top of the bottom part of the cover.
Note: Spread the excess fire barrier material equally below the foam crib assembly at the foot end.
10. Fold and align the top cover over the top of the foam crib assembly.
11. Zip the cover to close. Start at the head end patient right corner and stop at the foot end patient right corner.
12. Verify proper operation before returning the product to service.
www.stryker.com 2850-109-001 REV A 13
Page 18

Warranty
Stryker Medical, a division of Stryker Corporation (“Stryker”), warrants that its Model 2850 ComfortGel product will be
free from defects in material and workmanship for a period of five years for the support surface and three years for the
cover after date of delivery. Stryker’s obligation under this warranty is expressly limited to supplying replacement parts
and labor for, or replacing, at its option, any product which is, in the sole discretion of Stryker, found to be defective. If
requested by Stryker, products or parts for which a warranty claim is made shall be returned prepaid to the factory. Any
improper use or any alteration or repair by others in such manner as in Stryker’s judgment affects the product materially
and adversely shall void this warranty. Any repair of Stryker products using parts not provided or authorized by Stryker
shall void this warranty. No employee or representative of Stryker is authorized to change this warranty in any way.
ComfortGel is designed for an expected service life as listed below under normal use, conditions, and with appropriate
periodic maintenance as described in the maintenance manual for each device.
• Foam assembly: Five years
• Fire barrier sleeve: Five years
• Mattress cover assembly: Three years
The above noted Warranty periods apply only to the original purchaser of the ComfortGel product and begins on the
date of delivery to such original purchaser.
The foam assembly of support surface will naturally compress over time. Should a compression set measurement
greater than 1.25" (3.2 cm), as measured by a Stryker representative, be realized within the life of the product, Stryker
will provide a replacement support surface. Any normal body indentations or compression set of less than 1.25" (3.2 cm)
will not be replaced.
Warranty exclusion and damage limitations
The express warranty set forth herein is the only warranty applicable to the product. Any and all other warranties,
whether express or implied, including any implied warranty of merchantability or fitness for a particular purpose
are expressly excluded by Stryker. In no event shall Stryker be liable for incidental or consequential damages.
To obtain parts and service
Stryker products are supported by a nationwide network of dedicated Stryker Field Service Representatives. These
representatives are factory trained, available locally, and carry a substantial spare parts inventory to minimize repair
time. Simply call your local representative or call Stryker Customer Service at 1-800-327-0770.
Return authorization
Product cannot be returned without prior approval from the Stryker Customer Service Department. An authorization
number will be provided which must be printed on the returned product. Stryker reserves the right to charge shipping
and restocking fees on returned product. Special, modified, or discontinued products are not subject to return.
Damaged product
ICC Regulations require that claims for damaged product must be made within fifteen (15) days of receipt of the product.
Do not accept damaged shipments unless such damage is noted on the delivery receipt at the time of receipt. Upon
prompt notification, Stryker will file a freight claim with the appropriate carrier for damages incurred. Claims will be
limited in amount to the actual replacement cost. In the event that this information is not received by Stryker within the
fifteen (15) day period following the delivery of the product, or the damage was not noted on the delivery receipt at the
time of receipt, the customer will be responsible for payment of the original invoice in full within thirty (30) days of
receipt. Claims for any incomplete shipments must be made within thirty (30) days of invoice.
14 2850-109-001 REV A www.stryker.com
Page 19

Warranty
International warranty clause
This warranty reflects U.S. domestic policy. Warranty outside the U.S. may vary by country. Contact your local Stryker
Medical representative for additional information.
www.stryker.com 2850-109-001 REV A 15
Page 20

Page 21

Page 22

Stryker Medical
3800 E. Centre Avenue
Portage, MI 49002
USA
2017/08 2850-109-001 REV A www.stryker.com
 Loading...