

{
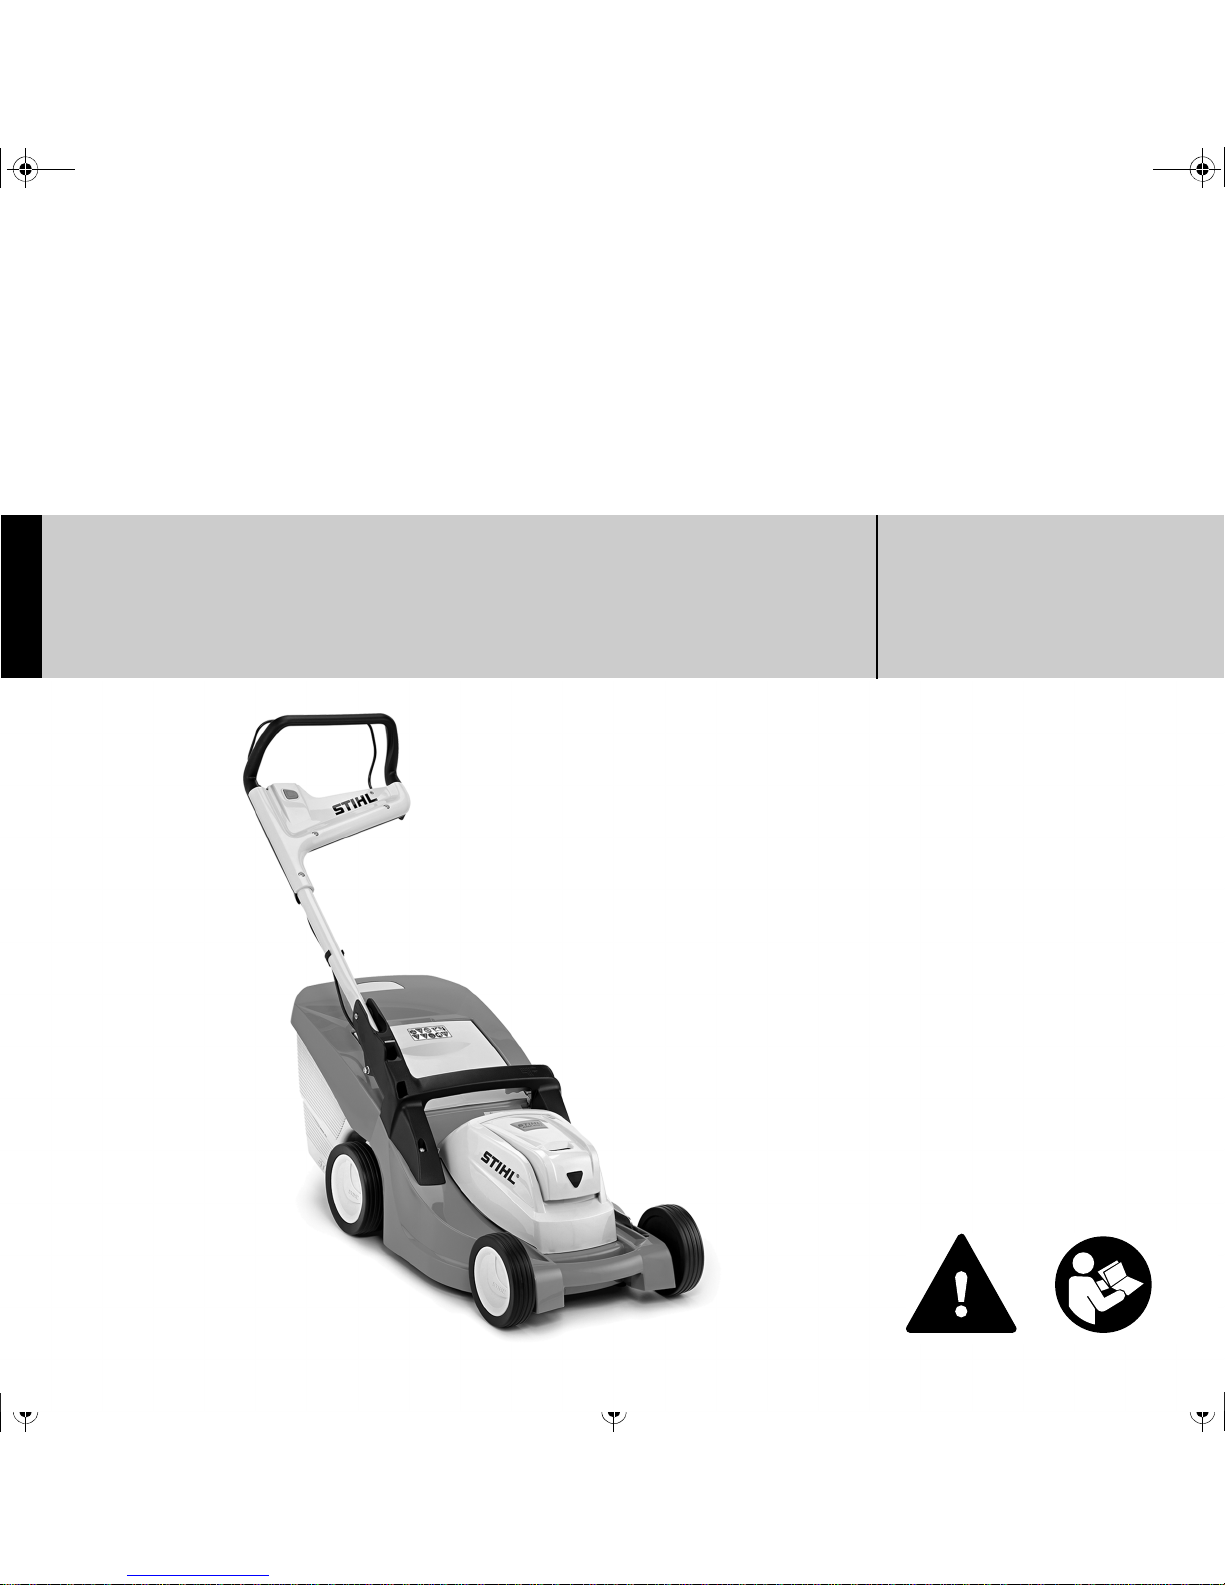
STIHL RMA 410 C
Instruction Manual


Original Instruction ManualPrinted on chlorine-free paper
Printing inks contain vegetable oils, paper can be recycled.
© ANDREAS STIHL AG & Co. KG, 2017
0458-715-8321-A. VA1.B17.
0000007240_003_GB
RMA 410 C
English
1
{
This instruction manual is protected by copyright. All rights reserved, especially the rights to reproduce, translate and process
with electronic systems.
Contents
Dear Customer,
Thank you for choosing a quality
engineered STIHL product.
It has been built using modern
production techniques and
comprehensive quality assurance.
Every effort has been made to ensure
your satisfaction and troublefree use of
the product.
Please contact your dealer or our sales
company if you have any queries
concerning this product.
Your
Dr. Nikolas Stihl
Guide to Using this Manual 2
Safety Precautions and Working
Techniques 2
Using the Unit 7
Mulching 8
Mounting the Handlebar 8
Grass Box 9
Adjusting Cutting Height 11
Connecting Charger to Power
Supply 11
Charging the Battery 12
LEDs on Battery 13
LED on Charger 14
Switching On 15
Switching Off 16
Storing the Machine 17
Inspection and Maintenance by
User 17
Sharpening Instructions 18
Maintenance and Care 21
Main Parts 22
Specifications 23
Troubleshooting 24
Maintenance and Repairs 26
Disposal 26
RMA 410 C
English
2
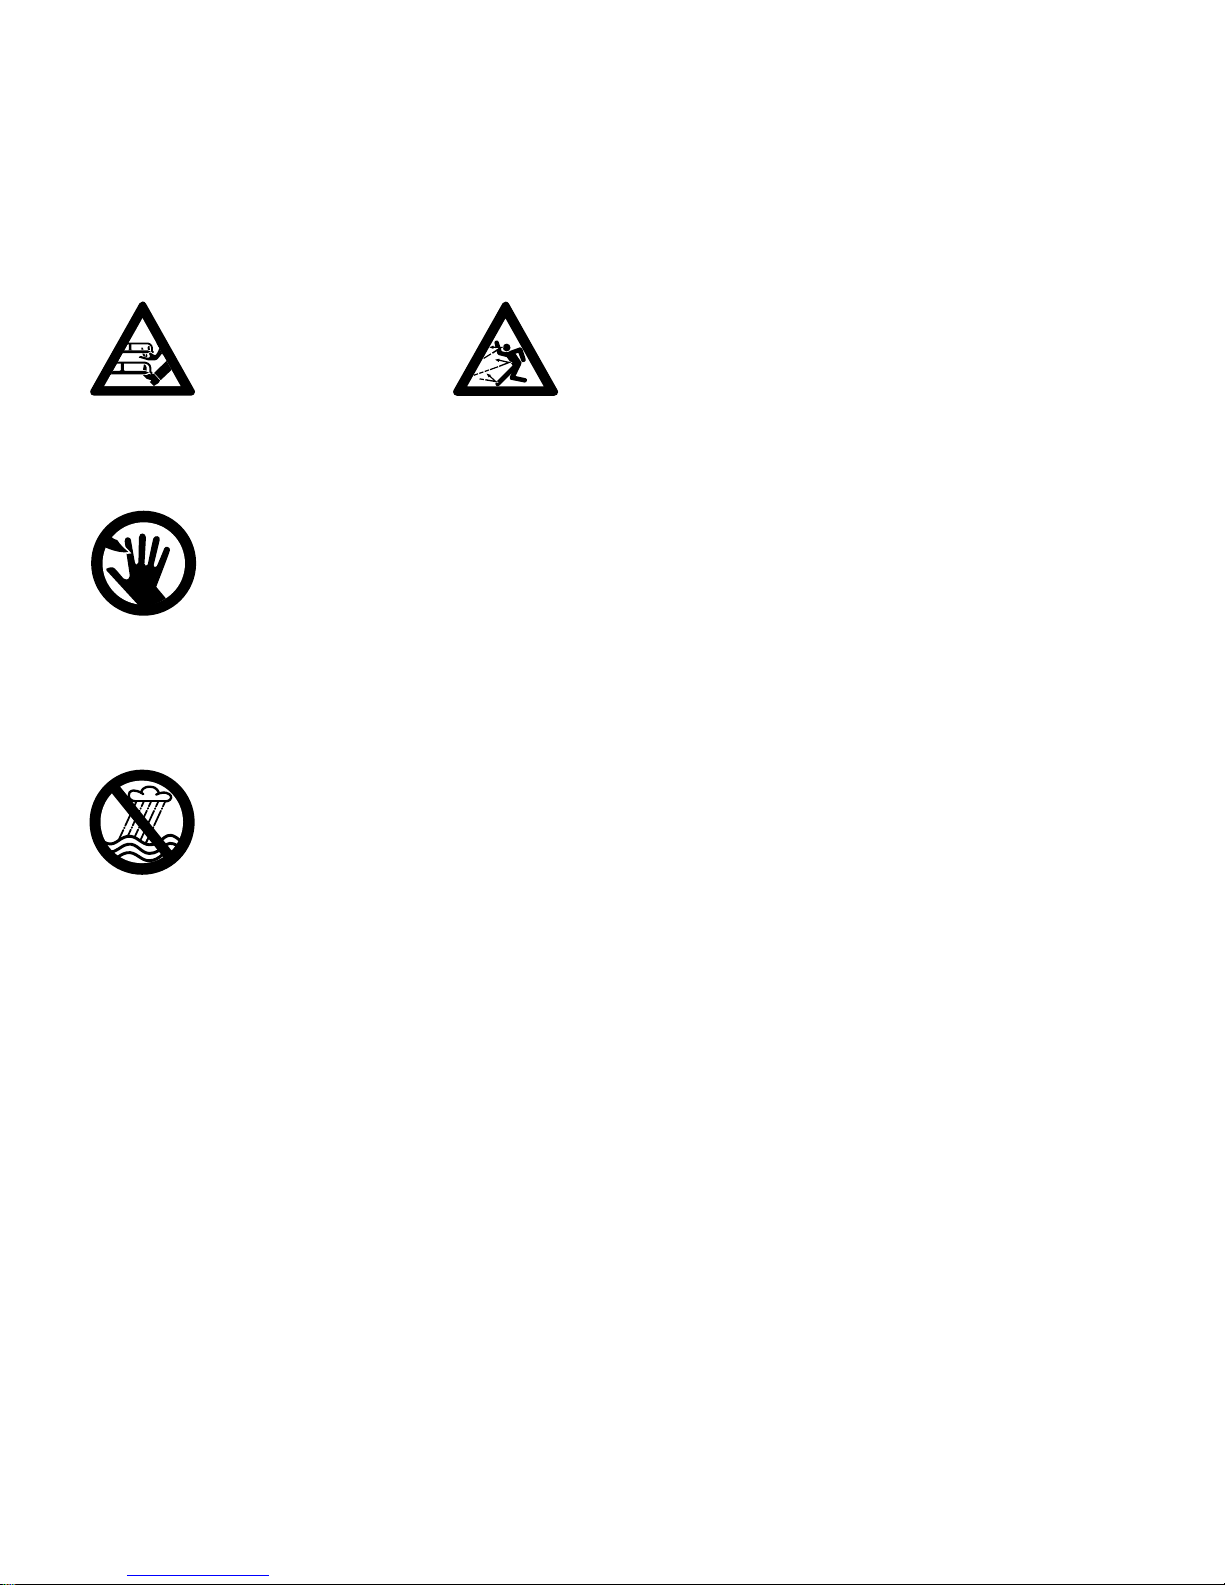
Pictograms
The meanings of the pictograms
attached to the machine are explained in
this manual.
Depending on the model concerned, the
following pictograms may be attached to
your machine.
Symbols in text
WARNING
Warning where there is a risk of an
accident or personal injury or serious
damage to property.
NOTICE
Caution where there is a risk of
damaging the machine or its individual
components.
Engineering improvements
STIHL's philosophy is to continually
improve all of its products. For this
reason we may modify the design,
engineering and appearance of our
products periodically.
Therefore, some changes, modifications
and improvements may not be covered
in this manual.
Notes on Usage
Use the power tool only for mowing
grass.
Do not mow wet grass.
It must not be used for any other
purpose because of the increased risk of
accidents and damage to the machine.
Never attempt to modify the product in
any way since this may result in
accidents or damage.
General Notes
Observe all applicable local safety
regulations, standards and ordinances.
The use of noise emitting power tools
may be restricted to certain times by
national or local regulations.
If you have not used this model before:
Have your dealer or a trained expert
show you how to operate it properly and
safely.
Minors should never be allowed to use
this product.
Keep bystanders, especially children,
and animals away from the work area.
The user is responsible for avoiding
injury to third parties or damage to their
property.
Do not lend or rent your power tool
without the instruction manual. Be sure
that anyone using it understands the
information contained in this manual.
To operate this power tool you must be
rested, in good physical condition and
mental health.
If you have any condition that might be
aggravated by strenuous work, check
with your doctor before operating a
power tool.
Do not operate the power tool if you are
under the influence of any substance
(drugs, alcohol) which might impair
vision, dexterity or judgment.
Clothing and Equipment
Wear proper protective clothing and
equipment.
Guide to Using this Manual
Key for locking and
unlocking
Safety Precautions and
Working Techniques
Some special safety precautions have to be
observed when working
with this power tool
because of the very high
speed of the cutting
blade.
It is important that you
read the instruction manual before first use and
keep it in a safe place for
future reference. Nonobservance of the
instruction manual may
result in serious or even
fatal injury.
Clothing must be sturdy
but allow complete freedom of movement. Wear
long pants.
RMA 410 C
English
3
Avoid clothing that could get caught in
scrub or moving parts of the machine.
Do not wear a scarf, necktie or jewelry.
Tie up and confine long hair (e.g. with a
hair net, cap, etc.).
WARNING
Hearing protection is recommended,
e.g. earplugs or ear muffs.
STIHL offers a comprehensive range of
personal protective clothing and
equipment.
The Power Tool
Never attempt to modify your machine in
any way since this may increase the risk
of personal injury. STIHL excludes all
liability for personal injury and damage
to property caused while using
unauthorized attachments.
Transporting the Power Tool
Always switch off the machine, wait for
the cutting blade to come to a complete
standstill, remove the fuse key and
battery – even when you transport the
machine short distances. This avoids
the risk of the motor starting
unintentionally.
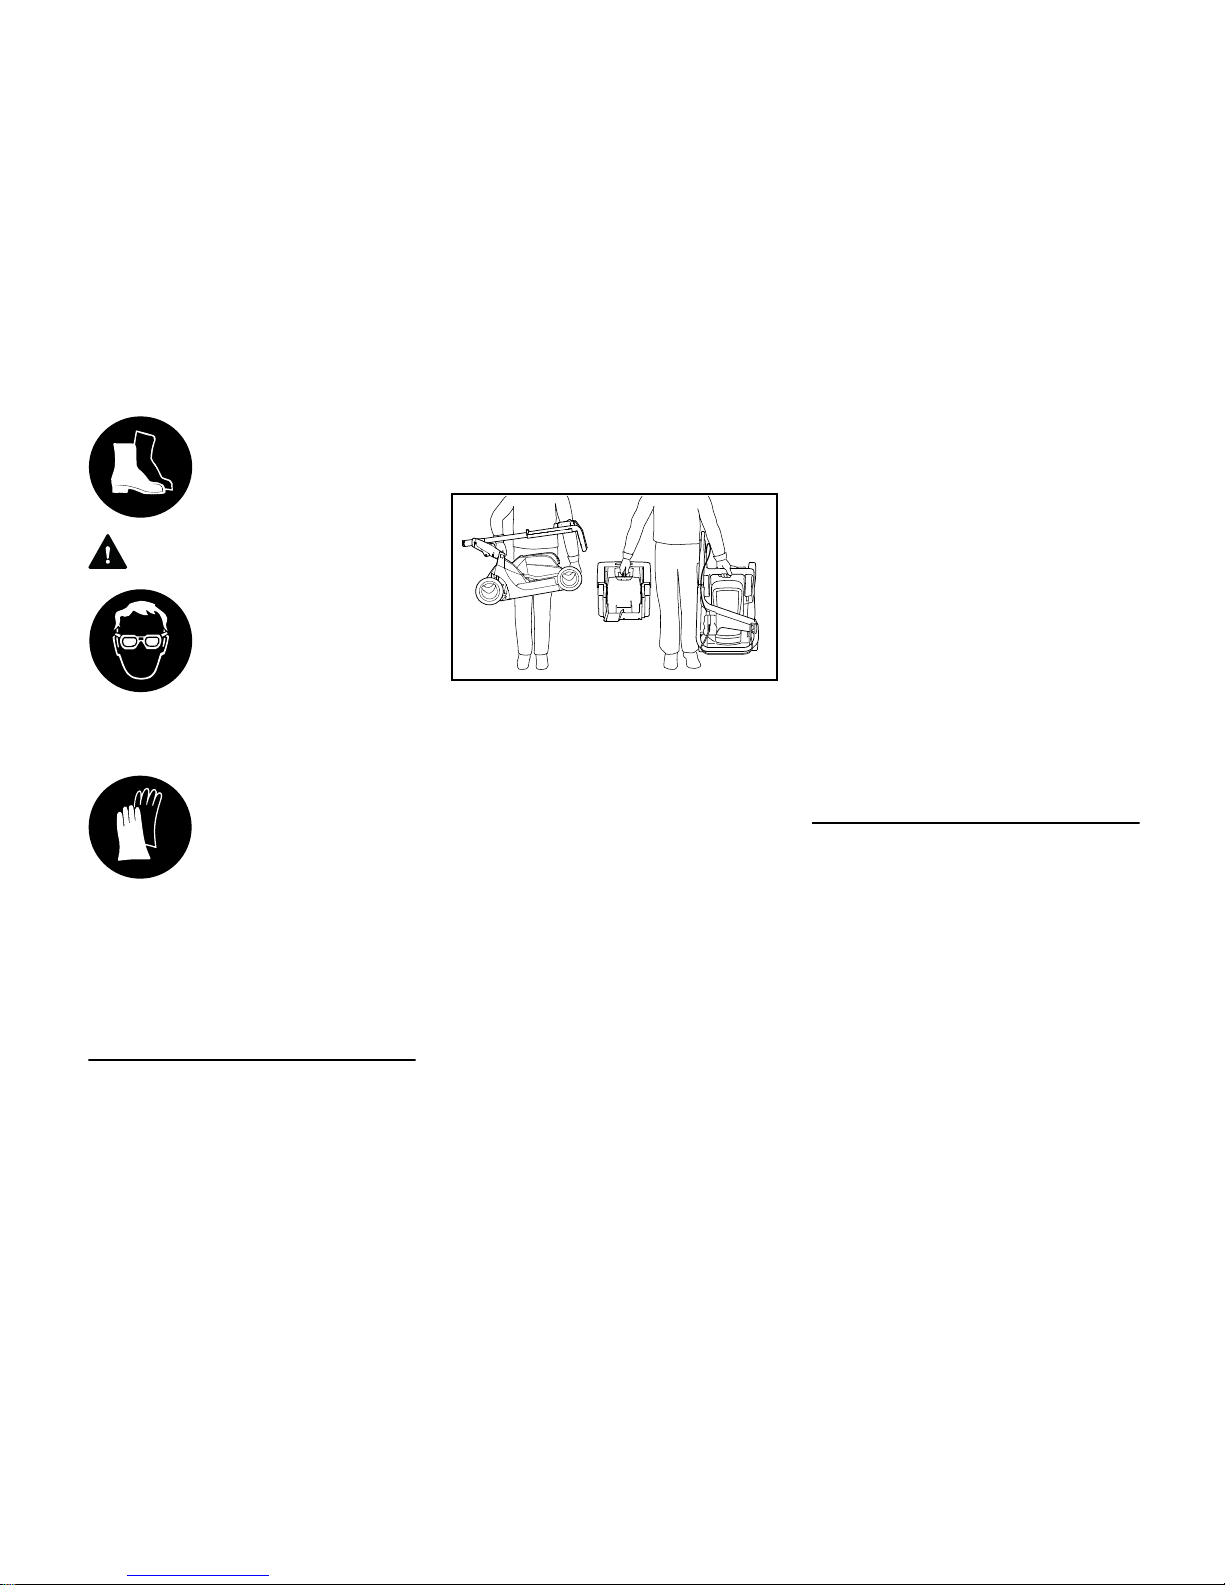
Lift your power tool by the carrying grips
only. The cordless lawn mower can be
carried in two ways:
– One hand on the upper carrying grip
and one hand on the lower carrying
grip.
– One hand on the upper carrying
grip.
Always keep the cutting blade well away
from your body, especially your feet and
legs.
Transport the power tool only after the
motor has cooled down.
Transporting by vehicle: Properly secure
your power tool and its parts (e.g. grass
box) to prevent turnover and damage.
Attach ropes or straps to the handles.
Cleaning the Machine
Do not use a pressure washer to clean
your power tool. The solid jet of water
may damage parts of the power tool.
Do not spray the power tool with water.
Storing the Power Tool
When the power tool is not in use, store
it so that it does not endanger others.
Secure it against unauthorized use.
Accessories and Spare Parts
Only use cutting blades and accessories
that are explicitly approved for this
power tool by STIHL. If you have any
questions in this respect, consult a
servicing dealer. Use only high quality
tools and accessories in order to avoid
the risk of accidents and damage to the
machine.
STIHL recommends the use of genuine
STIHL tools and accessories. They are
specifically designed to match the
product and meet your performance
requirements.
Drive
Battery
Observe the information in the leaflet or
instruction manual supplied with the
STIHL battery and keep it in a safe
place.
For further notes on safety see
www.stihl.com/safety-data-sheets.
Charger
Observe the information in the leaflet
supplied with the STIHL charger and
keep it in a safe place.
Wear sturdy shoes with
non-slip soles.
To reduce the risk of eye
injuries, wear close-fitting safety glasses in
accordance with European Standard EN 166.
Make sure the safety
glasses are a comfortable and snug fit.
Wear heavy duty gloves
when transporting the
machine and carrying out
work on the cutting blade.
0000-GXX-0039-A0 KN
RMA 410 C
English
4
Notes on Operation
and
before
– before carrying out inspections,
adjustments or cleaning work
– performing any work on the cutting
blade
– leaving the machine unattended
– before transporting
– before storing
– before performing repairs or
maintenance work
– in the event of danger or in an
emergency
This avoids the risk of the motor starting
unintentionally.
Before Starting Work
Check that your power tool is properly
assembled and in good condition – refer
to appropriate chapters in the instruction
manual.
– The switch lever and switch lever
lockout must move freely and return
to the idle position when they are
released.
– Switch lever locked in position when
switch lever lockout is not
depressed.
– Check that the cutting blade is
properly and securely mounted and
in good condition.
– Inspect the power tool for damage
or wear. Always replace damaged
parts.
– Do not use your power tool if safety
devices are damaged, the coasting
brake does not operate or safety
devices are not mounted (e.g.
ejection chute shield).
– Never use your machine with a
damaged grass box.
– Never attempt to modify the controls
or safety devices in any way.
– Keep the handles dry and clean –
free from oil and dirt – for safe
control of the power tool.
– Check contacts in battery
compartment for foreign matter.
– Fit the battery correctly – it must
engage audibly.
– Never use defective or deformed
batteries.
To reduce the risk of accidents, do not
operate your power tool if it is not
properly assembled and in good
condition.
Switching On
Start the machine on a flat surface. Do
not tilt the machine when you switch on
the motor.
Do not switch on the machine in high
grass or with the cutting height set to the
lowest level.
Operate the machine only with the
battery compartment closed.
During Operation
Make sure you always have good
balance and secure footing.
In case of imminent danger or in an
emergency, switch off the power tool
immediately, remove the fuse key and
the battery.
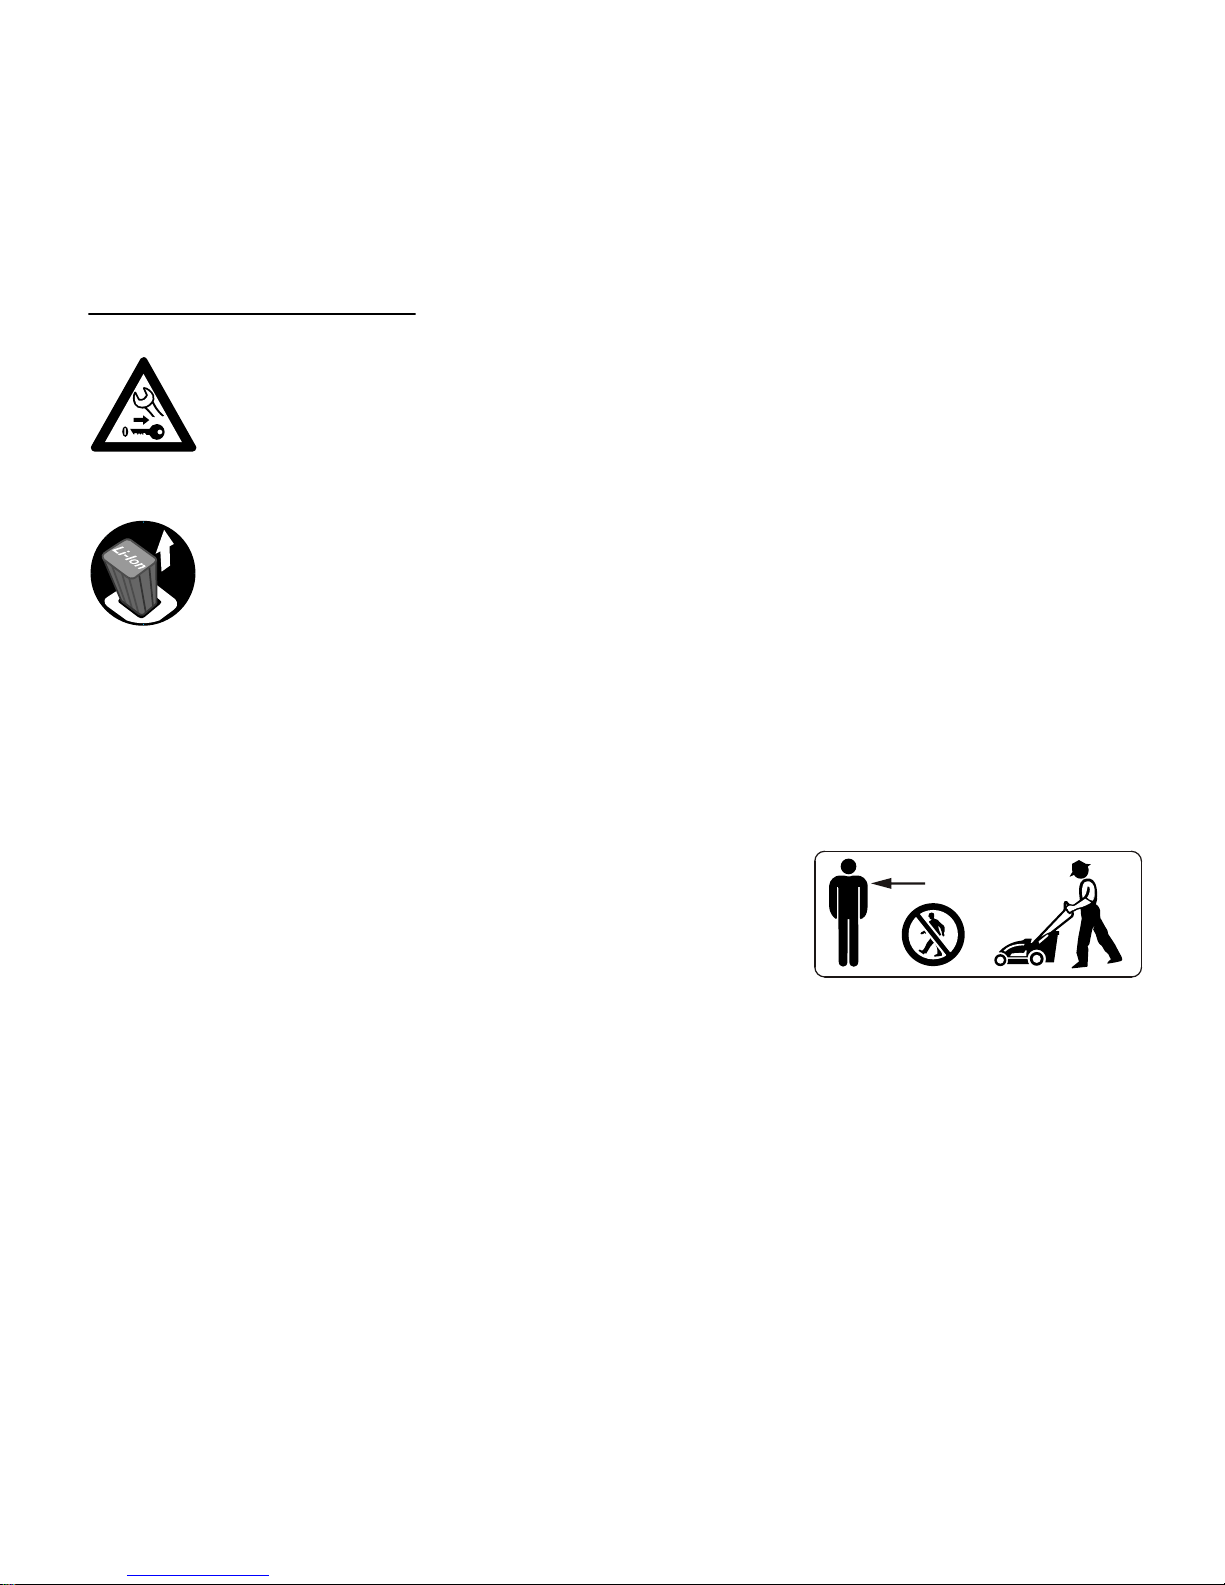
To reduce the risk of injury from thrown
objects, do not allow any other persons
within a radius of 5 meters of your own
position. To reduce the risk of damage
to property, also maintain this distance
from other objects (vehicles, windows).
Remove the fuse key
take the battery out of the
machine
5 m (16 ft)
RMA 410 C
English
5
Do not mow at outside temperatures
below +5°C.
Do not leave the machine outdoors in
the rain.
Take special care in slippery conditions
on slopes and uneven ground.
Do not mow extremely steep slopes. To
reduce the risk of injury, do not operate
your machine on slopes with a gradient
of more than 25°.
Mow parallel to the slope, never up or
down. Take particular care when
changing direction on slopes.
If a rotating metal cutting attachment
makes contact with a rock or other solid
object there is a risk of sparking which
may cause easily combustible material
to catch fire under certain
circumstances. Dry plants and scrub are
also easily combustible, especially in hot
and dry weather conditions. If there is a
risk of fire, do not use metal cutting
attachments near combustible
materials, dry plants or scrub. Always
contact your local forest authority for
information on a possible fire risk.
Watch out for obstacles: Tree stumps,
roots, especially when moving
backwards and pulling the machine –
risk of stumbling.
Work calmly and carefully – in daylight
conditions and only when visibility is
good. Stay alert so as not to endanger
others.
To reduce the risk of accidents, take a
break in good time to avoid tiredness or
exhaustion.
Be particularly alert and cautious when
wearing hearing protection because
your ability to hear warnings (shouts,
alarms, etc.) is restricted.
The dust that occurs during operation
may be harmful to health. If dust levels
are very high, wear a suitable respirator.
Avoid contact with electrical cables or
wires – risk of electric shock.
If your power tool is subjected to
unusually high loads for which it was not
designed (e.g. heavy impact or a fall),
always check that it is in good condition
before continuing work – see also
"Before Starting Work". Make sure the
safety devices are working properly. Do
not continue operating your power tool if
it is damaged. In case of doubt, consult
your servicing dealer.
Check the cutting attachment at regular
short intervals during operation or
immediately if there is a noticeable
change in cutting behavior:
– Switch off the machine, allow
cutting blade to come to a complete
standstill, remove the fuse key and
the battery.
– Check condition and tightness, look
for cracks.
In the event of contact with foreign
matter, check the cutting blade for signs
of damage. Do not operate your power
tool with a damaged or bent blade shaft
or motor shaft.
If the cutting blade becomes obstructed,
or if there is a blockages in the ejection
chute or in the area of the cutting blade,
immediately switch off the motor, allow
the cutting attachment to come to a
complete standstill, remove the fuse key
and the battery. Rectify the cause of the
problem.
Do not overload your machine during
operation to a point where the motor
slows down. If motor speed begins to
slow, select a higher cutting height or
reduce the feed rate.
Keep hands and feet well
clear of rotating parts and
do not touch the rotating
cutting attachment. To
reduce the risk of injury,
always maintain the distance from the ejection
chute that is defined by
the handlebar.
Do not touch the cutting
blade while the motor is
running. Never open the
ejection chute shield or
remove the grass box
while the motor is running. There is otherwise a
risk of injury from the
rotating cutting blade.
Protect from rain – do not
immerse in fluids.
Inspect the work area:
Stones, pieces of metal
or other solid objects can
be thrown and cause personal injury or damage
the cutting blade and
property (e.g. parked
vehicles, windows).
RMA 410 C
English
6
If the motor is thermally overloaded
during operation, it cuts out
automatically and must cool down
before it is restarted. Causes of
overload:
– Mowing overlong grass or at too low
a cutting height
– Mowing speed too high
– Cooling air slots dirty
Switching the machine on and off
frequently within a short period may
cause the motor to overheat.
Do not attach objects to the handlebar.
The machine must not be used for
transporting persons, particularly
children, or objects.
After Finishing Work
Before leaving the power tool
unattended: Switch off the motor,
remove the fuse key and battery.
Note that the cutting attachment
continues to run for a short period after
the power tool is switched off – flywheel
effect. The machine is equipped with a
coasting brake. The coasting brake
shortens the time required for the blade
to come to a standstill – see also
"Switching Off".
Allow power tool to cool down
completely.
Always clean dust and dirt off the power
tool – do not use any grease solvents for
this purpose.
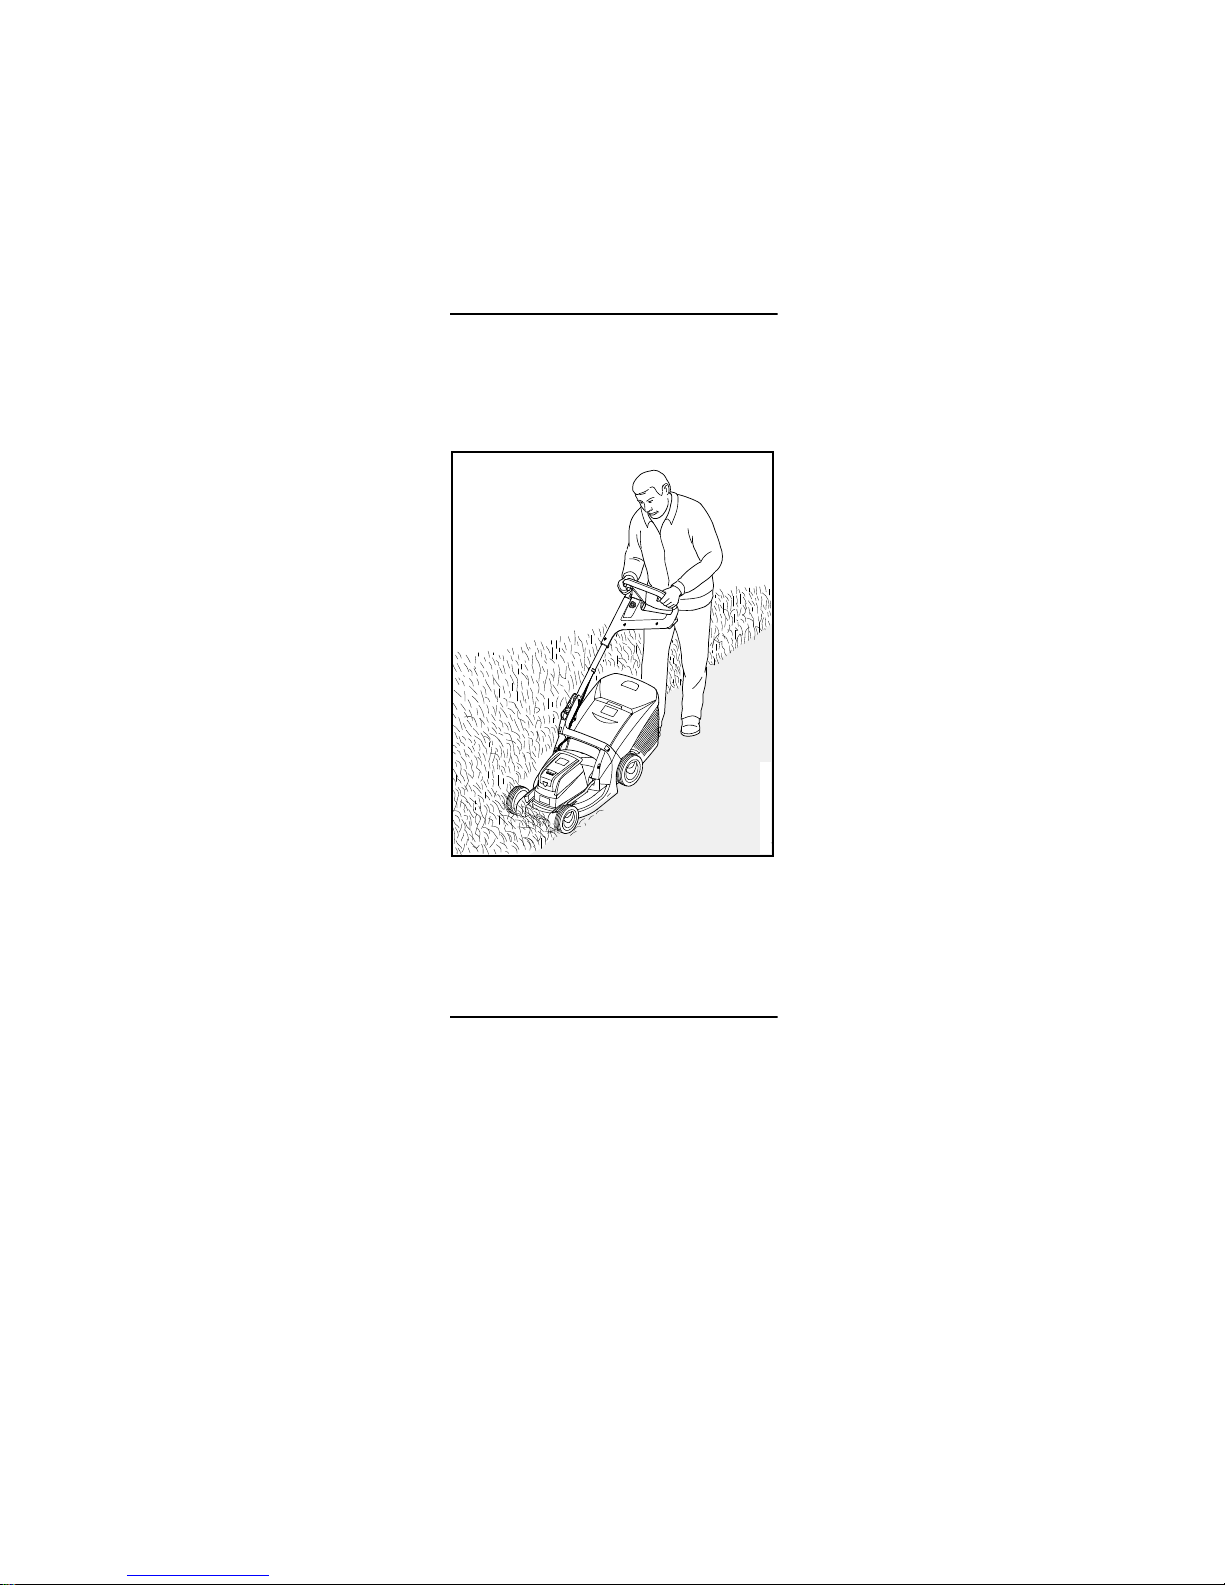
Holding and Controlling the Power Tool
The machine is operated by one person
only – do not allow other persons,
especially children, or animals in the
work area.
Always hold the handlebar firmly with
both hands.
Operate the machine at walking pace
only – never run.
Maintenance and Repairs
Always remove the fuse key and battery
from the power tool before carrying out
any repairs or maintenance work. This
avoids the risk of the motor starting
unintentionally.
Service the machine regularly. Do not
attempt any maintenance or repair work
not described in the instruction manual.
Have all other work performed by a
servicing dealer.
STIHL recommends that you have
servicing and repair work carried out
exclusively by an authorized STIHL
servicing dealer. STIHL dealers are
regularly given the opportunity to attend
training courses and are supplied with
the necessary technical information.
Only use high-quality replacement parts
in order to avoid the risk of accidents
and damage to the unit. If you have any
questions in this respect, consult a
servicing dealer.
STIHL recommends the use of genuine
STIHL replacement parts. They are
specifically designed to match your
model and meet your performance
requirements.
Never attempt to modify your power tool
in any way since this will increase the
risk of personal injury.
Regularly check the electrical contacts
and ensure that the insulation of the
connecting cord and plug of the charger
is in good condition and shows no sign
of ageing (brittleness).
Electrical components, e.g. connecting
cord of charger, may only be repaired or
replaced by a qualified electrician.
Clean plastic surfaces with a cloth. Do
not use aggressive detergents. They
may damage the plastic.
Check tightness of mounting screws, on
the cutting attachment in particular, and
retighten if necessary.
0000-GXX-0040-A0

RMA 410 C
English
7
Clean cooling air openings in motor
housing as necessary.
Keep the battery guides free from
foreign matter – clean as necessary.
Replace illegible or damaged warning
labels on the power tool.
Store the power tool in a dry, locked
location with the fuse key and battery
removed.
Vibrations
This power tool minimizes the vibrations
transmitted to the operator's hands.
However, the operator should seek
medical advice in the event of suspected
circulatory problems in the hands (e.g.
tingling sensation in the fingers).
Mowing
A beautiful and dense lawn is obtained
by frequent mowing.
The lawn should not be kept too short in
hot and dry weather because it will
otherwise be burned by the sun and
become unattractive.
A sharp blade produces a more
attractive finish than a dull one. Sharpen
the blade regularly – see also
"Sharpening the Cutting Blade".
Cuttings can be collected in the grass
box or ejected to the rear.
Mowing on Slopes
Your cordless lawn mower can be used
on gradients of up to 25°.
Cutting Performance
The cutting performance depends on
the type of grass and the height of cut
selected. Cutting performance is
increased by:
– Mowing frequently.
– Increasing the height of cut.
– Reducing mowing speed.
– Allowing lawn to dry before mowing.
Disposal
Do not throw cuttings in the garbage can
– they can be composted!
Using the Unit
RMA 410 C
English
8
Mulch Kit
The mulch kit, consisting of a mulching
blade, blade mounting screw and mulch
plug, converts the conventional mower
into a multi-purpose mower. The normal
mowing blade is replaced by a mulching
blade.
During mowing, clippings can be
collected in the grass box in the usual
way. Alternatively, the grass box can be
removed and the rear ejection chute
used. For mulching, the grass box is
removed and the mulch plug fitted, see
instruction sheet supplied with mulch kit.
Mulching
In the mulching mode, the grass
clippings are recirculated in the
airstream, recut several times and then
blown back onto the lawn. The fine
clippings remain on the lawn surface
where they decompose quickly and
serve as a natural fertilizer. Frequent
mulching produces a beautiful, dense
lawn. One third of the grass height
should be cut in this process.
Recommendation: Mulch at least twice a
week in spring and at least once a week
in summer/autumn.
Mulching Result
Prerequisites for a good mulching result:
– Optimum cutting height (between
setting 3 and 5)
– Lawn should be dry
– Use properly sharpened blades
– Low mowing speed
– Vary mowing direction and overlap
the cuts
– Mow very high grass in gradual
stages
The housing can become clogged and
block the blade if the cutting height is too
low or the grass is wet.
Replacing the Blade
Blade replacement and maintenance –
see "Sharpening the Cutting Blade".
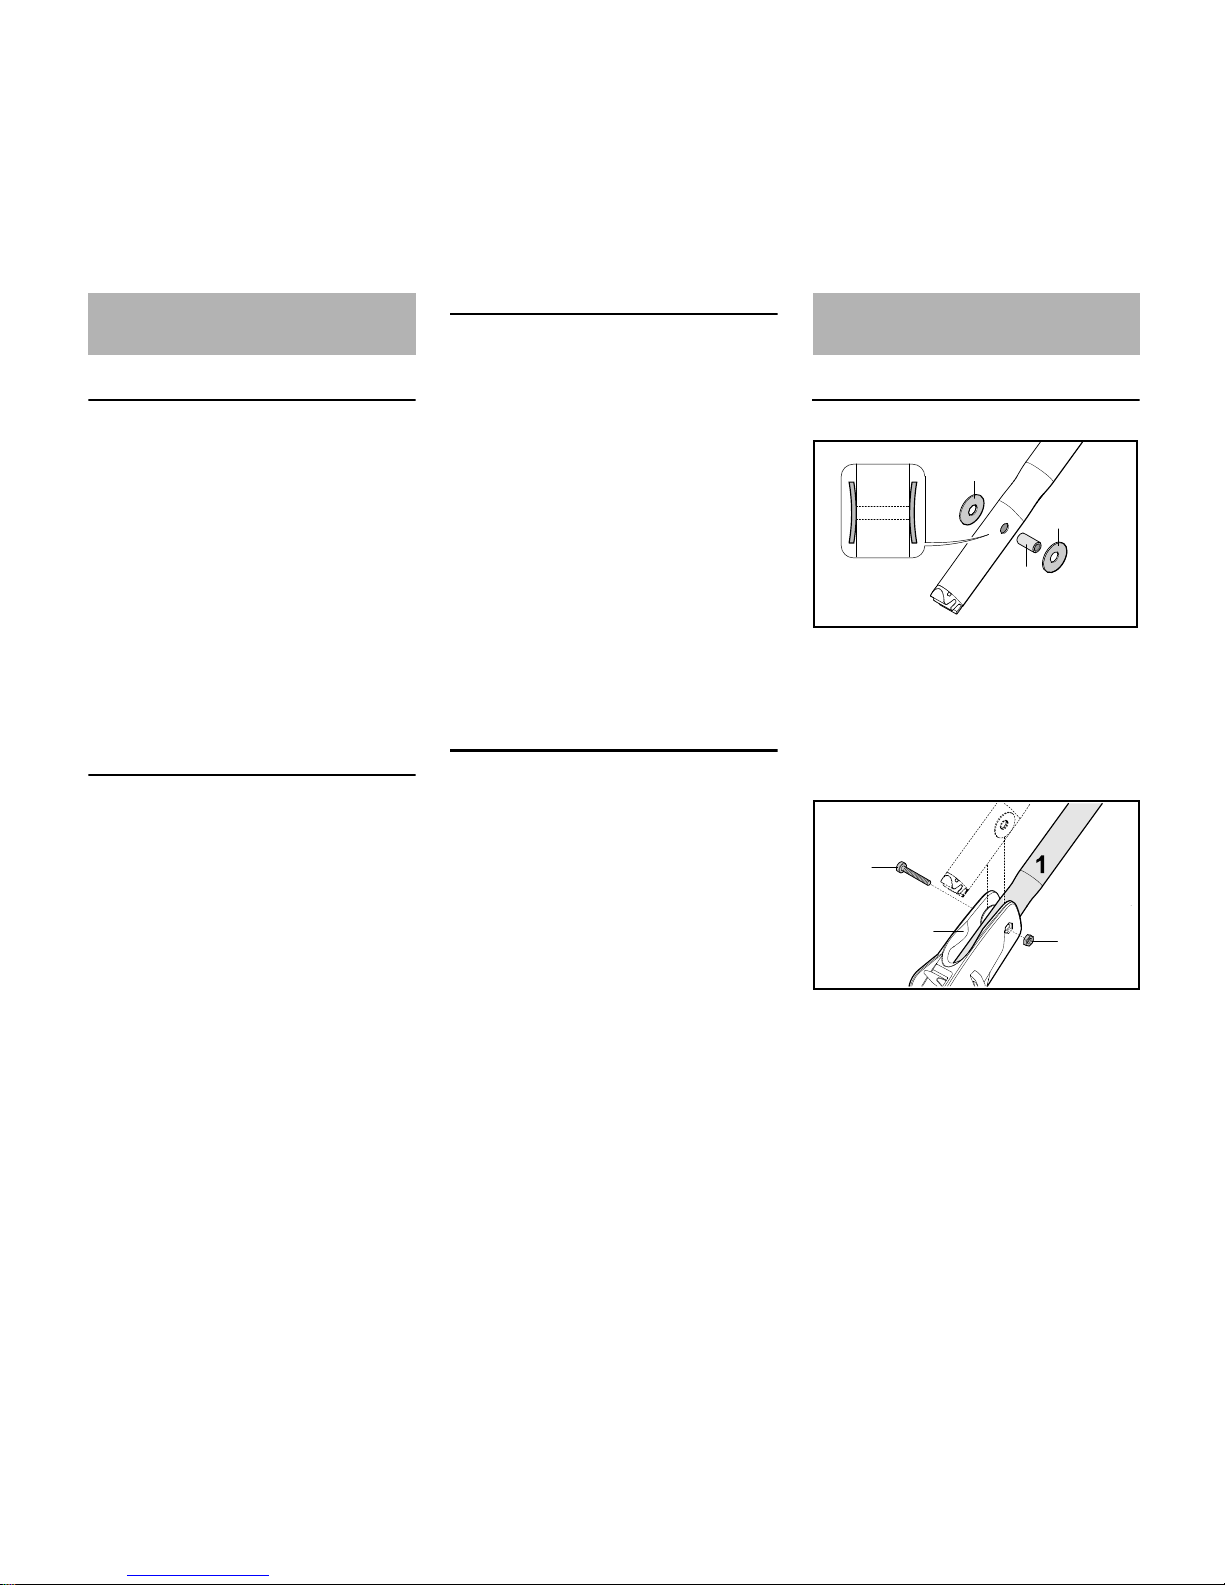
Mounting Upper Handlebar
N Push the bushing (1) into the hole in
the lower handlebar (3).
N Push the left and right cup springs
(2) (convex sides facing handlebar)
onto the bushing in the lower
handlebar (3).
N Fit the handlebar (1) in the fork head
(2).
N Insert the screw (4) through the
holes in the fork head and bushing
in the handlebar.
N Fit the locknut (3) in the recess in
the fork head.
N Tighten down the screw (4) to 20 -
25 Nm.
Mulching Mounting the Handlebar
0000-GXX-0041-A0 KN
1
2
3
2
3
0000-GXX-0042-A0 KN
2
4
20 - 25 Nm
 Loading...