

Page 1

3-864-749-11(1)
Ster eo
Turntable System
Operating Instructions
PS-LX200H
© 1998 by Sony Corporation
1
Page 2
WARNING
Precautions
To prevent fire or shock
hazard, do not expose
the unit to rain or
moisture.
For the customers in the
U.S.A.
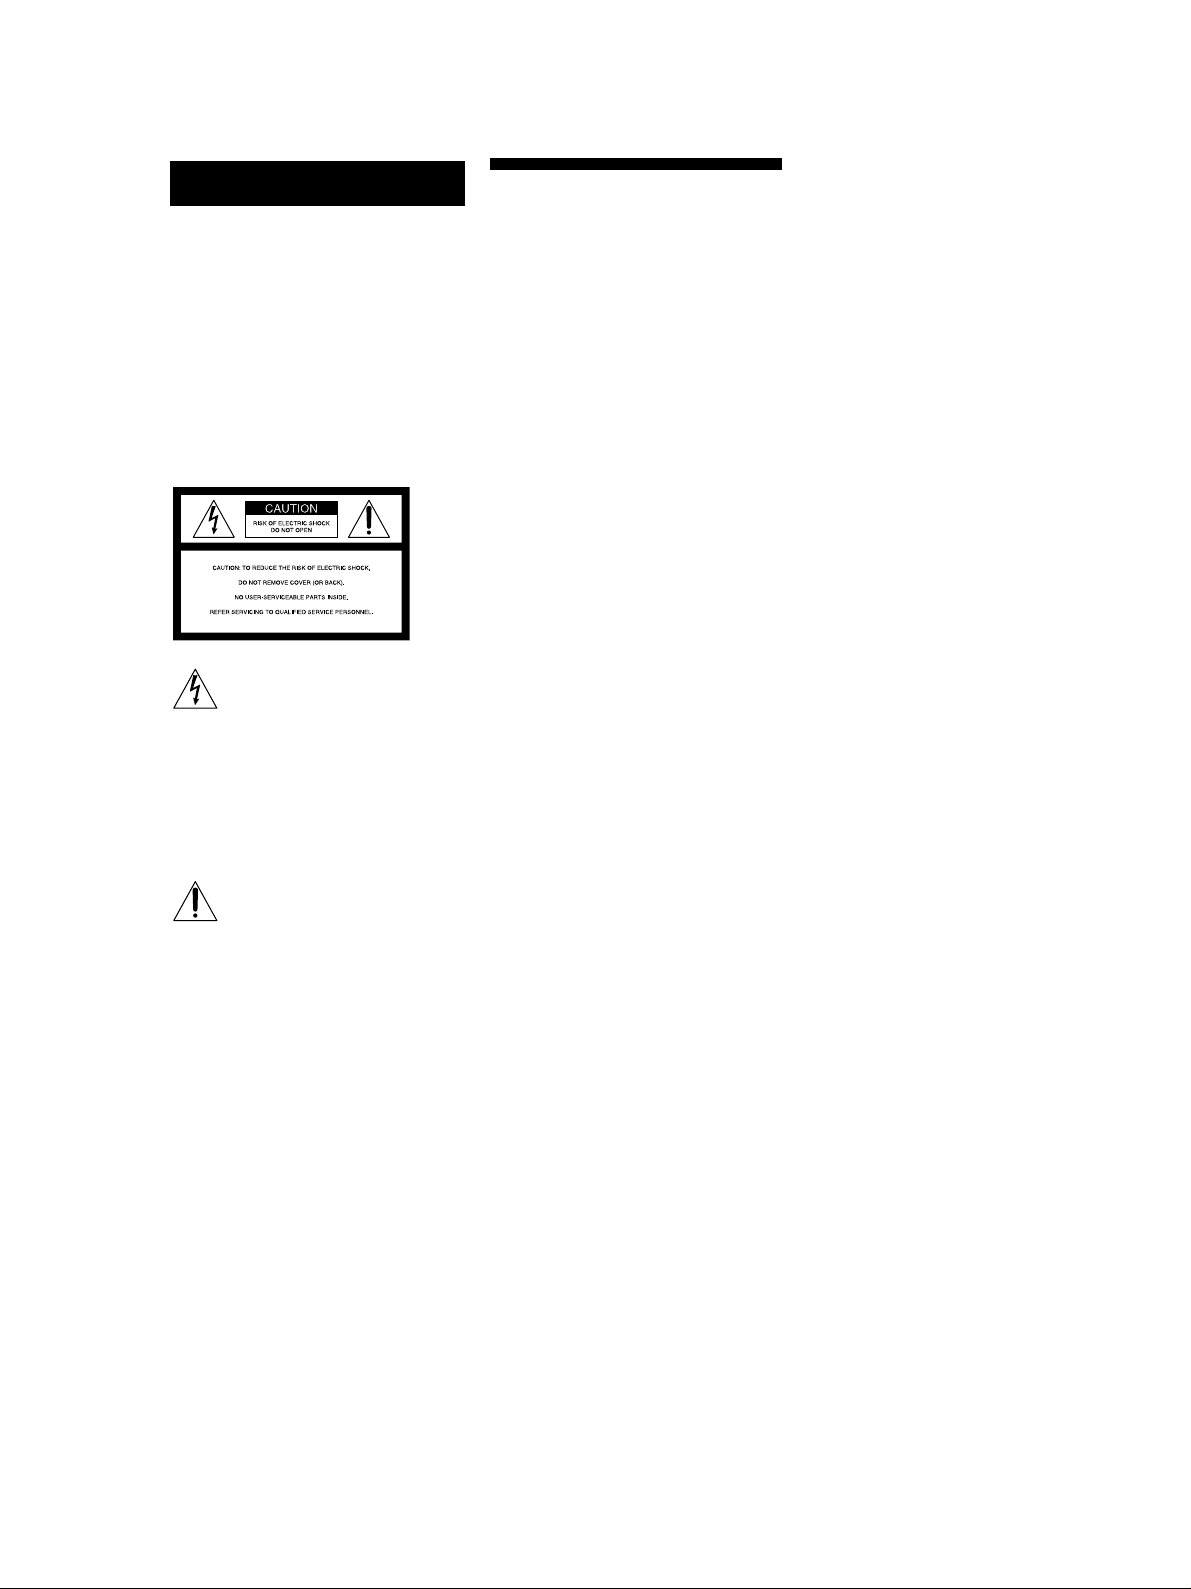
This symbol is intended to alert the user
to the presence of uninsulated
“dangerous voltage” within the
product’s enclosure that may be of
sufficient magnitude to constitute a risk
of electric shock to persons.
This symbol is intended to alert the user
to the presence of important operating
and maintenance (servicing) instructions
in the literature accompanying the
appliance.
On safety
• Before operating the unit, check that
the operating voltage of your unit is
identical with that of your local
power supply.
• Should any solid object or liquid fall
into the cabinet, unplug the unit and
have it checked by qualified
personnel before operating it any
further.
• Unplug the unit from the wall outlet
if it is not to be used for an extended
period of time. To disconnect the
cord, pull it out by the plug. Never
pull the cord itself.
• The unit is not disconnected from the
AC power source (mains) as long as it
is connected to the wall outlet, ever if
the unit itself has been turned off.
• The nameplate indicating operating
voltage, power consumption, etc. is
located on the rear exterior.
On placement
• Place the unit on a level surface.
• Avoid placing the unit near electrical
appliances (such as a television, hair
dryer, or fluorescent lamp) which
may cause hum or noise.
• Place the unit where it will not be
subject to any vibration, such as from
speakers, slamming of doors, etc.
• Keep the unit away from direct
sunlight, extremes of temperature,
and excessive dust and moisture.
CAUTION
You are cautioned that any changes or
modification not expressly approved in
this manual could void your authority
to operate this equipment.
Keep the carton and packing materials.
They provide an ideal container to
transport the unit.
If you have any question or problem
concerning your unit that is not covered
in this manual, please consult your
nearest Sony dealer.
2
On repacking
Page 3

Welcome!
Thank you for purchasing the Sony
Stereo Turntable System. Before
operating the unit, please read this
manual thoroughly and retain it for
future reference.
TABLE OF CONTENTS
Getting Started
Unpacking 3
Assembling the Turntable 4
Hooking up the Turntable 4
Convention
The following icon is used in this
manual:
Indicates hints and tips for
making the task easier.
Operations
Playing a Record 5
Additional Information
Maintenance 6
Troubleshooting 7
Specifications 7
Parts and Controls (Back cover)
Unpacking
Check that you received the following items with your turntable:
• Platter (with drive belt) (1)
• Rubber mat (1)
• Dust cover (with hinges) (1)
• 45 r/min adaptor (1)
3
Page 4

Getting Started
Assembling the Turntable
4
2
1
3
1 Move the metallic parts inside the larger gear in
the direction of arrows.
When the power is supplied after assembling or
moving the turntable
The turntable sometimes rotates and the torn arm
descends to the platter even if START is not pressed.
If this occurs, press STOP to return the tone arm to the
arm stand.
Hooking up the Turntable
The phono cables come attached to the rear of the
cabinet.
1 Connect the cable with the red plug to the right
PHONO IN R input jack on the amplifier and
connect the cable with the white plug to the left
PHONO IN L input jack.
Amplifier
L
R
Mains lead hookups
Connect the mains lead to an AC wall outlet after
completing all of the previous connections.
/ to a wall outlet
PHONO IN
2 Carefully, place the platter on the spindle.
3 Using the ribbon, loop the drive belt around the
motor pully. After looping the belt, do not forget
to remove the ribbon.
4 Place the rubber mat on the platter.
Installing the dust cover
Insert the hinges on the dust cover into the hinge
pockets on the rear of the cabinet.
4
Page 5

Operations
Playing a Record
1
2
5
4
3
To stop playing
Press STOP.
To pause playback
Press the UP/DOWN button to raise the stylus off the
record.
To listen to a different part of the record
1 Press UP/DOWN button.
2 Move the tone arm to the position you desire.
3 Press UP/DOWN button.
The tone arm descends to the record.
UP/DOWNSTOP
1 Place a record on the platter.
Note
Place only one record on the platter at a time. If two or
more records are stacked on the platter, the stylus will
not make proper contact with the grooves and the
quality of reproduction will be impaired.
2 Press the Speed select button to select the speed.
3 Set the SIZE SELECTor to 17 or 30.
4 Remove the protective cover from the cartridge,
and close the dust cover.
To play a 17-cm record
Place the supplied 45 r/min adaptor on the spindle.
When you have finished using the adaptor, put it back
in the adaptor tray.
5 Press START.
The platter starts rotating.
6 Adjust the volume on your amplifier.
5
Page 6

Additional Information
Maintenance
Stylus and Record Care
In order to prevent premature stylus and record wear,
the stylus and record should be cleaned before
playback.
To clean the stylus, brush it from back to front using a
good quality stylus cleaning brush. Do not clean the
stylus with your finger tip. When using a fluid stylus
cleaner, make sure not to moisten the stylus too much.
To clean your records, wipe thoroughly using a good
quality record cleaner.
Cleaning the Cabinet and Dust Cover
Clean the cabinet and dust cover periodically using a
soft dry cloth. If stains are difficult to remove, use a
cloth moistened with a mild detergent solution. Do not
use solvents such as alcohol, benzine or thinner, since
they will damage the finish.
Replacing the Stylus
The life expectancy of the stylus tip is about 500 hours.
To preserve maximum sound quality and avoid
damage to your records, we recommend replacing the
stylus within this time limit.
Additional replacement styli (ATN3600LX) are
available from your Sony dealer.
To replace the stylus
1 Turn off the amplifier.
2 Grasp the stylus holder and pull it away from the
body of the cartridge.
3 Insert the new stylus by pushing it into the
cartridge receptacle.
6
Page 7

Additional Information
Troubleshooting
Before going through the check list below, first make
sure that:
• The power cord is securely connected.
• The speaker cords are securely connected.
Should any problem persist after you have made these
checks, consult your nearest Sony dealer.
The tone arm skips, skates or does not advance.
b The turntable is not level. Place the turntable on a
level surface.
b The record is dirty or scratched.
Clean the record with a commercially available
record cleaning kit, or replace the record.
Poor sound quality, excessive noise, intermittent sound,
etc…
b The stylus is dirty or worn. Remove dust on the
stylus using a stylus cleaning brush, or replace the
worn stylus (see page 6).
b Dust or dirt has collected on the record. Clean the
record using a good quality record cleaner.
Rumble or low-frequency howl*.
b The turntable is placed too close to speakers. Move
speakers away from the turntable.
Tempo is incorrect.
b Incorrect r/min. Set the r/min setting to match the
one indicated on the record. (Select “33” for 33 1/
r/min records or “45” for 45 r/min records.)
The drive belt is deteriorated.
b Replace the drive belt. For details, please make a
contact with Sony dealer.
Platter does not rotate.
b Make sure the power cord is inserted all the way into
an AC wall outlet.
The drive belt is broken.
b Replace the drive belt. For details, please make a
contact with Sony dealer.
Sound is too low or distorted.
b The turntable is not connected to the PHONO IN
inputs on the amplifier (see page 4).
3
Specifications
Motor and Platter
Drive system Belt-drive
Motor DC motor
Platter 295 mm dia. (aluminum, die-cast)
Speeds 33 1/3 and 45 r/min, 2 speed
Wow and flutter Less than 0.25% (WRMS)
Signal to noise ratio More than 50 dB (DIN-B)
Tone Arm
Type Dynamic balanced straight shaped with
soft damping control
Effective arm length 195 mm
General
Power requirements U.S.A.: 120 V AC, 60 Hz
Other countries: 220 ~ 230 V, 50/60 Hz
Power consumption 2 W
Dimensions Approx. 420 x 100 x 342 mm (w/h/d)
Mass 2.7 kg
Supplied Accessories
45 r/min adaptor (1)
Platter (with drive belt) (1)
Rubber mat (1)
Dust cover (1)
Design and specifications are subject to change without notice.
* This phenomenon, called “acoustic feedback”, occurs
when vibrations from the speakers are transmitted
through the air or via solid objects (such as shelves, a
cabinet, or the floor) to the turntable where they are
picked up by the stylus, amplified and reproduced
through the speakers.
7
Page 8

Additional Information
Parts and Controls
1 Spindle
2 45 r/min adaptor
3 Speed select button
4 Rubber mat
5 Platter
6 Cartridge and headshell
7 START button
8 Insulator
1
9 Dust cover
!º Hinge
!¡ Tone arm
!™ Arm stand
!£ Finger lift
!¢ SIZE SELECTor
!∞ STOP button
!§ UP/DOWN button
9
!º
2
3
4
5
6
7
8
!¡
!™
!£
!¢
!∞
!§
Sony Corporation Printed in Taiwan
8
 Loading...