

Page 1

Index Page
1. Safety instructions 2
2. Taking it into use 3
3. Installing the driver 4
4. Using the camera 6
Connecting the camera 6
Using the camera 6
Adjusting the focus 7
Switching the camera off 7
5. Settings 8
Menu „Settings“ 9
Menu „Effects“ 11
Zoom Menu 12
Making adjustments over the Taskbar-Symbol 13
6. System requirements 14
7. Technical data 14
8. Disposal 15
9. Importer 15
10. Important Warranty Information 16
- 1 -
Read the operating instructions carefully before using the appliance for the first
time and preserve this manual for later reference. Pass this manual on to whoever
might acquire the appliance at a future date.
IB_KH2342_V5877_UK_V3.qxd 18.07.2007 9:39 Uhr Seite 1
Page 2
1. Safety instructions
Intended Use
• The PC Camera is intended for the recording of video films and
photos as well as for use in video-chatting and as a webcam. The PC
Camera is intended exclusively for private use, NOT for commercial
purposes.
CAUTION! Damage to the appliance
• Do NOT attempt to take the camera apart. To avoid unnecessary
risks, arrange for all repairs to the appliance to be carried out by
authorised specialists or our Customer Services Department.
• Protect the camera against extreme temperatures and humidity.
NEVER submerse the appliance in water. Wipe it off only
with a soft cloth.
CAUTION! Loss of data
• When the camera programme is running, NEVER remove the
camera plug from the appliance. This could "crash" your system.
• In unfavourable circumstances the installation of new drivers onto
your notebook could cause system crashes and the loss of data.
• Therefore, make back-up files of your hard drive disc onto external
data storage mediums before each installation.
• Always use new data file names when creating new data files.
Data files with the same names will be overwritten without warning.
- 2 -
IB_KH2342_V5877_UK_V3.qxd 18.07.2007 9:39 Uhr Seite 2
Page 3

2. Taking it into use
Unpacking
1. Extract the PC camera and the accessories from the packaging.
2. Remove all adhesive tapes, foils and transport restraints.
Items supplied
Before taking the appliance into use, check that all items are present
and free of visible damage.
• PC Camera
• Installation CD
• This operating manual
Appliance description
q Snap-shot button
w Lens cover
e USB plug
r Swan neck
t Lens
y Focus ring
- 3 -
IB_KH2342_V5877_UK_V3.qxd 18.07.2007 9:39 Uhr Seite 3
Page 4
3. Installing the driver
Important
Do not connect the camera to the USB connection if the driver has
not yet been installed. Otherwise, the camera may not be properly
recognised by your notebook.
1. Switch your notebook on and start Windows.
2. Close all programmes currently running.
3. Insert the installation CD supplied with the appliance.
Note:
Should the installation CD not start automatically, open Windows
Explorer, select the CD-ROM drive in which the installation CD is
located and then open the data-file "setup.exe" with a double
click.
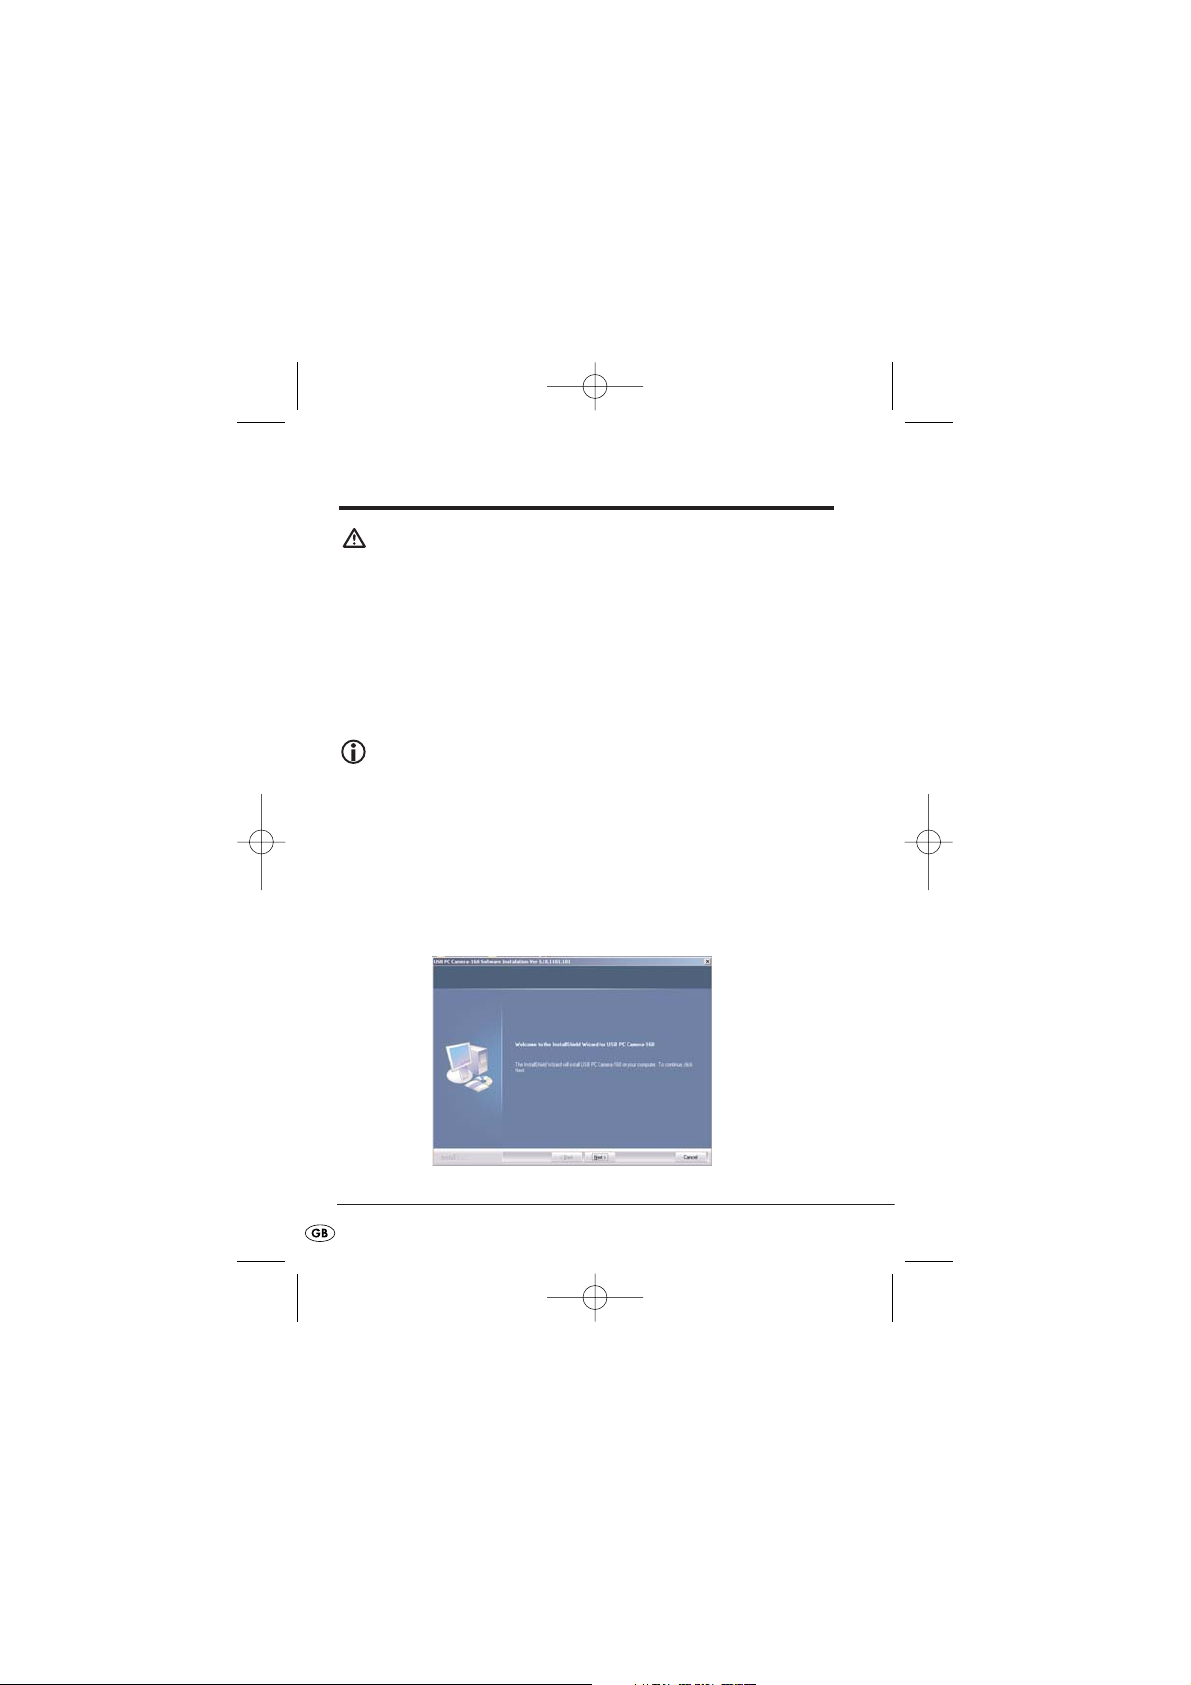
The installation starts automatically from the CD. Click on "
Next
" in the
installation window.
- 4 -
IB_KH2342_V5877_UK_V3.qxd 18.07.2007 9:39 Uhr Seite 4
Page 5
• During installation follow the instructions on the monitor.
• Should a message about the Windows-Logo-Test appear, ignore it
and click on "
Next
".
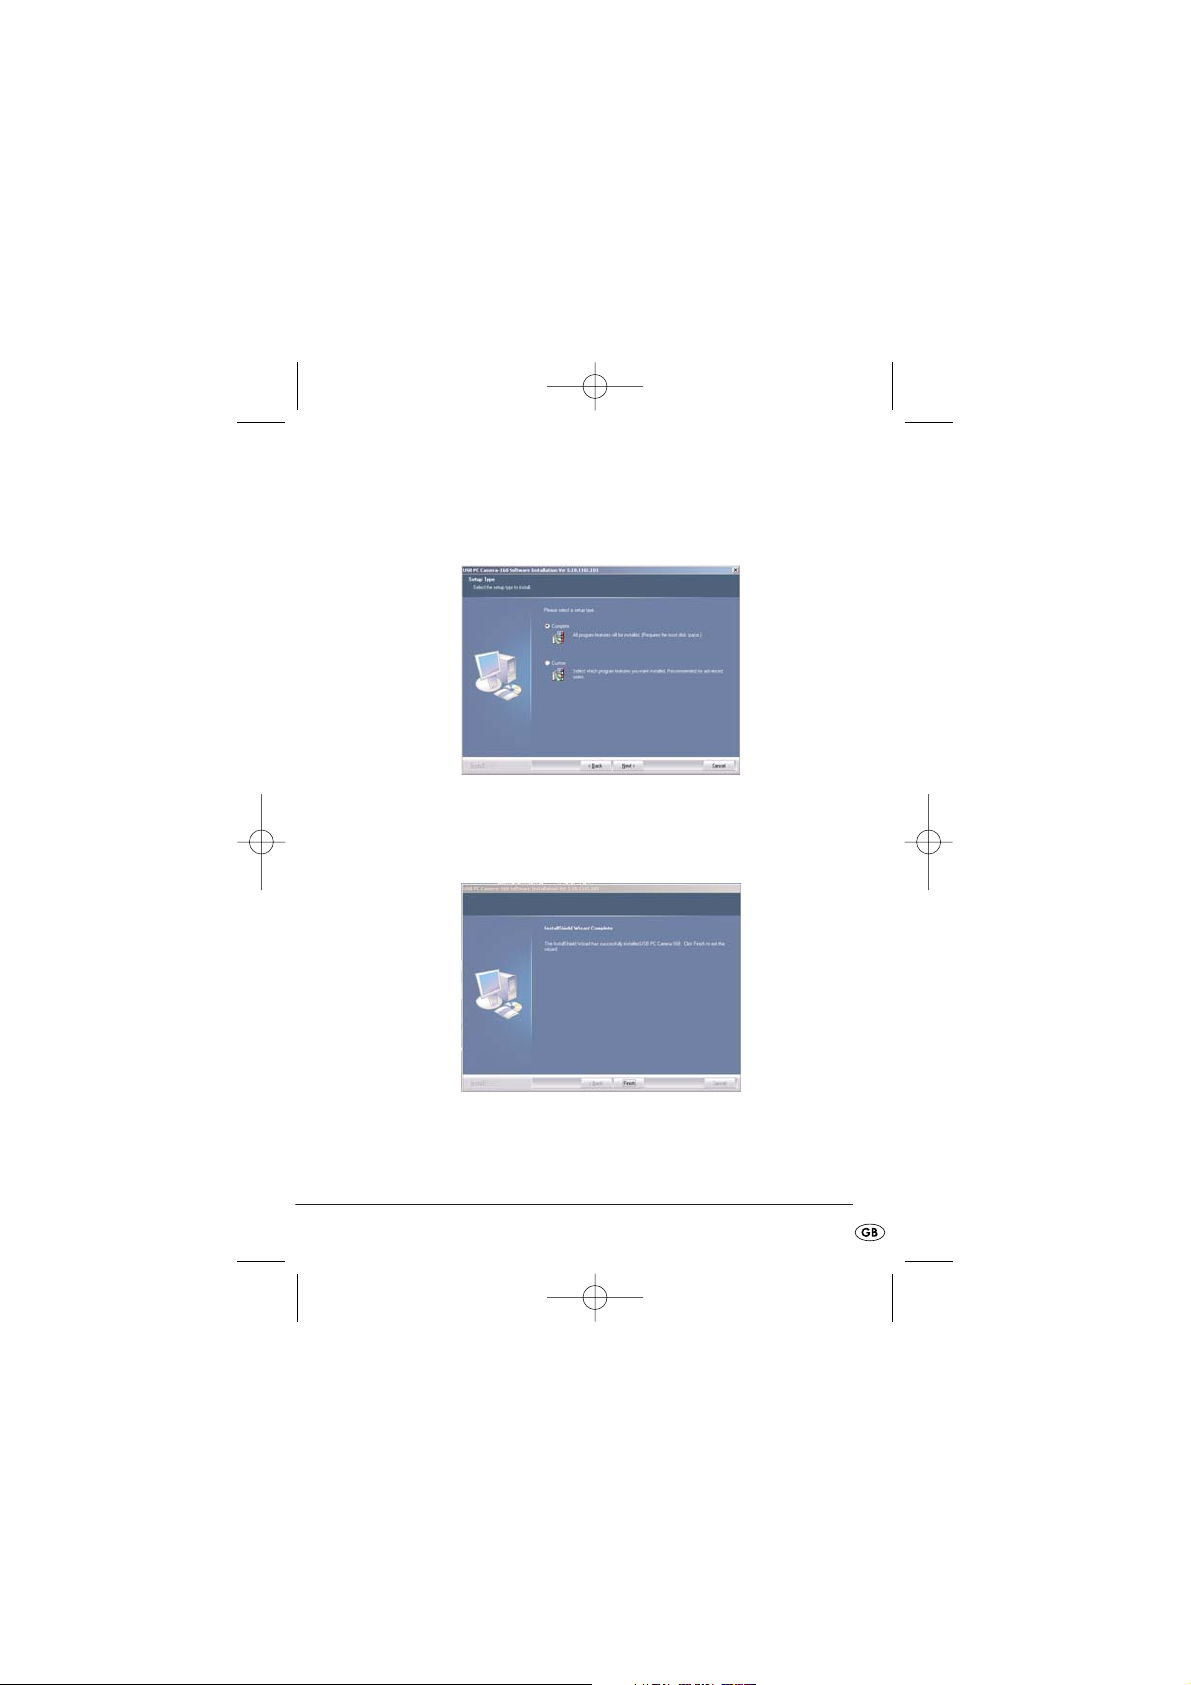
4. Select the installation type "
Complete
" and click on "
Next
". In the
next window select the entry "
Install
".
After clicking on "
Finish
" the driver for the camera is ready for use.
Restart Windows if you are invited to do so.
- 5 -
IB_KH2342_V5877_UK_V3.qxd 18.07.2007 9:39 Uhr Seite 5
Page 6
4. Using the camera
Connecting the camera
1. Insert the USB plug e of the camera into the USB connector on
your notebook.
The hardware recognition now runs.
2. Follow the instructions on the monitor.
• If necessary, during the installation of the hardware select "
Install the
software automatically
".
• Should a message about the Windows-Logo-Test appear, ignore it
and click on "
Continue
".
3. When the hardware recognition is complete, the camera is ready
for use and can be used with the software that you already use
for video-chatting or video recording.
Using the camera
Note:
Before taking the camera into use remove the lens cover wfrom
the camera.
You can start the camera by two methods:
• Press the snap-shot button q on the camera
or
• In the start menu select under "
PROGRAMMES
" the entry "
USB PC
Camera Plus
“. In the dropdown menu click on "
AMCap
".
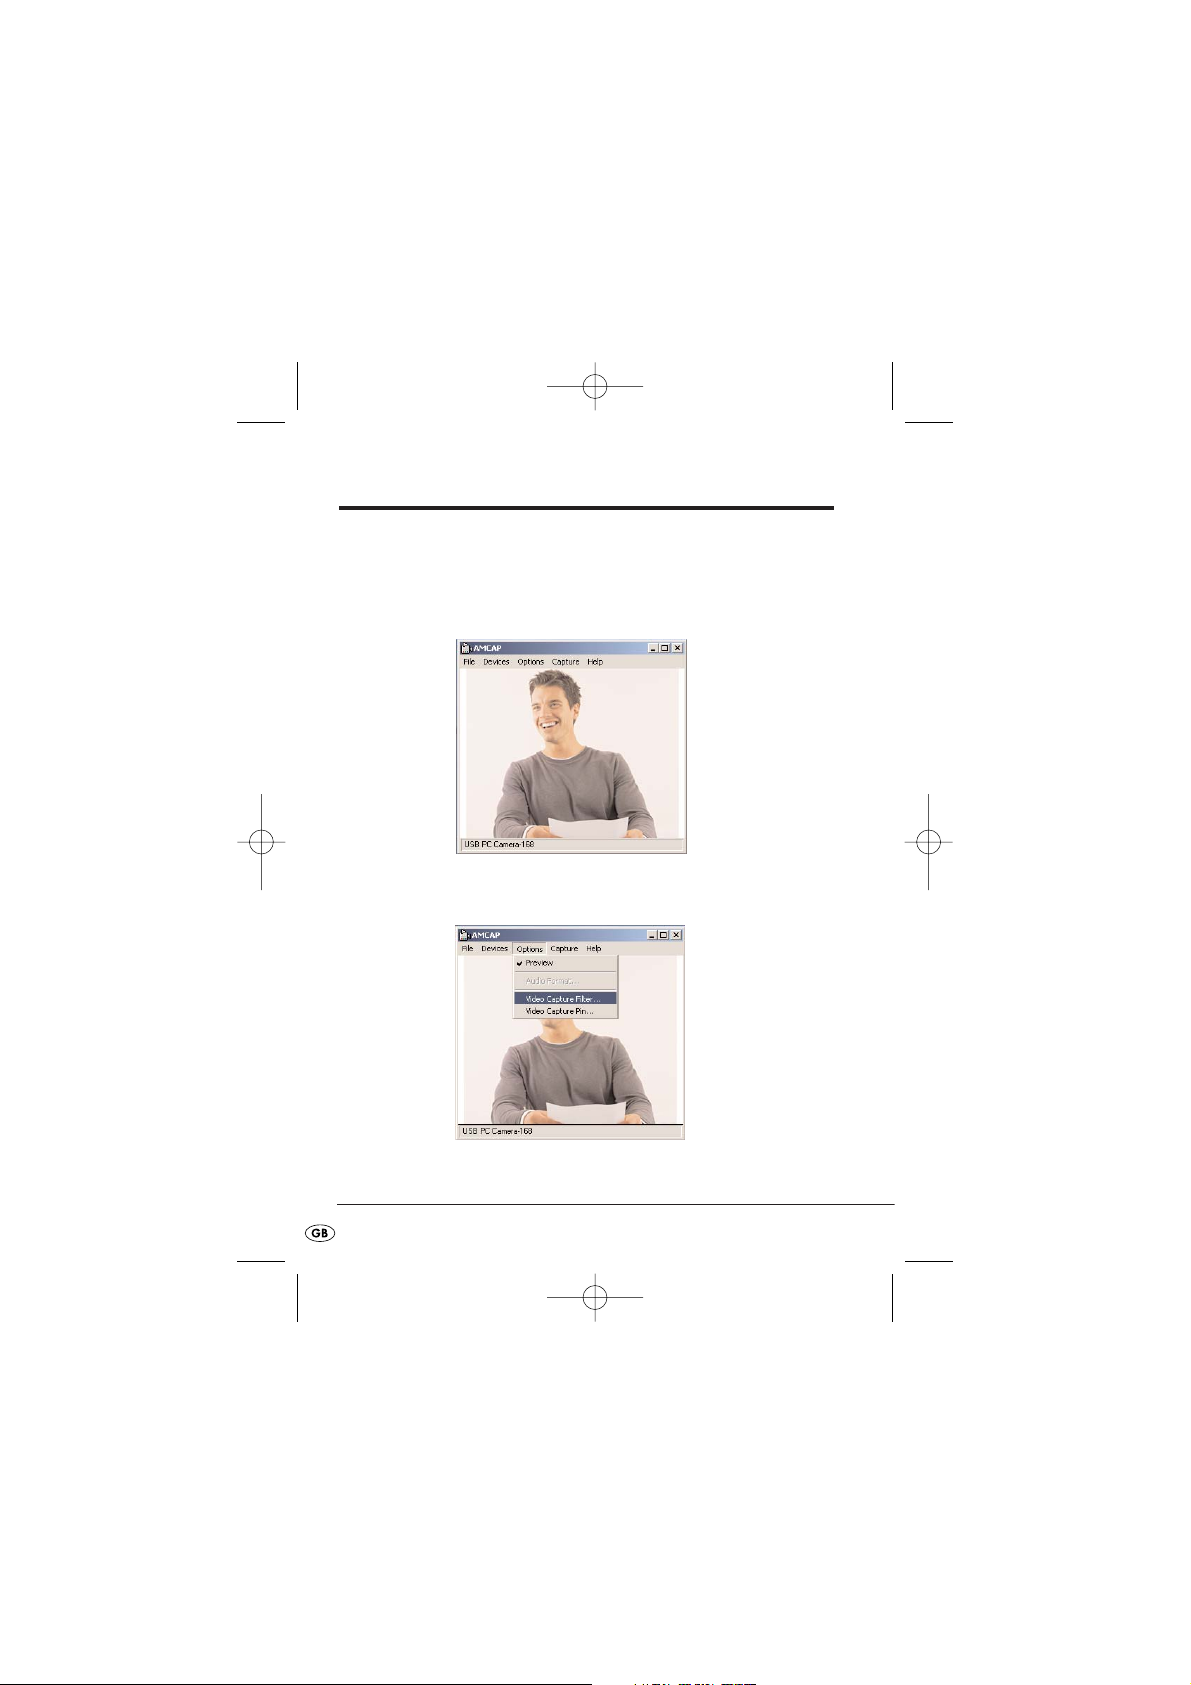
The camera programme
AMCap
is opened. After a short time the camera
view appears.
• Align the direction of the camera by means of the swan neck r.
- 6 -
IB_KH2342_V5877_UK_V3.qxd 18.07.2007 9:39 Uhr Seite 6
Page 7

Note:
When adjusting the alignment of the swan neck securely hold the
USB plug so as to avoid any damage to the plug itself.
Note:
Should it be that an image is not displayed, open the appliance
configuration of your notebook. Under
"
Display adapters
"
the
entry
"
USB PC Camera SN9C120
"
must be shown. Should the entry
not be there, re-install the driver.
Additionally, in the menu
"
Options
"
of the camera programme
"
AMCap
", the menu option "
Preview
"
must be activated.
Adjusting the focus
• Turn the focus ring y on the lens of the camera until the image from
the camera is brought into sharp focus.
Switching the camera off
• Close the camera programme. The camera will be automatically
switched off and the USB connection can then be withdrawn from
your notebook.
• After use, also replace the lens cover w back on to the lens t.
- 7 -
IB_KH2342_V5877_UK_V3.qxd 18.07.2007 9:39 Uhr Seite 7
Page 8
5. Settings
All of the adjustment possibilities for images and recordings are to be
found in the menu of the camera programme.
Entries and options shaded in grey are not supported by your camera
or from your notebook.
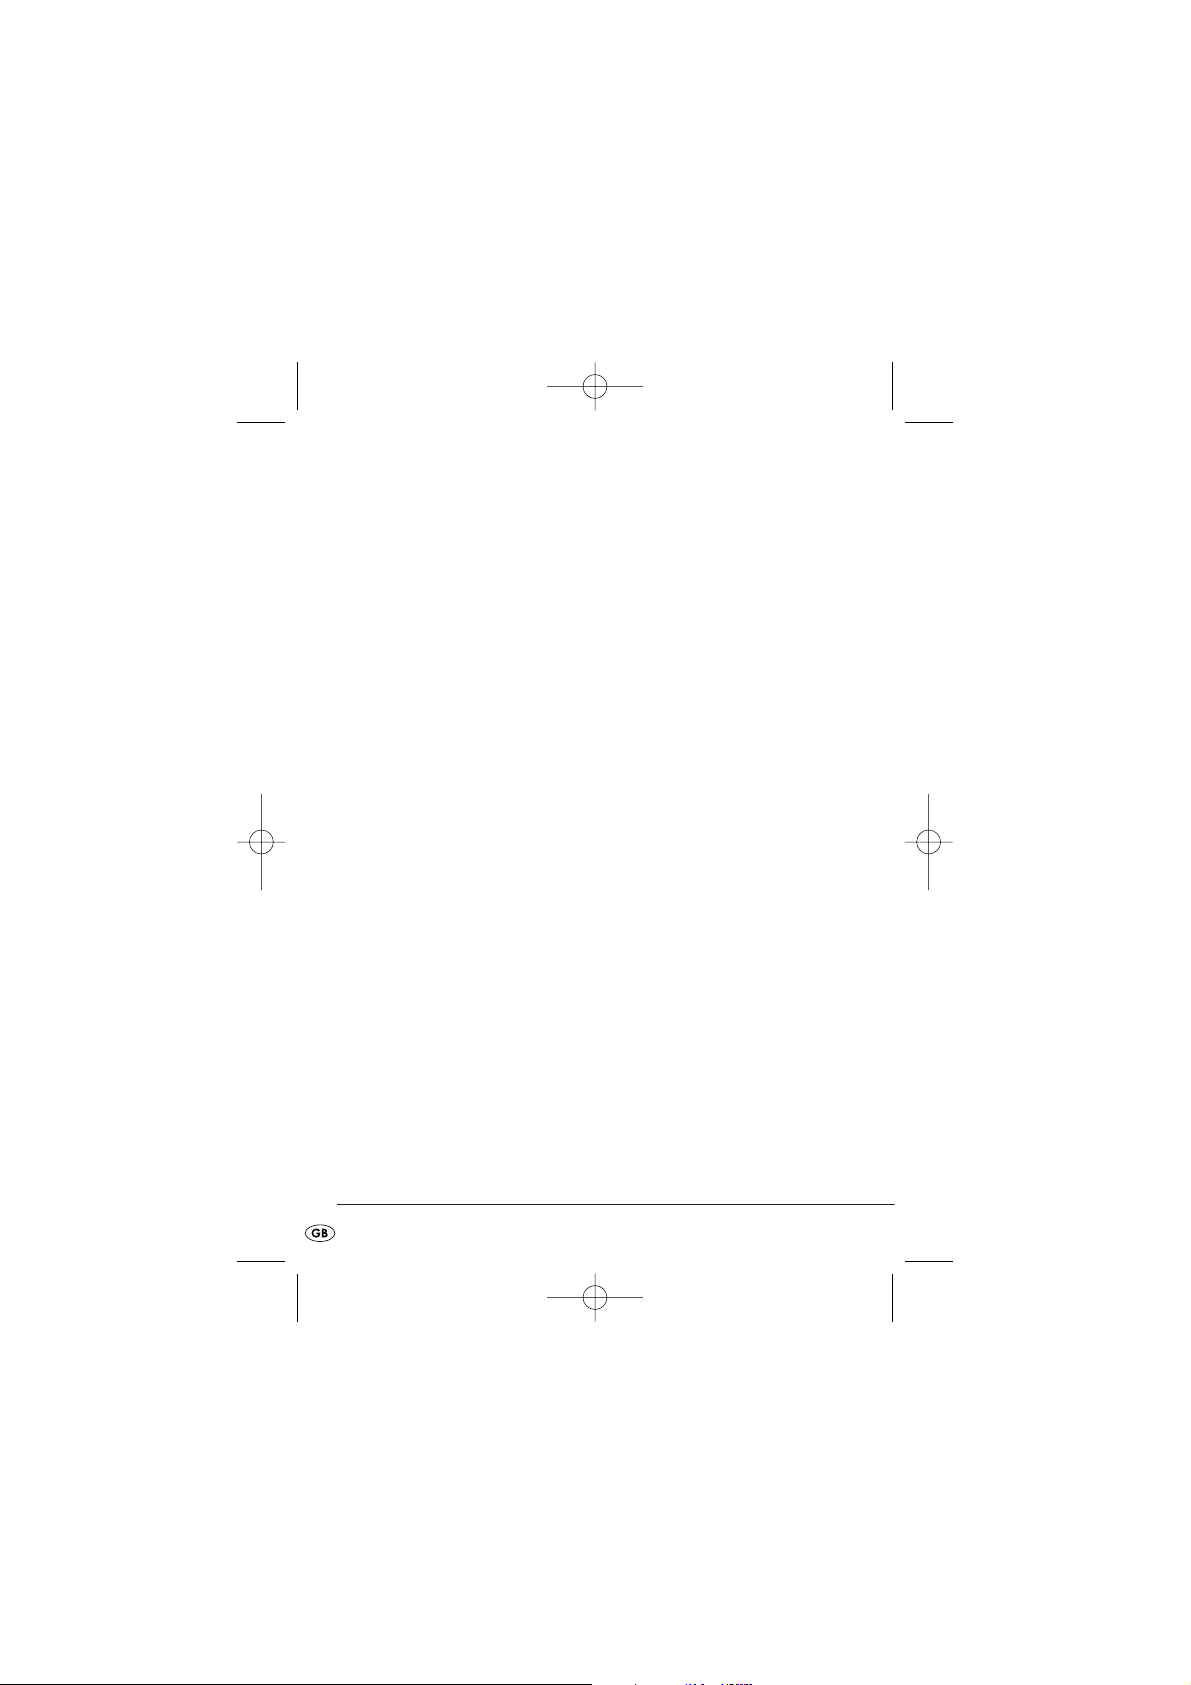
To be able to make adjustments, select from the menu bar the choice
"
Options
" and then the entry "
Video Capture Filter
".
The window "
Properties
" appears, in which you can then make the follo-
wing adjustments:
- 8 -
IB_KH2342_V5877_UK_V3.qxd 18.07.2007 9:39 Uhr Seite 8
Page 9

Menu „Settings“
Image controls
Image Mirror
Mirrors the camera image
Image Flip
Turns the camera image through 180°
Low Light
Controls the camera image for recording with poor lighting
Additionally, in this area you can adjust
Brightness, Contrast, Gamma
,
Hue, Saturation, Sharpness
and the
VGA-SnapSize
.
- 9 -
IB_KH2342_V5877_UK_V3.qxd 18.07.2007 9:39 Uhr Seite 9
Page 10
Default
Reset
Returns all adjustments to the default settings
Save
Saves the current adjustments
Restore
Restores the last set of adjustments
In/Out Door
Here you can enter the light conditions under which the camera is to
operate.
Flicker
Set the recording frequency to
50 Hz
or
60 Hz
. This adjustment can be
helpful with monitor recordings.
Extra Control
Here you can detail if the camera image is to be recorded by
Backlight
Comp.
or in black and white (
B/W Mode)
.
Aux LED Mode
This function is not available.
Auto Mode Control
If you remove the tick under "
Auto
", you can manually adjust the USB
Bandwidth, the lighting value and the white balance.
- 10 -
IB_KH2342_V5877_UK_V3.qxd 18.07.2007 9:39 Uhr Seite 10
Page 11

Menu „Effects“
Effect
Here you can enter an effect for the camera image.
Frame
Select a frame to be placed around the camera image.
Customized Frame
Here you can select your own frame-data in the graphic format Bitmap
(.bmp) for the camera image.
When you want to erase the selected effects and frames, select the
option "
No effect&frame
".
- 11 -
IB_KH2342_V5877_UK_V3.qxd 18.07.2007 9:39 Uhr Seite 11
Page 12
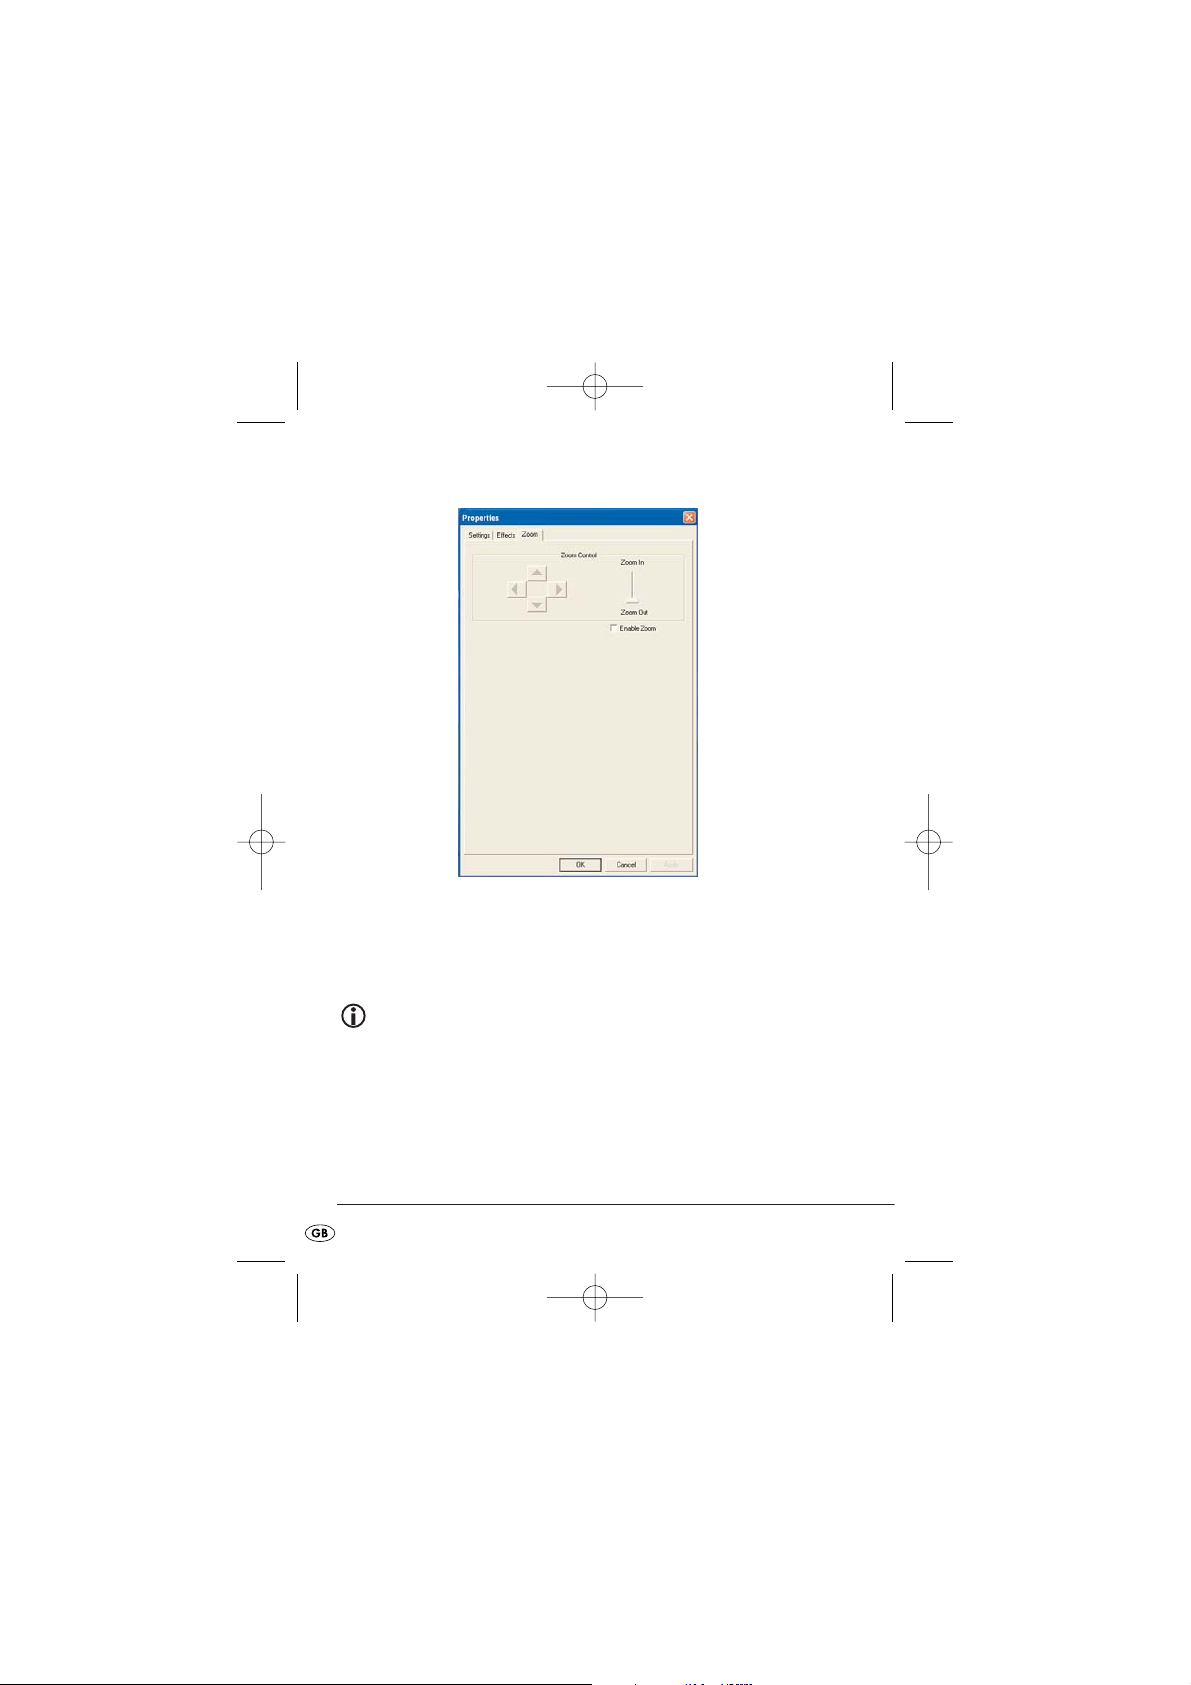
Zoom Menu
Click in the field "
Enable Zoom
" to carry out a manual adjustment of the
Zoom function.
Pull the slider between "
Zoom In
" and "
Zoom Out
" to enlarge or diminish
the image size.
Note
To adjust the various sizes you must first of all set the resolution
to 640x480 Pixels in the menu "
Options/ Video Capture Pin
"
.
- 12 -
IB_KH2342_V5877_UK_V3.qxd 18.07.2007 9:39 Uhr Seite 12
Page 13
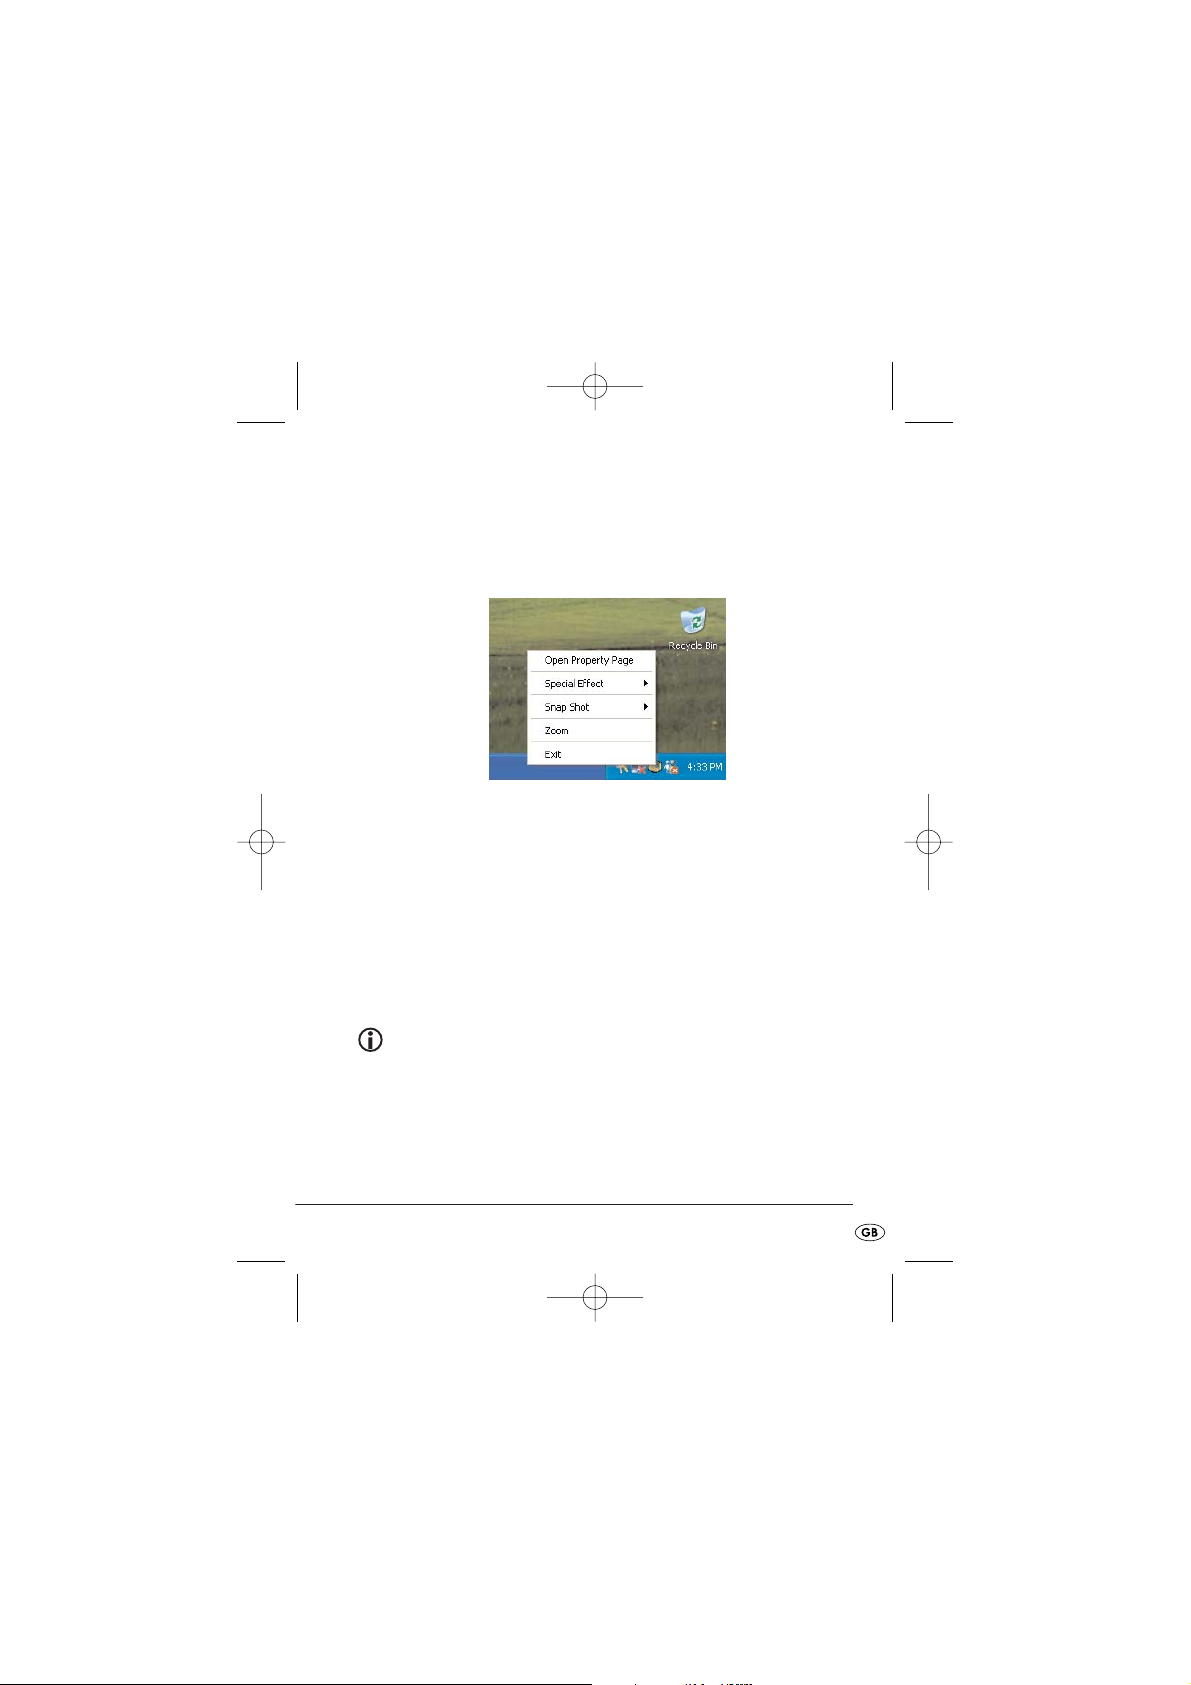
Making adjustments over the Taskbar-Symbol
You can also activate fundamental adjustments over the Programme
Symbol in the Taskbar.
To do this, click on the camera symbol in the Taskbar with the right
mouse-button.
Open Property Page
With this you can open the menu "
Properties
".
Special Effect
Here you can directly select the effects from the menu "
Properties
".
Snap Shot
Here you can adjust the snap shot size.
Note
To adjust the various sizes you must first of all set the resolution
to 640x480 Pixels in the menu "
Options/ Video Capture Pin
"
.
Zoom
Here you can directly adjust the Zoom function.
- 13 -
IB_KH2342_V5877_UK_V3.qxd 18.07.2007 9:39 Uhr Seite 13
Page 14

Exit
Closes the Taskbar Menu.
6. System requirements
Notebook or PC with IntelPentium Prozessor min. 100Mhz
Operating System: Windows 98/ME/2000/XP/VISTA
32 MB RAM
20 MB available hard drive space
2D/3D Graphic card with min. 32 MB RAM and 16-Bit colour depth
4 X CD-ROM drive suitable for 8cm CDs
USB Connection min. USB1.1
7. Technical data
Lens : 6 mm
Video format: max. 800x600
Focus range: 3 cm to infinity
Resolution: 1,3 M
Operating voltage: 5 V
Power consumption: 40 mA
- 14 -
IB_KH2342_V5877_UK_V3.qxd 18.07.2007 9:39 Uhr Seite 14
Page 15

8. Disposal
Do not dispose of the appliance in your normal domestic waste.
Dispose of the appliance through an approved disposal centre or at
your community waste facility.
Observe the currently applicable regulations. In case of doubt, please
contact your waste disposal centre.
Disposal of packaging
Dispose of the packaging materials in an environmentally
responsible manner.
9. Importer
KOMPERNASS GMBH
BURGSTRASSE 21
D-44867 BOCHUM
Germany
www.kompernass.com
- 15 -
IB_KH2342_V5877_UK_V3.qxd 18.07.2007 9:39 Uhr Seite 15
Page 16

10. Important Warranty Information
The warranty for this appliance is for 3 years from the date of purchase.
Should you have reasons for complaint, despite of our high quality standards, please contact our Service Hotline. In the event that your complaint
cannot be resolved over the telephone, you will receive from them
• a processing number (RMA number) as well as
• an address, to which you can send your product for warranty processing.
In the case of a mail-in shipment please enclose a copy of the purchase
receipt (sales slip). The appliance must be securely packed and the
RMA number clearly visible. Shipments without an RMA number can not be
processed.
Note:
The warranty provisions cover only material or factory defects.
The warranty provisions do not cover
• worn out parts
• damage to breakable parts like switches or rechargeable batteries.
This product is for private use only and is not intended for commercial use.
The warranty is void in the case of abusive and improper handling, use of
force and internal tampering not carried out by our authorized service
branch. Your statutory warranty claims are not restricted by this warranty.
- 16 -
IB_KH2342_V5877_UK_V3.qxd 18.07.2007 9:39 Uhr Seite 16
Page 17

Warranty
To make certain of a free-of-charge repair, please call our
Service-Hotline. Make sure you have your sales slip handy.
Mobile Webcam KH 2342
Sender, please write clearly:
Last name
First name
Street
City/Town
Country
Telephone
Date/Signature
DES Ltd
Tel.: 0870 787 6177
Fax: 08707 787 6168
e-mail: support.uk@kompernass.com
✄
Completely fill out this section and enclose it with the appliance!
IB_KH2342_V5877_UK_V3.qxd 18.07.2007 9:39 Uhr Seite 17
Page 18

✄
Description of the defect:
IB_KH2342_V5877_UK_V3.qxd 18.07.2007 9:39 Uhr Seite 18
 Loading...