

Page 1
en
Operating Instructions
REV200.03RF
REV200S.03RF
Meaning of the Symbols
Commissioning and quick start
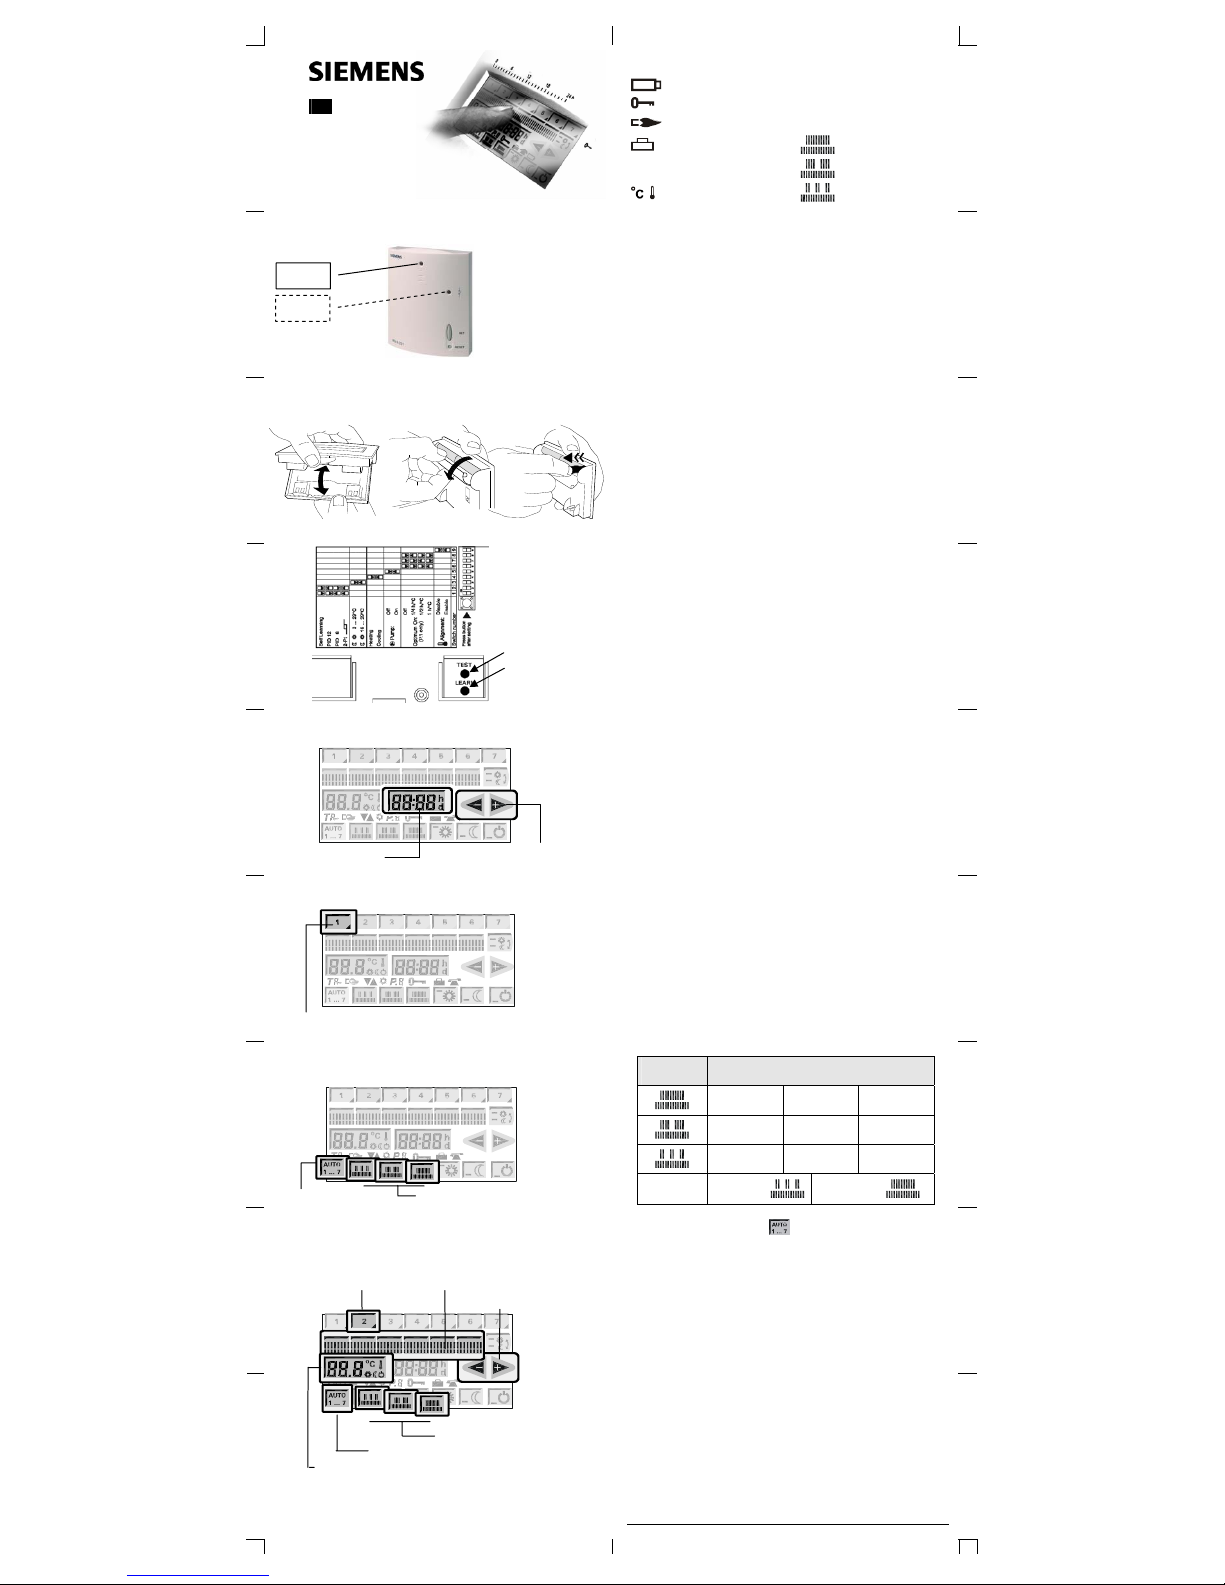
Receiver (REV-R.03..)
Switch on power and press “RESET” button for about
4 seconds: Orange LED_2 flashes briefly. Then, press
“SET” button for about 3 seconds: Orange LED_2 flashes
slowly; learning mode is active.
Within 25 minutes press “LEARN” button on REV200…RF for
about 4 seconds: Orange LED_2 flashes fast and briefly; LED_1
changes from red to flashing green.
After commissioning, the unit will operate automatically.
Transmitter (REV200...RF)
The REV200…RF features a back-lit touch screen display.
Settings are made by touching the display fields with the
fingers, which also switches on the display lighting.
Tip: To simplify programming, the unit can be removed from
its base.
1. Remove the unit from its base
2. Open the cover of the battery compartment.
3. Remove the black transit tab from the batteries. The unit
will switch itself on.
4. Press the “TEST“ button approximately for
4 seconds to transmit test telegrams.
5. Press the “LEARN“ button approximately for 4 seconds
to transmit learning telegram.
• Setting the time of day
1. Time button 2. Arrow button
Setting the correct time of day
1. Select the time button.
2. Set the correct time of day with the arrow buttons.
Longer pressing causes the display to accelerate, which
can be stopped by repeated pressing.
3. After 5 seconds, the display will automatically return to
the initial operating mode. The same action is achieved
by touching the time button again.
• Selecting the day of week
1. Weekday button
Select the current weekday
1. Touch the weekday button with the black triangle. The
display now shows only the weekdays. Select the current
weekday (1=Mo, 2=Tu, etc.).
2. After 5 seconds, the display will automatically return to
the initial operating mode. The same action is achieved
by touching the selected weekday button again.
Do you want to select an operating mode with automatic changeover of the room temperature level?
7-day operating mode 24-hour operating modes 1 to 3
Operating
mode
Comfort periods
07:00 –
23:00
06:00 –
08:00
17:00 –
22:00
06:00 –
08:00
11:00 –
13:00
17:00 –
22:00
Auto
1...7
Mo – Fr:
(1...5)
Sa + So:
(6+7)
Do you want to adjust your individual switching
program?
• 7-day operating mode
2. Weekday button 4. Switching time button
5. / 7. Arrow button
3. 24-hour operating modes
1. 7-day operating mode
7. Temperature display
7-day operating mode
You can adjust a different switching pattern for each
weekday. Each weekday can be selected individually.
1. Touch the 7-day operating mode (Auto 1...7).
2. Select the weekday to be programmed.
3. Touch one of the three 24-hour operating modes.
4. Touch the switching time button where you want to
change the time. The respective pointer on the switching
time button and the time of day are flashing.
5. Use the arrow buttons to change the displayed switching
time.
Note: If two or more switching times are allocated to the
same switching time button, press the same button
again to select next switching time.
6. Touch the temperature display.
7. Use the arrow buttons to change the displayed
temperature.
Tip: Check the settings made by selecting the individual
days.
Change batteries h Time of day
Locking of display active d Day
Heating equipment on
24-hour operating modes:
Holiday program active
1 Comfort period
2 Comfort periods
Room temperature
3 Comfort periods
LED_1
LED_2
3.
2.
1.
2211Z25
4.
5.
Building Technologies / HVAC Products B2214en 16.01.2007
Page 2
• 24-hour operating mode
2. Switching time button 3. / 5. Arrow button
4. Temperature display 1. 24-hour operating modes
Do you want to change the room temperature level for a
short time? (economy tip)
Presence
24-hour operating mode
This means that the same switching pattern is used for every
day. Individual weekday settings are not possible.
1. Touch one of the three 24-hour operating modes.
2. Touch the switching time button where you want to
change the time. The respective pointer on the switching
time button and the switching time are flashing.
3. Use the arrow buttons to change the displayed switching
time.
Note: If two or more switching times are allocated to the
same switching time button, press the same button
again to select next switching time.
4. Touch the temperature display button.
5. Use the arrow buttons to change the displayed
temperature.
With the presence button, you change from the current room
temperature level to the other for a short period of time. The
active level will be displayed:
or . Use this function to
reduce the room temperature level when the apartment is
unoccupied.
Do you want continuous operation without changing the
room temperature level?
3. Arrow button
2. Temperature display button 1.Operating mode button
Select the required continuous operating mode. The
respective temperature level will be maintained.
Default value
Continuously normal temperature 21 °C
Continuously economy temperature 16 °C
Continuously OFF (standby) with frost protection 5 °C
Do you want to change these default values?
1. Select the required continuous operating mode.
2. Touch the temperature display button.
3. Change the temperature with the arrow buttons.
Are you going on holiday?
• Activating the holiday function
4. Start day 2. 24-hour button 3. Arrow button
5. Temperature display button 1. Operating mode button
• Displaying and cancelling the holiday function
2. Arrow button
1. 24-hour button
When absent for a longer period of time, it is possible to
change to the economy temperature and to enter the time of
absence.
1. Select operating mode «Economy temperature».
2. Touch the 24-hour button.
3. Enter the number of days you are absent (0..99).
4. Preselect the start day 1...7 of the holiday period.
5. Change the current economy temperature by touching
the temperature button and by changing the value with
the arrow button.
6. After 8 seconds, the display will automatically return to
the initial operating mode. The same action in achieved
by touching the time button again
The display keeps showing the number of days and the
holiday symbol. Every midnight, the counter subtracts one
day. When the counter reaches “00“, an automatic change to
the previous program will take place.
Cancelling the holiday function:
1. Touch the 24-hour button.
2. Use the arrow button to set to “00“.
3. After 8 seconds, the display will automatically return to
the initial operating mode. The same action is achieved
by touching the 24-hour button again.
Do you want to return to the default settings?
Reset button
Press the reset button at top right for at least 3 seconds: this
will reset all individual settings and the time of day to their
default values. During the reset time of 3 second, the display
will be fully lit, indicating that it works correctly.
Note: After each reset, all individual settings such as time of
day, switching times and temperatures etc. must be
reentered.
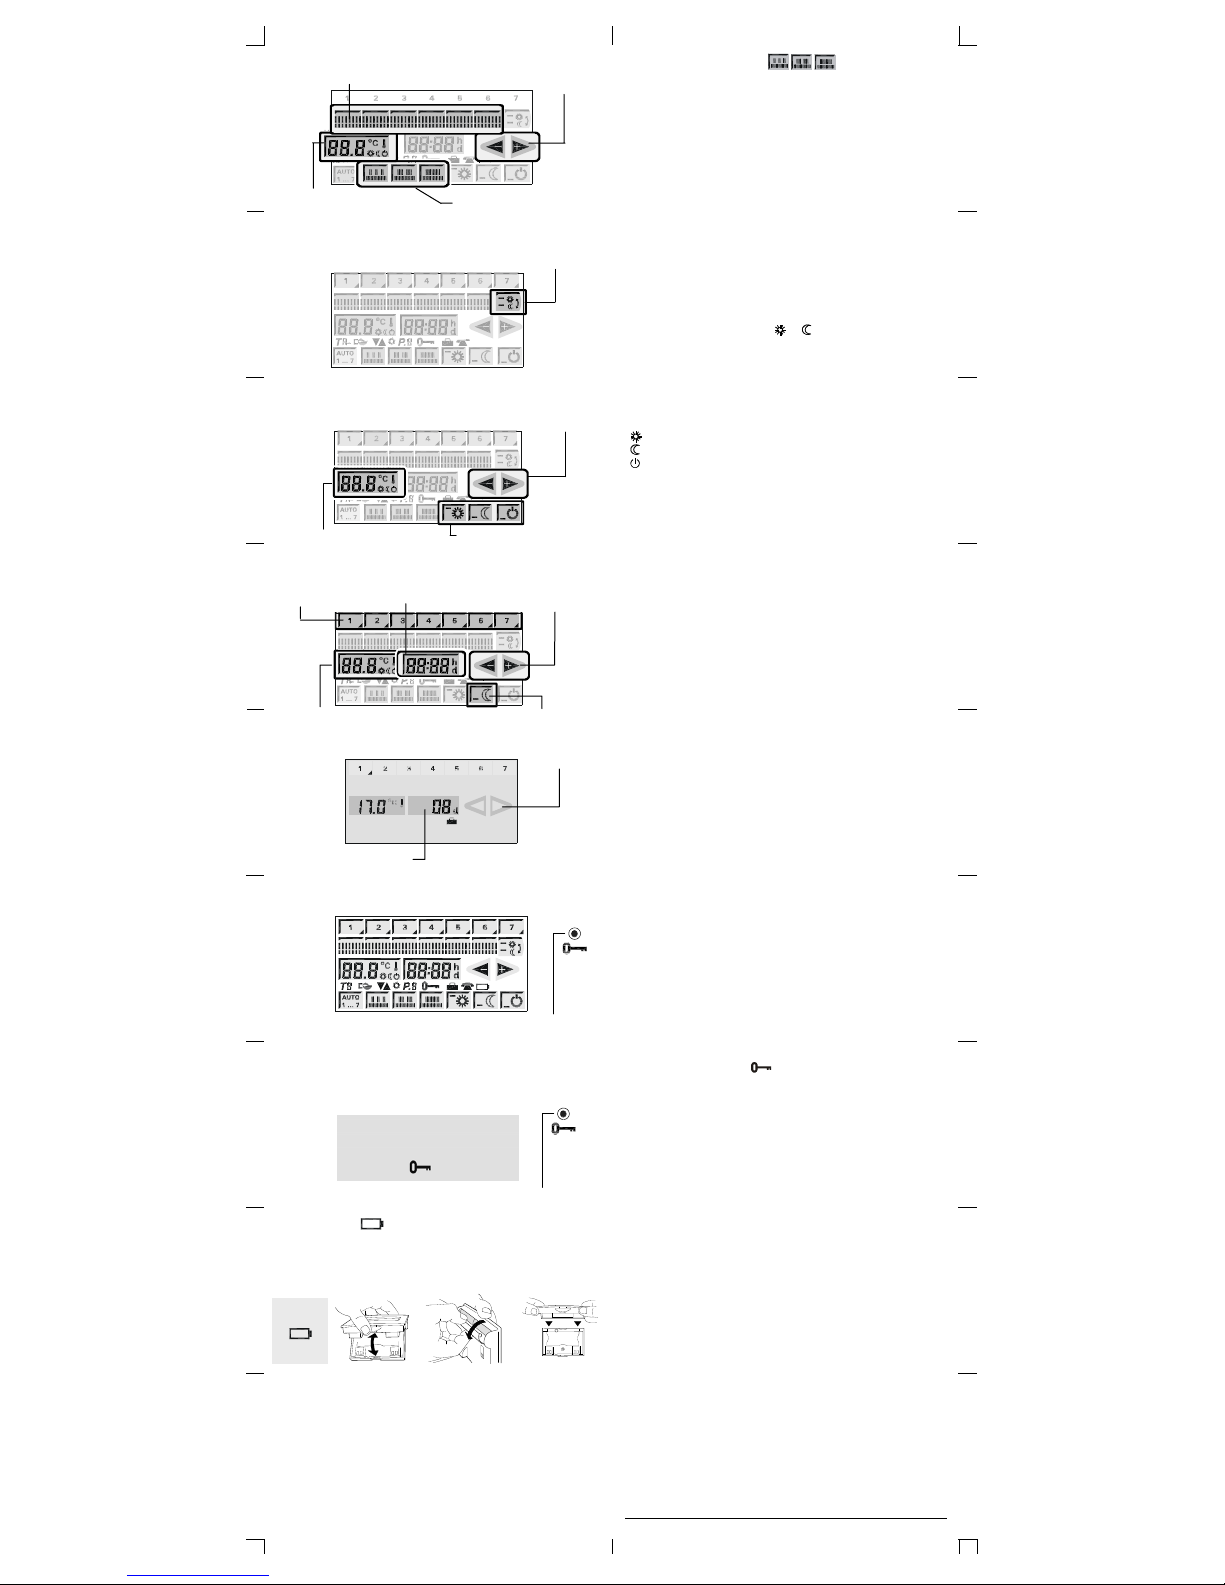
Cleaning the display / maintenance
To clean the unit, use the antistatic cloth provided or a soft
damp cloth with no chemical cleaning agent. To clean the
display, the operating fields can be locked.
Reset button
Switching on: Press the reset button at top right for a
maximum of 1 second:
appears and all other displays
will disappear. The operating fields are now out of operation
while all the other functions in the background remain fully
operational.
Switching off: Press the reset button at top right for a
maximum of 1 second.
Locking of the display also serves as a protection against
tampering.
Does symbol appear on the display?
When this symbol appears, you need to replace the batteries
within the next 3 months.
1. 2. 3. 4.
Note: The settings are retained for a maximum of 1 minute.
Do not activate the display lighting too often since this
reduces the batteries‘ life.
1. Get 2 new alkaline batteries type AA, 1.5 V.
2. Open the unit by pressing the button and remove it from its
base.
3. Change the batteries.
4. Fit the unit at the top, swing it down and snap on at the
bottom.
Make certain exhausted batteries are disposed of properly!
The batteries‘ life expectancy is about 2 years.
2211Z35
Building Technologies / HVAC Products B2214de 16.01.2007
 Loading...