

Siemens optiPoint410economy plus, optiPoint410standard, optiPoint410economy Operating Instructions Manual

HiPath 4000
optiPoint 410 economy
optiPoint 410 economy plus
optiPoint 410 standard
Operating Instructions
About these Operating Instructions
About these Operating Instructions
These Operating Instructions describe the use of the optiPoint 410 economy/economy plus/
standard in conjunction with the HiPath 4000 Communication Server, Version 3.0.
They describe all functions you can use from your telephone. You may find that some functions you wish to use are not available on your telephone. This may be due to one of the
following reasons:
• The function has not been configured for your telephone - please contact your service
personnel.
• Your communications platform does not support this function - please contact your service personnel.
Important Notes
Never operate the telephone in an environment where there is a risk of explosion.
Only use Siemens accessories. The use of other manufacturers’ accessories may be dangerous and will render the warranty and approval null and
void.
Never open the telephone set or an add-on unit. If any problems arise, contact your service personnel.
The information provided in this document contains merely general descriptions or characteristics of performance which in case of actual use do not always apply as described or
which may change as a result of further development of the products.
An obligation to provide the respective characteristics shall only exist if expressly agreed
in the terms of contract.
The telephone must not come into contact with abrasive liquids or liquids which are liable
to discolor it, such as tea, coffee, fruit juices or soft drinks.
Care of the telephone page 120.
2

Labels
About these Operating Instructions
The CE symbol certifies compliance of this equipment with the EU directives.
This device has been manufactured in accordance under a certified environmental management system (ISO 14001). This process ensures that energy
consumption and the use of primary raw materials are kept to a minimum,
thus reducing waste production.
All electrical and electronic products should be disposed of separately from
the municipal waste stream via designated collection facilities appointed by
the government or the local authorities.
The correct disposal and separate collection of your old appliance will help
prevent potential negative consequences for the environment and human
health. It is a precondition for reuse and recycling of used electrical and electronic equipment.
For more detailed information about disposal of your old appliance, please
contact your city office, waste disposal service, the shop where you purchased the product or your sales representative.
The statements quoted above are only fully valid for equipment which is installed and sold in the countries of the European Union and is covered by
the directive 2002/96/EC. Countries outside the European Union may have
other regulations regarding the disposal of electrical and electronic equipment.
3

Contents
Contents
About these Operating Instructions . . . . . . . . . . . . . .2
Important Notes . . . . . . . . . . . . . . . . . . . . . . . . . . . . . . . . . . . . . . . . . . . 2
Labels . . . . . . . . . . . . . . . . . . . . . . . . . . . . . . . . . . . . . . . . . . . . . . . . . . . 3
Basic Usage Instructions . . . . . . . . . . . . . . . . . . . . . .10
The optiPoint 410 economy/economy plus/standard control panel. . . . 10
How to use this user guide . . . . . . . . . . . . . . . . . . . . . . . . . . . . . . . . . . 11
Display. . . . . . . . . . . . . . . . . . . . . . . . . . . . . . . . . . . . . . . . . . . . . . . . . . 11
How to activate functions . . . . . . . . . . . . . . . . . . . . . . . . . . . . . . . . . . . 12
... directly . . . . . . . . . . . . . . . . . . . . . . . . . . . . . . . . . . . . . . . . . . . . . 12
... via the Service Menu . . . . . . . . . . . . . . . . . . . . . . . . . . . . . . . . . . 12
... using a function key. . . . . . . . . . . . . . . . . . . . . . . . . . . . . . . . . . . 12
Which functions can be used? . . . . . . . . . . . . . . . . . . . . . . . . . . . . . . . 13
Basic and enhanced functions . . . . . . . . . . . . . . . . . . . . . . . . . . . . . 13
Additional multiline and group functions . . . . . . . . . . . . . . . . . . . . . 13
Additional executive/secretary functions (not used in US). . . . . . . . 13
Self Labelling Key Function . . . . . . . . . . . . . . . . . . . . . . . . . . . . . . . 13
Optional main menu . . . . . . . . . . . . . . . . . . . . . . . . . . . . . . . . . . . . 14
How to make best use of your telephone. . . . . . . . . . . . . . . . . . . . . . . 14
Safety Precautions for IP Telephony . . . . . . . . . . . . . . . . . . . . . . . . . . . 14
Making Calls – Basic Functions . . . . . . . . . . . . . . . .15
Answering calls . . . . . . . . . . . . . . . . . . . . . . . . . . . . . . . . . . . . . . . . . . . 15
Answering a call with the handset. . . . . . . . . . . . . . . . . . . . . . . . . . 15
Answering a call via the speaker key (speakerphone) . . . . . . . . . . . 15
Switching to speakerphone. . . . . . . . . . . . . . . . . . . . . . . . . . . . . . . . . . 16
Switching to the handset. . . . . . . . . . . . . . . . . . . . . . . . . . . . . . . . . . . . 16
Open listening . . . . . . . . . . . . . . . . . . . . . . . . . . . . . . . . . . . . . . . . . . . . 16
Making Calls . . . . . . . . . . . . . . . . . . . . . . . . . . . . . . . . . . . . . . . . . . . . . 16
Dialing with the handset off-hook . . . . . . . . . . . . . . . . . . . . . . . . . . 16
Dialing with the handset on-hook . . . . . . . . . . . . . . . . . . . . . . . . . . 17
Ending the call . . . . . . . . . . . . . . . . . . . . . . . . . . . . . . . . . . . . . . . . . . . . 17
Saved number redial . . . . . . . . . . . . . . . . . . . . . . . . . . . . . . . . . . . . . . . 17
Last number redial. . . . . . . . . . . . . . . . . . . . . . . . . . . . . . . . . . . . . . . . . 18
Making a second call (consultation). . . . . . . . . . . . . . . . . . . . . . . . . . . . 18
Alternating between two calls (toggling) . . . . . . . . . . . . . . . . . . . . . 18
Transferring a call. . . . . . . . . . . . . . . . . . . . . . . . . . . . . . . . . . . . . . . 19
Call Forwarding . . . . . . . . . . . . . . . . . . . . . . . . . . . . . . . . . . . . . . . . . . . 20
Using call forwarding . . . . . . . . . . . . . . . . . . . . . . . . . . . . . . . . . . . . 20
Station fixed forwarding. . . . . . . . . . . . . . . . . . . . . . . . . . . . . . . . . . 22
Station variable forwarding . . . . . . . . . . . . . . . . . . . . . . . . . . . . . . . 24
4

Contents
Using the callback function . . . . . . . . . . . . . . . . . . . . . . . . . . . . . . . . . . 27
Storing a callback request . . . . . . . . . . . . . . . . . . . . . . . . . . . . . . . . 27
Answering a callback request . . . . . . . . . . . . . . . . . . . . . . . . . . . . . 28
Rejecting a callback request . . . . . . . . . . . . . . . . . . . . . . . . . . . . . . 28
Checking/cancelling saved callback requests . . . . . . . . . . . . . . . . . 28
Store call numbers and sequences on the key . . . . . . . . . . . . . . . . . . . 29
Save on redial . . . . . . . . . . . . . . . . . . . . . . . . . . . . . . . . . . . . . . . . . 29
Store/process on destination dial number . . . . . . . . . . . . . . . . . . . . 29
Storing a number for redialing . . . . . . . . . . . . . . . . . . . . . . . . . . . . . . . . 31
Dialing with repertory keys . . . . . . . . . . . . . . . . . . . . . . . . . . . . . . . 32
Telephone settings . . . . . . . . . . . . . . . . . . . . . . . . . . . . . . . . . . . . . . . . 33
Adjusting the ringer volume. . . . . . . . . . . . . . . . . . . . . . . . . . . . . . . 33
Adjusting the ringer pitch. . . . . . . . . . . . . . . . . . . . . . . . . . . . . . . . . 33
Setting the volume of the alerting tone . . . . . . . . . . . . . . . . . . . . . . 33
Adapting the speakerphone function to the acoustics of your room 34
Adjusting the angle of the display . . . . . . . . . . . . . . . . . . . . . . . . . . 34
Adjusting the display contrast . . . . . . . . . . . . . . . . . . . . . . . . . . . . . 34
Selecting the language for user prompts (displays). . . . . . . . . . . . . 35
Making Calls – Convenience Functions . . . . . . . . . 36
Answering Calls. . . . . . . . . . . . . . . . . . . . . . . . . . . . . . . . . . . . . . . . . . . 36
Group call and pickup. . . . . . . . . . . . . . . . . . . . . . . . . . . . . . . . . . . . 36
Picking up a specific call . . . . . . . . . . . . . . . . . . . . . . . . . . . . . . . . . 36
Taking a call in a hunt group. . . . . . . . . . . . . . . . . . . . . . . . . . . . . . . 37
Incoming call on loudspeaker (speaker call 2-way) . . . . . . . . . . . . . 37
Answering a call on the headset . . . . . . . . . . . . . . . . . . . . . . . . . . . 38
Dialing/Making Calls . . . . . . . . . . . . . . . . . . . . . . . . . . . . . . . . . . . . . . . 39
Using a call list (missed calls) . . . . . . . . . . . . . . . . . . . . . . . . . . . . . 39
"Missed calls" key . . . . . . . . . . . . . . . . . . . . . . . . . . . . . . . . . . . . . . 41
Speed-dial . . . . . . . . . . . . . . . . . . . . . . . . . . . . . . . . . . . . . . . . . . . . 42
Using the mailbox . . . . . . . . . . . . . . . . . . . . . . . . . . . . . . . . . . . . . . 43
Direct call to a colleague via loudspeaker (voice calling) . . . . . . . . . 44
During a Call . . . . . . . . . . . . . . . . . . . . . . . . . . . . . . . . . . . . . . . . . . . . . 45
Using the call waiting function. . . . . . . . . . . . . . . . . . . . . . . . . . . . . 45
Activating/deactivating call waiting . . . . . . . . . . . . . . . . . . . . . . . . . 45
Answering the waiting call . . . . . . . . . . . . . . . . . . . . . . . . . . . . . . . 45
Accept service menu-controlled second call . . . . . . . . . . . . . . . . . . 46
Using the switchover button . . . . . . . . . . . . . . . . . . . . . . . . . . . . . . 47
Re-indication . . . . . . . . . . . . . . . . . . . . . . . . . . . . . . . . . . . . . . . . . . 48
Time key . . . . . . . . . . . . . . . . . . . . . . . . . . . . . . . . . . . . . . . . . . . . . . . . 48
Station controlled conference . . . . . . . . . . . . . . . . . . . . . . . . . . . . . . . . 49
Setting up a conference. . . . . . . . . . . . . . . . . . . . . . . . . . . . . . . . . . 50
Expanding the conference . . . . . . . . . . . . . . . . . . . . . . . . . . . . . . . . 51
Transferring the conference. . . . . . . . . . . . . . . . . . . . . . . . . . . . . . . 52
During the conference . . . . . . . . . . . . . . . . . . . . . . . . . . . . . . . . . . . 53
Entering commands with tone dialing (DTMF suffix dialing). . . . . . . . . 54
5

Contents
System-wide parking. . . . . . . . . . . . . . . . . . . . . . . . . . . . . . . . . . . . . . . 55
Parking a call automatically and taking it at a later date . . . . . . . . . . 55
Parking a call manually and then taking it at a later date . . . . . . . . . 56
Taking a parked call . . . . . . . . . . . . . . . . . . . . . . . . . . . . . . . . . . . . . 57
Parking is not possible . . . . . . . . . . . . . . . . . . . . . . . . . . . . . . . . . . . 58
If You Cannot Reach a Destination . . . . . . . . . . . . . . . . . . . . . . . . . . . . 59
Camping on a colleague’s call . . . . . . . . . . . . . . . . . . . . . . . . . . . . . 59
Overriding a colleague’s call (intrude) . . . . . . . . . . . . . . . . . . . . . . . 59
Using HiPath 4000 as an intercommunication system . . . . . . . . . . . . . 60
System-wide voice calling . . . . . . . . . . . . . . . . . . . . . . . . . . . . . . . . 61
Voice calling in a group . . . . . . . . . . . . . . . . . . . . . . . . . . . . . . . . . . 62
Announcement to all members of a line group . . . . . . . . . . . . . . . . 64
Using call forwarding. . . . . . . . . . . . . . . . . . . . . . . . . . . . . . . . . . . . . . . 65
Activating and deactivating forwarding using features settings . . . 65
System call forwarding . . . . . . . . . . . . . . . . . . . . . . . . . . . . . . . . . . 65
Call forwarding via code numbers . . . . . . . . . . . . . . . . . . . . . . . . . . 66
Call-forwarding via call-forwarding key. . . . . . . . . . . . . . . . . . . . . . . 68
Delayed call-forwarding . . . . . . . . . . . . . . . . . . . . . . . . . . . . . . . . . . . . . 69
Forwarding calls for a different terminal . . . . . . . . . . . . . . . . . . . . . . . . 69
Storing a destination for another
telephone/activating call forwarding . . . . . . . . . . . . . . . . . . . . . . . . 69
Storing a destination for fax, PC or busy/activating call forwarding . 70
Checking/deactivating call forwarding for another telephone . . . . . 71
Checking/deactivating call forwarding for fax, PC or busy. . . . . . . . 72
Changing call forwarding for another terminal. . . . . . . . . . . . . . . . . 72
Saving Functions and Appointments . . . . . . . . . . . .73
Saving individual speed dialing numbers. . . . . . . . . . . . . . . . . . . . . . . . 73
Extension . . . . . . . . . . . . . . . . . . . . . . . . . . . . . . . . . . . . . . . . . . . . . 73
Programming short dial . . . . . . . . . . . . . . . . . . . . . . . . . . . . . . . . . . 74
Saving a function on a key. . . . . . . . . . . . . . . . . . . . . . . . . . . . . . . . . . . 74
Appointments Function . . . . . . . . . . . . . . . . . . . . . . . . . . . . . . . . . . . . . 75
Creating timed reminders . . . . . . . . . . . . . . . . . . . . . . . . . . . . . . . . 75
Timed reminders . . . . . . . . . . . . . . . . . . . . . . . . . . . . . . . . . . . . . . . 76
Making project calls . . . . . . . . . . . . . . . . . . . . . . . . . .77
Setting up a project call . . . . . . . . . . . . . . . . . . . . . . . . . . . . . . . . . . . . . 77
Call duration display (cost display). . . . . . . . . . . . . . . . . . . . . . . . . . . . . 78
Private Sphere/Security . . . . . . . . . . . . . . . . . . . . . . .79
Activating/deactivating do not disturb . . . . . . . . . . . . . . . . . . . . . . . . . . 79
Activating/deactivating stop voice calling . . . . . . . . . . . . . . . . . . . . . . . 80
Suppressing your number on called party’s display . . . . . . . . . . . . . . . 80
Malicious call holding. . . . . . . . . . . . . . . . . . . . . . . . . . . . . . . . . . . . . . . 81
Locking your telephone . . . . . . . . . . . . . . . . . . . . . . . . . . . . . . . . . . . . . 81
6

Contents
Using Other Functions . . . . . . . . . . . . . . . . . . . . . . . . 83
Using a different telephone
in the same way as your own . . . . . . . . . . . . . . . . . . . . . . . . . . . . . . . . 83
Logging on to a different telephone . . . . . . . . . . . . . . . . . . . . . . . . . . . 83
Identifying yourself with PIN and dialing . . . . . . . . . . . . . . . . . . . . . 83
Deactivating identification at the other telephone. . . . . . . . . . . . . . . . . 84
Identification with the chip card. . . . . . . . . . . . . . . . . . . . . . . . . . . . 85
Deactivating identification at the other telephone. . . . . . . . . . . . . . . . . 85
Shift connection to another telephone . . . . . . . . . . . . . . . . . . . . . . . . . 86
Shift "guest telephone". . . . . . . . . . . . . . . . . . . . . . . . . . . . . . . . . . . 86
Connect to "home telephone" again. . . . . . . . . . . . . . . . . . . . . . . . . 86
Log off through the "home telephone". . . . . . . . . . . . . . . . . . . . . . . 87
Making multiline calls . . . . . . . . . . . . . . . . . . . . . . . . 88
Using line keys . . . . . . . . . . . . . . . . . . . . . . . . . . . . . . . . . . . . . . . . . . . 88
Preview . . . . . . . . . . . . . . . . . . . . . . . . . . . . . . . . . . . . . . . . . . . . . . . . . 89
Taking calls on line keys . . . . . . . . . . . . . . . . . . . . . . . . . . . . . . . . . . . . 90
Taking calls in the order offered. . . . . . . . . . . . . . . . . . . . . . . . . . . . 90
Taking calls with priority. . . . . . . . . . . . . . . . . . . . . . . . . . . . . . . . . . 90
Activating/deactivating ringer . . . . . . . . . . . . . . . . . . . . . . . . . . . . . . . . 91
Dialing with line keys. . . . . . . . . . . . . . . . . . . . . . . . . . . . . . . . . . . . . . . 92
Redialing on a particular line (saved numbers) . . . . . . . . . . . . . . . . . . . 93
Redialing on a particular line (last number dialed) . . . . . . . . . . . . . . . . . 94
Storing a number for "Redialing on a particular line" . . . . . . . . . . . . . . . 95
Storing a selected number or the number of a caller. . . . . . . . . . . . 95
Line mailbox . . . . . . . . . . . . . . . . . . . . . . . . . . . . . . . . . . . . . . . . . . . . . 95
Checking the mailbox. . . . . . . . . . . . . . . . . . . . . . . . . . . . . . . . . . . . 96
Answering a callback request . . . . . . . . . . . . . . . . . . . . . . . . . . . . . 96
Next entry . . . . . . . . . . . . . . . . . . . . . . . . . . . . . . . . . . . . . . . . . . . . 96
Deleting mailbox entries . . . . . . . . . . . . . . . . . . . . . . . . . . . . . . . . . 96
To terminate viewing of mailbox entries . . . . . . . . . . . . . . . . . . . . . 96
Identifying the line used . . . . . . . . . . . . . . . . . . . . . . . . . . . . . . . . . . . . 97
Alternating between different lines . . . . . . . . . . . . . . . . . . . . . . . . . . . . 97
Ending a call on a line key . . . . . . . . . . . . . . . . . . . . . . . . . . . . . . . . 98
Adding another party to a line (conference). . . . . . . . . . . . . . . . . . . 98
With automatic privacy configured . . . . . . . . . . . . . . . . . . . . . . . . . . . . 98
Allow bridging . . . . . . . . . . . . . . . . . . . . . . . . . . . . . . . . . . . . . . . . . 98
Preventing bridging . . . . . . . . . . . . . . . . . . . . . . . . . . . . . . . . . . . . . 99
Terminating a connection on a line key . . . . . . . . . . . . . . . . . . . . . . 99
Adding a witness. . . . . . . . . . . . . . . . . . . . . . . . . . . . . . . . . . . . . . . . . 100
Holding a call on a line key and retrieving it. . . . . . . . . . . . . . . . . . . . . 101
Holding a call on a line key exclusively and retrieving it . . . . . . . . . . . 101
Picking up a held call . . . . . . . . . . . . . . . . . . . . . . . . . . . . . . . . . . . . . . 102
7

Contents
Forwarding calls for lines. . . . . . . . . . . . . . . . . . . . . . . . . . . . . . . . . . . 102
Storing and activating station variable call forwarding for a line . . 102
Storing and activating a station fixed call
forwarding destination for a line . . . . . . . . . . . . . . . . . . . . . . . . . . 103
Reactivating station fixed call forwarding for a line (without storing a
different destination) . . . . . . . . . . . . . . . . . . . . . . . . . . . . . . . . . . . 103
Cancelling the station fixed call forwarding destination. . . . . . . . . 104
Deactivating call forwarding for a line . . . . . . . . . . . . . . . . . . . . . . 104
Call switching . . . . . . . . . . . . . . . . . . . . . . . . . . . . . . . . . . . . . . . . . . . 105
Direct call keys . . . . . . . . . . . . . . . . . . . . . . . . . . . . . . . . . . . . . . . . . . 105
Understanding the lamp signals on direct call keys. . . . . . . . . . . . 105
Calling a line partner . . . . . . . . . . . . . . . . . . . . . . . . . . . . . . . . . . . 105
A line partner calls you. . . . . . . . . . . . . . . . . . . . . . . . . . . . . . . . . . 106
Making calls in an executive/secretary team
(not used in US) . . . . . . . . . . . . . . . . . . . . . . . . . . . . .107
Calling executive or secretary’s office. . . . . . . . . . . . . . . . . . . . . . . . . 107
The lamp statuses of direct station selection (DSS) keys . . . . . . . 107
Making a call to the executive/secretary . . . . . . . . . . . . . . . . . . . . 107
Taking a call for the executive in the secretary’s office. . . . . . . . . . . . 108
Taking a call for the executive during a call in progress. . . . . . . . . 108
Extending a call to the executive. . . . . . . . . . . . . . . . . . . . . . . . . . . . . 109
Forwarding calls directly to the executive . . . . . . . . . . . . . . . . . . . . . . 109
Taking a call on the executive’s telephone . . . . . . . . . . . . . . . . . . . . . 110
Taking calls for other executive/secretary teams . . . . . . . . . . . . . . . . 110
Using second telephone for executive . . . . . . . . . . . . . . . . . . . . . . . . 110
Activating/deactivating call waiting for executive . . . . . . . . . . . . . . . . 111
Using the call signal function. . . . . . . . . . . . . . . . . . . . . . . . . . . . . . . . 112
Designating a deputy for the secretary . . . . . . . . . . . . . . . . . . . . . . . . 112
Calling a station directly. . . . . . . . . . . . . . . . . . . . . . . . . . . . . . . . . . . . 113
The lamp statuses of direct station selection (DSS) keys . . . . . . . 113
Calling a direct station selection (DSS) user . . . . . . . . . . . . . . . . . 113
Taking a call for a direct station selection (DSS) user . . . . . . . . . . 113
Temporarity removing station from hunt group/
adding station to hunt group . . . . . . . . . . . . . . . . . . . . . . . . . . . . . . . . 114
Group park and retrieval of call . . . . . . . . . . . . . . . . . . . . . . . . . . . 114
Checking the telephone . . . . . . . . . . . . . . . . . . . . . .115
Checking its functionality. . . . . . . . . . . . . . . . . . . . . . . . . . . . . . . . . . . 115
Checking the assignment of functions to keys . . . . . . . . . . . . . . . . . . 116
8

Contents
Special functions for One Number Service . . . . . 117
Labeling, documentation and accessories. . . . . . 118
Labeling Key Fields (not used in US) . . . . . . . . . . . . . . . . . . . . . . . . . . 118
Attaching a Station Number Label (not valid for US) . . . . . . . . . . . . . . 119
Documentation . . . . . . . . . . . . . . . . . . . . . . . . . . . . . . . . . . . . . . . . . . 119
Advice for users. . . . . . . . . . . . . . . . . . . . . . . . . . . . . 120
Care of the telephone . . . . . . . . . . . . . . . . . . . . . . . . . . . . . . . . . . . . . 120
Troubleshooting. . . . . . . . . . . . . . . . . . . . . . . . . . . . . . . . . . . . . . . . . . 120
Dealing with error messages on the display . . . . . . . . . . . . . . . . . . . . 121
Who to contact if a problem occurs . . . . . . . . . . . . . . . . . . . . . . . . . . 122
Index . . . . . . . . . . . . . . . . . . . . . . . . . . . . . . . . . . . . . . 123
Maximum Service Menu functions available . . . 125
9
Basic Usage Instructions
Basic Usage Instructions
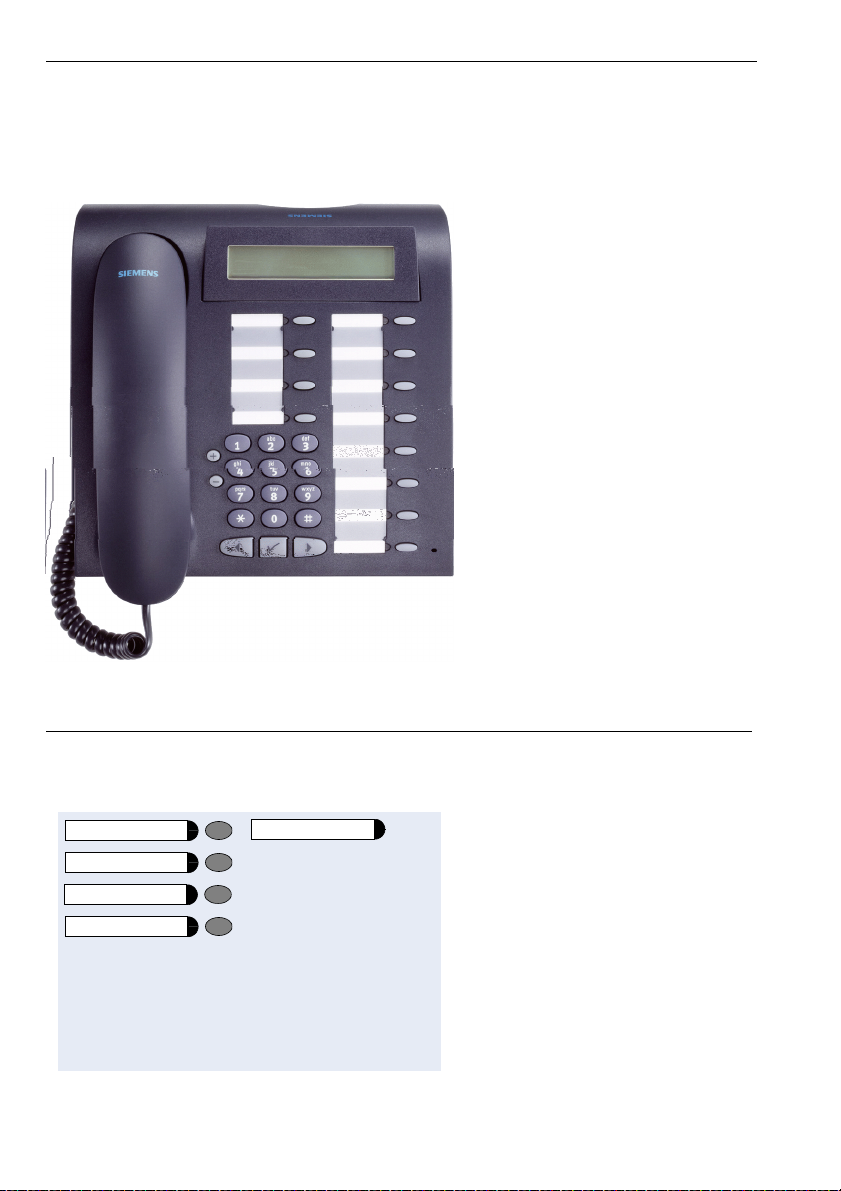
The optiPoint 410 economy/economy plus/standard control panel
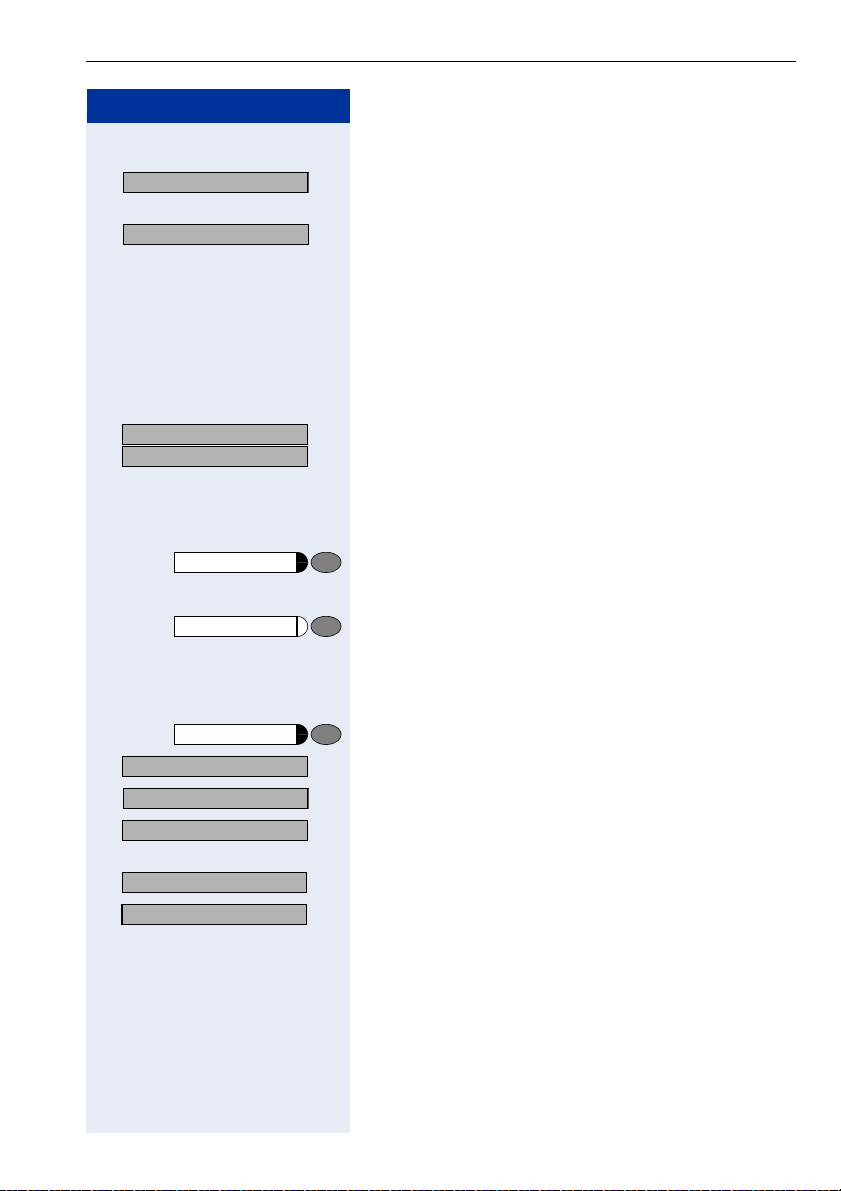
Permanently assigned function keys
for basic, enhanced,
multiline and team functions (example):
program/service
Redial
Mailbox
Speaker
10
Call pickup
Variant:
*
*
*
*
*

Step by Step
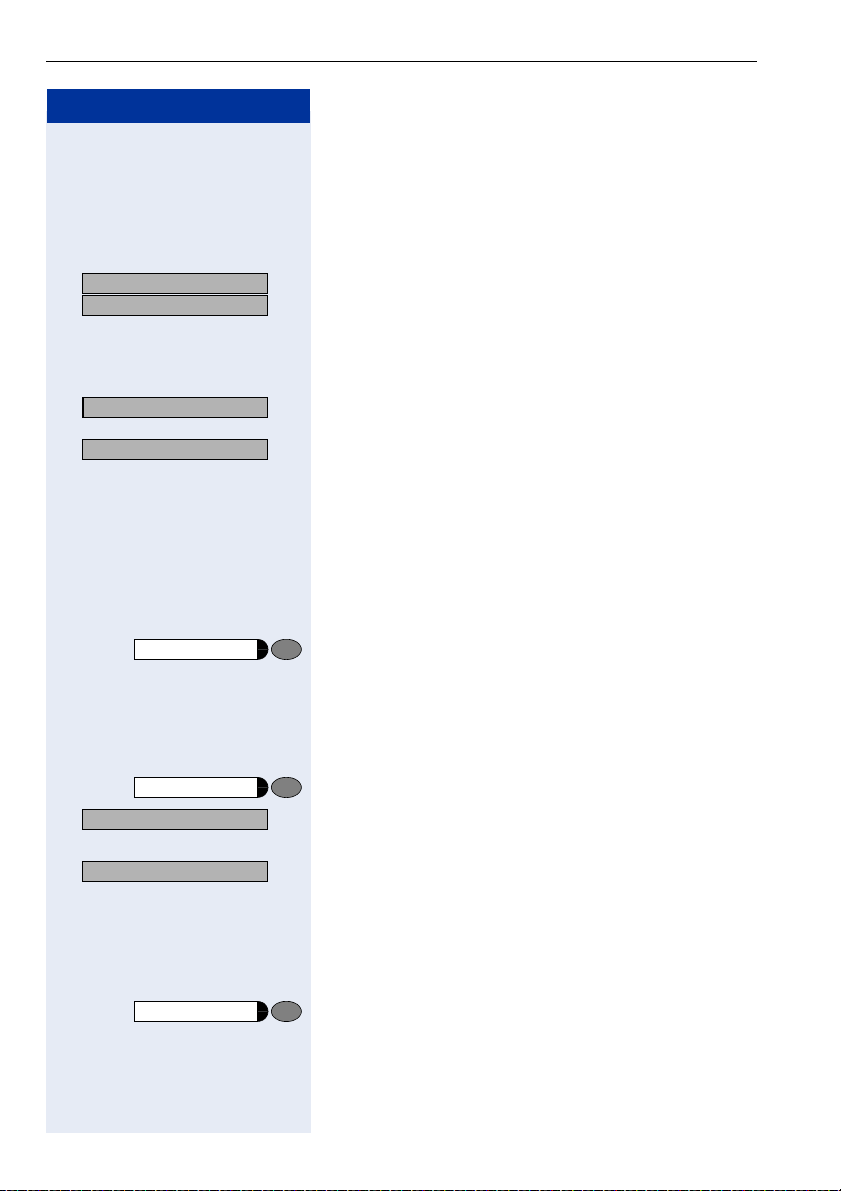
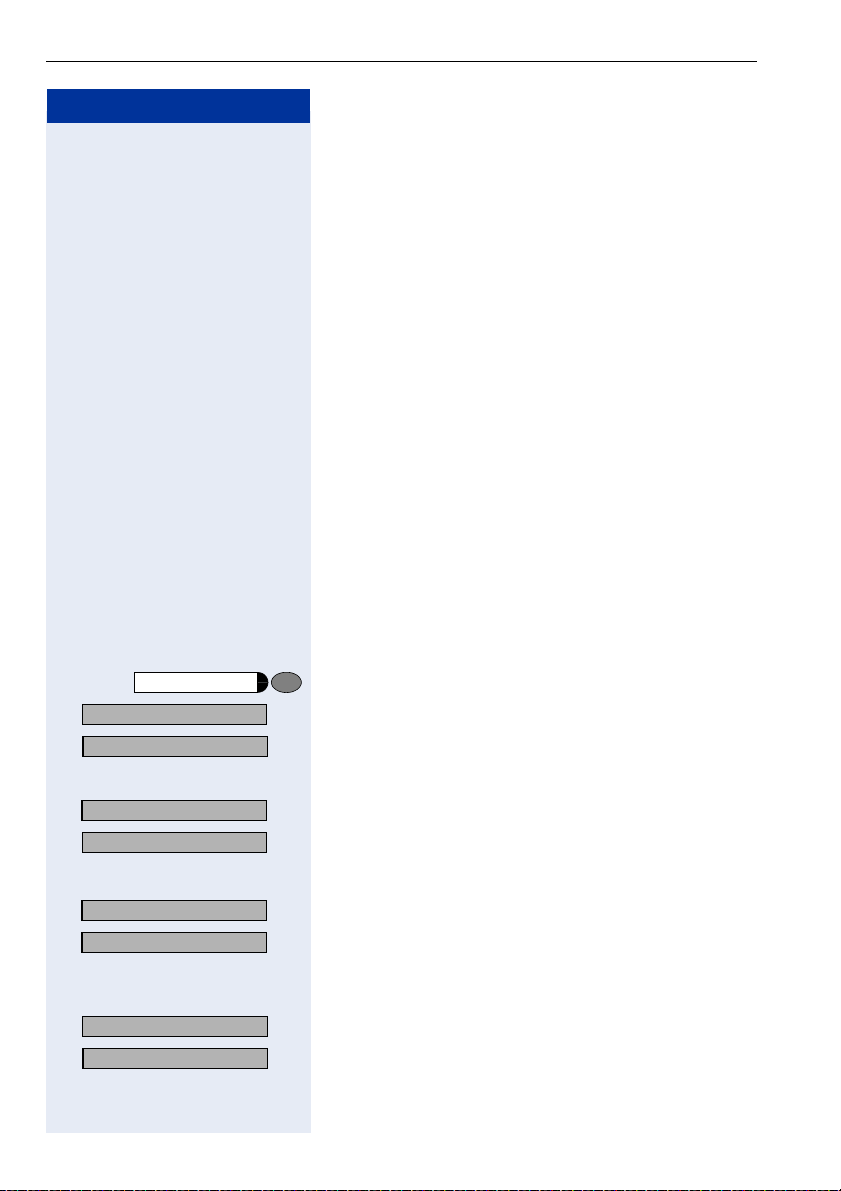
How to use this user guide
The operating procedures are presented in a logical
sequence in the colored column. The symbols used
have the following meanings:
n Lift the handset.
t Replace the handset.
o Enter number or code.
u or v Press the setting keys on the telephone.
program/service
Speaker
Executive
Consultation?
Ringer pitch?
> : Look for the selection option.
Press the key.
Press the key that is lit.
Press the key that is flashing.
: The selection option is shown on the display.
Confirm with key
Press keys
the display.
Then confirm with key
:.
< > until the selection option appears on
:.
Basic Usage Instructions
Callback?
Please dial? >
Display
Line 1 contains instructions or acknowledgment messages, depending on the particular situation.
Line 2 contains selection options for functions, which
you can confirm by means of
visible on the right-hand side, there are further selection
options, which can then be accessed using < >.
:. If the character ">" is
11
Basic Usage Instructions
Step by Step
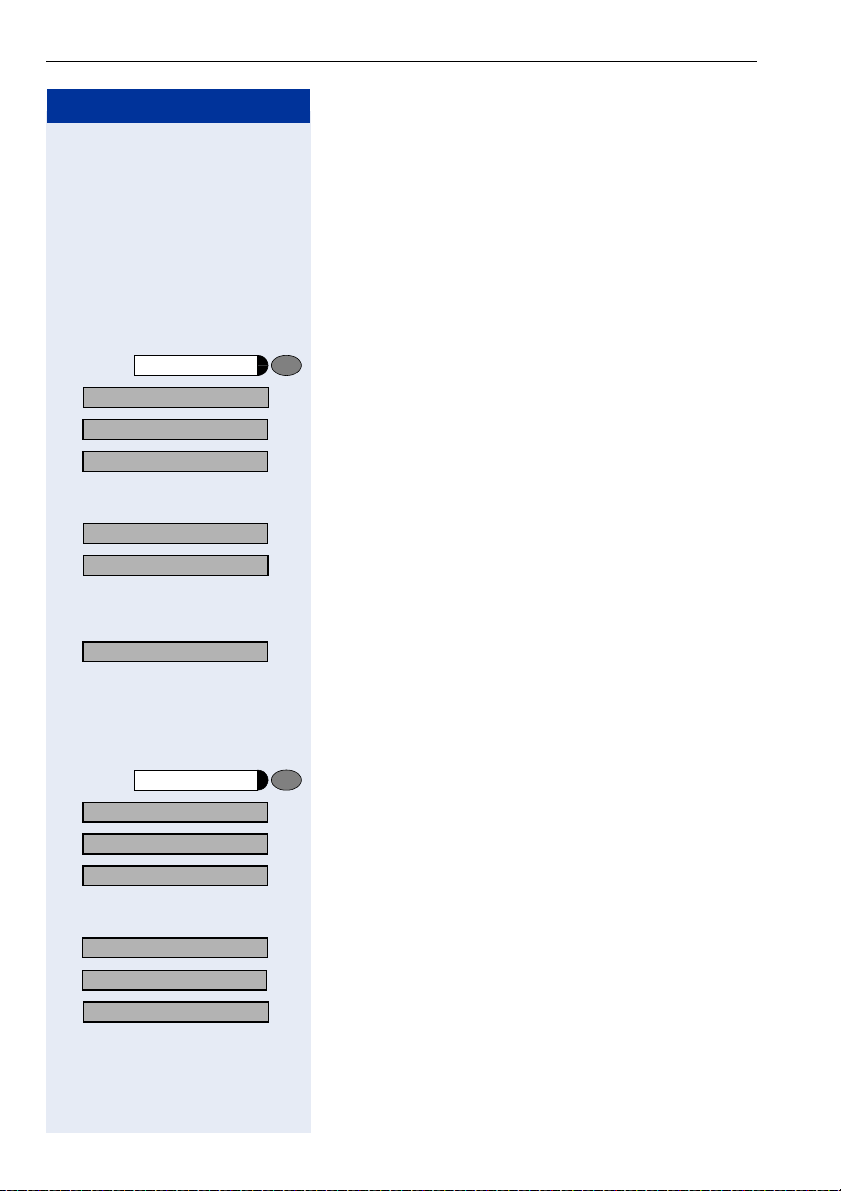
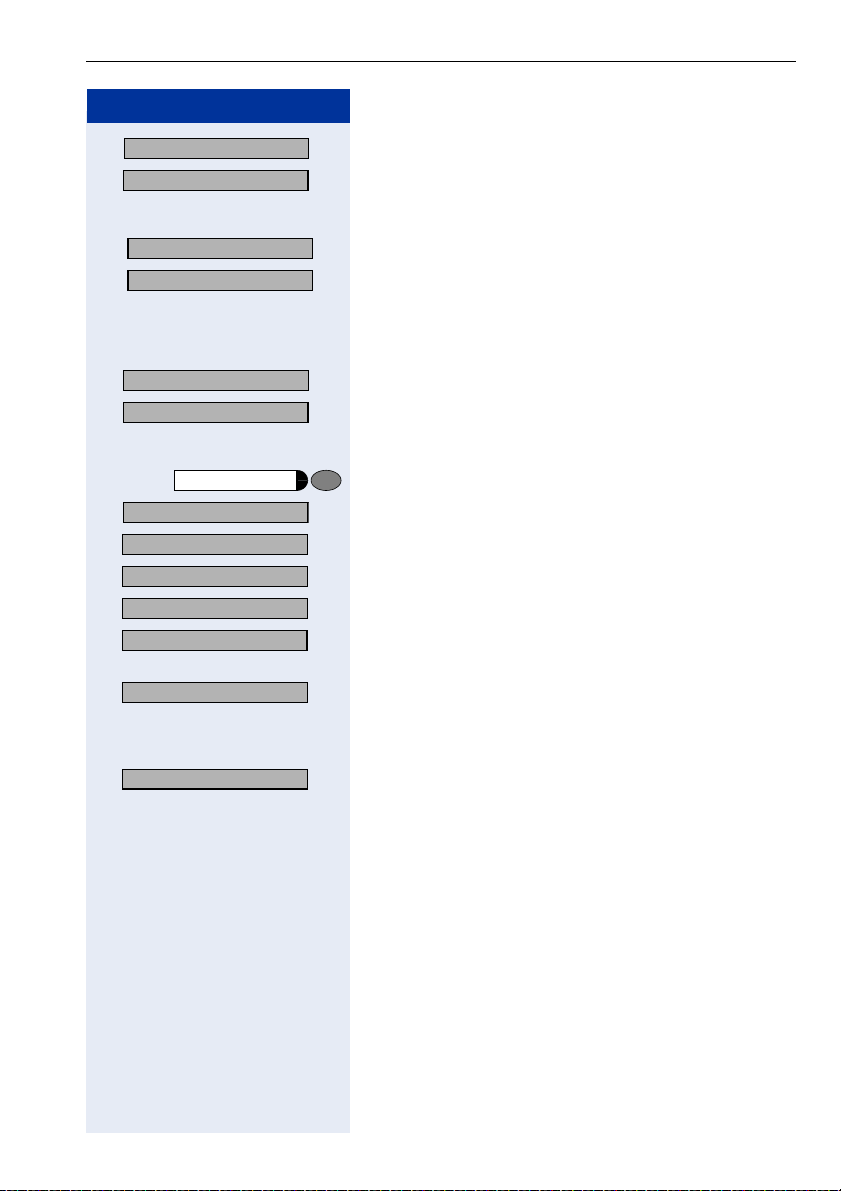
How to activate functions
... directly
Certain functions can be selected directly in the idle
state, for example:
UK: Var. call forw. on?
> :
US: Act. FWD-VAR-ALL-BOTH?
> :
Callback?
Dial again?
> : Make your selection with < >, confirm it with :
program/service
lf Use the service code to switch to the Display Suppres-
program/service
More features?
> : Make your selection with < > and confirm it with
Display suppression?
> : Select again with < > and confirm with :.
Make your selection with < > and confirm it with
:.
Other functions can be selected directly in certain
call situations.
You dial a number but the other party is busy:
: Confirm with :.
or
and dial another number.
... via the Service Menu
First press the program/service key. You are then offered a number of selection options. Example: suppressing the number display at the called party
page 80:
Press the key.
sion function. The service codes are listed in the quickreference operating instructions (appendix).
or
Press the key.
:.
... using a function key
You can activate directly a HiPath function that you have
saved on a key page 74, for example
Second call
12
Press the key. The function is executed.

Basic Usage Instructions
Which functions can be used?
Basic and enhanced functions
You can use all of the communication platform’s basic and enhanced functions that are offered in the dialog on the display, in the service menu, in a
main menu and on the function keys.
Additional multiline and group functions
page 88
These are configured by the service personnel. You can use the multiline
and group functions in addition to the basic and enhanced-convenience
functions. A telephone with line keys is identifiable by the fact that your
number and the numbers of your colleagues have been assigned to line
keys. You have access to all lines and you can also make calls via several
lines simultaneously.
The individual telephone can also be configured (as a keyset) for multi-line
operation, for example, for use by nonteam members or by brokers who
are in contact with clients on several lines simultaneously.
Additional executive/secretary functions (not used in US)
page 107
These are configured by the service personnel. You can use the executive/
secretary functions in addition to the basic and enhanced-convenience
functions. A telephone with an executive/secretary (not used in US) configuration is identifiable by the executive or secretary line keys for direct
calls to the executive or to the secretary’s office. An executive/secretary
telephone also has an intercept key, while a secretary’s telephone has a
pickup and a deputy key.
Self Labelling Key Function
This function is only available with optiPoint 410 standard.
If an optiPoint self labelling key module is connected to your telephone,
you do not need to label your key module's programmable function keys
manually.
A detailed description of the corresponding options is provided in the
optiPoint 420 Operating Manual.
13

Basic Usage Instructions
Step by Step
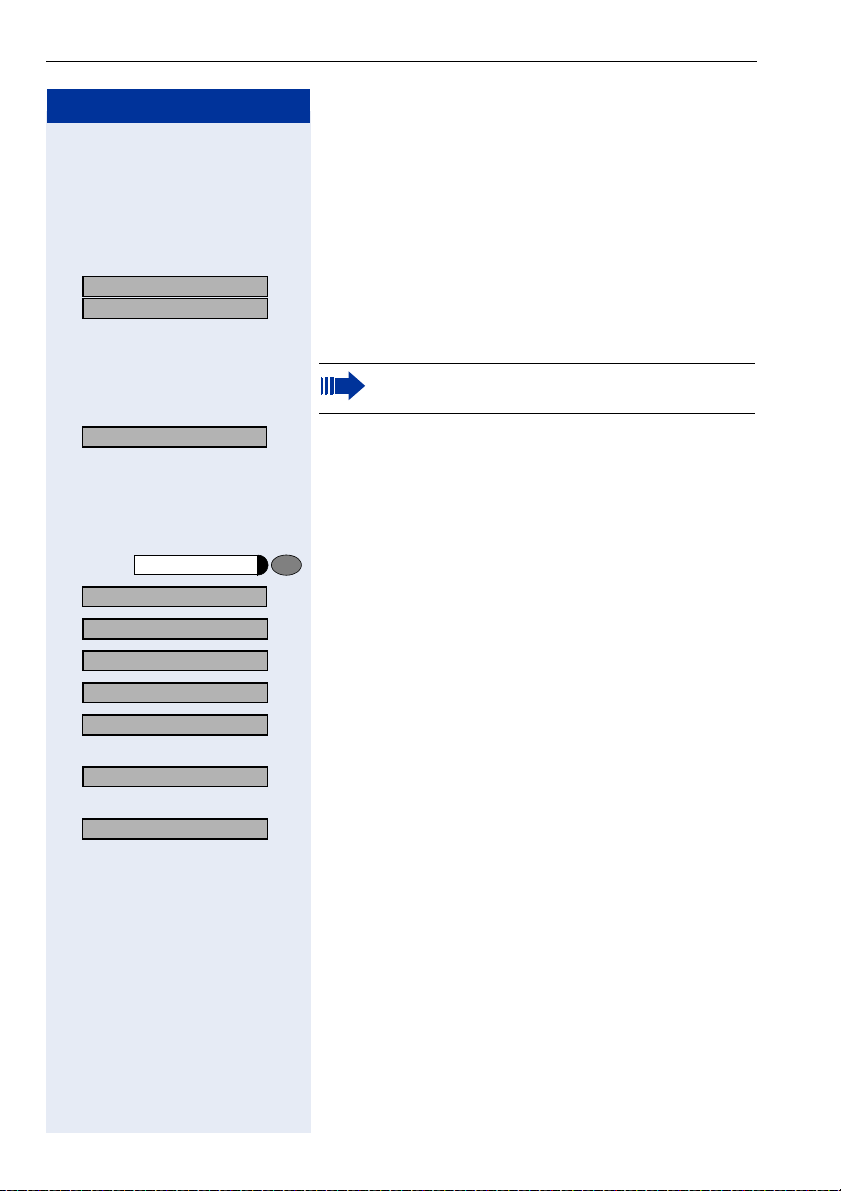
Optional main menu
Your system administrator can provide a customized
key to give you access to a main menu. On this main
menu you can choose from the following options:
Main menu
Speed dial features?
> : Use functions such as the redial or speed dial features.
More features?
> : Launch functions such as forwarding or code input.
View active features?
> : View active features such as forwarding or do-not-
Program/Service?
> : Branch to the usual service menu.
Phone settings?
> : Branch to the settings on the service menu.
Exit?
> : Exit the menu.
Press the key.
disturb.
The menu item “Main menu?” will be available on
every submenu.
How to make best use of your
telephone
• No doubt you have colleagues or outside business
associates to whom you make frequent calls. You
can save a great deal of time and effort by storing
these numbers on keys (Storing a speed dialing
number on a key page 29).
• All too often the number you have dialed is busy. But
afterwards you are extremely busy and completely
forget to try calling it again. Our advice: make a habit
of using the Callback function page 27.
Safety Precautions for IP Telephony
Different methods can be implemented to protect an IP
environment from external attacks (denial of service attacks, viruses, etc.) and call monitoring.
There are no special procedures for operating this device. Please contact your service personnel to find out
more about IP telephony security.
14

Step by Step
Speaker
Making Calls – Basic Functions
Making Calls – Basic Functions
Answering calls
Answering a call with the handset
The telephone rings. The caller is displayed.
n Lift the handset.
Answering a call via the speaker key
(speakerphone)
This function is only available with
optiPoint 410 standard.
The telephone rings. The caller is displayed.
Press the key. The lamp lights up.
You are in speakerphone mode.
u or v Increase or decrease the volume. Keep pressing the
keys until the desired volume level is set.
Speaker
Ending the call:
Press the key. The lamp goes out.
Notes for speakerphone mode:
• Tell the called party that you are using speakerphone.
• The speakerphone conversing equipment works
best at low volume settings.
• The ideal distance between yourself and the telephone for speakerphone conversing is approx.
20 inches.
15

Making Calls – Basic Functions
Step by Step
Speaker
and
Switching to speakerphone
This function is only available with
optiPoint 410 standard.
Precondition: You are making a call with the handset.
t Press the speaker key and release, then put the hand-
set down and continue the call.
Switching to the handset
This function is only available with
optiPoint 410 standard.
Precondition: You are on the phone in speakerphone
mode.
n Lift the handset. Continue the call.
Open listening
You can allow other persons in the room to listen in on
the call. Always inform the other party that you are
switching to the speaker.
Precondition: You are making a call with the handset.
To activate:
Speaker
Speaker
Press the key. The lamp lights up.
To deactivate:
Press the key. The lamp goes out.
Making Calls
Dialing with the handset off-hook
n Lift the handset.
p Internal: Enter the number.
External: Enter the access code and the number.
16

Step by Step
Speaker
Making Calls – Basic Functions
The called party is busy or does not answer:
t Replace the handset.
Dialing with the handset on-hook
p Internal: Enter the number.
External: Enter the access code and the number.
The called party answers. The call is on your speaker:
n Lift the handset.
or When handset is on-hook: speakerphone (only available
with optiPoint 410 standard).
The called party is busy or does not answer:
Press the key. The lamp goes out.
Ending the call
t Replace the handset.
Saved no. redial
Saved number redial
If your telephone is configured for this type of redialing,
you can save a number and then dial it later page 31.
You can redial the number at the push of a button.
Press the key.
The other party answers:
n Lift the handset.
or With the handset on-hook: speakerphone (only avail-
able with optiPoint 410 standard).
17

Making Calls – Basic Functions
Step by Step
Last no. redial
p Enter your individual code for Last Number Redial
or
Consultation?
Enter the code!
Last number redial
If your telephone is configured for this type of redialing,
each number dialed is saved for possible redialing.
Press the key.
(if necessary, ask the service personnel).
The other party answers:
n Lift the handset.
or With the handset on-hook: speakerphone (only avail-
able with optiPoint 410 standard).
Making a second call (consultation)
During a call in progress you can set up a second call,
for example, to obtain information. The first party is
placed on hold.
: Confirm.
p Make your call to the second party.
Release the second call – return to the first call:
Release and return?
: Confirm.
Alternating between two calls (toggling)
Precondition: You have either made a second call (see
above) or taken a waiting call page 45 during a call in
progress.
To switch to the waiting party:
UK: Toggle?
> :
US: Toggle/Connect?
> :
Release and return?
> : Select and confirm.
18
Select and confirm.
Release the present call – return to the other call:

Step by Step
Setting up a conference call:
Conference?
: Confirm.
An alerting tone indicates that all three users have been
interconnected to form a conference circuit.
Transferring a call
If the person you are conversing with wishes to be
transferred to one of your colleagues, you can transfer
the call to this third party.
Extending the call with prior announcement:
Consultation?
Start transfer?
> : Select and confirm.
: Confirm.
p Call the other party and inform him or her that the wait-
ing user wishes to be put through.
t Replace the handset. The two users are connected to
each other.
Extending the call without prior announcement:
Making Calls – Basic Functions
p Enter the number of the desired party.
t Replace the handset.
If a connection is not set up between the other
two parties within 40 seconds, you are recalled.
You are then connected to the first party again.
19

Making Calls – Basic Functions
Step by Step
Call Forwarding
If your telephone belongs to an ONS group (One
Number Service page 117), please note the
following features:
Call forwarding can be set up on any telephone in
the ONS group and then applies for all telephones in the ONS group.
Call forwarding between two telephones in an
ONS group is not possible.
Using call forwarding
You can program two types of call forwarding:
• Station fixed forwarding
• station variable forwarding
With station fixed forwarding you can program a forwarding destination that will remain valid until you
change or delete it. This forwarding function can be
switched on and off.
With station variable forwarding you can choose between 6 different types of forwarding:
• Station variable unconditional/all forwarding
– forwarding for internal calls only
– forwarding for external calls only
– forwarding for both internal and external calls
• Forwarding for busy (int/ext)
• Forwarding after no answer (int/ext)
• Forwarding for busy and ring no answer
Call forwarding is activated when a forwarding destination is programmed. When the station variable forwarding function is switched off, the forwarding destination
is automatically deleted
1
, and
1. Station fixed forwarding is optional
20

Step by Step
Making Calls – Basic Functions
When forwarding is activated you can see the following
display in the idle menu:
Forwarding type Display message
Station fixed forwarding
Station variable forward-
ing
Forwarding for internal/
external calls only
Forwarding for busy Forwarding on busy On
Forwarding after time Forwarding on timeout On
Forwarding for busy and
ring no answer
Station fixed forwarding Fixed forwarding On
See page 66 to find out how to activate/de-activate
call forwarding via codes or an installed forwarding key.
Forwarding to e.g. 222 Eric
Brown (own number)
Forwarding for internal/external On
Forwarding on busy or timeout On
21
Making Calls – Basic Functions
Step by Step
program/service
Destinations?
Call forwarding?
Next forwarding type? >
Next forwarding type? >
Enter destination: >
Save?
Station fixed forwarding
If you have programmed a forwarding destination for
station fixed forwarding, you can activate and deactivate the forwarding facility either in the program/service
menu or with a forwarding key configured by your service personnel. The programmed forwarding destination remains valid until you change or delete it.
Programming/changing a forwarding destination
Press the key. The lamp lights up.
: Confirm.
: Confirm. Display shows "Station variable forwarding".
: Confirm. Display shows "Station fixed forwarding". If for-
warding has been programmed the destination is displayed.
> Start "Station fixed forwarding".
p Enter the number of the forwarding destination. Any
destination previously saved will be overwritten.
: Confirm when the complete number has been entered.
Activating/deactivating station fixed forwarding
You can only activate station fixed forwarding if a destination number has been programmed.
program/service
Destinations?
Call forwarding?
Next forwarding type? >
Press the key. The lamp lights up.
: Confirm.
: Confirm. Display shows "Station variable forwarding".
: Confirm. Display shows "Station fixed forwarding". If for-
warding has been programmed the destination is displayed, whether forwarding is switched on or off.
22805 Eric Brown>
Activate?
> : Select and confirm. Station fixed forwarding is activated.
Fixed forwarding on
: Start "Station fixed forwarding".
Output in first line. The following display message appears in the idle menu:
Forward to
for example, 2223 Klaus Meier (own number).
22
Making Calls – Basic Functions
Step by Step
or
Deactivate?
> : Select and confirm. Station fixed forwarding is deacti-
vated.
Fixed forwarding off
UK: Call forwarding off?
> :
US: Deact call forwarding?
:
>
Call forwarding
Call forwarding
Output on first line display.
If station variable forwarding was previously programmed and activated, it is deactivated and the forwarding destination is deleted.
Deactivating station fixed forwarding in the idle menu
You can also deactivate station fixed forwarding in the
idle menu.
Select and confirm. Station fixed forwarding is deactivated. The destination number is retained.
Activating and deactivating with call forwarding key
Activating
Press the key. The lamp lights up.
Deactivating
Press the key. The lamp goes out.
Deleting the destination for station fixed forwarding
You can delete the destination for fixed forwarding.
program/service
Destinations?
Call forwarding?
Next forwarding type? >
Press the key. The lamp lights up.
: Confirm.
: Confirm. Display shows "Station variable forwarding".
: Confirm. Display shows "Station fixed forwarding" and
the forwarding destination.
22805 Eric Brown>
Delete?
> : Select and confirm. The forwarding destination is delet-
: Display "fixed forwarding target".
ed. If station fixed forwarding was activated it is now
switched off. If a forwarding key has been configured it
is deactivated.
23
Making Calls – Basic Functions
Step by Step
Station variable forwarding
With station variable forwarding you can choose between 6 different types of call forwarding:
• Station variable unconditional/all forwarding
– forwarding for internal calls only
– forwarding for external calls only
– forwarding for both internal and external calls
• Forwarding for busy (int/ext)
• Forwarding after no answer (int/ext)
• Forwarding for busy and ring no answer
The forwarding types are mutually exclusive except for
forwarding for internal and forwarding for external. You
can program a forwarding destination for both of the
two exceptions and thus activate them both.
Example:
You had activated station variable forwarding. You now
program and thus activate forwarding after timeout. Station variable forwarding is automatically deactivated and
its forwarding destination is deleted.
Selection of a station variable forwarding type
program/service
Destinations?
Call forwarding?
FWD-ALL-BOTH off
Next forwarding type? >
Fixed forwarding off
Next forwarding type? >
Fixed forwarding off
22805 Eric Brown>
24
Select the items Destinations and Forwarding in the
Service Menu.
Press the key. The lamp lights up.
: Confirm.
: Confirm.
"Station variable forwarding" will be offered first.
Output on first line display.
Output on second line display.
: Confirm to select the next forwarding type.
Output on first line display.
Output on second line display.
or If you have already programmed a station fixed forward-
ing destination.
Output on first line display.
Output on second line display.
: Confirm to select the next station variable forwarding
type
Step by Step
Making Calls – Basic Functions
FWD-ALL-INT off
Next forwarding type? >
Output on first line display.
Output on second line display.
: To select the next station variable forwarding type.
FWD-ALL-EXT off
Next forwarding type? >
Output on first line display.
Output on second line display.
or
> To edit the current station variable forwarding type.
FWD-ALL-EXT off
Enter destination: >
program/service
Destinations?
Call forwarding?
Next forwarding type? >
Next forwarding type? >
Next forwarding type? >
Enter destination: >
> :
Save?
> : Confirm when the complete number has been entered.
Output on first line display.
Output on second line display.
Programming/changing the forwarding destination
Press the key. The lamp lights up.
: Confirm.
: Confirm. Display shows "Station variable forwarding".
: Confirm. Display shows " Station fixed forwarding".
: Confirm. Display shows "Forwarding for internal".
> Open a forwarding type, for example, "Forwarding for in-
ternal".
p
Enter the number of the forwarding destination. Any
destination previously saved will be overwritten
To select a different forwarding type, proceed as described on page 24.
If station variable forwarding was previously programmed and activated, it is deactivated and the forwarding destination is deleted (for exception, see
page 24). Station fixed forwarding is deactivated.
Deleting a forwarding destination
A station variable forwarding destination is automatically deleted when the forwarding type is switched off.
25
Making Calls – Basic Functions
Step by Step
UK: Var. call forw. on?
> :
US: Act. FWD-VAR-ALL-BOTH?
> :
p Enter the number of the destination.
Activating station variable forwarding
Station variable forwarding is automatically activated
when the forwarding destination is programmed.
Unconditional variable programming can also be activated in the idle menu.
Select and confirm while the phone is idle.
If you enter a cross-system number, you must
press
r after entering the number.
Save?
: Confirm. This also activates the forwarding facility.
Deactivating station variable forwarding
You can deactivate all station variable forwarding types
in the Service Menu.
program/service
Destinations?
Call forwarding?
Next forwarding type? >
Next forwarding type? >
Next forwarding type? >
Press the key. The lamp lights up.
: Confirm.
: Confirm. Display shows "Station variable forwarding".
: Confirm. Display shows "Station fixed forwarding".
: Confirm. Display shows "Forwarding for internal".
> Open a forwarding type, for example, "Forwarding for in-
ternal".
Deactivate?
> : Select and confirm. Station variable forwarding is deac-
tivated and the forwarding destination is deleted.
FWD-ALL-INT off
Output on first line, for example, for "Forwarding for internal".
To select another station variable forwarding type, proceed as described on page 24.
Checking forwarding
To check up on the status of the forwarding types, proceed as described on page 24. The status "ON" or
"OFF" is shown in the first line. The forwarding destination is shown in the second line display if this station
variable forwarding type is activated.
26

Step by Step
UK: Call forwarding off?
> :
US: Deact call forwarding?
:
>
Making Calls – Basic Functions
Deactivating station variable forwarding in the idle
menu
You can also deactivate the following station variable
forwarding types in the idle menu:
• Station variable forwarding
• Forwarding for internal and for external
Select and confirm while the phone is idle. Forwarding
is deactivated and the forwarding destination is deleted.
Using the callback function
If the telephone that you have called is busy or there is
no answer, you can request a callback. This also applies
to external calls via ISDN switching centers. This saves
you having to dial the number repeatedly. You are then
called back
• as soon as the other party terminates his or her call
• as soon as the other party makes and completes a
call
• as soon as the other party checks his or her mailbox
and responds to your callback request page 43.
If your telephone belongs to an ONS group (One
Number Service page 117),please note the fol-
lowing features:
Callback On Busy is indicated only on the busy
telephone, not in the whole ONS group.
Callback On No Reply is entered in the mailbox
page 43 for all internal system telephones in
an ONS group.
Storing a callback request
Precondition: The internal called party is busy or there
is no answer.
Callback?
Callback?
> : Select and confirm (if the other party has programmed
: Confirm.
or
call forwarding, you will be called back from the call
forwarding destination).
27

Making Calls – Basic Functions
Step by Step
Answering a callback request
Precondition: A callback request has been saved.
The telephone rings. The Cancel Callback message informs you that this is a callback.
n Lift the handset. You hear ringing tone.
Speaker
or Press the key. The lamp lights up. You hear ringing tone.
You are in speakerphone mode (only available with
optiPoint 410 standard).
Rejecting a callback request
The telephone rings. The Cancel Callback message informs you that this is a callback.
Cancel callback?
: Confirm.
or Let the telephone ring four times; do not answer the
call.
Checking/cancelling saved callback requests
Precondition: You have saved callback requests.
Display callback?
> : Select and confirm.
Next callback?
> : Select and confirm to view further entries.
The oldest entry is displayed first.
Canceling an entry that is displayed:
Delete?
> : Select and confirm.
Ending:
program/service
28
Press the key. The lamp goes out.

Step by Step
Making Calls – Basic Functions
Store call numbers and sequences on the key
A user can store access codes, PIN numbers and call
numbers on a redial or destination dial key simultaneously in a sequence, and then dial by simply pressing
that key.
Example of a sequence: Call transfer type + destination call number.
Save on redial
Press key.
Press key.
: Confirm.
p e.g., Specify server access + PIN number + code num-
ber + destination call number or only call number.
: Confirm
Store/process on destination dial number
There are many use examples for using the linking of
code and PIN numbers with call numbers or codes and
destination call numbers. For instance:
• Direct talk with destination
• Call transfer with destination
• Change night switching variants
• Program the PIN and telephone number on a key of
a different telephone for the sake of identification
• Lock the telephone with simultaneous call transfer
to a destination telephone
• Call number dialling with pause
• Automatic call-back with destination call number.
Press key. The lamp lights up.
Press the desired destination dial key to use the key
module of the second level in the optPoint, and press
"Shift" beforehand.
The current key assignment is displayed. "Enter new
number" appears in the second line.
29
Making Calls – Basic Functions
Step by Step
Enter the number with pause (example)
p Enter the number
Enter Pause?
> : Select and confirm. A "P" appears in the display.
p Enter more numbers
or enter number with automatic call-back (Example)
Enter Consult?
> : Select and confirm. "RF" appears in the display
p Add destination call number
If you press this key when a call is in progress, a
call-back operation is executed immediately. The
first caller waits and the number of the stored
destination party is dialled.
or lock the telephone with simultaneous transfer to
another destination (example)
qfd Enter telephone locking code e.g., *20
qhk Activate call transfer code e.g., *47
p enter destination call number
In networked systems, the sequence must be
suffixed with r .
or just delete the existing number
Delete?
> : Select and confirm. The number is deleted.
Store entry
Save?
> : Select and confirm. Your entries are saved.
or if you have mistyped the entry:
Cancel?
> : Select, confirm and enter the sequence again.
30
 Loading...