

Page 1
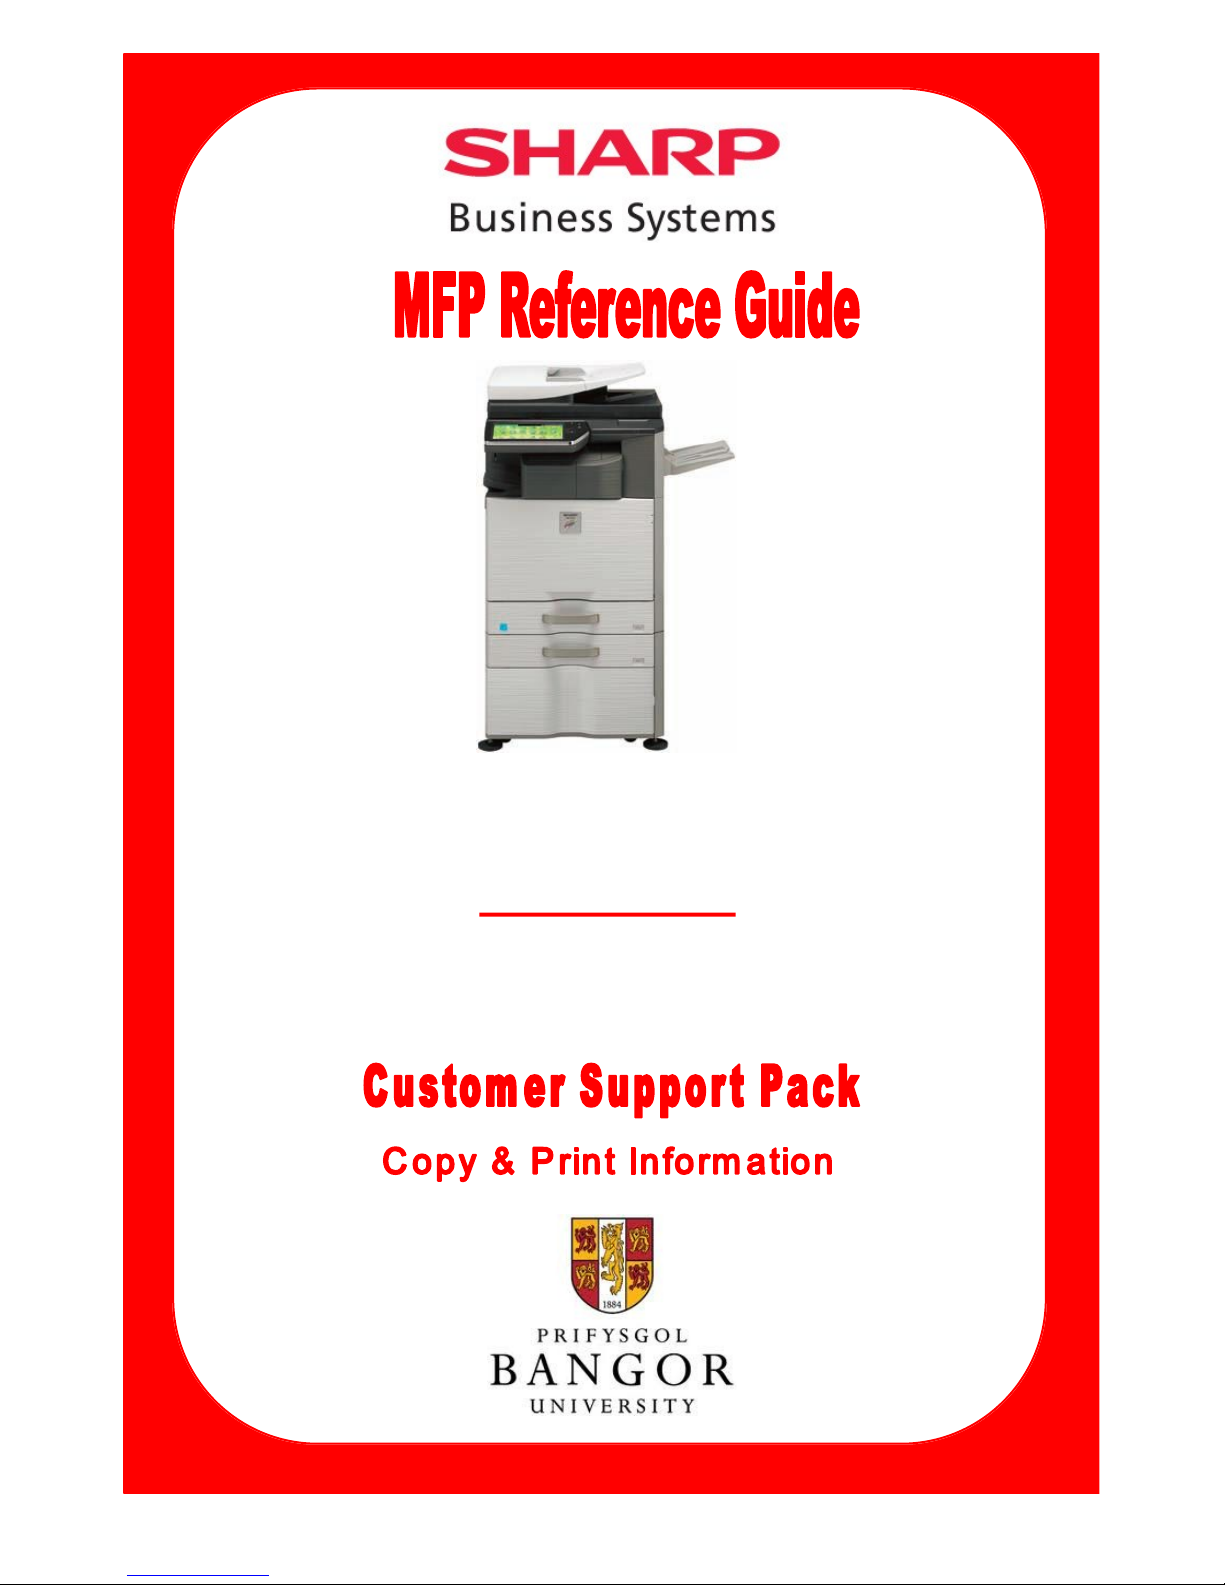
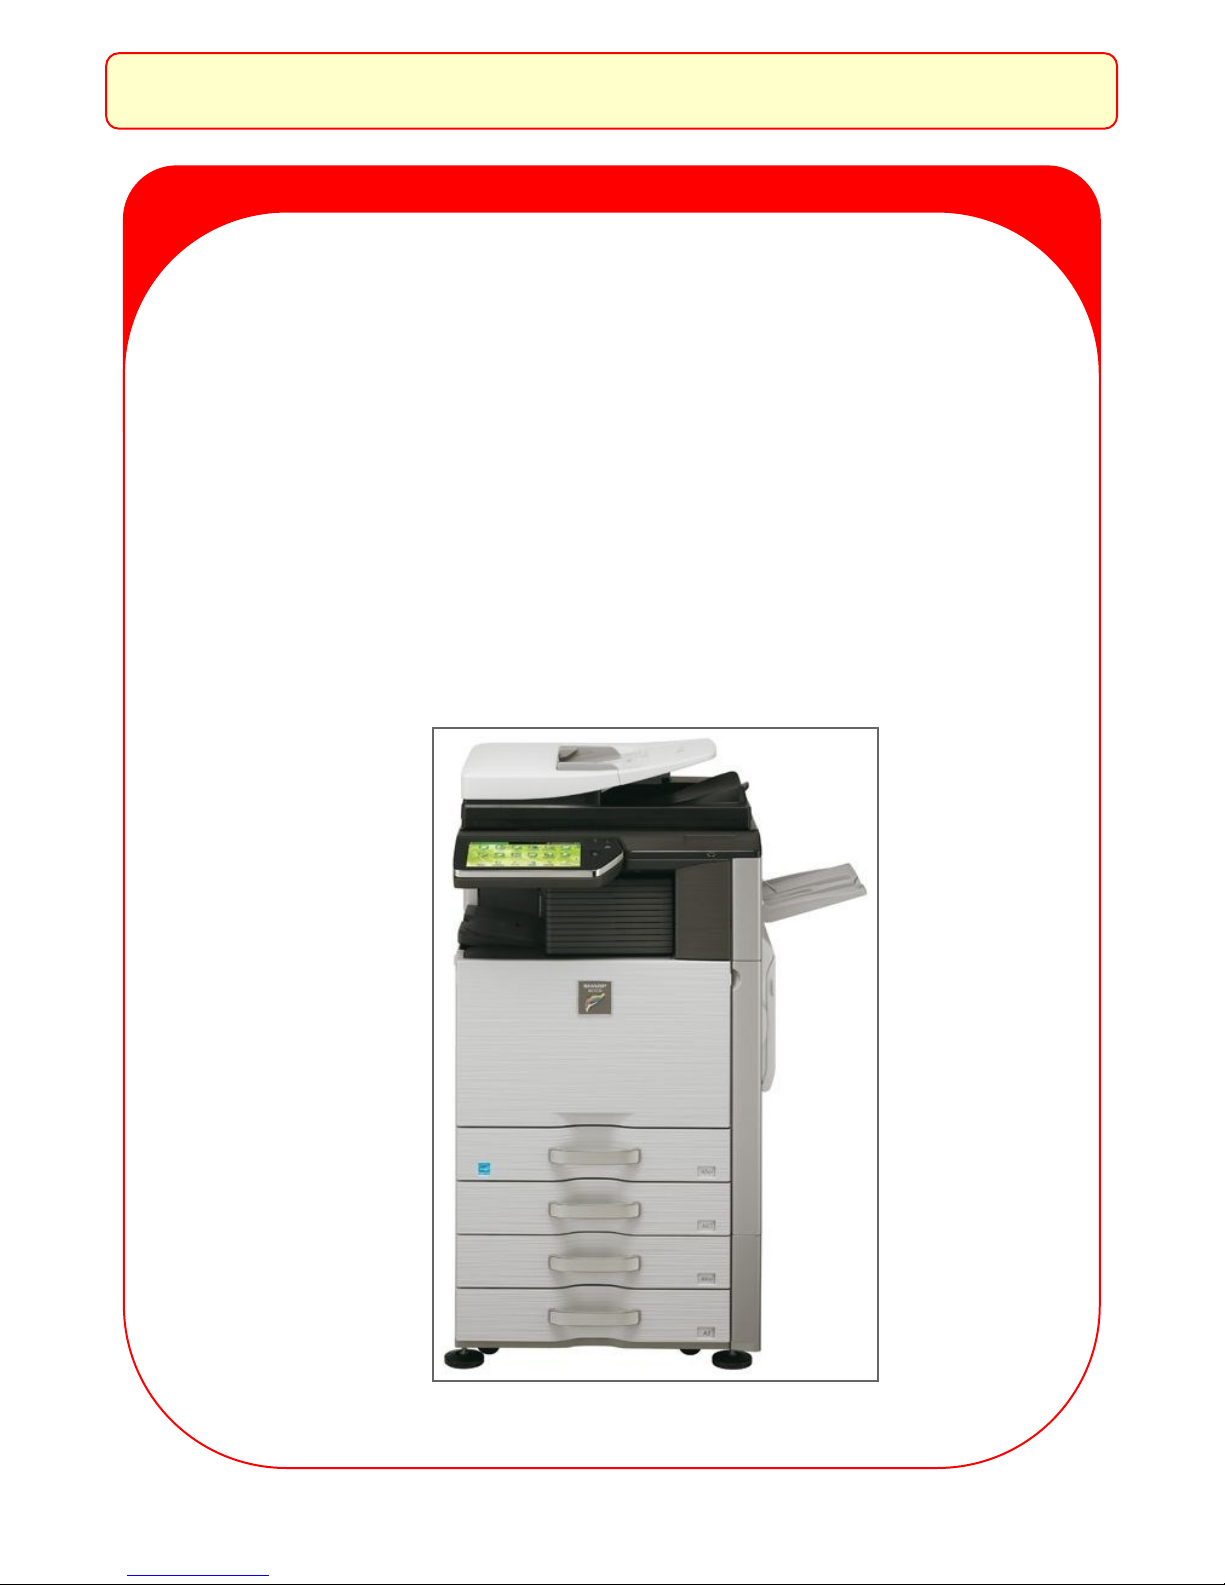
Print & Copy Control Solution
Sharp MFP’s
Card & Windows Authentication
Page 2

Page 3
Photocopier Guide and Reference Information
1
Print & Copy Control
Solution
Access control using:
Proximity Card
Windows Authentication
Page 4
Photocopier Guide and Reference Information
2
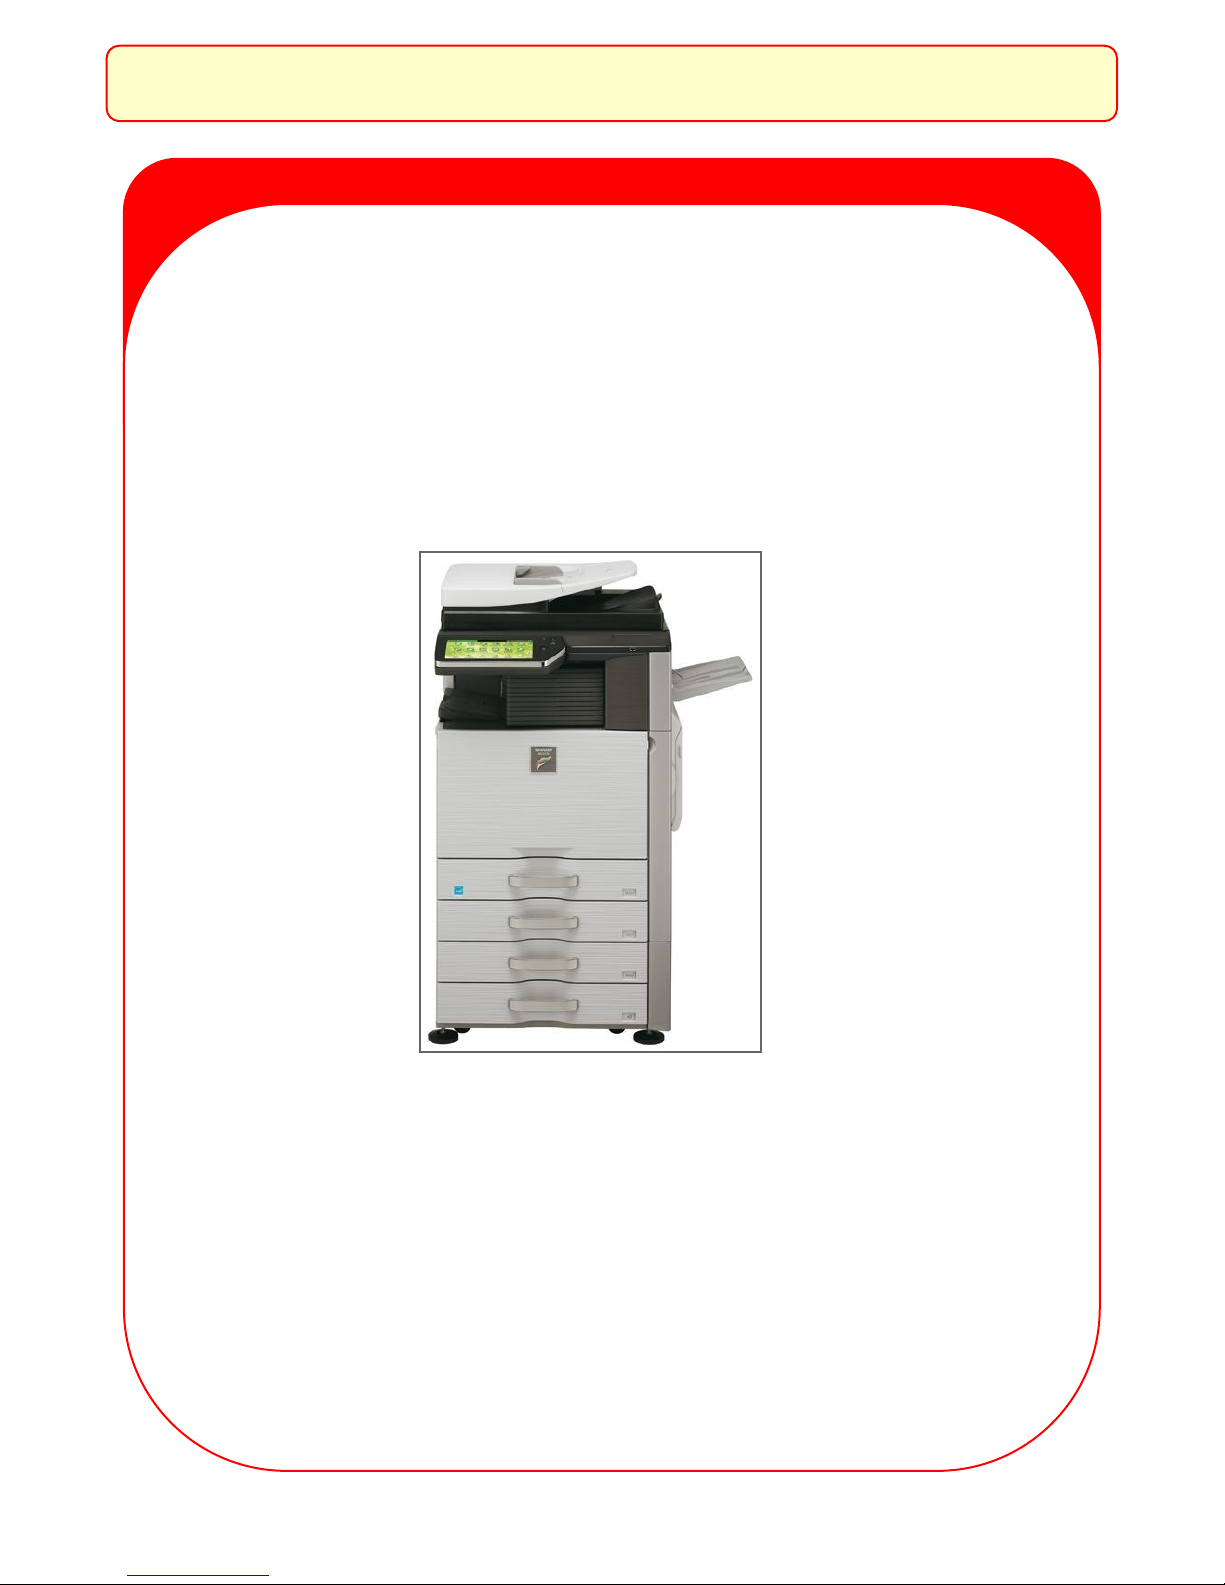
Important Notice:
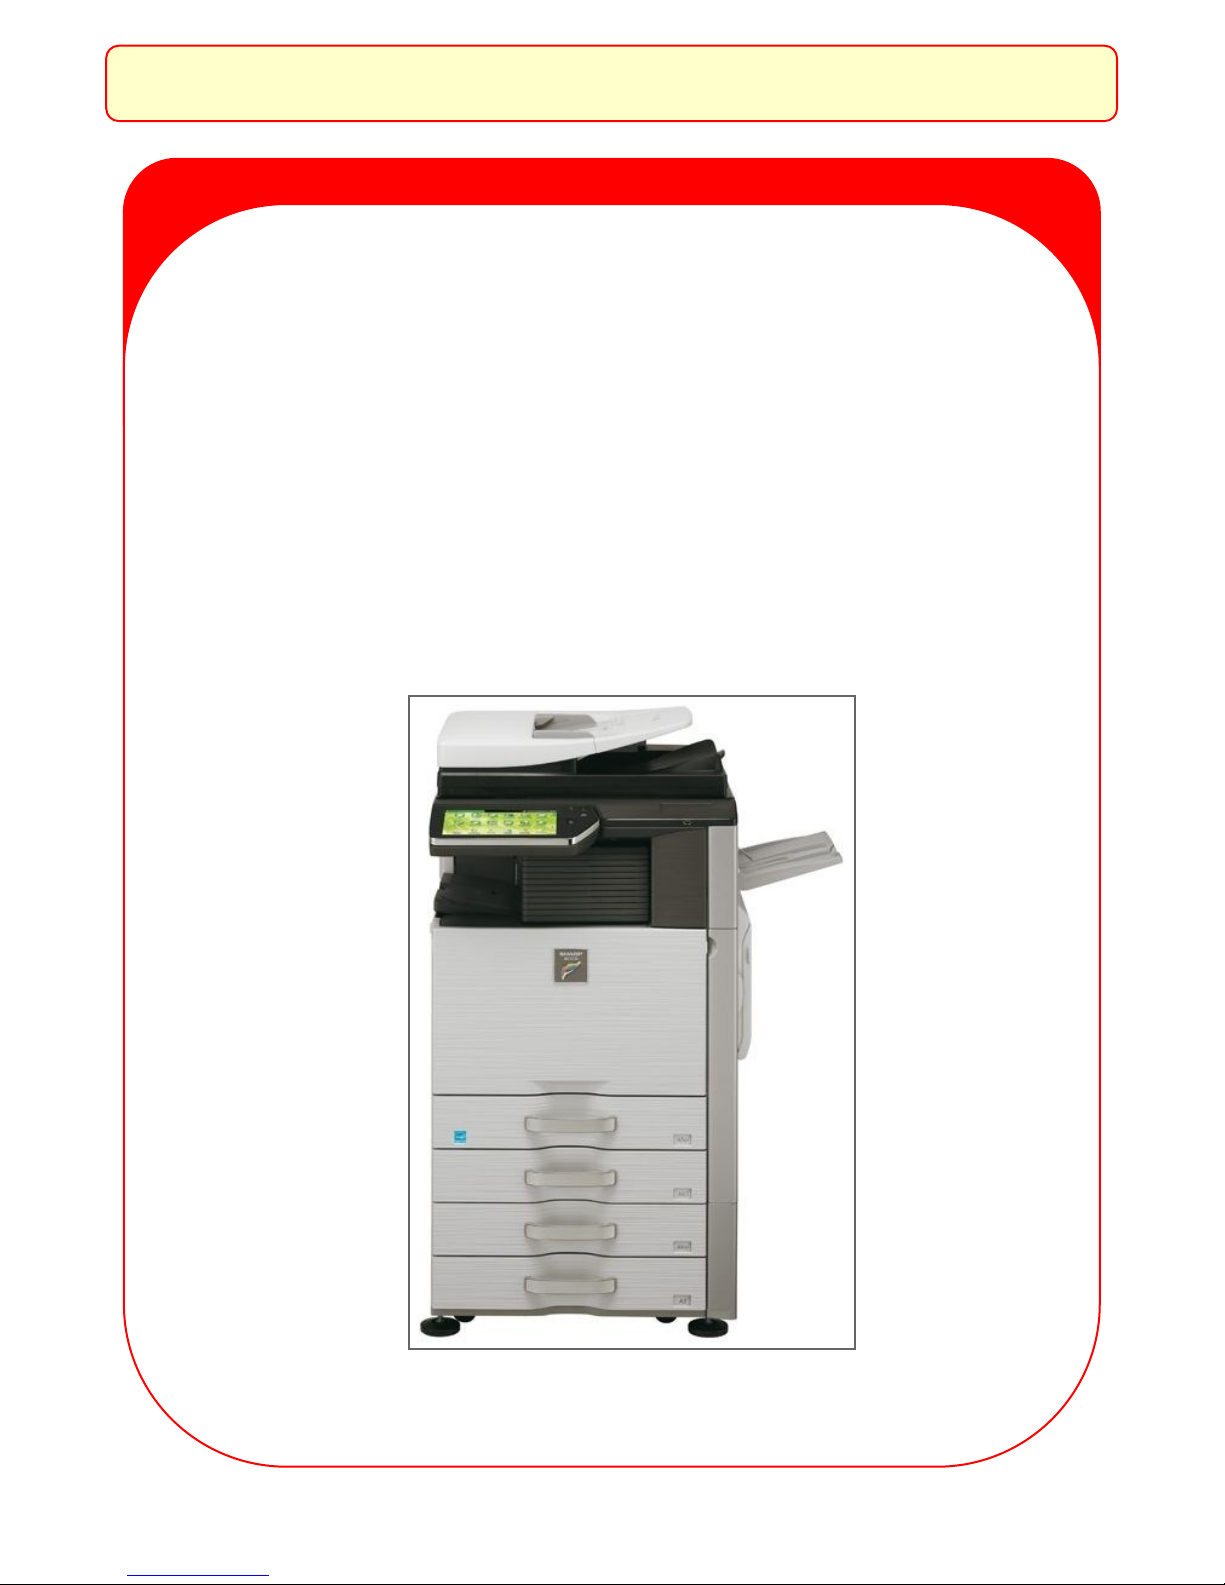
The core of this manual is
based on the Sharp MX-5112
If you are using other Sharp
copier models please refer to
pages 23 - 36 of this manual
Page 5
User Authentication Methods
3
User Authentication Methods at the
Multifunctional Photocopier
Windows Log-on
Card
NOTE: At least one of the following methods of authentication
will be enabled on the Sharp Multifunctional Product (MFP)
Page 6
Authentication at the MFP
4
How to
Authenticate
at the Sharp MX-5112
Page 7
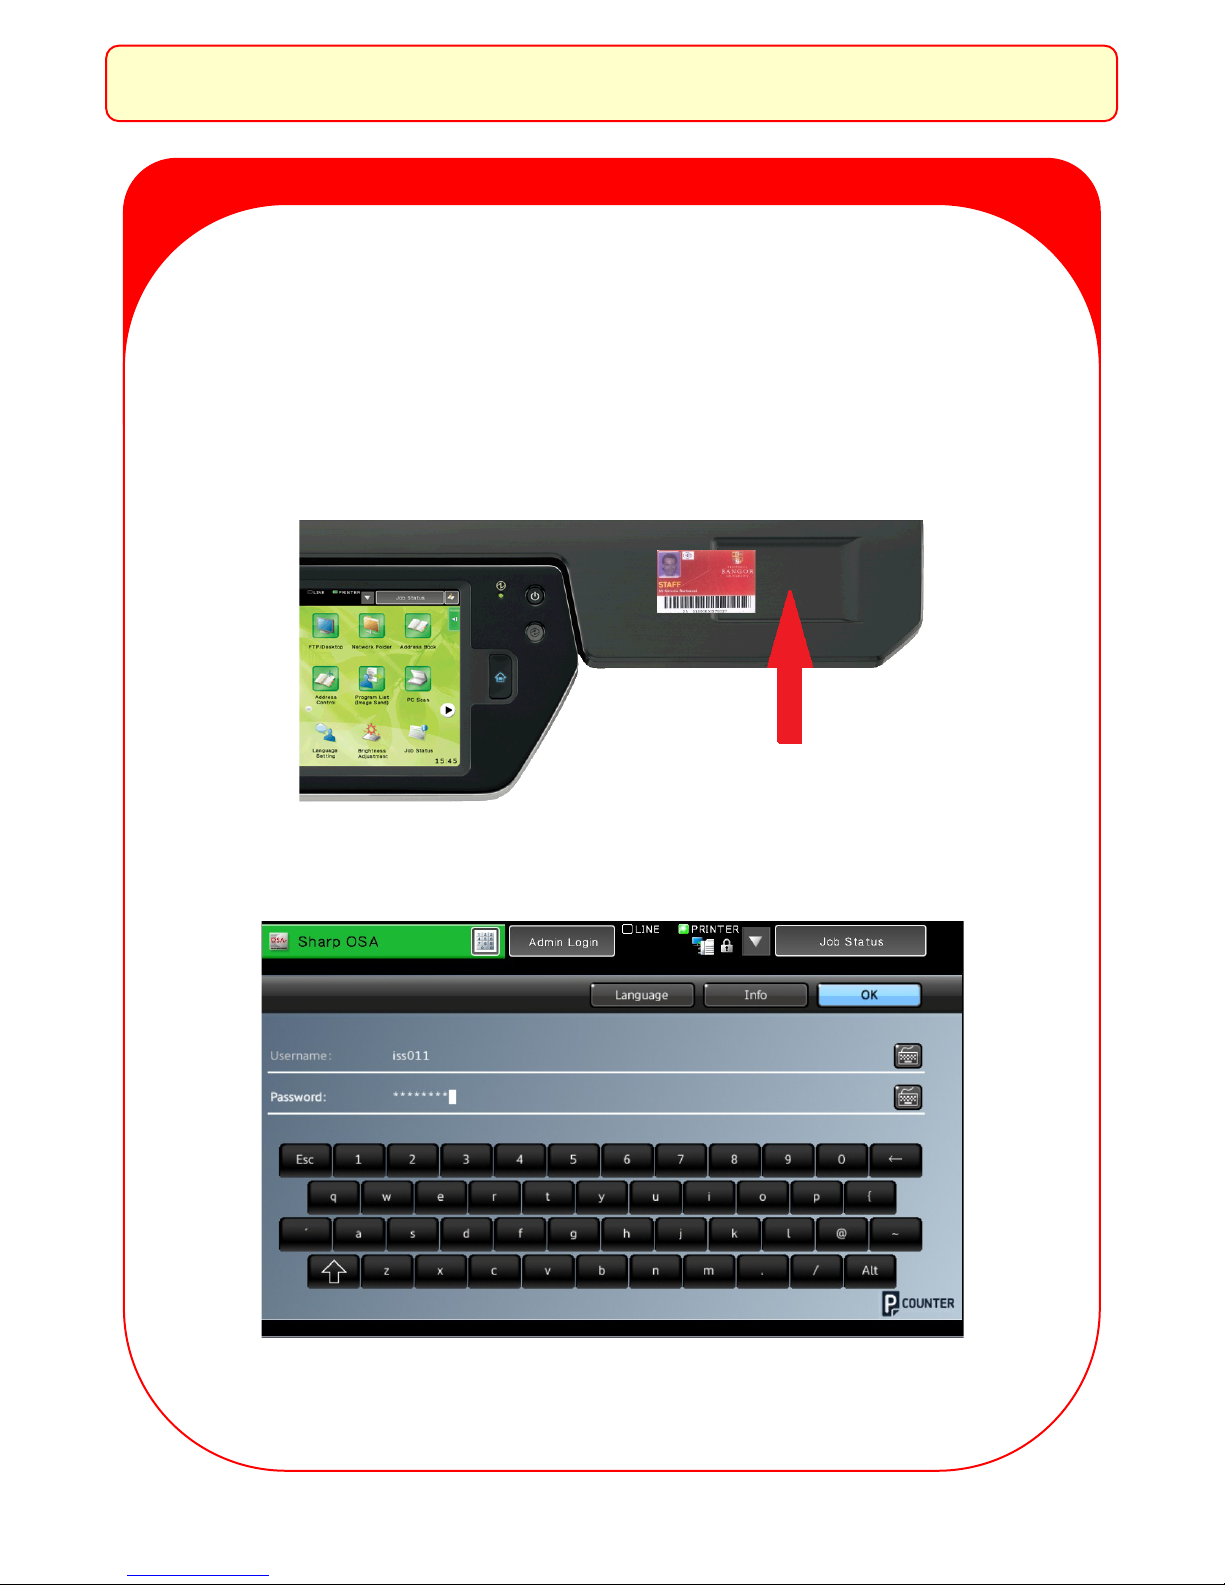
5
Methods of Authentication
The devices are setup to allow authentication in one of two
ways:
1. Presenting your card, or;
2. The input of your Windows user credentials;
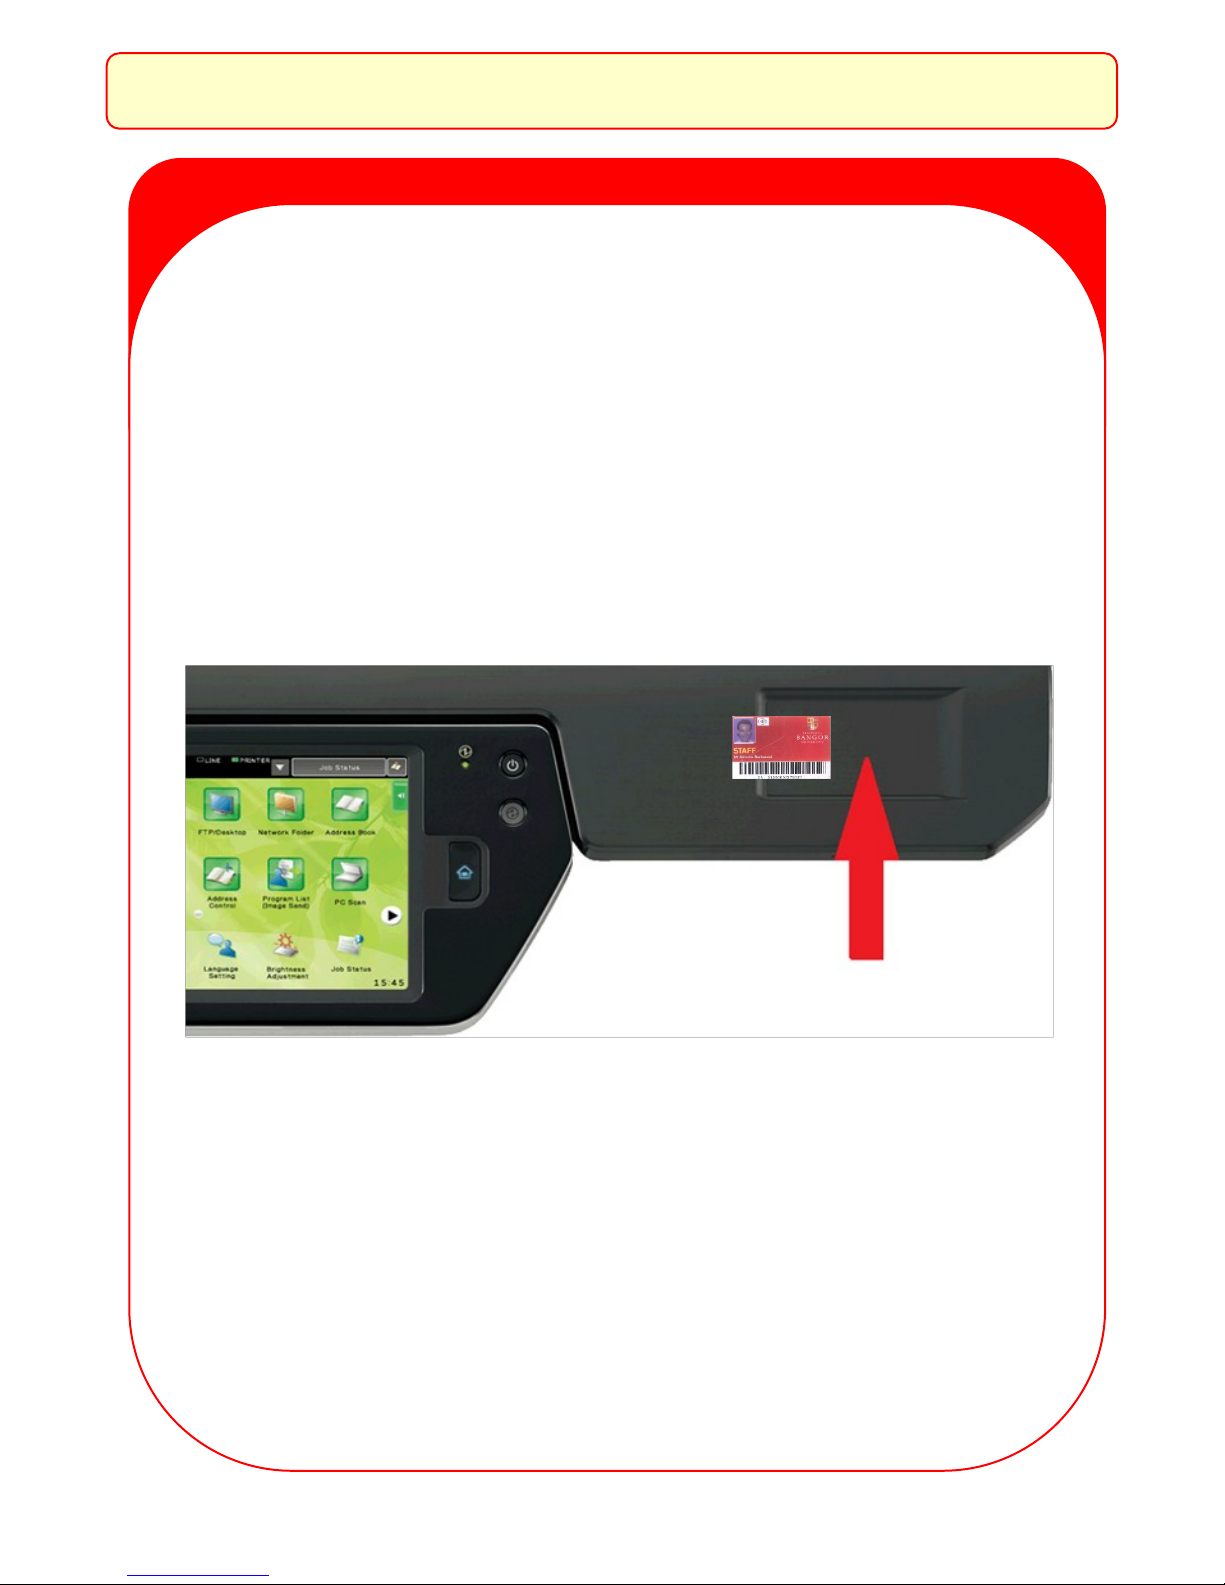
Authentication using Card
You should present your card at the reader on the right hand side of the
device. The reader is embedded within the machine so it is not visible to
the eye. However, you should present your card against the recess as
shown above.
Authentication at the MFP
Page 8
6
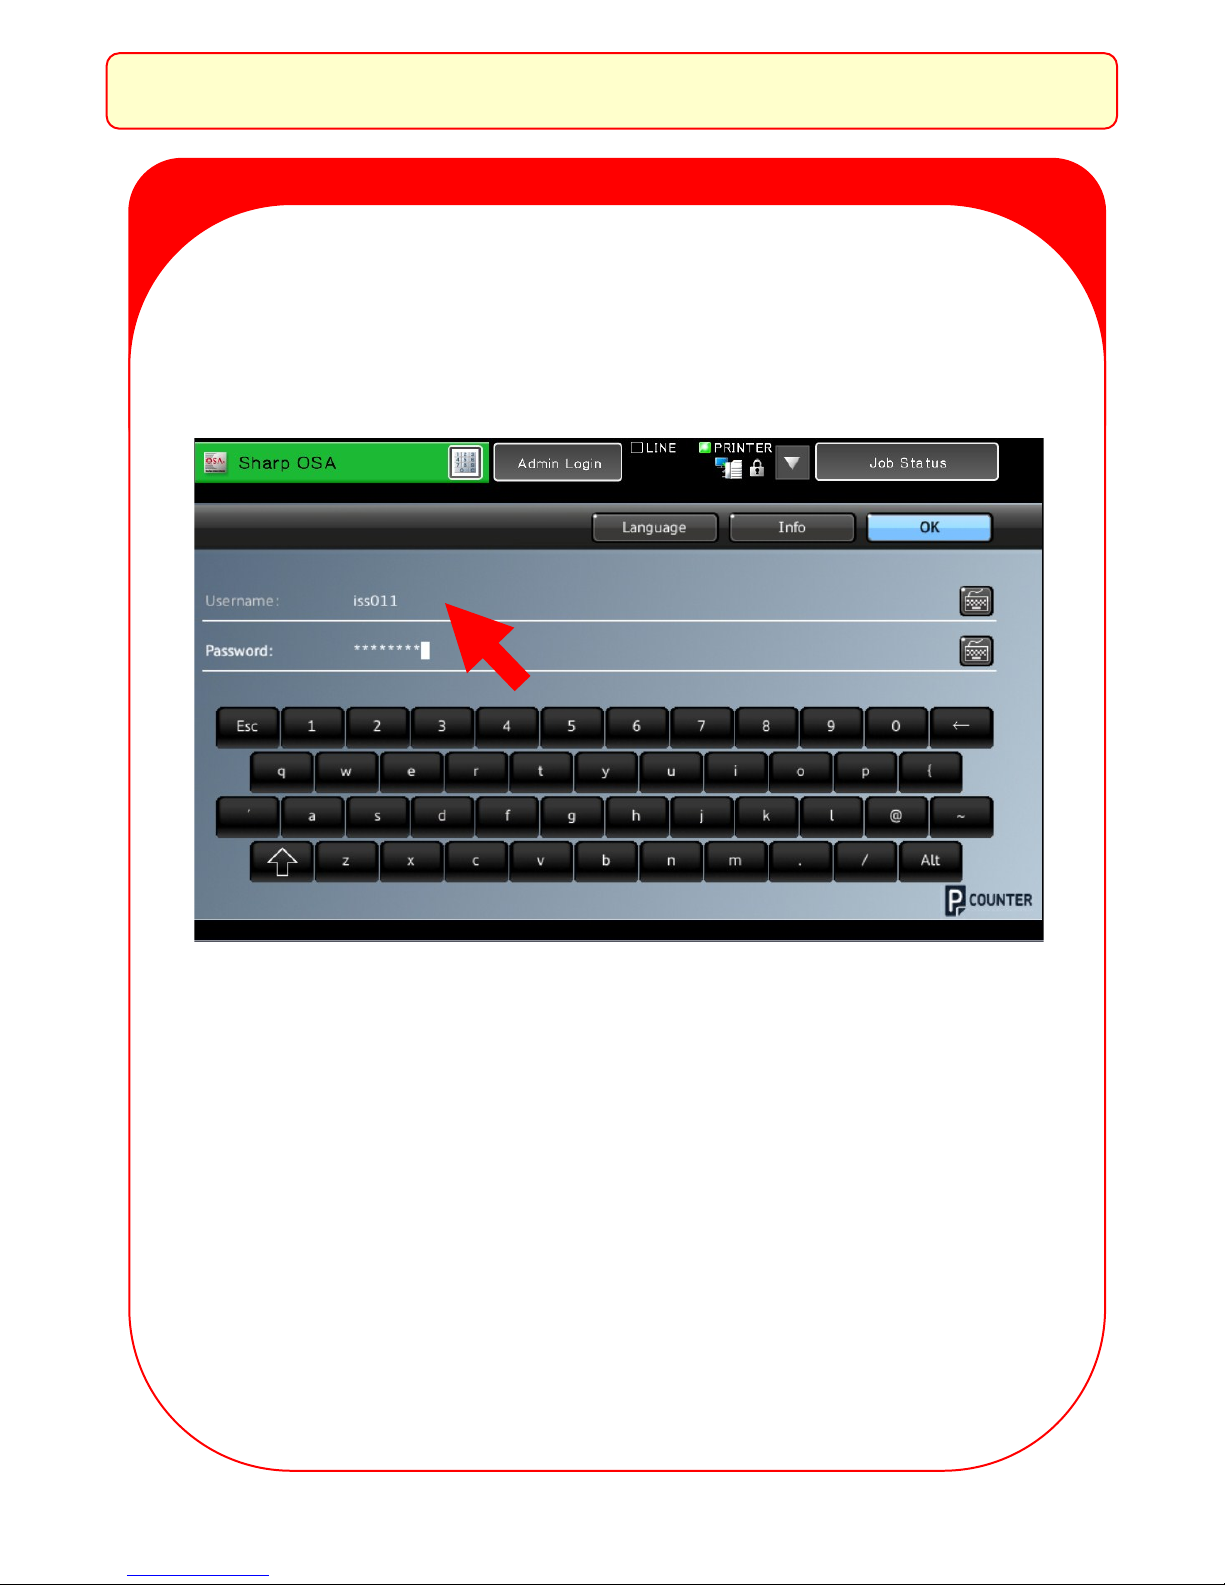
Authentication using Logon Credentials
Authentication at the MFP
The above screen is the default screen which will be presented when
you walk-up to the device.
You are required to input your username, followed by your password.
Page 9
7
Authentication at the MFP
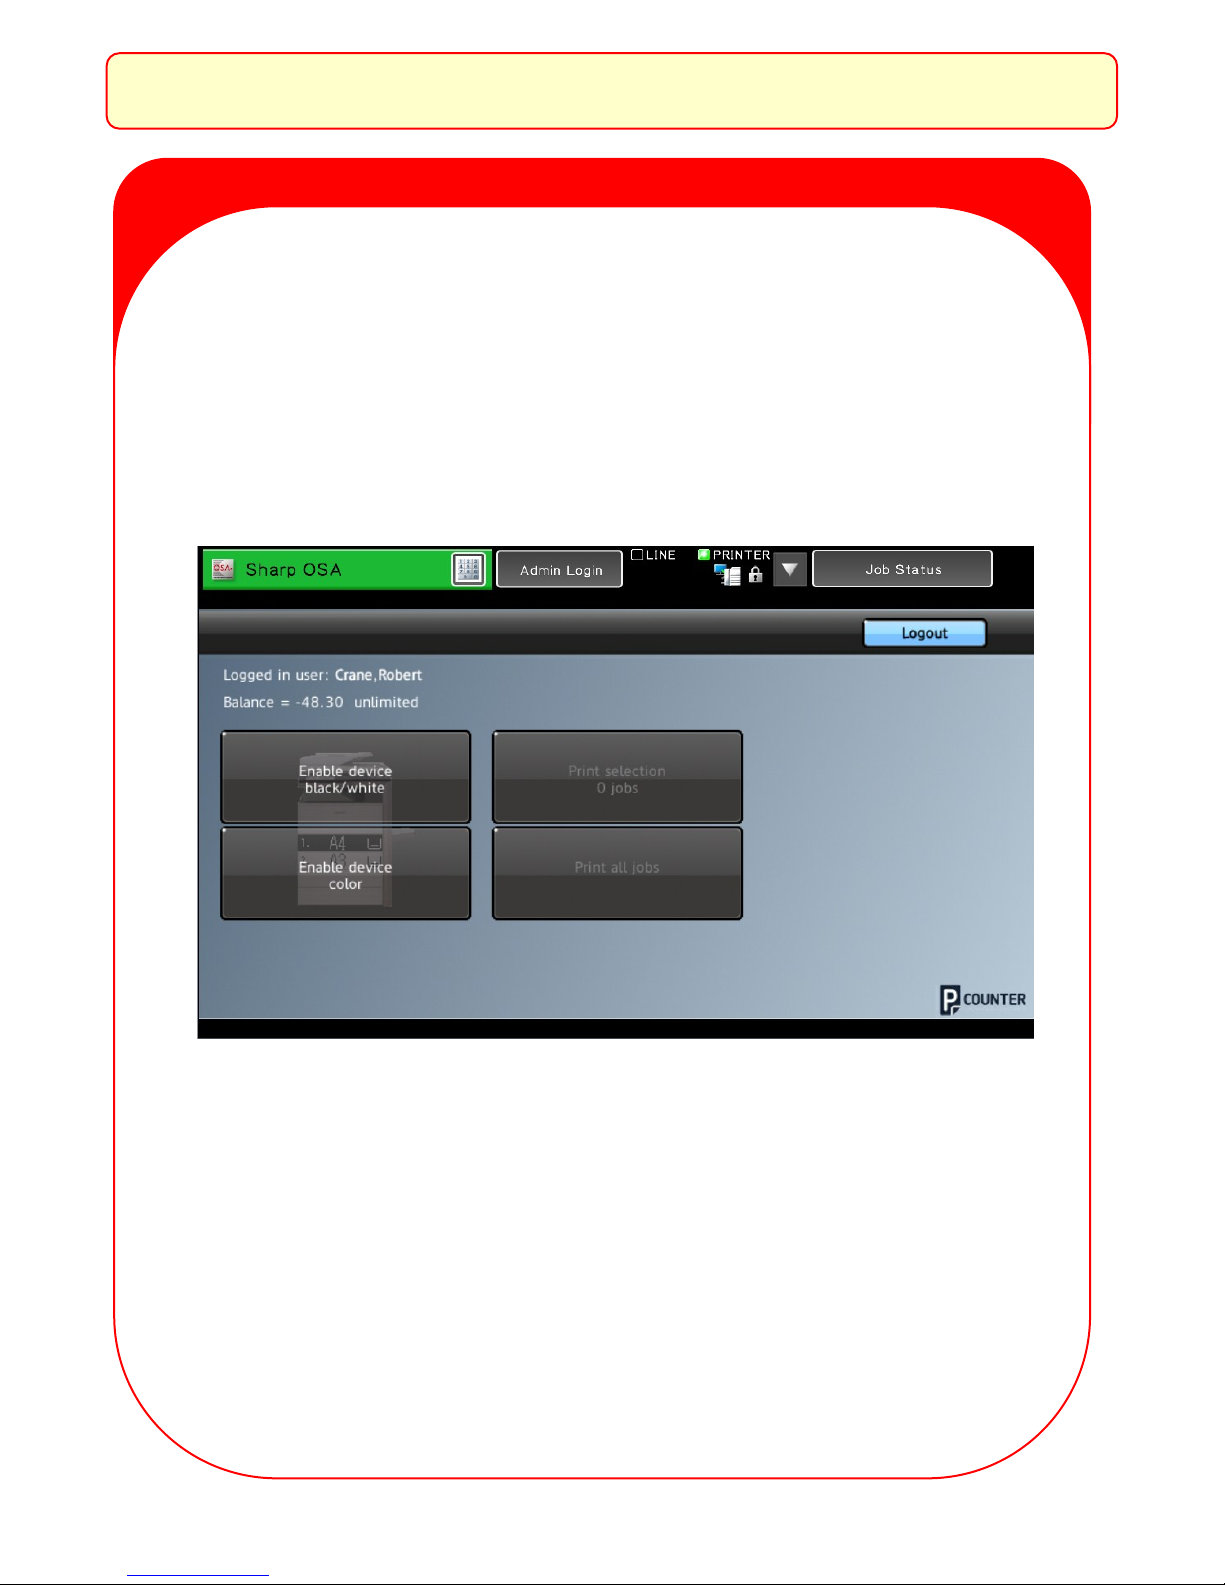
Successful Authentication
When authentication has been successful you will be presented
with the OSA Home Screen:
Page 10
8
Photocopying
How to
Access Photocopying
at the
Sharp MX 5112
Page 11
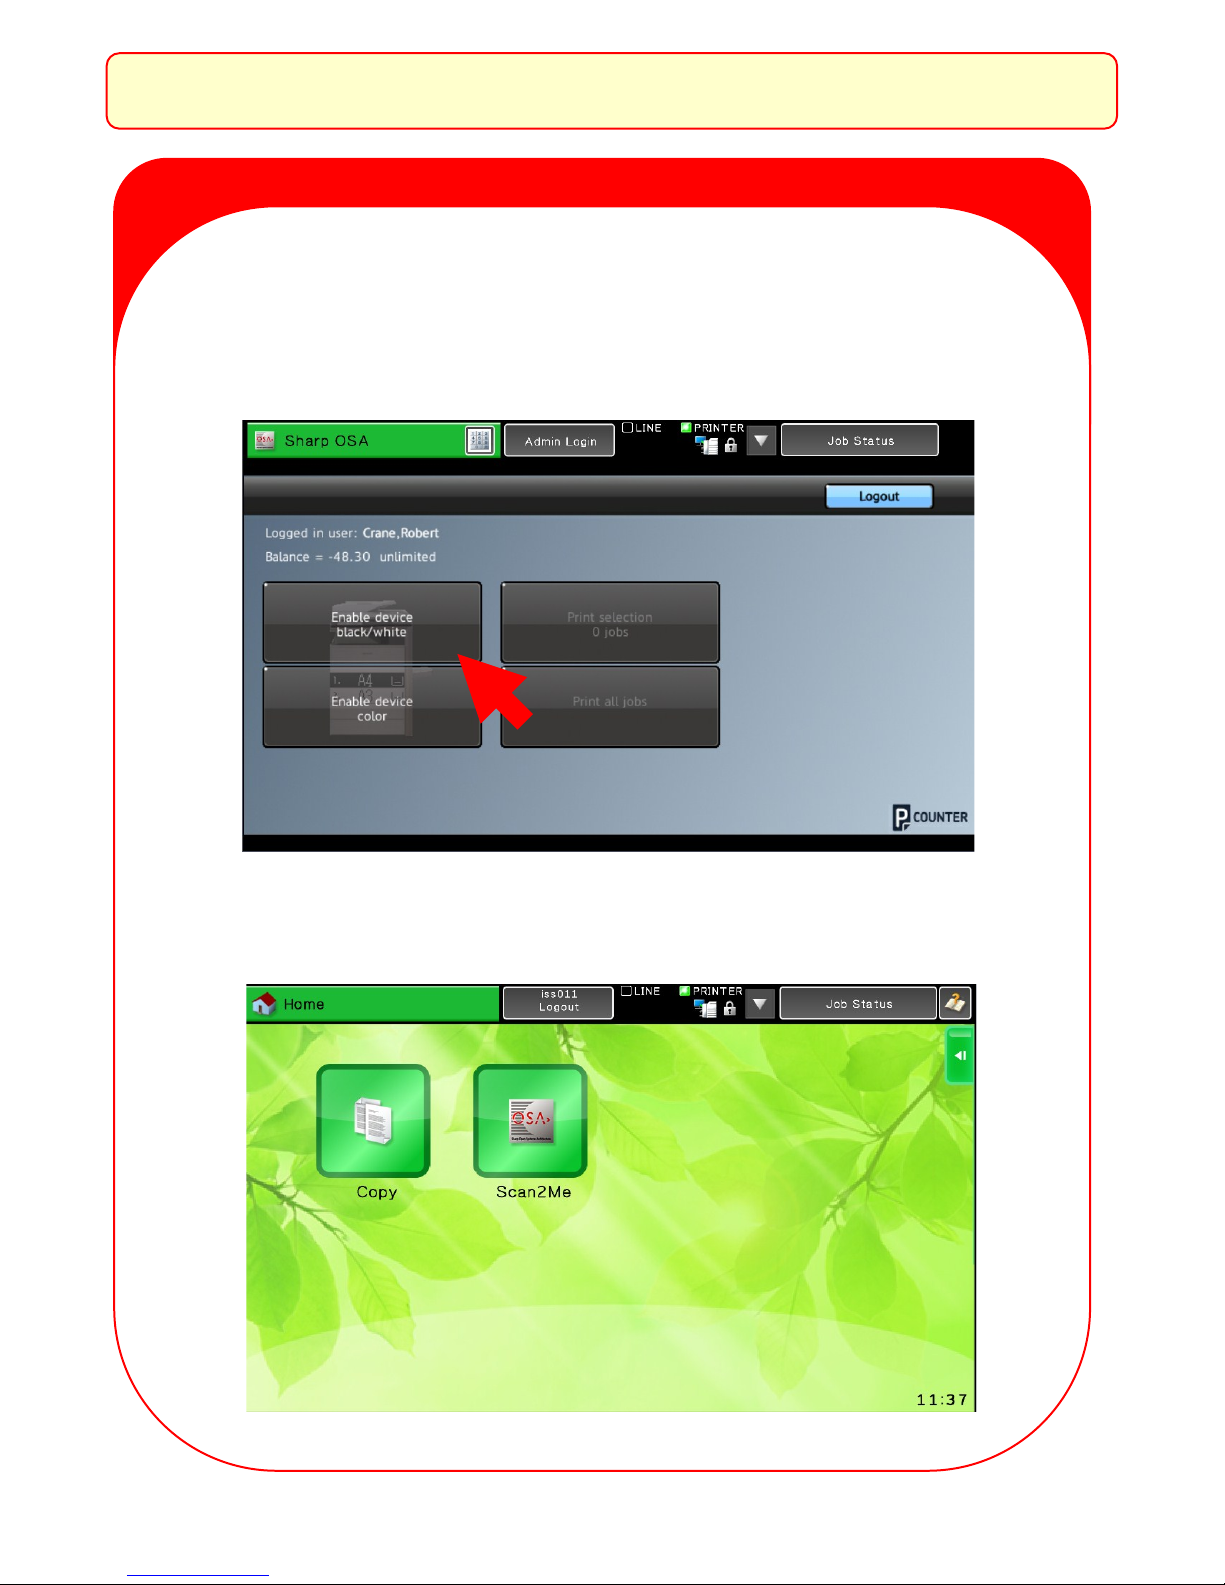
9
Photocopying
Once you have authenticated at the MFP (see Page 5 for details):
Select “Enable Device Black/White or Enable Device Color” from the
OSA Home Screen:
The “Enable device” key presents you with the Device Home Screen:
Page 12
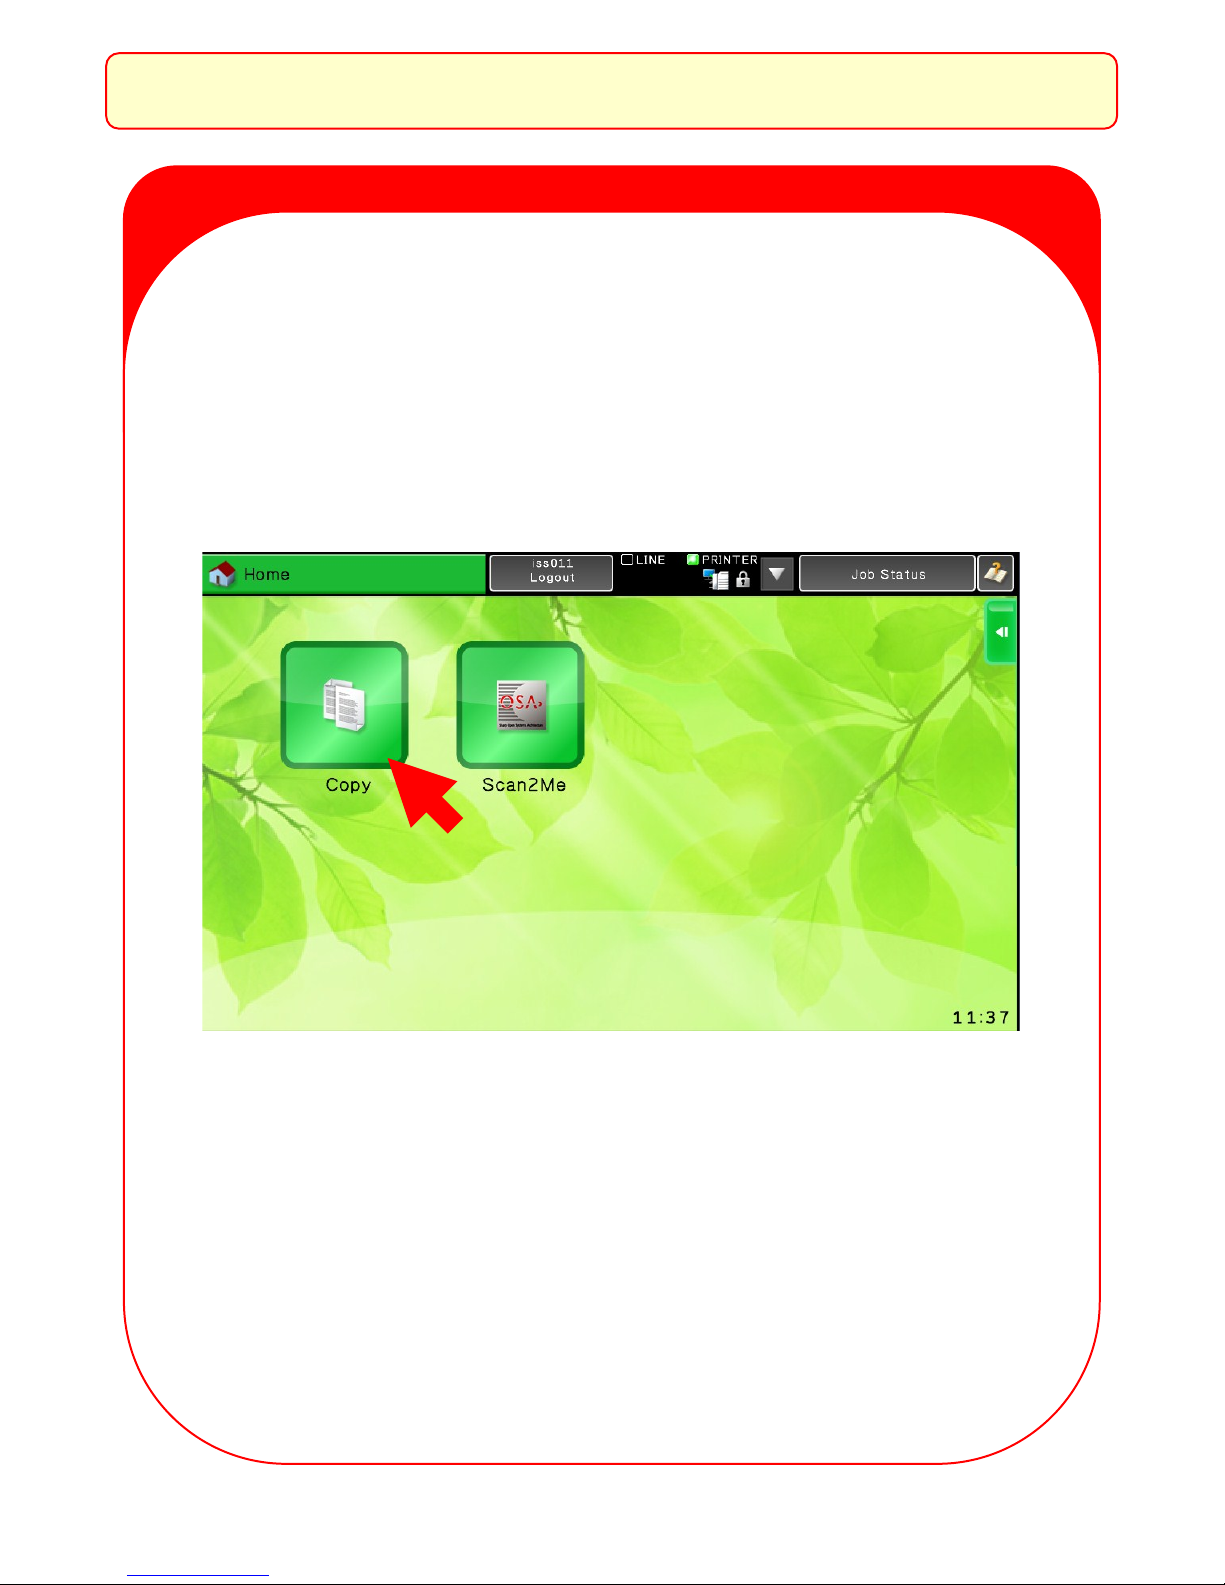
10
Photocopying
Select the “Copy” key on the Device Home Screen.
Page 13

11
Photocopying
IMPORTANT: Select the logout key shown at the top of the screen
to end the session.
The “Copy” key takes you directly into copy mode.
Page 14

12
Printer Guide and Reference Information
MAC Printer Box and Printer Features Screen
Important.
If you require colour, please
select the Automatic option
and not the colour option.
Select the
required
Duplex
Page 15

Printer Guide and Reference Information
Windows Printer Box and Printer Driver Properties Screen
The Windows Printer Dialog (Ctrl + P) Properties (First Screen)
13
How to Print to the MFP
1. When your document is ready, press Control + P or select “Print”
from the File menu.
2. Select the Follow-You printer, which will be called Sharp, from the
drop-down menu in the printer name box.
3. Set the number of prints required.
4. Click on Properties and check that the Colour/Black and White tick
box is set correctly for the way in which you want to print.
5. Select the Document Style and Finishing options are set as
required (duplex or stapling).
6. Click OK for all settings and OK to print.
7. Collect prints from MFP.
Page 16

Printer Guide and Reference Information
14
Printing Preferences
IMPORTANT
Black only is the printing
default.
To print in colour untick
the “Black and White Print”
box
IMPORTANT
Select the
required 1Sided or 2Sided
Select Staple
requirements
(Only select
when the
printer is fitted with a
staple unit)
DO NOT USE THIS
COLOUR TAB
Page 17

15
After completing your
document send it to
print.
Select the Follow-You
(Sharp) printer.
(If there are several
F o l l o w - Y o u p r i n t
queues available select
the one on a print
server that serves your
office/site)
Select OK to print
NOTE:
When your print has been sent to a Follow-You (Sharp) print queue you
can go to any of the Sharp printers and photocopiers that are situated
around the site to retrieve your prints. Prints will be stored in the Follow-
You queue for a maximum of 20 hours, after which they will be
automatically deleted.
Follow-You Printing Guide
Page 18

16
How to
Release Prints
at the
Sharp MX-5112
Releasing Prints at the MFP
Page 19

17
Once you have authenticated at the MFP (see Page 5 for details):
Releasing a Single Print Job
To release a single print job you select “Print selection” from the OSA
Home Screen:
Releasing Prints at the MFP
Page 20

Releasing Prints at the MFP
18
To release a print job you have to select it. You do this by simply
tapping the job on the touch screen. Once the job has been
selected it will be highlighted in blue. Once the job has been
highlighted it can be released by selecting the print icon in the
top right-hand side of the control panel.
You can delete jobs in a similar way. You highlight the jobs
which are no longer required and then simply press the delete
button towards the top right-hand corner of the screen.
You can return to the OSA Home Screen by pressing the Back
key. Select Logout from the OSA Home Screen to end the
session.
Page 21

Releasing Prints at the MFP
19
Releasing All Print Jobs
To release all of the print jobs which you have sent over a period
of time you select “Print all jobs”. This will automatically print
all of the user’s jobs which are awaiting release.
NB: Print Jobs will only be held for a period of 10 hours from
the time the job gets sent. If jobs have not been released
during this timeframe they will get deleted from the system.
Page 22

Scan to Email and Home Folder
20
How to
Scan at the
Sharp MX-5112
Page 23

21
Scan to Email and Home Folder
Once you have authenticated at the MFP (see Page 5 for details):
Select “Enable Device Black/White or Enable Device Color” from the
OSA Home Screen:
The “Enable device” key presents you with the Device Home Screen.
Scan2me allows you to scan directly back to your own home folder.
Page 24

22
Scan to Email and Home Folder
Scan2me presents the following screen:
The software is set to automatically scan documents directly back to
the authenticated user’s email address (select email key) or home
folder (select Network Key). Once the documents have been inserted
into the document feeder the “Scan2me” button on the right-hand side
of the control panel will begin the scan process.
IMPORTANT: Select the logout key shown at the top of the screen
to end the session.
Page 25

Authentication at the MFP
23
How to
Authenticate
at the
Sharp MX-
311/312
Page 26

24
Authentication at the MFP
Methods of Authentication
The devices are setup to allow authentication in one of two
ways:
1. Presenting your card, or;
2. The input of your Windows user credentials;
Authentication using Card
You should present your card at the reader on the right hand side of the
device. The reader is embedded within the machine so it is not visible to
the eye. However, you should present your card against the recess as
shown above.
Page 27

25
Authentication at the MFP
Authentication using Logon Credentials
The above screen is the default screen which will be presented when
you walk-up to the device.
You are required to input your username, followed by your password.
Page 28

26
Authentication at the MFP
Successful Authentication
When authentication has been successful you will be presented
with the OSA Home Screen:
Page 29

Photocopying
27
How to
Access Photocopying
at the
Sharp MX 311/312
Page 30

28
Once you have authenticated at the MFP (see Page 24 for details):
Select “Enable Device” from the OSA Home Screen:
Photocopying
The “Enable device” key presents you with the Device Home Screen:
Select the “Copy” key on the Device Home Screen.
Page 31

29
Photocopying
The “Copy” key takes you directly into copy mode.
On completion of your photocopying select Logout on the operation panel
This will take you back to the OSA Home Screen (see top of Page
28). IMPORTANT: Select Logout to end the session.
Page 32

30
How to
Release Prints
at the
Sharp MX-311/312
Releasing Prints at the MFP
Page 33

31
Releasing Prints at the MFP
Once you have authenticated at the MFP (see Page 5 for details):
Releasing a Single Print Job
To release a single print job you select “Print selection” from the OSA
Home Screen:
Page 34

Releasing Prints at the MFP
32
To release a print job you have to select it. You do this by simply
tapping the job on the touch screen. Once the job has been
selected it will be highlighted in blue. Once the job has been
highlighted it can be released by selecting the print icon in the
top right-hand side of the control panel.
You can delete jobs in a similar way. You highlight the jobs
which are no longer required and then simply press the delete
button towards the top right-hand corner of the screen.
You can return to the OSA Home Screen by pressing the Back
key.
Page 35

Releasing Prints at the MFP
33
IMPORTANT: Select Logout to end the session
Releasing All Print Jobs
To release all of the print jobs which you have sent over a period
of time you select “Print all jobs”. This will automatically print
all of the user’s jobs which are awaiting release.
NB: Print Jobs will only be held for a period of 10 hours from
the time the job gets sent. If jobs have not been released
during this timeframe they will get deleted from the system.
Page 36

34
How to
Scan at the
Sharp MX-311/312
Scan to Folder
Page 37

35
Scan to Folder
Once you have authenticated at the MFP (see Page 24 for details):
Select “Enable Device” from the OSA Home Screen:
The “Enable device” key presents you with the Device Home Screen.
Scan2me allows you to scan directly back to your own home folder.
Page 38

36
Scan to Folder
Scan2me presents the following screen:
The software is set to automatically scan documents directly back to
the authenticated user’s home folder. Once the documents have been
inserted into the document feeder the “Scan2me” button on the right-
hand side of the control panel will begin the scan process.
To return to the OSA Home Screen you simply press the OSA key
shown at the top of the screen.
IMPORTANT: Select Logout to end the session
Page 39

37
Print from your own device.
eprint.bangor.ac.uk
Check your print history
eprint.bangor.ac.uk:83
Buy printer credits online
https://bangor.pcounterwebpay.com
Help and Support
For help and support please follow the instructions from the sticker on
the front of the machine:
Page 40

Head Office: Northern House, Moor Knoll Lane, East Ardsley
Wakefield, WF3 2EE
www.iotplc.com
Branches throughout the UK – London, Bristol, Basildon,
Long Eaton, Wigan, and Ayr
 Loading...