

Page 1

If you require any advice or assistance regarding
your Sharp product, please visit our web-site
www.sharp.co.uk/customersupport.
Customers without Internet access may telephone
08705 274277 during office hours (or (01) 676 0648
if telephoning from Ireland).
DAB RECEIVER
1
2
21 39 40
.....
0
Wall socket
(AC 230 - 240 V, 50 Hz)
To the DC 9V socket
MODEL
FV-DB2E
This Quick Start Guide will help you to correctly install and operate your system.
4
1
Accessories
Turning on your unit
AC adaptor × 1
(RADPAA001SJZZ)
(RADPAA002SJZZ)
2
Insert the memory batteries
Memory batteries maintain the clock setting and preset stations for
the tuner.
Failure to install the batteries correctly will cause loss of memory
and the unit will revert to Auto Tune mode when next switched on.
or
“AA” size battery
(UM/SUM-3, R6, HP-7
or similar) × 2
1 Press and slide the cover to open the battery compartment.
2 Insert the supplied 2 “AA” size batteries (UM/SUM-3, R6, HP-
7 or similar) into the battery compartment.
Press the ON/STAND-BY button to turn the power on.
When turned on for the first time, the unit scans radio stations automatically to create the station list.
After the scan:
The stations will be stored in alphanumeric order and the first station on the list will be selected and you will hear it through the
speakers.
5
Adjusting the volume
3 Close the battery compartment.
3
Connect the AC adaptor
Plug the AC adaptor into the wall socket, and then insert the
plug on the other end into the DC 9V socket.
FV_DB2E_QG.pm 05.4.21, 2:32 PM1
Move the operation lever toward VOL UP or VOL DOWN to
increase or decrease the volume.
TINSEA049SJZZ
05D N YT 1
Page 2
Listening to the DAB Listening to the FM
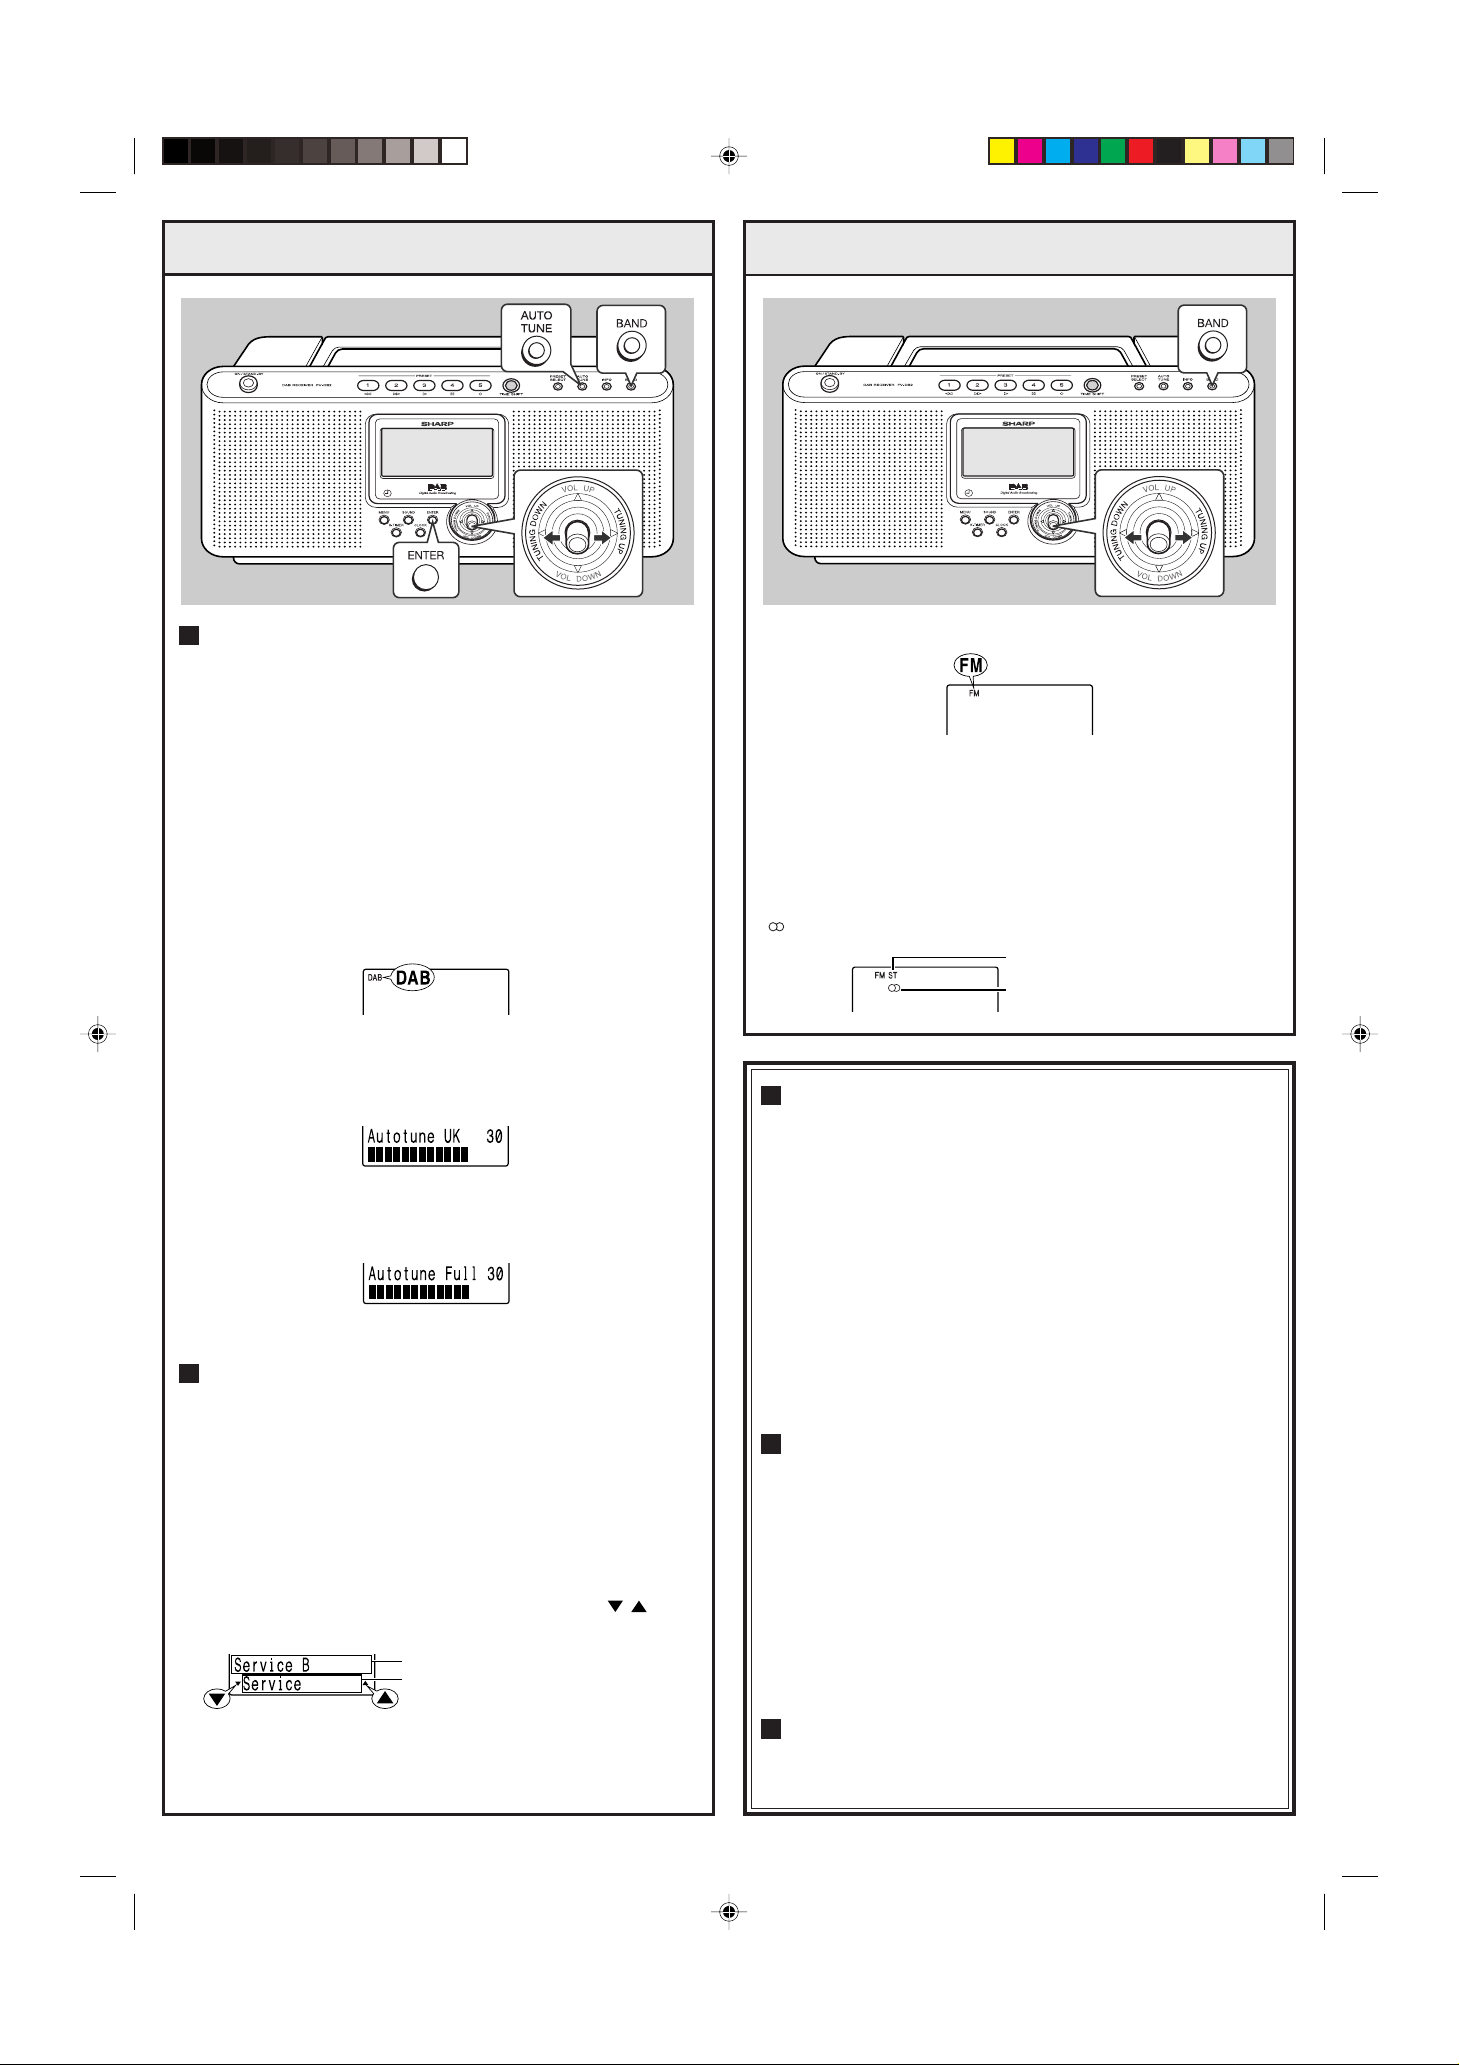
Retuning the unit (Auto tune)
Y ou can retune the radio when you move the unit to other areas or
add multiplex channels to the station list.
There are two Auto tune options available.
Autotune UK:
Only the frequencies of radio stations in the UK are scanned.
This may take a few seconds.
Autotune Full:
The full range of digital frequencies is scanned in Band III.
This may take a few minutes.
1 Press the BAND button until “DAB” appears on the
display.
2 Autotune UK:
Press the AUTO TUNE button for less than 1 second.
Autotune Full:
Hold down the AUTO TUNE button for 2 seconds or more.
1 Press the BAND button until “FM” appears on the
display.
2 Move the operation lever toward TUNING UP or TUNING
DOWN to tune in to the desired station.
Hold the operation lever is down for 2 seconds or more, scanning will start automatically and the tuner will stop at the first
receivable broadcast station.
To receive an FM stereo transmission:
Press the BAND button to display the “ST” indicator.
” will appear when an FM broadcast is in stereo.
“
FM stereo mode indicator
FM stereo receiving indicator
If trouble occurs
When this product is subjected to strong external interference
(mechanical shock, excessive static electricity, abnormal supply
voltage due to lightning, etc.) or if it is operated incorrectly , it may
malfunction.
If such a problem occurs, do the following:
1. Set the unit to the stand-by mode and turn the power on again.
2. If the unit is not restored in the previous operation, unplug and
plug in the AC adaptor from the wall socket and replace the
main batteries, memory batteries and then turn the power on.
Selecting a station in the station list
Once a DAB station is received, you can select stations in the
station list.
1 Press the BAND button until “DAB” appears on the
display.
2 Whilst receiving a DAB station, move the operation lever
toward TUNING UP or TUNING DOWN to select the desired
station.
The upper part of the display shows the current station name,
and the name of the station being scanned (with “
pears in the lower part.
The current station name
The name of the station being
scanned
”) ap-
3 Within 30 seconds, press the ENTER button.
FV_DB2E_QG.pm 05.4.21, 2:32 PM2
Caution:
This operation will erase all data stored in memory including clock,
alarm settings, tuner preset, and station list, etc.
Clearing all the memory (reset)
1. Press the ON/STAND-BY button to enter the stand-by mode.
2. Whilst pressing down the MENU button and the
PRESET 4 button, press the ON/STAND-BY button until “All
clear ok?” appears.
3. Within 30 seconds, press the ENTER button.
“Complete” appears and the memory is cleared.
Caution:
This operation will erase all data stored in memory including clock,
alarm settings, tuner preset, and station list, etc.
Maintenance
Routine maintenance is required for continued optimum performance, refer to the operation manual.
 Loading...