

Schwinn Evolution,Evolution-SR,IC Pro,Elite,SE,IC ELITE Owner's Manual
®
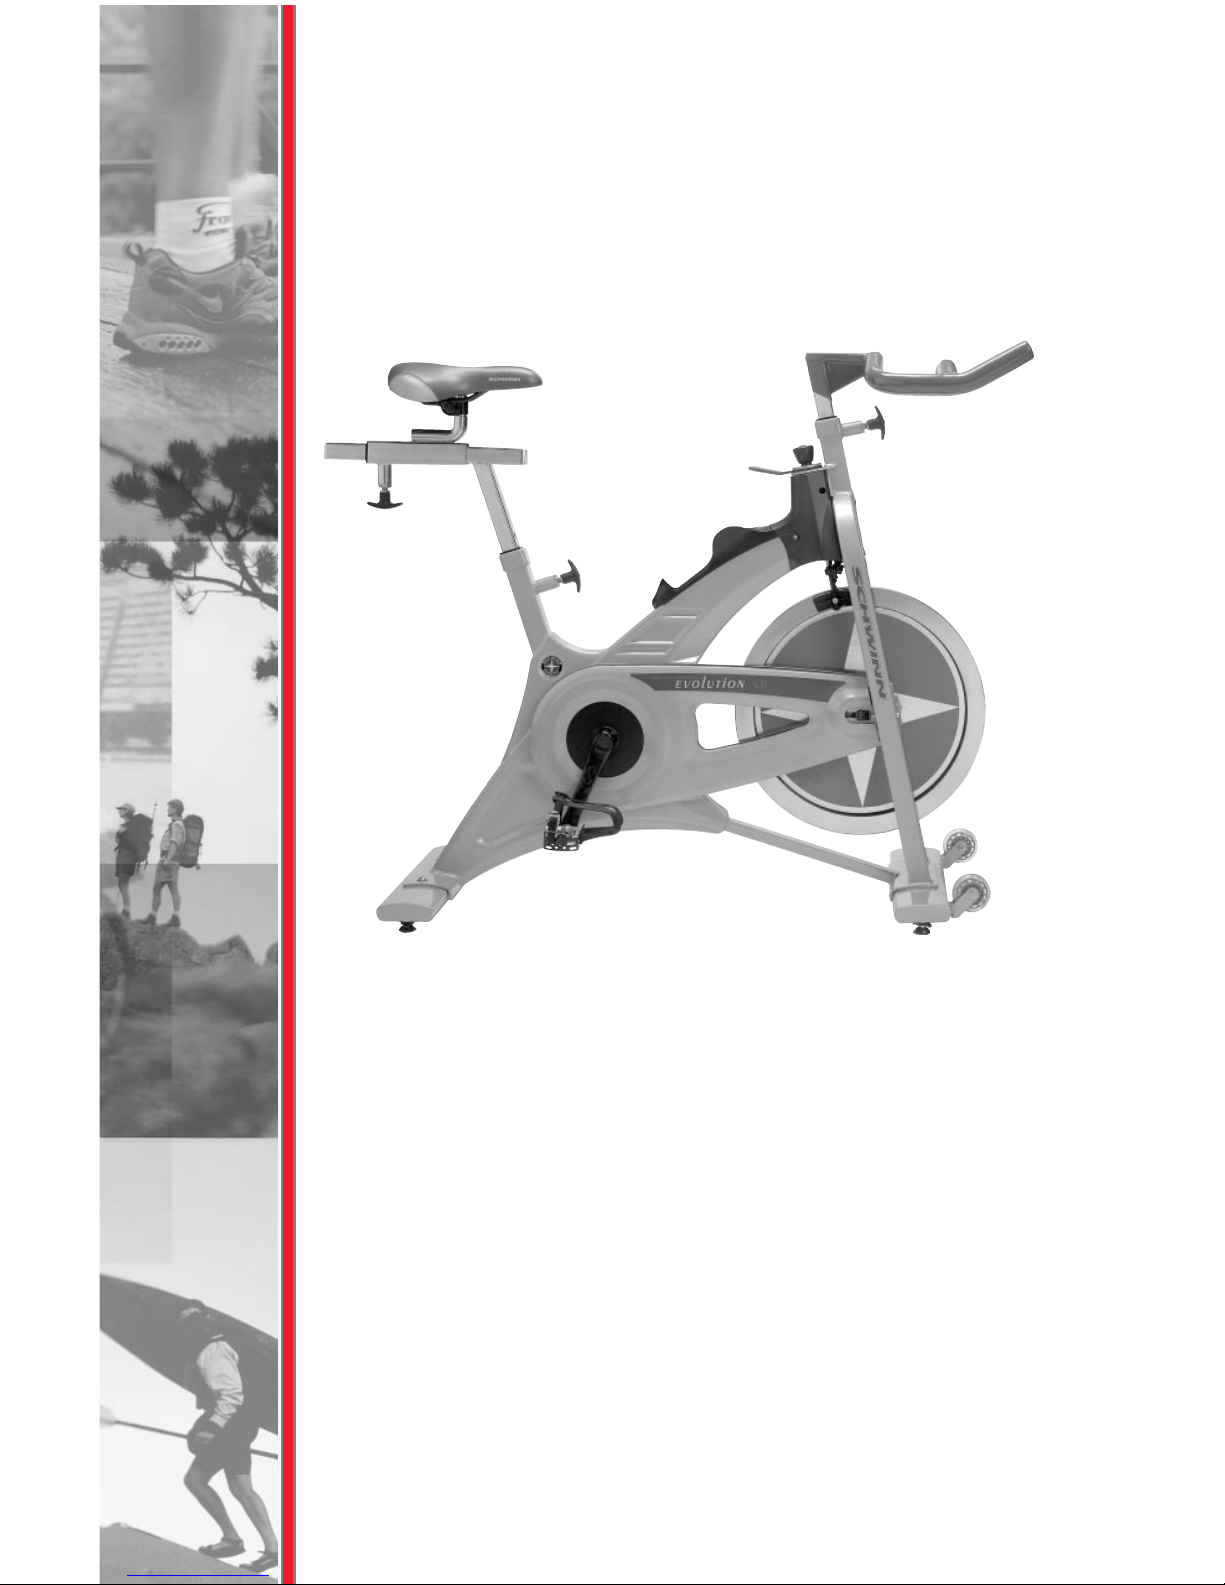
Evolution-SR model shown
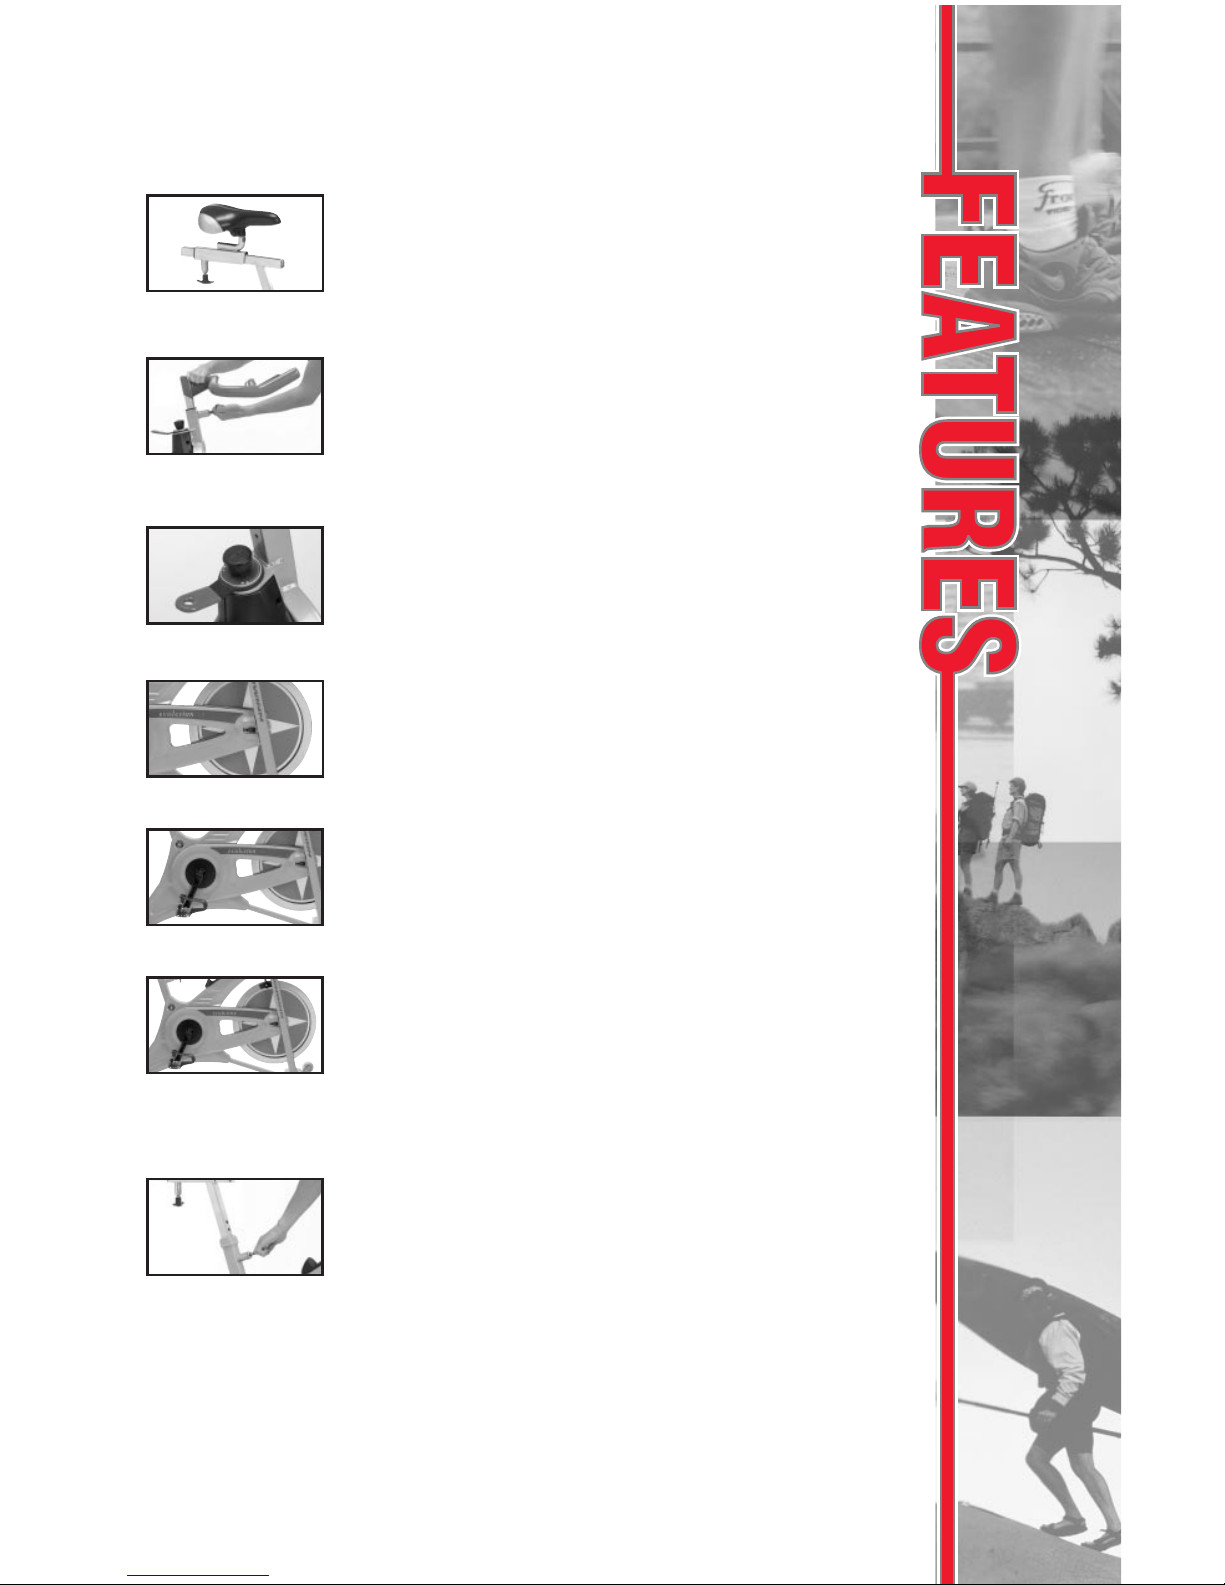
EVOLUTION BIKE FEATURES AND BENEFITS
Stainless Steel Pop-Pin
Positive-lock pop pins are constructed of corrosion
resistant stainless steel with plastic T-handles. Pop
pins can be quickly threaded tight for a secure hold
on the sliding tubes.
38 LB. Cast Flywheel
Super high inertia design realistically simulates
road riding at any RPM. Sealed bearing hubs
ensure performance and durability.
Multi-position Handlebars
Specially designed for in and out-of-the-saddle riding,
the PVC-coated bar provides a variety of hand and arm
positions for comfort and stability. Features a locking
pop pin for height adjustment.
Seat Adjustment
Anatomically designed seat adjusts for height and
fore/aft position with locking pop pins. Adjustments
accommodate various body types and allow for
workout of different muscle groups
Resistance Control Knob &
Emergency Brake
Turning knob increases or decreases resistance on
the flywheel. Pressing down on the emergency
brake lever will stop the flywheel and pedal rotation
Zinc Plated Frame
Stainless Steel Hardware
High tech, monocoque (one-piece) heavy-gauge steel
frame. Frame is completely zinc plated prior to
application of powder coat finish for maximum
corrosion resistance. Stainless steel fasteners
throughout also resist corrosion.
Schwinn Smart Release™ System
Patented design offers all of the benefits of a fixed
gear, essential to the Schwinn Cycling workout,
while adding a unique braking feature.
CONGRATULATIONS!
Thank you for making the Schwinn Evolution Bike a part of your
exercise and fitness activities. For years to come, you’ll be able
to rely on Schwinn craftsmanship and durability as you pursue
your personal fitness goals.
The Schwinn Evolution Bike is designed to closely simulate the
feel and aerobic qualities of road cycling without the associated
distractions. Its unique design, with fixed gearing and a highinertia flywheel, produces a smooth, intense workout. By
combining true road-racing geometry with high quality cycling
componentry, you can cycle at far higher RPMs (revolutions per
minute). Cycling at higher cadences and at varying resistance
levels develops cardio-vascular fitness, leg strength,
concentration and balance. The Schwinn Evolution Bike should
enable you to:
▲ Increase your energy level
▲ Increase cardiovascular and aerobic fitness
▲ Increase lower body muscle strength
▼ Decrease your overall percentage of body fat
Whether you are just getting started in an exercise program or
are already in good shape, the Schwinn Evolution Bike is
designed to be an efficient, challenging, yet enjoyable way to
achieve an enhanced level of fitness. You can cycle your way to
a slimmer and healthier body.
This Owner’s Manual contains all the information you need to
operate and enjoy your Schwinn Evolution Bike. Also included
are general fitness guidelines. Please read the Owner’s Manual
in its entirety before getting onto the Schwinn Evolution Bike.
So let’s get started. Take your time and have fun.

TABLE OF CONTENTS
Operation .........................................................................................................6
How to use the Schwinn Evolution Bike..........................................6-10
Maintenance....................................................................................................11
Moving your Schwinn Evolution Bike ..................................................11
Leveling your Schwinn Evolution Bike.................................................11
Daily maintenance ...................................................................................12
Chain adjustment ....................................................................................12
Guidelines – General Fitness and Exercise
by Edmund R. Burke, Ph.D .............................................................................13
Getting the most out of your home fitness program .....................13
The Stanford home exercise study ......................................................13
Home fitness planning worksheet .......................................................14
Balance fitness .........................................................................................15
Muscular strength ...................................................................................16
Cardiovascular strength .........................................................................16
Training effect ..........................................................................................16
Flexibility ...................................................................................................17
Exercise and body composition ...........................................................17
A balanced workout ................................................................................18
Warm up ....................................................................................................18
Aerobic/strength exercise.....................................................................18
Cool down .................................................................................................19
How to determine your maximum heart rate...................................19
Target heart rate training zones ..........................................................20
Beating the dropout odds: Jump start your fitness program .......20
Summary of Surgeon's General Report on
physical activity and health...............................................................20
Make exercise a habit..............................................................................21
It's never too late for fitness.................................................................22
Suggested readings ................................................................................22
Schwinn Fitness Inc. Limited Warranty.................................................23
FITNESS SAFEGUARDS
Before starting any exercise program, consult with your physician or health professional. He or she can help
establish the exercise frequency, intensity (target heart rate zone) and time appropriate for your particular
age and condition. If you have any pain or tightness in your chest, an irregular heartbeat, shortness of
breath, feel faint or have any discomfort while you exercise, STOP! Consult your physician before continuing.
You have full control over the levels of resistance integrated into
your workout. Typically, lower resistance levels enable you to
move at a faster pace, placing increased demand on your
cardiovascular system. Higher resistance levels will typically
deliver more of a muscle/endurance workout at lower RPMs. But
everyone is different! So experiment and find the beginning level
of resistance that is comfortable for you.
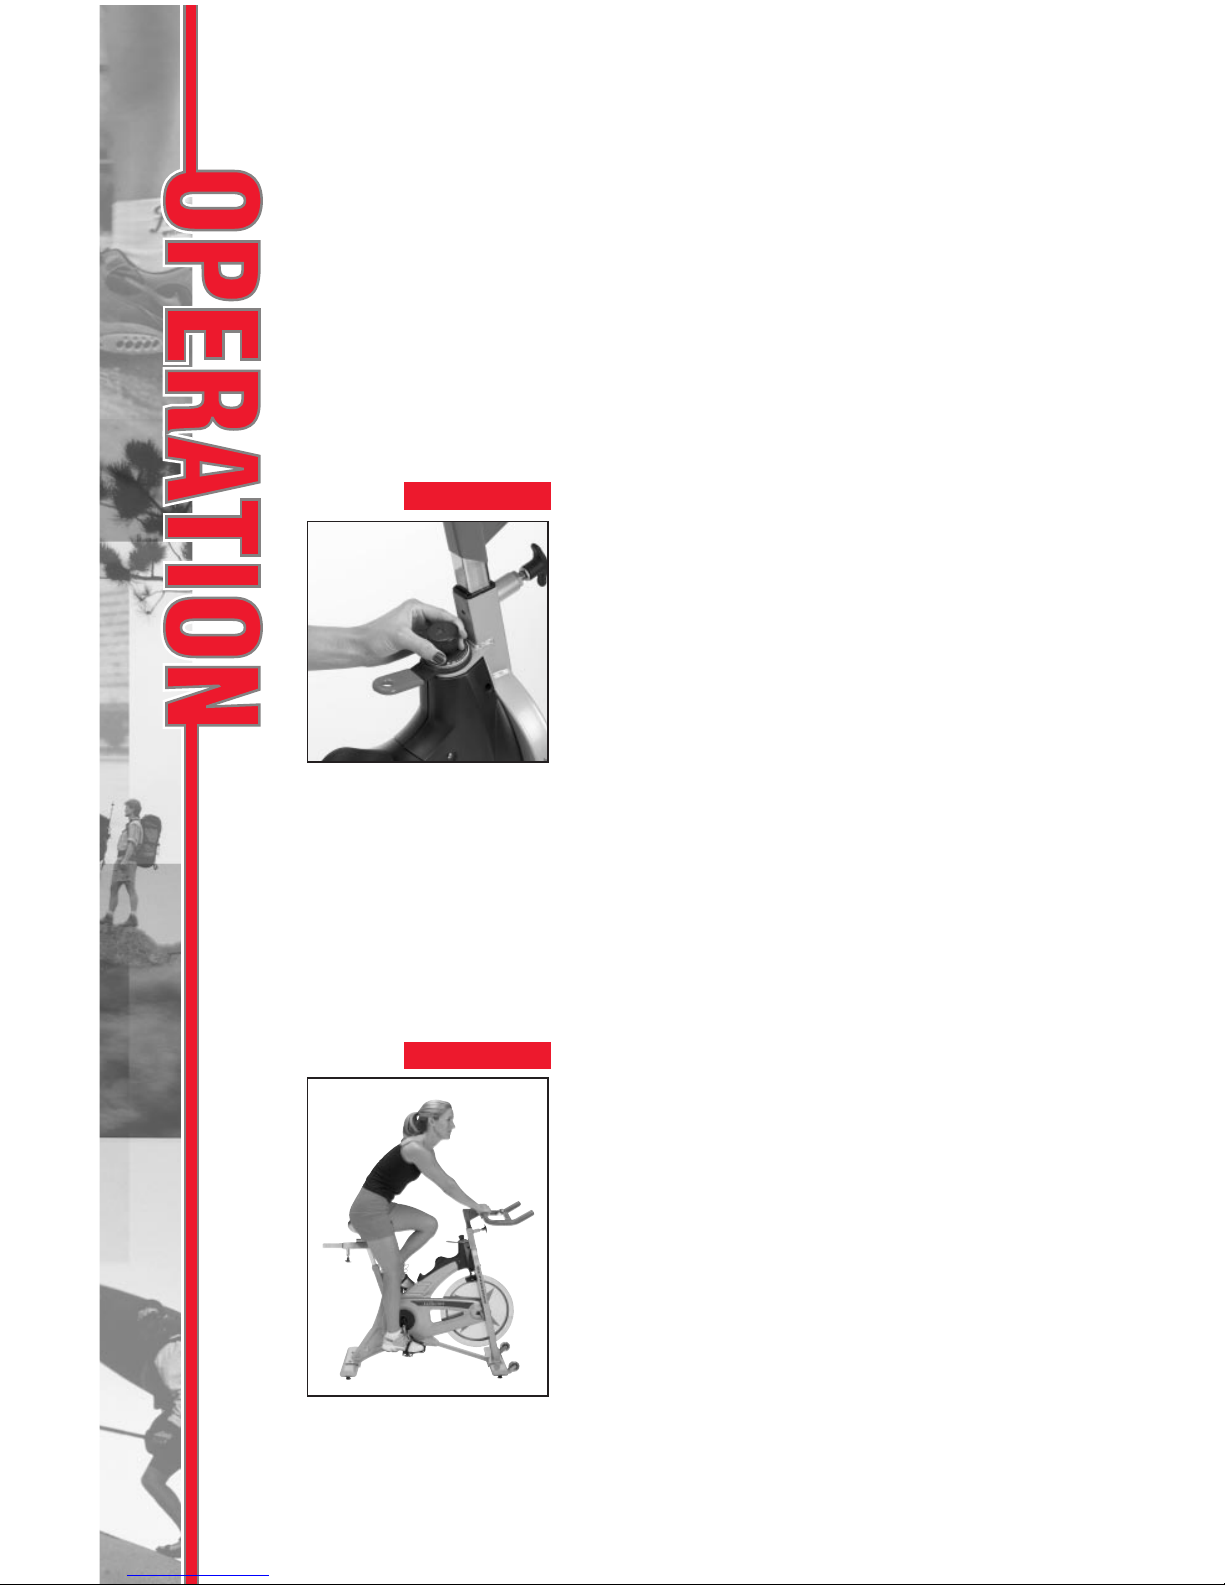
■ Resistance adjustment
Pedaling resistance is controlled by the
resistance control knob conveniently located
underneath the handlebars (Fig. 1). To increase
resistance, turn the resistance control knob
clockwise (+). To decrease resistance, turn the
resistance control knob counter-clockwise (–).
Resistance adjustments can be easily made at
any time.
■ Emergency brake activation
Your Evilution bike features an emergency brake.
If you wish to stop the flywheel rotation (and
therefore the pedal rotation) quickly, simply
press down firmly on the brake lever that
extends from the resistance adjustment knob
(Fig.1). Continue applying pressure until the
wheel has come to a complete stop.
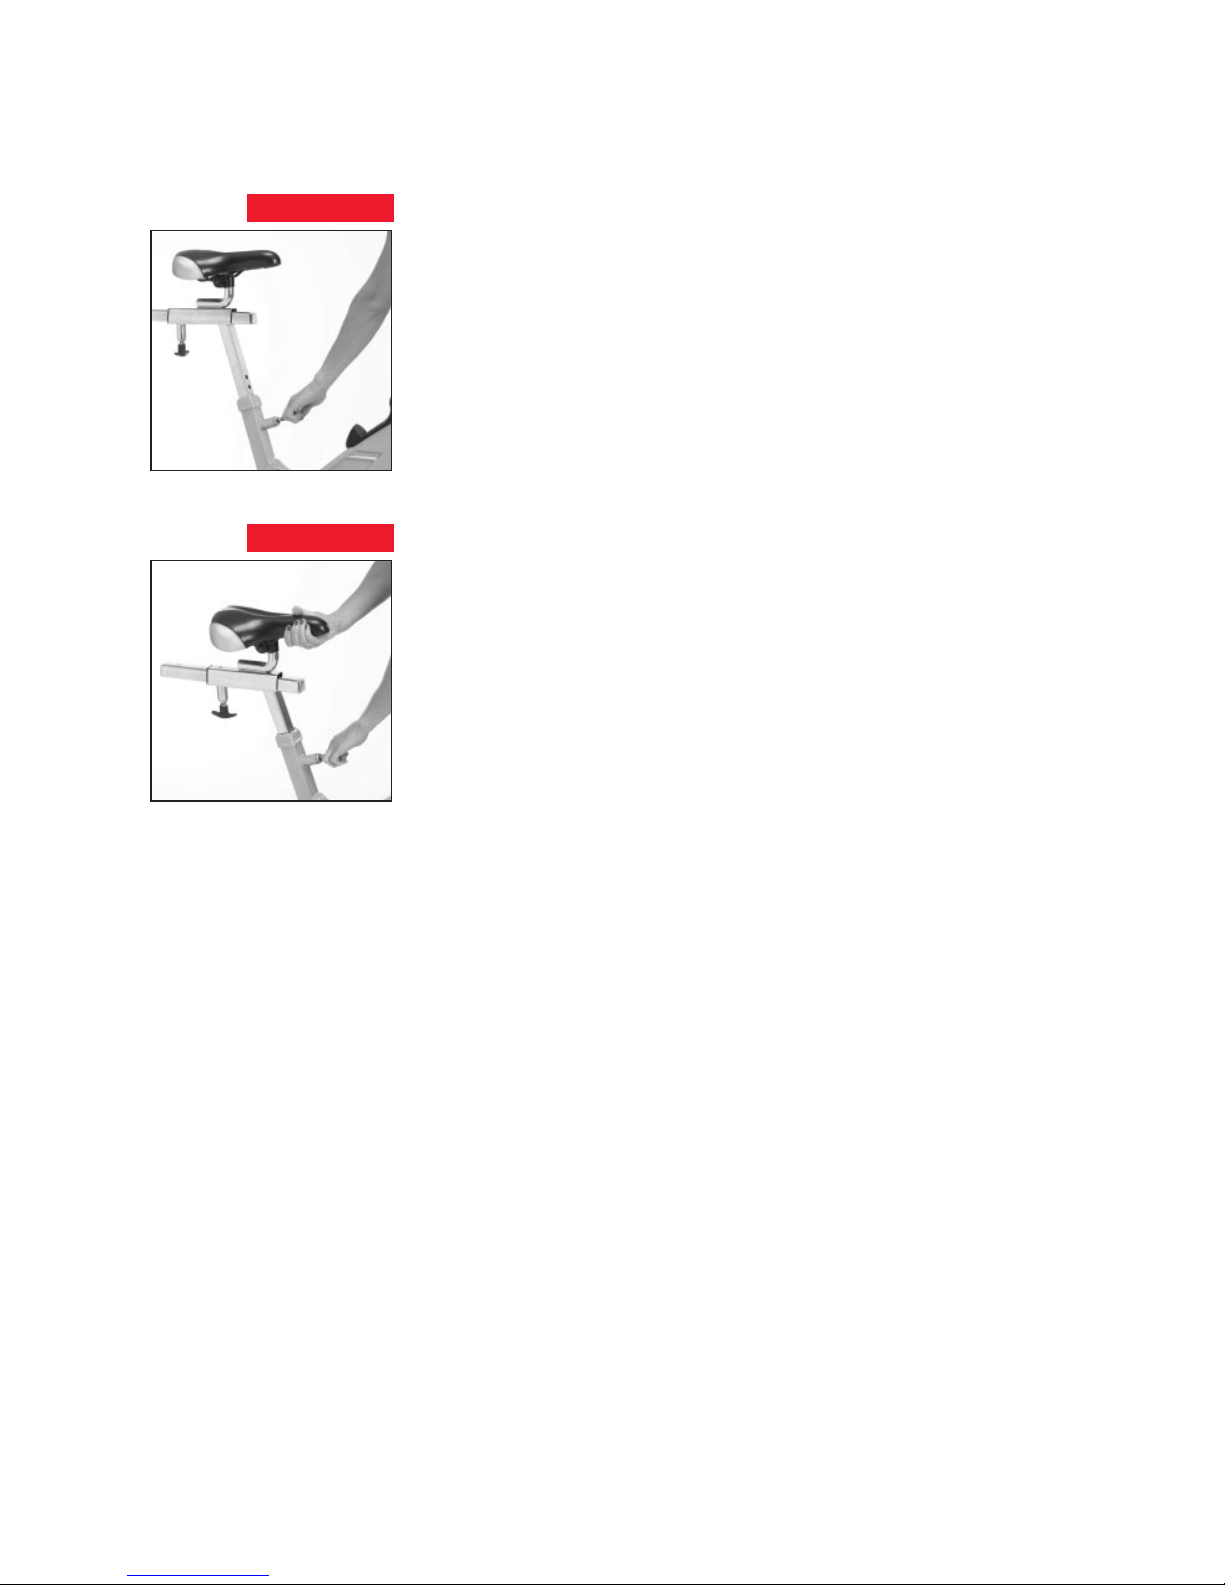
■ Seat adjustment
Proper seat height helps ensure maximum exercise
efficiency and comfort, while reducing the risk of
injury.
Adjusting the seat forward or backward allows
you to work different lower body muscle groups.
1. Place one pedal in the upward position, then
place your foot in the toe clip and center the ball
of your foot over the center of the pedal. Your leg
should be slightly bent at the
knee (Fig. 2).
HOW TO USE THE SCHWINN EVOLUTION BIKE
FIG.1
6
FIG.2
2. If your leg is too straight or your foot cannot touch the pedal,
you will need to move the seat down. If your leg is bent too
much, you will need to move the seat up.
3. Dismount the bike and loosen the locking pop pin by turning
the handle counter clockwise. Pull out the spring loaded knob to
release the locking pin from the pre-set seat position hole. (Fig. 3).
4. Raise or lower the seat to the desired position.
5. When the seat is in the desired position, release the springloaded knob, re-positioning the locking pin in the desired, preset hole. Turn the handle clockwise to tighten the knob.
6. Try several seat heights to find the most comfortable position.
7. To adjust the forward or backward seat position dismount the
bike and loosen the locking pop pin by turning counter clock
wise. Pull out the spring-loaded release knob, releasing the
locking pin from the pre-set position hole (Fig.4).
8. Slide the seat forward or backward to the desired position.
9. When the seat is in the desired position, release the springloaded mechanism to re-position the locking pin into the desired,
pre-set hole. Turn the handle clockwise to tighten the knob.
7
FIG.3
FIG.4
8
HOW TO USE THE SCHWINN EVOLUTION BIKE
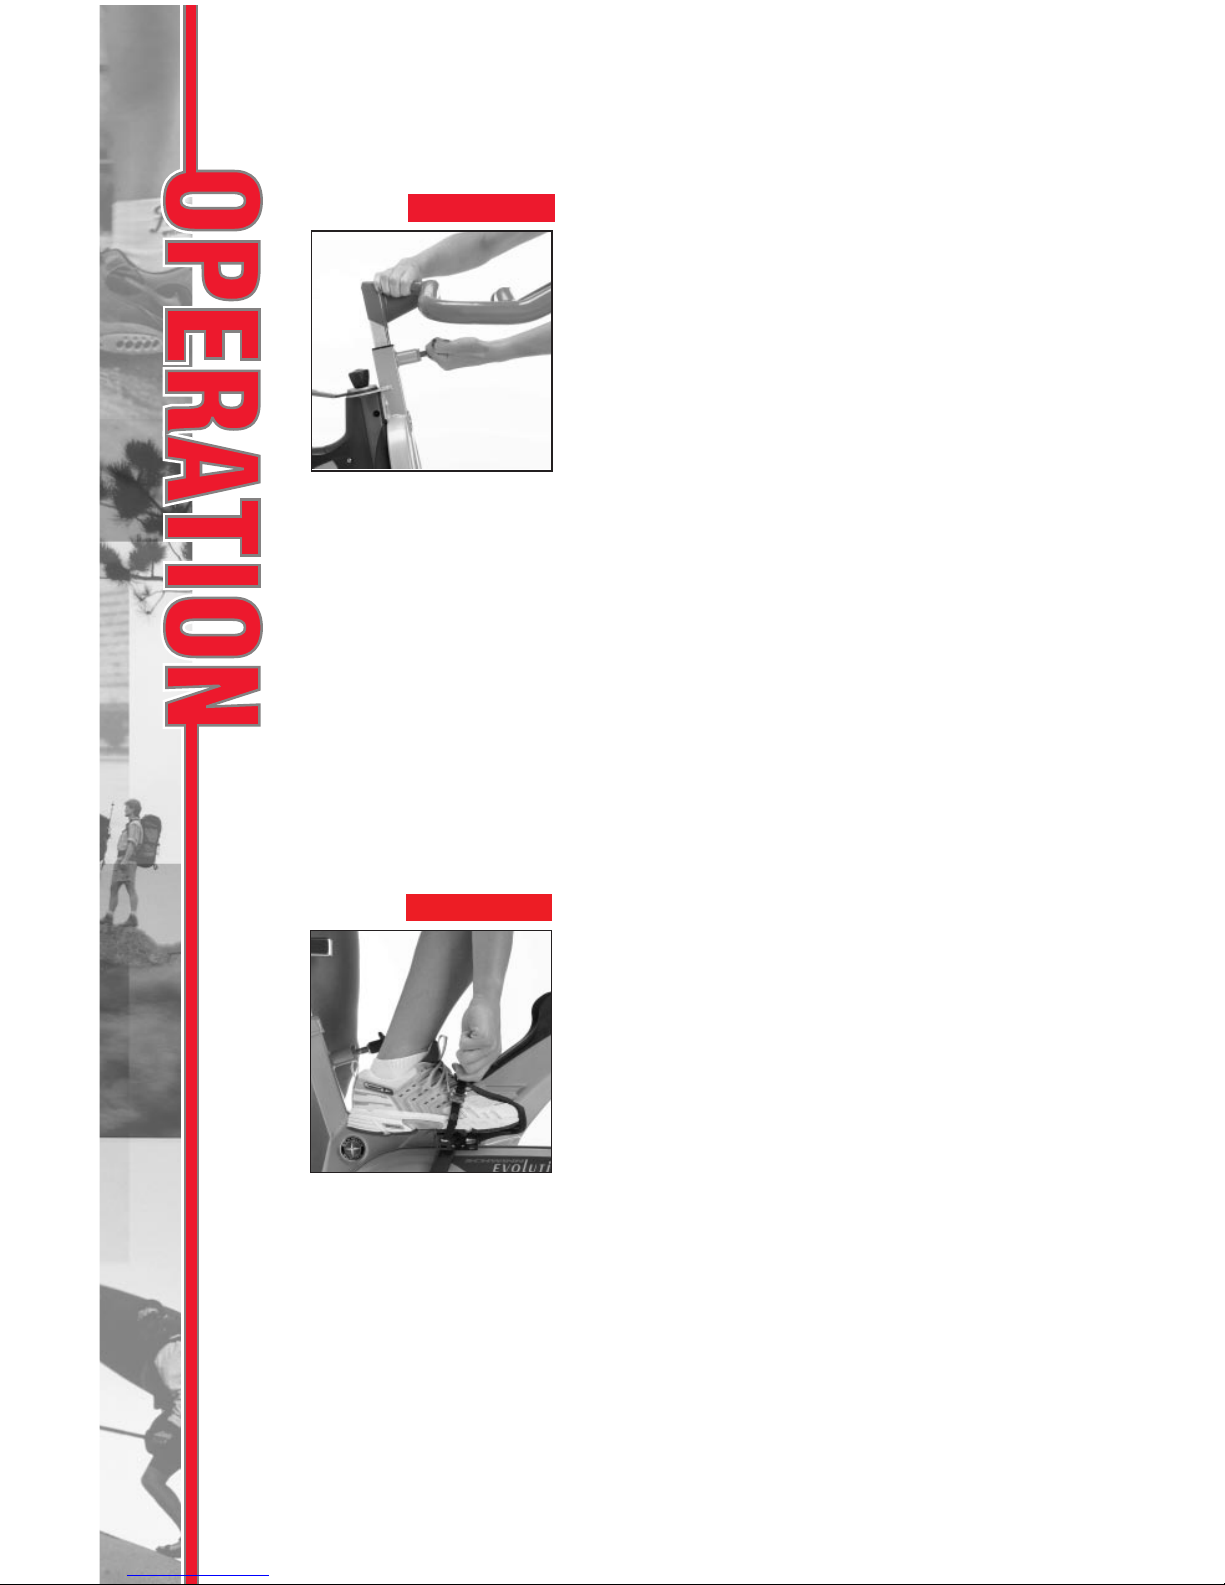
■ Handlebar adjustment
The handlebars may be adjusted to more
accurately simulate the upper body position of
road cycling. Raise or lower the handlebars for a
more efficient, comfortable ride.
1. To raise or lower the handlebars, loosen the
locking pop pin. Pull out the spring-loaded
release knob. This releases the locking pin from
the pre-set handlebar position hole.
2. Raise or lower the handlebars to the desired
position (Fig.5).
3. When the handlebars are in the desired position,
release the spring-loaded knob re-positioning the
locking pin in the desired, pre-set hole. Turn the
handle clockwise to tighten the knob.
4. Try several handlebar settings to find the most
comfortable position.
■ Foot positioning/pedal strap adjustment
Place the ball of each foot in the toe clip until
the front of the shoe fits snugly in the toe clip
cage. Rotate one foot to within arm’s reach,
then tighten the webbed cloth strap of the toe
clip around your shoe by pulling up on the strap.
Pull up on the strap until the cage of the toe clip
fits snugly around the shoe. Repeat for the
other foot. Point your toes and knees directly
forward to ensure maximum pedal efficiency
(FIG. 6).
FIG.6
FIG.5
 Loading...