

Roland F-110 User Manual [ja]
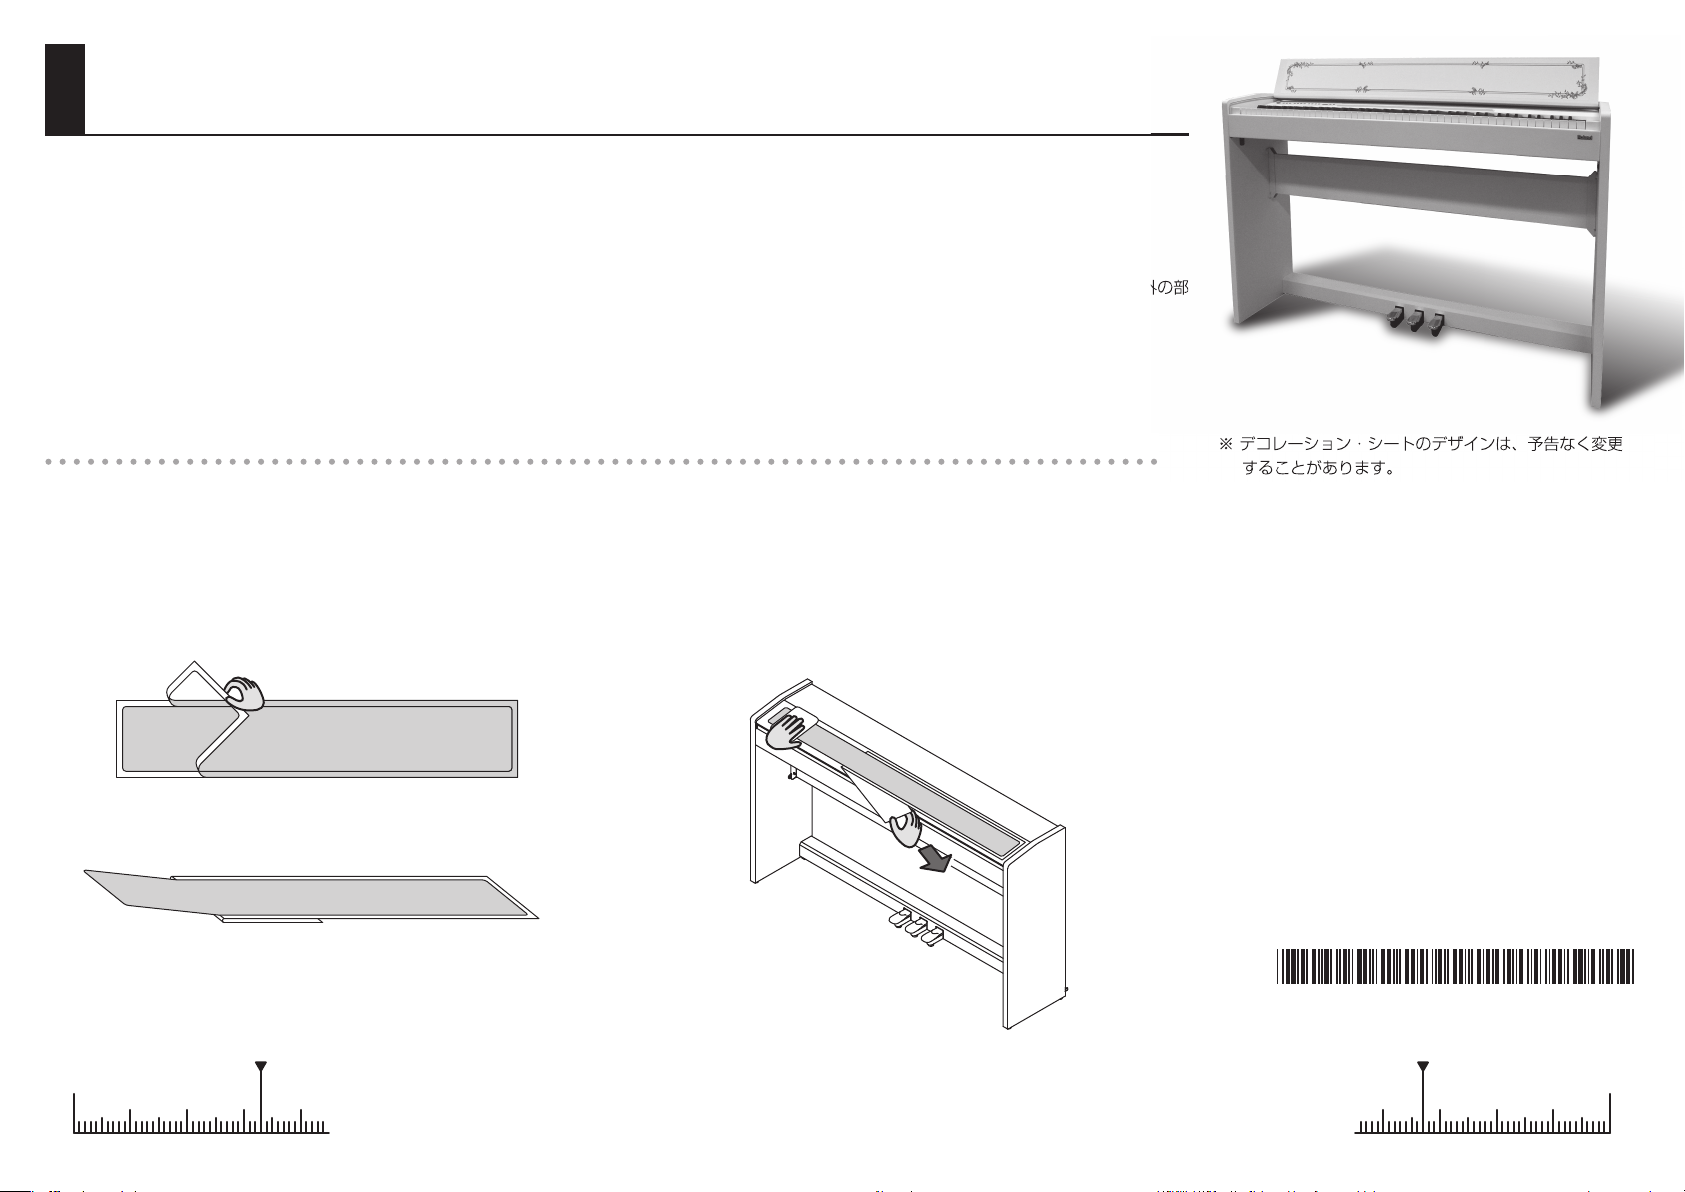
F-110 デコレーション・シートのご案内
予告なく変更
このデコレーション・シートを正しく使用するために、使用前にこの説明書をよくお読みください。
※ このデコレーション・シートは非売品です。
※ このデコレーション・シートは F-110 専用です。F-110 以外のものに貼り付けないでください。
※ このデコレーション・シート以外のシート、シール、ステッカー類を、F-110 に貼り付けないでください。外装の仕上げを損なうおそれがあります。
※ このデコレーション・シートを貼った状態で、直射日光の当たる場所や窓際などに長期間設置しないでください。シートが貼られている部分とそれ以外の部
分に、色の違いが生じるおそれがあります。
※ シート部分のお手入れは、柔らかい布で軽く乾拭きしてください。強くこすると、仕上げを損なうおそれがあります。
※ デコレーション・シートをはがした跡に、希に粘着材が残る場合があります。このときは、堅く絞った布で拭き取ってください。
※ 外装の仕上げを損なうおそれがあるため、フロント・リッド以外には貼らないでください。
デコレーション・シートの貼り方
1.F-110 を乾拭きして、ほこりなどの汚れをきれいにします。
※ 堅く絞った布で拭き取ったときは、貼り付ける部分か完全に乾いてから
作業してください。
2.デコレーション・シートの周りの不要なシートをはがします。
3.台紙を 30cm 程度はがして、裏側に折り曲げます。
※デコレーション・シートのデザインは、予告なく変更
することがあります。
4.貼り位置を確認したら、台紙をはがした部分を上から軽く押さ
え、台紙を引っ張りながらはがします。
※ 空気が入らないようにご注意ください。乾いた布で軽く押さえながら作
業すると、きれいに貼ることができます。
※ 空気が入ってしまったらその部分まではがし、空気を抜きながら再度貼
り付けてください。
©2009ローランド株式会社
本書の一部、もしくは全部を無断で複写・転載す
ることを禁じます。
* 5 1 0 0 0 1 0 4 9 2 - 0 2 *
0
1 2 3 4
※ 鍵盤フタの端から 33mm の位置に貼る
と、中央に貼ることができます。
※ 鍵盤フタの端から 33mm の位置に貼る
と、中央に貼ることができます。
0
1234
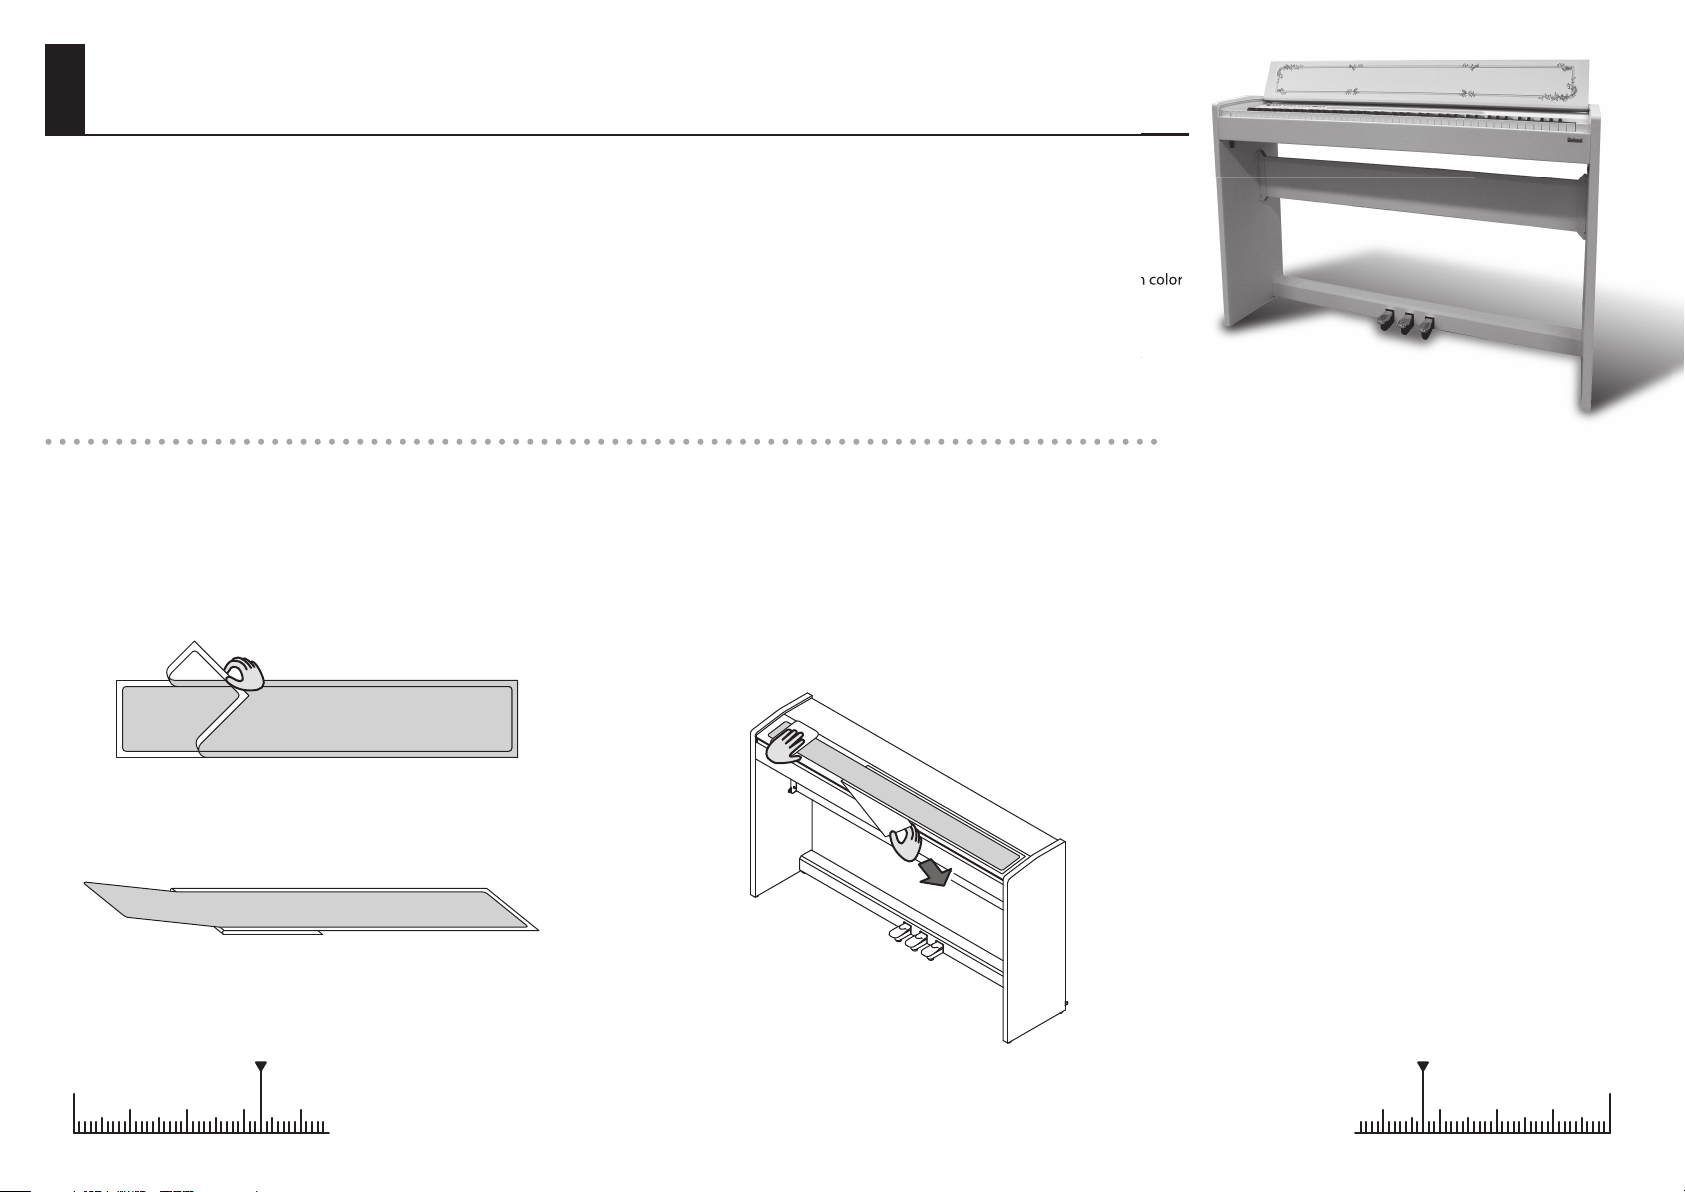
About the F-110’s Decorative Panel Sheet
To ensure that you use this decorative panel sheet correctly, please read these instructions carefully before use.
* This decorative panel sheet is not for sale.
* This decorative panel sheet is only for the F-110. Do not affix it to any instrument other than the F-110.
* Do not affix any sheet, label, or sticker other than this decorative panel sheet to the F-110. Doing so may damage its finish.
* The F-110 with this decorative panel sheet attached should not be left for an extended time in direct sunlight or by a window. Doing so may produce a difference in color
between the portion to which the sheet is affixed and other portions of the instrument.
* To clean the decorative panel sheet, wipe it lightly with a soft, dry cloth. Rubbing it strongly may impair the finish.
* In rare cases, adhesive may remain where you peel off the decorative panel sheet. If so, wipe it off using a cloth that’ s been moistened with water, then wrung dry.
* To avoid damaging the finish of the instrument, do not affix the decorative panel sheet anywhere other than the front lid.
Affixing the Decorative Panel Sheet
1. Use a soft dry cloth to wipe the F-110 free of any dust or dirt.
* If you wipe the area with a cloth that’ s been moistened with water, then
wrung dry, make sure that the area where you’ ll be affixing the decorative
panel sheet has completely dried.
2. Remove the unneeded border from around the decorative panel
sheet.
3. Peel off about 30 cm (12 inches) of the backing, and fold it
underneath.
4. After you have verified the location to which the decorative
panel sheet should be affixed, press down lightly on the portion
from which you removed the backing, while continuing to pull
off the backing.
* Take care that air bubbles are not trapped under the decorative panel sheet.
You can prevent this by using a dry cloth to lightly press down on the sheet as
you proceed.
* If an air bubble becomes trapped, peel up that portion to remove the bubble
and then reaffix the sheet.
* The design of the decorative panel sheet is subject to
change without notice.
Copyright © 2009 ROLAND CORPORATION
All rights reserved. No part of this publication
may be reproduced in any form without the
written permission of ROLAND CORPORATION.
0
1 2 3 4
* To position the decorative panel sheet in the
center of the F-110, affix the sheet starting 33
mm from the edge of the front lid.
* To position the decorative panel sheet in the
center of the F-110, affix the sheet starting 33
mm from the edge of the front lid.
0
1234
 Loading...