

Page 1
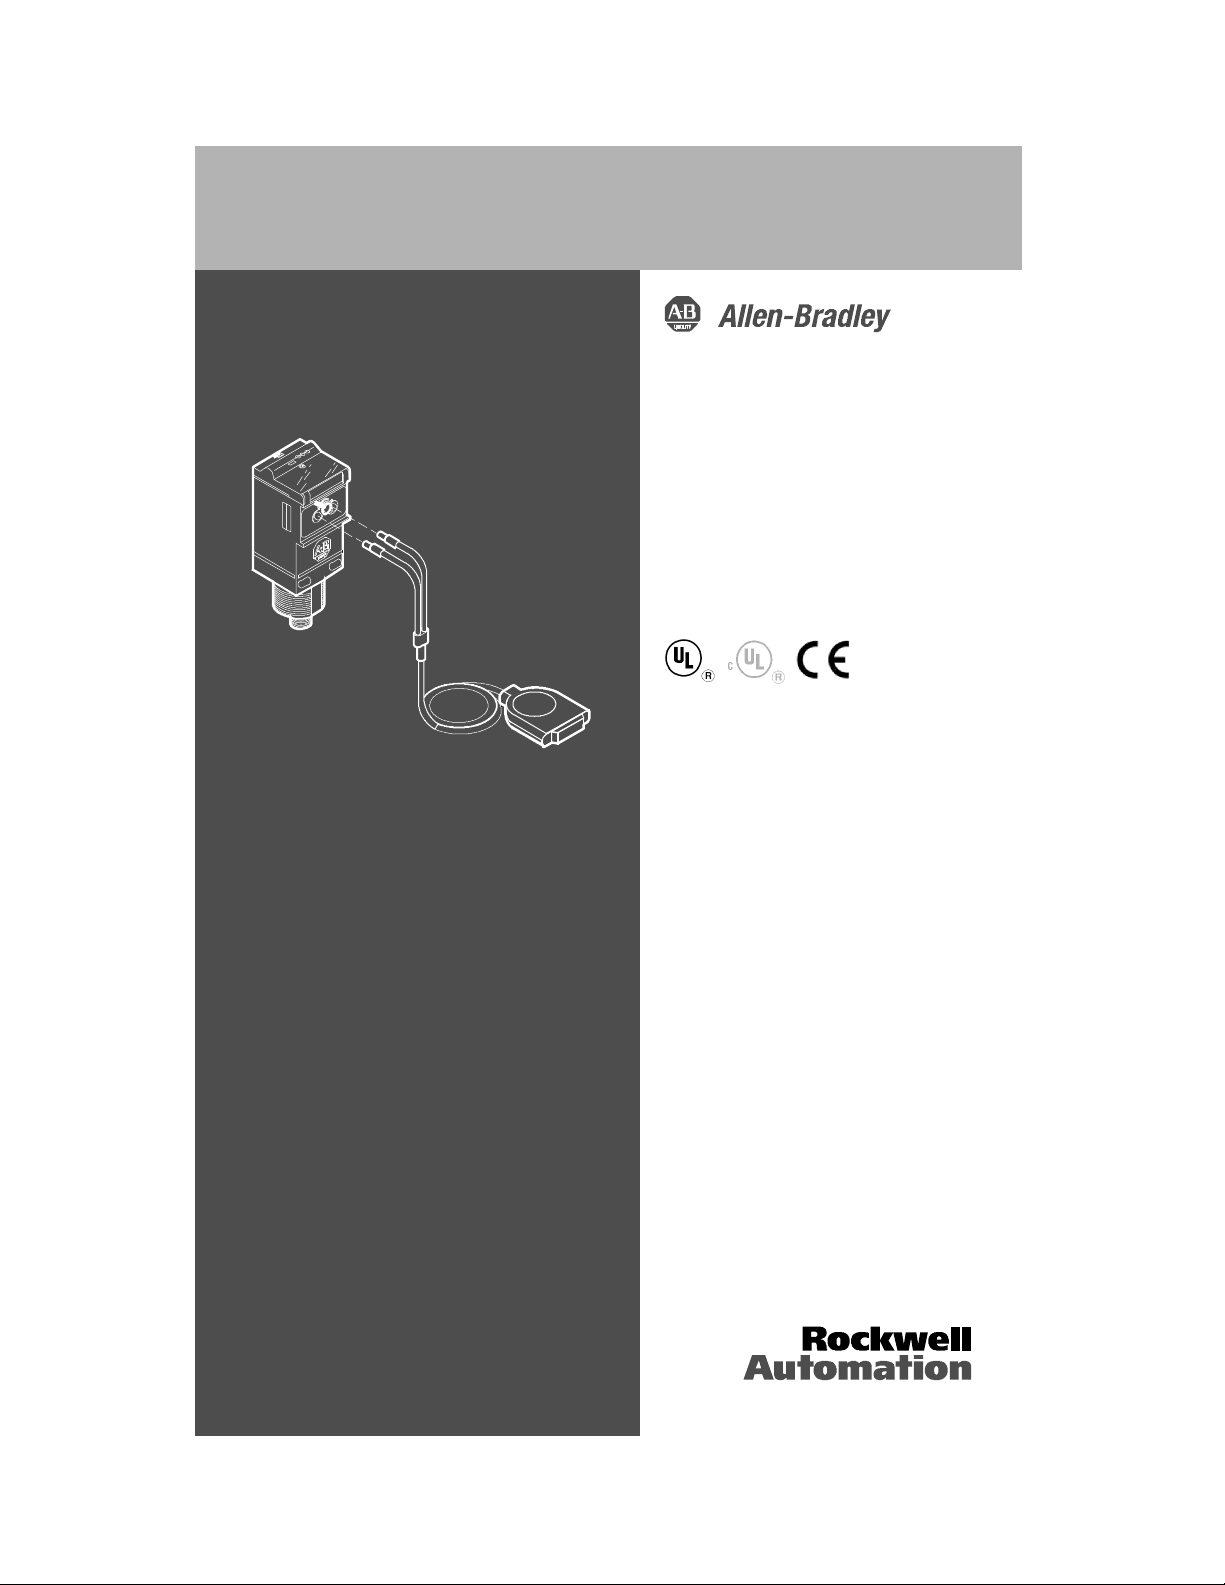
PHOTOSWITCH
R
Photoelectric Sensors
ColorSight Series 9000
User Manual
Introduction
This manual explains how to
install, adjust, and program
ColorSight Series 9000
photoelectric sensors
Page 2

2 ColorSight Series 9000 PHOTOSWITCHRPhotoelectric Sensor
T able of Contents
General Specifications 3..................................
Summary of ColorSight Features 4..........................
User Interface 5........................................
Pushbutton 5..........................................
8 Turn Knob 5.........................................
Dip-Switches 6........................................
Indicators 6...........................................
Mounting the Sensor 7...................................
Installing the Fiber Optic Cables 8...........................
Aligning the Fiber Optic Cable Head (A--B #60--2694) 9............
Wiring the Sensor 9.....................................
Dimensions 12........................................
Accessories 13........................................
75027--031--01(A), November 1999
Page 3

ColorSight Series 9000 PHOTOSWITCHRPhotoelectric Sensor 3
General Specifications
2m cable 42QA--G5LE-- A2
5-pin DC micro 42QA--G5LE-- D5
Cat No.
5-pin DC mini 42QA--G5LE-- N5
Sensing Mode Fixed Focus
Sensing Distance 27mm (with A--B #60--2694 fiber optic cable)
Spot Size 5mm (with A--B # 60--2694 fiber optic cable) nominal
Transmitting LED Tri-color red, green, blue
Optical
Color Discrimination Operating Mode Color only, color plus intensity (selectable via dip-switch)
Precision Adjustment 8 position rotary switch
Color Sampling Operating Mode Single, Average (selectable via dipswitch)
Supply Voltage 10 to 30V DC
Current Consumption 50mA nominal
Response Time (single mode) 1.3ms; (average mode) 10ms (C + I mode)
Protection False pulse, reverse polarity on all leads, output short-circuit
Electrical
Output Type (Sensor and Diagnostic) Transistor
Output Load Voltage/Current (Sensor
and Diagnostic)
Sensor Output Energized Match/No match- -operate (selectable via DIP switch)
Diagnostic Output Energized Normal operation, i.e., successful learn
Housing Material Valox
Housing Cover Material Radel R5000
Indicators See table on page 6
Mechanical
HF ambient light rejection 25 foot candles
Incandescent light rejection 500 foot candles
Operating Temperature 0_Cto+55_C(32_F to +131_F)
Temperature Drift +/--10_C from learned temperature
Operating Environment Sensor body: NEMA 4 IP54;
Vibration 10--55Hz, 1mm amplitude, Meets or exceeds IEC 60947--5--2
Environmental
Shock 30G with 1ms pulse duration, Meets or exceeds IEC
Relative Humidity Up to 95% noncondensing
Approvals UL, cUL ,CE (applied for) marked for all applicable directives
(single mode) 2.6ms; (average mode) 10ms (C only)
protected (100mA), transient/burst
30V DC, 100mA
Optics assembly: IP40
60947--5--2
75027--031-- 01(A), November 1999
Page 4
4 ColorSight Series 9000 PHOTOSWITCHRPhotoelectric Sensor
Summary of ColorSight Features
Single color detection with adjustable precision settings
Local and remote self teach operation
Color only and color plus intensity operating modes
Single and averaging sampling rates
Selectable gating input
Fixed selectable OFF delay
Output SCP
Reversible supply leads for Source or Sink (PNP or NPN) operation
75027--031-- 01(A), November 1999
Page 5
ColorSight Series 9000 PHOTOSWITCHRPhotoelectric Sensor 5
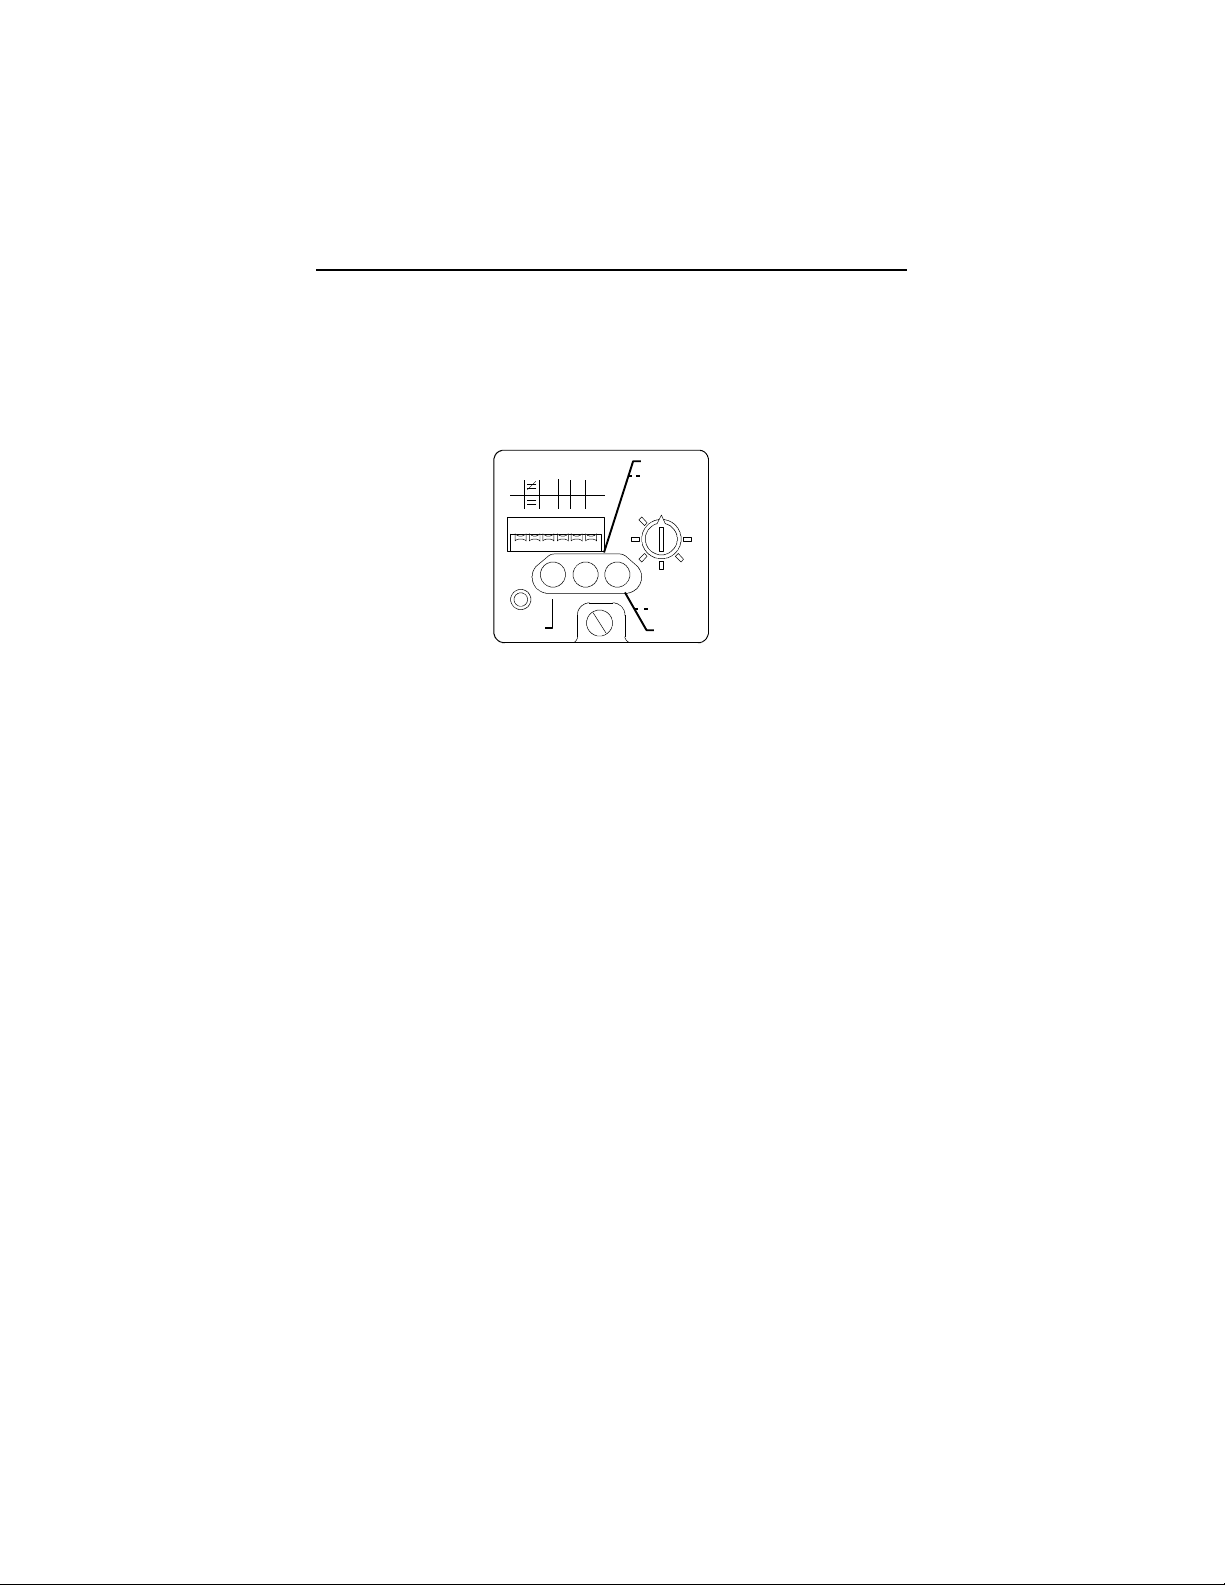
User Interface
Using an instrument screwdriver, open the top cover of the sensor to gain
access to the user interface panel. This panel contains a pushbutton,
8-turn knob, 6 dip-switches, and LED indicators for configuring and
viewing the sensor’s operation and status. A more complete description of
each item is described below.
OUTPUT
TD CI SG GT
0CAVLRN
LRN
PWR
LEARN
PRECISION
HI
LO
SCP
FAULT
Pushbutton
A single momentary pushbutton, labeled LRN, is used to “teach” the
sensor the color of the target being sensed. With the target in place,
momentarily depress this pushbutton. The yellow LED will flash indicating
that the sensor is “learning” the target. With the release of the pushbutton,
the yellow and red LED will turn OFF indicating a successful learn. If the
yellow LED turns OFF, but the red LED turns ON then the learn was
unsuccessful.
8 Turn Knob
Labeled PRECISION, an 8 position knob is provided to select the desired
level of precision for c olor discrimination. Turning the knob toward HI
provides the highest level of color discrimination, with lessening degrees
approaching LO.
75027--031-- 01(A), November 1999
Page 6

6 ColorSight Series 9000 PHOTOSWITCHRPhotoelectric Sensor
Dip-Switches
A bank of 6 dip-switches are provided for configuring various operating
modes and parameters available with ColorSight. These are defined in the
table below and explained in further detail in the Configuration section on
page 10.
Switch Label Function Switch Up Switch Down
S1 None Not used — —
S2 /= Select target match/no match Output inactive Output active
S3 TD/0 Enable/disable time delay 50ms time delay active No time delay
S4 CI/C Select color + intensity
S5 SG/AV Select single/average mode Single sample mode
S6 GT/LRN Select gate/remote learn mode Input functions as gating
Factory default
mode/color only mode
Color + intensity mode
active
active
input
Color only mode active
Average sample mode
active
Input functions as remote
learn
Indicators
Three LED indicators are provided to indicate a variety of conditions
making it easy for installation and troubleshooting. The function of each is
described in the table below.
Label Color State Condition
PWR Green OFF Sensor power not present
Steady Sensor power present
OUTPUT/LEARN Yellow OFF Output inactive
Steady Output active
Flash Learn mode activated
FAULT/SCP Red OFF Sensor operating normally
Steady Marginal detection of target
Flash Output SCP active
LED also OFF when LEARN pushbutton depressed.
Includes failure to learn color during LEARN process.
75027--031-- 01(A), November 1999
Page 7

ColorSight Series 9000 PHOTOSWITCHRPhotoelectric Sensor 7
Mounting the Sensor
Securely mount the sensor on a firm, stable, surface or support using one
of the many mounting brackets available from Allen-Bradley. The sensor is
supplied with hardware kit #129--130 which contains a plastic mounting
nut, lock washer, 2 M5 x 0.8 x 53 screws and nuts.
M5x0.8x53
Combination
Screws and Nuts
(Supplied)
Hardware Kit
(Supplied)
Optional Swivel/Tilt Bracket A -- B #60--2439
1.100
(27.94)
0.500
(12.7)
1.150
(29.21)
1.125
(28.6)
2.0
(50.8)
2.6
(66.04)
75027--031-- 01(A), November 1999
Page 8

8 ColorSight Series 9000 PHOTOSWITCHRPhotoelectric Sensor
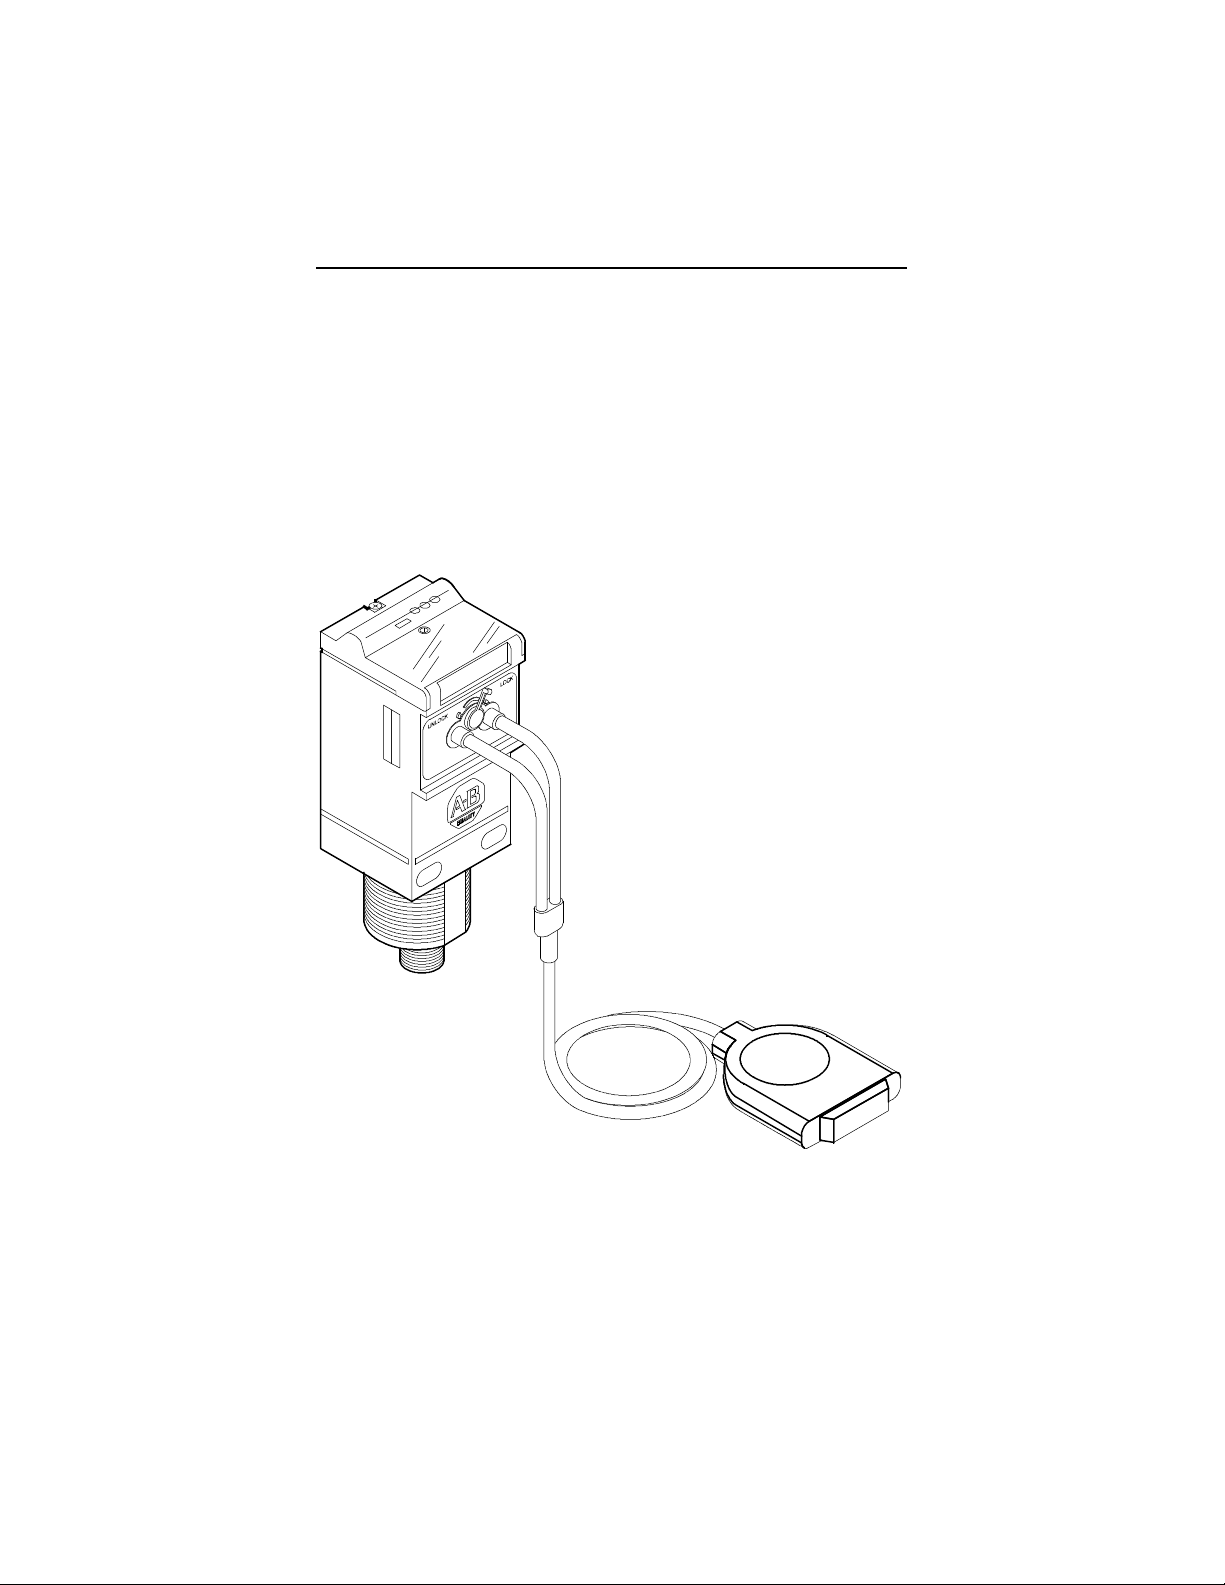
Installing the Fiber Optic Cables
ColorSight has been optimized to work with the Allen-Bradley #60--2694
Fiber Optic Assembly. Other cables may be used also, but with a possible
reduction in performance.
Ensure that the fiber optic cable is installed with the emitter end in the
source side of the sensor (left entry when viewed from the sensor front
face) and the receiver end in the receive side of the sensor. The emitter
portion is identified in blue. Care should be taken to ensure that the fiber
optic cavity and fiber optic cables are s ecurely seated.
UNLOCK
1. Set lever to UNLOCK position. 2. Insert fibers.
LOCK
3. Rotate lever to LOCK position.
Damage to fiber optic cable may occur if inserted and removed with lever in locked position. Always grip by plastic
tips, not cable sheathing.
75027--031-- 01(A), November 1999
Page 9

ColorSight Series 9000 PHOTOSWITCHRPhotoelectric Sensor 9
Aligning the Fiber Optic Cable Head (A--B #60--2694)
The head assembly should be positioned and securely fastened so that
the lens is 27mm (1 1/16in) from the target to be sensed. When operating
the sensor in COLOR ONLY mode this tolerance should not exceed
+/-- 3mm (1/8in). For high precision color discrimination applications using
the COLOR PLUS INTENSITY mode, the tolerance can be no more than
+/-- 0.75mm (1/32in).
Distance
plus tolerance
Target
Wiring the Sensor
Models of ColorSight are available in one of three different connection
types as identified in the following table. Allen-Bradley recommends the
use of the 889 Series of cordsets and patchcords on the quick-disconnect
models. All external wiring should conform to the National Electric Code
and all applicable local codes.
Lead Color Pin Assignment
Designation
V+ or V-- Brown 1 4
V-- or V+ Blue 3 2
Signal output Black 4 1
Fault output Orange 5 3
Learn/Gate input White 2 5
2m Cable 5-pin Micro QD 5-pin Mini QD
1
132
5
4
5
2
4
3
Polarity of supply voltage defines sensor output type –i.e. PNP or NPN
PNP when brown lead connected to V+ and blue lead connected to V- -
NPN when brown lead connected to V-- and blue lead connected to V+
Function determined by selector switch S6
75027--031-- 01(A), November 1999
Page 10

10 ColorSight Series 9000 PHOTOSWITCHRPhotoelectric Sensor
Wiring Diagrams
Cable version wired with PNP outputs
Brown
White
Diagnostic
Orange
Black
Blue
Micro QD wired with PNP outputs Micro QD wired with NPN outputs
1
2
5
4
3
Sensor
Diagnostic
Sensor
Load
Load
Load
Load
+
10--30V DC
Teach/Gate
--
+
10--30V DC
Teach/Gate
--
Cable version wired with NPN outputs
Brown
White
Orange
Black
Blue
1
2
5
4
3
Diagnostic
Sensor
Diagnostic
Sensor
Load
Load
Load
Load
--
Teach/Gate
+
10--30V DC
--
10--30V DC
Teach/Gate
+
Mini QD wired with PNP outputs Mini QD wired with NPN outputs
4
5
3
Diagnostic
Sensor
1
2
Load
Load
+
10--30V DC
Teach/Gate
--
4
5
3
Diagnostic
Load
Sensor
1
2
Load
--
10--30V DC
Teach/Gate
+
Configuring the Sensor
ColorSight can be configured to meet a wide variety of industrial
applications. Various levels of coarse and fine color discrimination can be
selected along with time delay, gating input, and remote learn options.
Before initial use, it will be necessary to configure the sensor for the
application at hand.
Using the table on page 6 as a reference, set the dip-switches on the
user interface to define the following operating parameters.
1. Set the output operation, S2
The sensor output may be activated upon either a match or no match
color condition. The principal is the same as a light or dark operate
condition in monochrome photoelectric sensors. The factory default
setting of dip switch S2 is (=) which activates the output upon a c olor
match condition. Move this switch to (≠) for the opposite effect.
2. Set the time delay, S3
In some high speed applications it may be desirable to “stretch” the
output signal to support slower PLCs. For this reason, ColorSight
provides the option of selecting a 50ms time delay. This delay may be
activated by moving dip-switch S3 to the (TD) position. The factory
default setting is (0).
3. Set the color match operating mode, S4
Not all applications will require the same level of color discrimination.
Therefore, ColorSight offers two distinctly different modes of operation:
1. Color Only: which measures proportions of the RGB values, and
75027--031-- 01(A), November 1999
Page 11

ColorSight Series 9000 PHOTOSWITCHRPhotoelectric Sensor 11
2. Color Plus Intensity which measures the absolute RGB values.
The selection of one of these modes is made by toggling dip switch
S4. For most applications, the Color Only mode will be suitable. When
minute changes in target color must be recognized the Color Plus
Intensity mode should be used.
4. Set the sampling rate, S5
ColorSight can be configured to operate at one of two fixed sampling
rates. The factory default setting is (AV), or, averaging mode. In this
mode the sensor will take multiple samples of the target and average
the results for further processing. This type of operation is ideal for
textured targets such as lumber and fabric. For smooth targets such as
plastic, metal, or glass, selection of the (SG), or single sample,
operating mode will yield acceptable results.
5. Set gating or remote learn operation, S6
A fifth lead (white) is provided on the sensor for use as either a gating
input or remote learn input. The function of this lead is determined by
the position of dip-switch S6. The factory default setting for S6 is LRN
which will set this function for remote learn. In this mode, the sensor’s
self-teach will be activated whenever a momentary (at least 120ms)
signal is applied to this lead. Acknowledgement of a successful learn,
will be indicated by an active output on the orange fault lead. This lead
may be tied to a PLC or pilot light for visual indication. In the event that
the learn was not successful, this output will be inactive.
With dip-switch S6 in the (GT) position, the white lead will serve as a
gating input. In this mode, the sensor output will be enabled only when
this input is active (logical AND).
6. Congratulations, the sensor is now ready to learn the target color.
7. Apply power to the sensor.
8. Position the target 27mm from and perpendicular to the fiber optic
head. Ensure that the target color fill the entire spot size provided by
the sensor.
9. For local self--teach operation follow step 10, otherwise, follow step 11.
10. Momentarily depress the LRN pushbutton. The yellow LED will flash
indicating that the sensor is “learning” the target. With the pushbutton
released, the yellow and red LED will turn OFF indicating a successful
learn. If the yellow LED turns OFF, but the red LED turns ON then the
learn was unsuccessful.
11. Applying a momentary (at least 120ms) signal of to the white lead of
the sensor has the same effect as depressing the LRN pushbutton.
Acknowledgement of a successful learn will be indicated both locally
and via the orange diagnostic lead. Note that the fault output remains
active with the exception of an unsuccessful learn and during the learn
process.
75027--031-- 01(A), November 1999
Page 12

12 ColorSight Series 9000 PHOTOSWITCHRPhotoelectric Sensor
12. Sequence the target in and out of the sensors field of view to ensure
proper color discrimination. It may be necessary to adjust the 8-turn
knob to a higher setting to provide a higher degree of color
discrimination.
13. Congratulations! The sensor has successfully learned the target.
Dimensions—inches (mm)
2.190
(55.62)
40
(1.58)
74.93
(2.950) Ref
M30 X 1.5
External Thread
1/2 NPSM
Internal Thread
40.00
(1.575)
41.91
(1.650)
24.64
(0.970)
30.35
(1.195)
Mounting Hole
Centerline
Connector Version
Micro Style Mini Style
13.97 (0.550)
Thread Size
Micro Style
Mini St yle
75027--031-- 01(A), November 1999
DC
M12 x 1
1Keyway
7/8--16 UN
1Keyway
17.78 (0.700)
Page 13

ColorSight Series 9000 PHOTOSWITCHRPhotoelectric Sensor 13
Accessories
Description Catalog Number
1.8m (6ft) mini QD
Cordset
2m (6.5ft) micro QD
Cordset
889N- F5AF- 6F
889D- F5AC- 2
Swivel/Tilt Bracket 60- 2439
360_ Rotation Mounting
Bracket
Universal Mounting
Assembly
60- 2513
60- 2421
Universal Mounting
Assembly (for Fiber
Optic cable)
60- 2008
75027--031-- 01(A), November 1999
Page 14

14 ColorSight Series 9000 PHOTOSWITCHRPhotoelectric Sensor
Terms and Definitions
Average Mode
A mode of operation, which takes multiple samples of the target being
sensed. A typical application using this mode would be the color
discrimination of textured materials such as textiles and lumber.
Color Only Mode
A mode of operation found in some color recognition sensors in which the
target color is determined by measuring the hue and chroma attributes
only. This type of mode is ideal when there is a large contrast between the
targets being sensed. An example being, the discrimination of yellow
versus red caps in a bottling application.
Color Plus Intensity
A mode of operation found in some color recognition sensors in which the
target color is determined by measuring the absolute RGB values (hue,
value, chroma). This type of mode is intended for applications where very
high precision levels of color discrimination are required. An example is
the discrimination of close shades of red.
NPN
A solid state output type for low voltage DC sensors with a sinking output.
The load is connected between the (+) power connection and the sensor
output. Low leakage currents, fast response times, and high switching
currents are typical c haracteristics of this output type.
OFF Delay
A type of time delay which will delay the operation of the output for a set
period of time after the target being sensed is no longer detected. An OFF
time delay is typically used to “stretch” the output signal to provide ample
scanning time for slower PLCs.
PNP
A solid state output type for low voltage DC sensors with a sourcing
output. The load is connected between the sensor output and the (-- )
power connection. Low leakage currents, fast response times, and high
switching currents are typical characteristics of this output type.
Single Mode
A mode of operation, which takes only single sample of the target being
sensed. This mode of operation is suited for color discrimination on flat or
untextured surfaces.
75027--031-- 01(A), November 1999
Page 15

ColorSight Series 9000 PHOTOSWITCHRPhotoelectric Sensor 15
Troubleshooting
Green LED does not
illuminate
Target cannot be
learned
Target is learned but
color discrimination is
not consistent over time
Ensure power is connected to the sensor.
Ensure fiber optic cables are securely
seated in sensor cavity.
Ensure emitter (blue) side of fiber optic
cable is inserted in the emitter cavity
(blue).
Ensure the fiber optic head is 27mm (plus
tolerance) over and perpendicular to the
target.
Ensure fiber optic cable is not damaged
by checking the spot size for intensity.
Ensure the target being sensed is not
directly over high-frequency fluorescent
lighting.
Targets with glossy surfaces may require
positioning the fiber optic cable head at an
angle to prevent interference from
reflections.
Ensure target color, shape, and distance
to fiber optic LED are consistent. If target
surface is textured such as textiles or
lumber, ensure that the Average mode is
being used. Single operating mode is best
used for smooth surfaces such as metal
or glass.
Ensure the proper operating mode is
activated. Color only mode is intended for
targets with large contrast, i.e., blue vs.
red. Color Plus Intensity mode is best for
targets with little contrast, i.e., light red vs.
medium red. Ensure ambient temperature
is within operating temperature and
tolerance of the sensor.
75027--031-- 01(A), November 1999
Page 16

16 ColorSight Series 9000 PHOTOSWITCHRPhotoelectric Sensor
Visit our web site at:
http://www.ab.com
Reach us no w at www.rockwellauto mation .com
Wherever you need us, Rockwell Automati on brings together l eading brands
in industri al automati on including Al len-Bradley controls, Reliance El ectric
power transmi ssion products, D odge mechanical power transmission
components, and Rockwel l Software. Rockwel l Automat ion’s unique fl exible
approach to helping customers achieve a competitive advantage is supported
by thousands of authorized part ners, distri butors and system integr ators
around the world.
Americas Headquarters, 1201 South Second Street, Milwaukee, WI 53204, USA, Tel: (1) 414 382--2000, Fax: (1) 414 382--4444
European Headquarters SA/NV, avenue Herrmann Debroux, 46, 1160 Brussels, Belgium, Tel: (32) 2 663 06 00, Fax: (32) 2 663 06 40
Asia Pacific Headquarters, 27/F Citicorp Centre, 18 Whitfield Road, Causeway Bay, Hong Kong, Tel: (852) 2887 4788, Fax: (852) 2508 1846
Publication 75027--031--01 (A), November 1999
75027--031-- 01(A), November 1999
Copyright 1999 Rockwell Automation
 Loading...