

Rivera Primo Centri-Force User Manual
ADDITION TO CENTRI-FORCE
TM
INSTRUCTIONS
for CHAIN DRIVE
APPLICATIONS
1108-0047
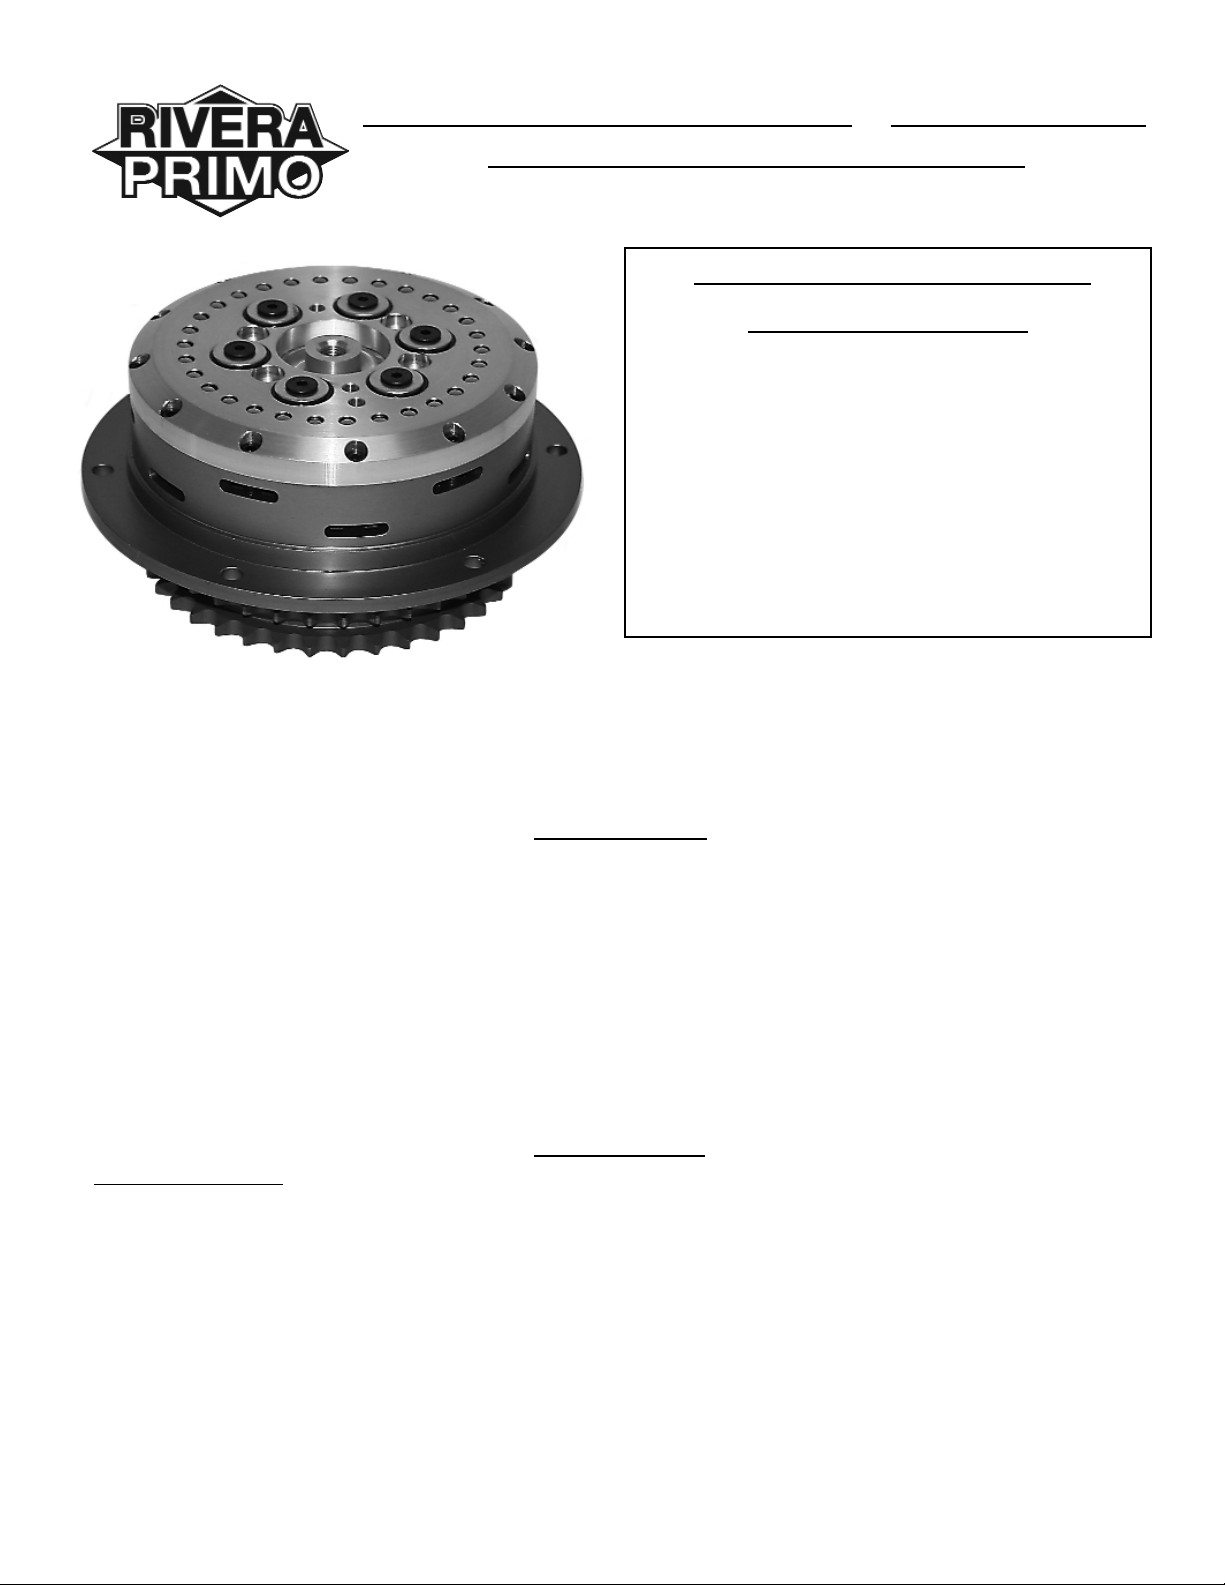
The Centri-Force™ with chain drive basket is shipped from our factory ready to install.
Depending on the idle rpm of your engine and individual needs, the way it is setup from
the factory should get you started.
INSTALLATION
Installation of the Centri-Force™ on chain drive applications is easy. First drain and then remove
the outer primary cover. Next remove the compensator nut and the clutch hub nut and the chain
adjuster nut. Remove the complete chain drive assembly. Remove the Centri-Force™ centrifugal
pressure plate by removing the (12) 10-32 x ¾" bolts. (If you remove any clutch plates, they
must be re-installed in the exact same order). Replace the OE clutch basket with your new
Rivera Primo clutch basket assembly minus the Centri-Force™. Re-install the primary drive and
secure the comp assembly, chain adjuster and clutch basket with the proper fasteners tightened
to OE specs. Now re-install the Centri-Force™ with the same (12) 10-32 x ¾" bolts. After you
install the Centri-Force™ clutch, thread the adjuster screw in the center hole.
ADJUSTMENT
CABLE CLUTCH
Turn out the center adjuster screw. Now back off on the clutch cable adjuster until the clutch
lever touches the handlebar grip. Tighten the clutch cable adjuster jam nuts. Hold the clutch
lever against the handle bar and with the other hand, screw in the center adjusting screw until
you feel it push against your hand thru the lever. At this point, lock down the center adjusting
screw jam nut.
Start the bike, making sure the transmission is in neutral. Rev the motor up to around 2000-2500
rpm's, the lever should move out away from the handlebar. At no time should the lever extend
out all the way from the handlebar, you must have free play at the end of the lever travel
just like a normal clutch. At idle and low rpm, there will be very little clutch pull.
IMPORTANT SAFETY
PRECAUTIONS
WARNING: DO NOT START THE MOTORCYCLE
UNLESS THE TRANSMISSION IS IN NEUTRAL
OR THE CLUTCH LEVER IS HELD IN, OR
SERIOUS INJURY MAY OCCUR.
WHILE STOPPED, PUT THE TRANSMISSION IN
NEUTRAL OR HOLD THE CLUTCH LEVER IN.
FAILURE TO FOLLOW THESE PRACTICES MAY
CAUSE SERIOUS INJURY OR SERIOUS
DAMAGE TO THE MOTORCYCLE.
12450 Whittier Blvd. Whittier, California 90602 www.riveraprimoinc.com Tel: 562-907-2600 Fax: 562-907-2606
HYDRAULIC CLUTCH
After the Centri-Force™ clutch is installed, thread in the center adjusting screw till it bottoms out,
then back it out 3 turns and lock down the center adjusting screw jam nut. Initially using the
hydraulic clutch at a dead stop, when you twist the throttle the after pulling in the clutch you will
have a slightly higher engagement the first time. This is due to the auto clutch overcoming the
hydraulic oil in the slave cylinder. After the slave cylinder is retracted, if you are stopped and do
not use the manual clutch, engagement will be instantaneous when you twist the throttle.
ENGAGEMENT ADJUSTMENT
Put a thicker steel plate in place of the thinner one for lower engagement, put a thinner steel
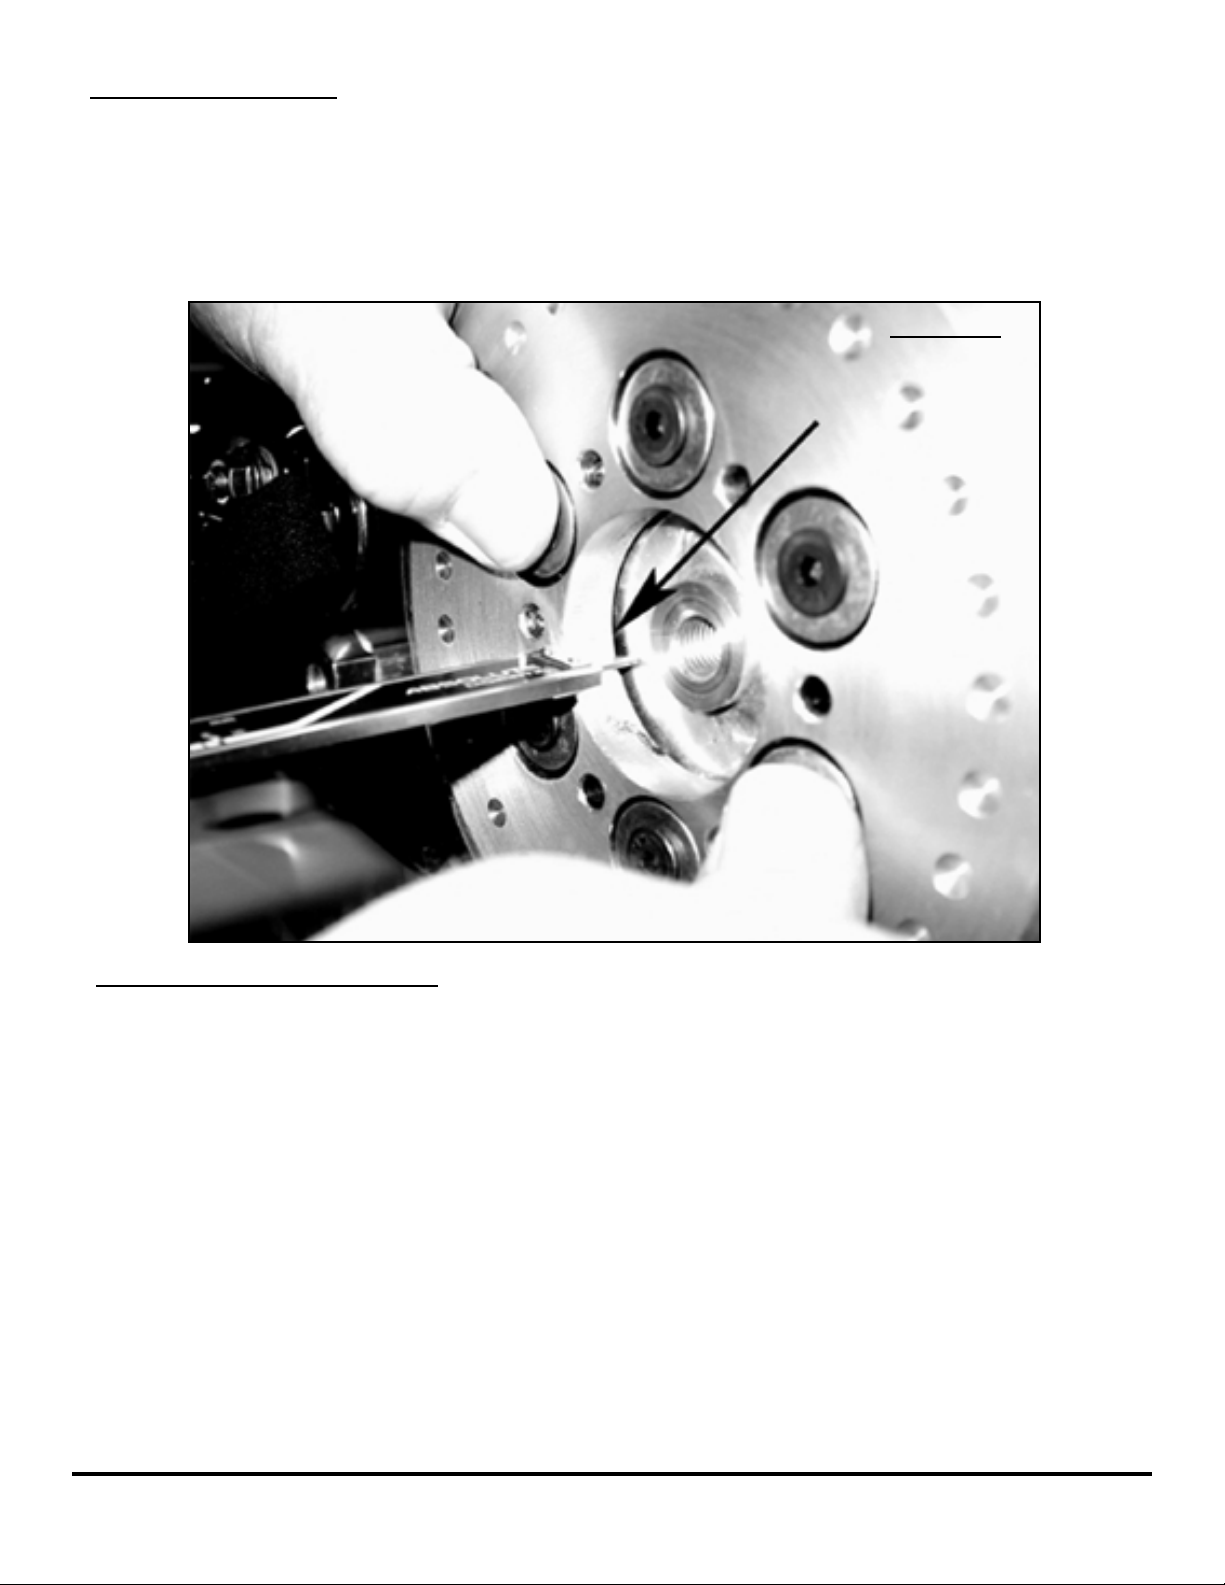
plate in place of the thicker one for higher engagement. Air gap between the pressure plate and
the housing (see fig. 1) should be around .055-.070. Adding wave springs under the 6 flat head
screws will give slightly higher engagement. This is for fine tuning the clutch.
To determine the amount of air gap (see figure 1) push down on the flat head screws and measure how the travel. If needed, adjust with thick or thin steel plates to change engagement. If you
make the air gap too narrow, then the clutch will drag. You can lower the idle if possible to help
this. If you make air gap too wide, you will have a higher engagement which will require you to
stretch out each gear before you shift.
This is a rpm engaged pressure plate, if you ride the motorcycle in 4th or 5th gear at 25
mph, the clutch will probably slip. You should always be in first gear to take off.
If needed, different thickness steels or extra wave washer springs are available from you local
Rivera Primo dealer or by calling Rivera Primo Inc. directly.
FIGURE 1
 Loading...