


 PRO-CLUTCH INSTRUCTIONS_PRO-CLUTCH INSTRUCTIONS.qxd 3/22/12 5:50 PM
 Page 1
PRO-CLUTCHTM
inSTallaTion inSTruCTionS
HOME OF PRIMO® BELT DRIVES
1056-0003 |
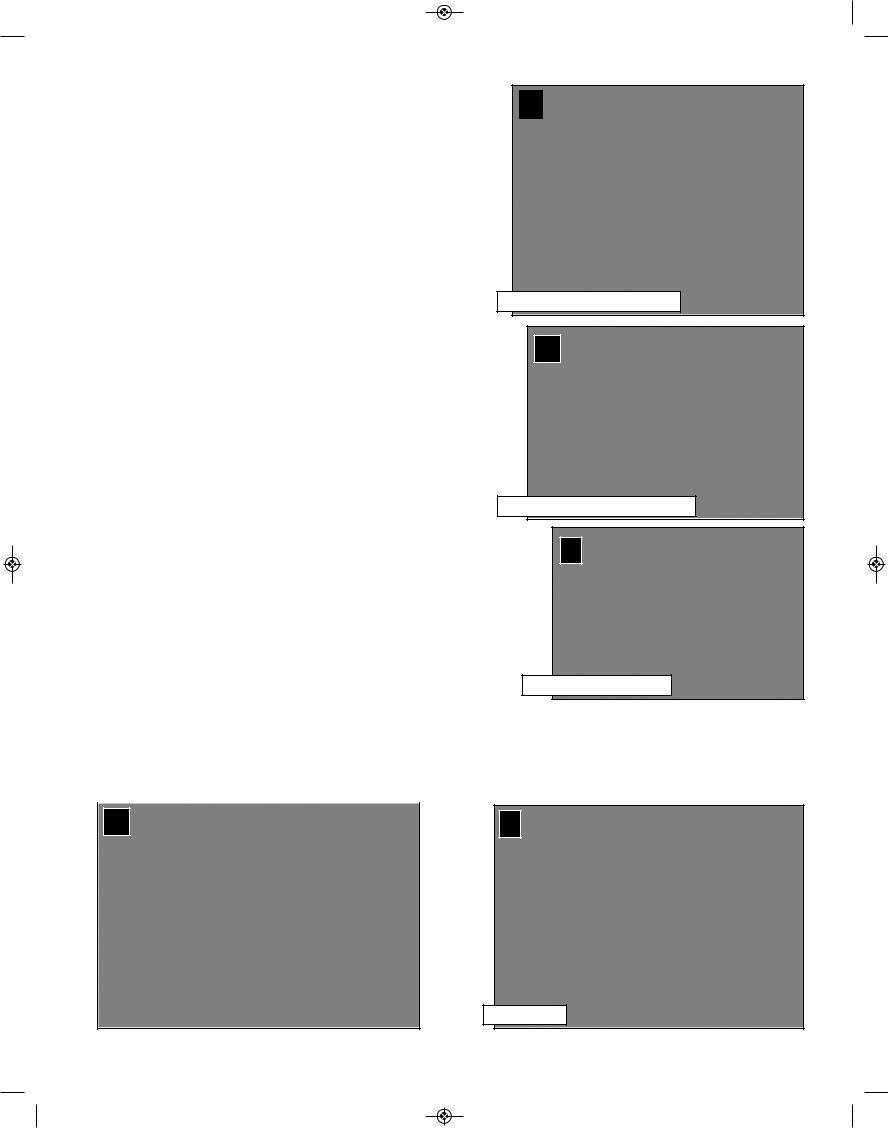
Pro-ClutchTM |
Stock Clutch |
|
|
|
1986-1989 |
|
|
Evo Big-Twin |
|
|
chain drive primary |
|
|
|
|
|
1056-0005 |
Pro-ClutchTM |
Stock Clutch |
|
|
|
1990-1997 |
|
|
Evo Big-Twin |
|
|
chain drive primary |
|
|
|
|
|
1056-0006 Pro-ClutchTM |
Stock Clutch |
|
1998-2006 |
|
|
Evo Big-Twin |
|
|
& Twin-Cam |
|
|
(except 2006 Dyna) |
|
|
chain drive primary |
|
|
|
|
|
1056-0020 |
Pro-ClutchTM |
Stock Clutch |
|
|
|
2006 Dyna Models
&
All 2007-up
Big Twin Models
Congratulations you have just purchased Rivera Primo’s Pro-ClutchTM, the best clutch upgrade in the world. Please read and
follow the directions for a simple, trouble free installation. If you have any questions about this installation please contact Rivera Primo, and a knowledgeable Pro-ClutchTM technician will assist you. Thank you for purchasing Pro-ClutchTM.
rivera Primo’s Pro-ClutchTM for 1990 & later Evolution & Twin Cam Big Twin motorcycles increases clutch area almost 100%. For 1986-1989 applications clutch area is increased 325%. More clutch surface means more performance potential. Installation is very simple. Pro-ClutchTM installs quickly into the existing clutch basket by removing the OEM hub, and then installing the Pro-ClutchTM hub, followed by the Pro-ClutchTM clutch pack assembly.
Pro-ClutchTM will easily transmit all your motor’s horsepower to the transmission without slipping or grabbing. Smooth, easy hand control makes rivera Primo’s Pro-ClutchTM a must for any stock or high performance Big Twin Harley motorcycle.
1 |
1108-0006 / Rev. 3-2012 |
|

 PRO-CLUTCH INSTRUCTIONS_PRO-CLUTCH INSTRUCTIONS.qxd 3/22/12 5:50 PM
 Page 2
SaFeTY FirST
When performing work on any motorcycle, and prior to starting this installation disconnect BOTH battery cables. If the motorcycle is on a lift, fasten the motorcycle securely to prevent it from falling. Please read and become familiar with the Pro-ClutchTM instructions before starting. A hydraulic press is required to remove the OEM clutch hub and install the Rivera Primo Pro-ClutchTM hub. For safety use only the proper tools for a given task and wear eye protection.
STeP 1:
As you disassemble the Pro-ClutchTM prior to installation, keep the clutch plates in exactly the same sequence as shipped. The clutch plates must be re-installed in exactly the same order. Drain the primary lubricant from the chain-case, and remove the outer primary cover. Loosen the primary chain adjuster and remove the OEM clutch basket and all of the OEM clutch components.
STeP 2:
Remove the snap ring from the rear of the OEM clutch hub using the appropriate snap-ring tool. ALWAYS wear eye protection during this procedure.
STeP 3:
Using a hydraulic press remove the OEM clutch hub from the clutch basket! Firmly support the OEM clutch bearing as shown during this operation. After pressing the hub out, check the bearing for smoothness by rotating the clutch basket while holding the inner bearing race. If the bearing feels rough or binds, it must be replaced.
1
2Remove snap ring
3
Press out the OEM hub
STeP 4:
Using the press, install the Rivera Primo Pro-ClutchTM hub into the OEM clutch basket. Securely support the INNER bearing races during this process. Carefully bottom the Pro-ClutchTM hub in the OEM basket. After pressing in the Pro-ClutchTM hub, check the bearing for smoothness again!
STeP 5:
Carefully align the Pro-ClutchTM hub. 
 Press until the hub bottoms.
4 |
4a |
|
Support inner bearing race
Install the snap ring onto the rear of the Pro-ClutchTM hub as shown. Make sure the snap ring is correctly installed into the snap-ring groove.
5 |
5a |
|
|
Make sure the snap ring is fitted securely in the groove!
2
 PRO-CLUTCH INSTRUCTIONS_PRO-CLUTCH INSTRUCTIONS.qxd 3/22/12 5:50 PM
 Page 3
STeP 6:
Thoroughly wipe down the primary case & components to remove the OEM lubricant. Re-install the clutch basket into the primary case with chain & associated components. Dexron III ATF is recommended as the primary lubricant for use with Pro-ClutchTM units.
6
Re-install the clutch basket
STeP 6a:
Put two drops of blue thread lock on the transmission main shaft prior to installing the clutch hub nut. Tighten the clutch hub nut using the factory torque specifications (50-60 foot pounds of torque for 86-89 models, or 70-80 foot pounds for 90 & later models) indicated by your original equipment service manual.
6a
Rivera blue threadlock.
STeP 7: Soak friction discs in Dexron III ATF (wipe away excess before installation) lubricant for a minute prior to installation. Install steel & friction clutch plates exactly as they were shipped. Install the .120” steel plate first, then friction, alternating until all are installed. Never install 2 friction or 2 steel plates together.
|
Friction plate next! |
|
|
Alternate steel-friction until |
|
|
|
|
7a |
all plates are installed |
|
|
|
7
.120” Steel plate in first!
STeP 8: Generously dab some quality anti-seize on the stud threads of the Pro-Clutch hub!
8
Anti-seize!
3
 Loading...