

Rivera Primo 1053-0003 User Manual
QUALTIY & SERVICE
FOR OVER 37 YEARS
1053-0003 CHAIN DRIVE INSTRUCTIONS
1) Remove the pressure plate assembly from the clutch to gain acces to the mainshaft. Install the basket per
the OE service manual. If needed, re-install the clutch pack with the .120” thick steel plate installed first, then
a friction, then a steel until all the plates have been installed. Next install the billet aluminum pressure plate,
the diaphragm clutch spring, spring retainer, nut lock plates, and shouldered nuts. Tighten the nuts equally
until all are bottomed. The diaphragm clutch spring should be with .010”-to-.020” of being flat (slightly convex like an upside down dish).
2) Adjust the clutch per the following instructions:
a) Turn out the cable adjustment until
the clutch lever rests against the grip.
b) Install the center adjusting screw
and thread it in until the clutch lever
just starts to move away from the grip.
c) Turn the center screw out ¼ of a turn
and lock the center adjusting screw
jam nut firmly against the pressure
plate.
3) Now adjust a black cable so you
have approx. 1/8" free play from the
clutch cable ferrule to the clutch lever
perch and on a braided cable you will
have almost no free play.
4) Install the adjuster screw with lock
nut (included in kit) into the pressure
plate.
5) Install the outer primary cover, fill the
primary with Dexron III ATF fluid so the
level is just slightly over the bottom of
the ring gear.
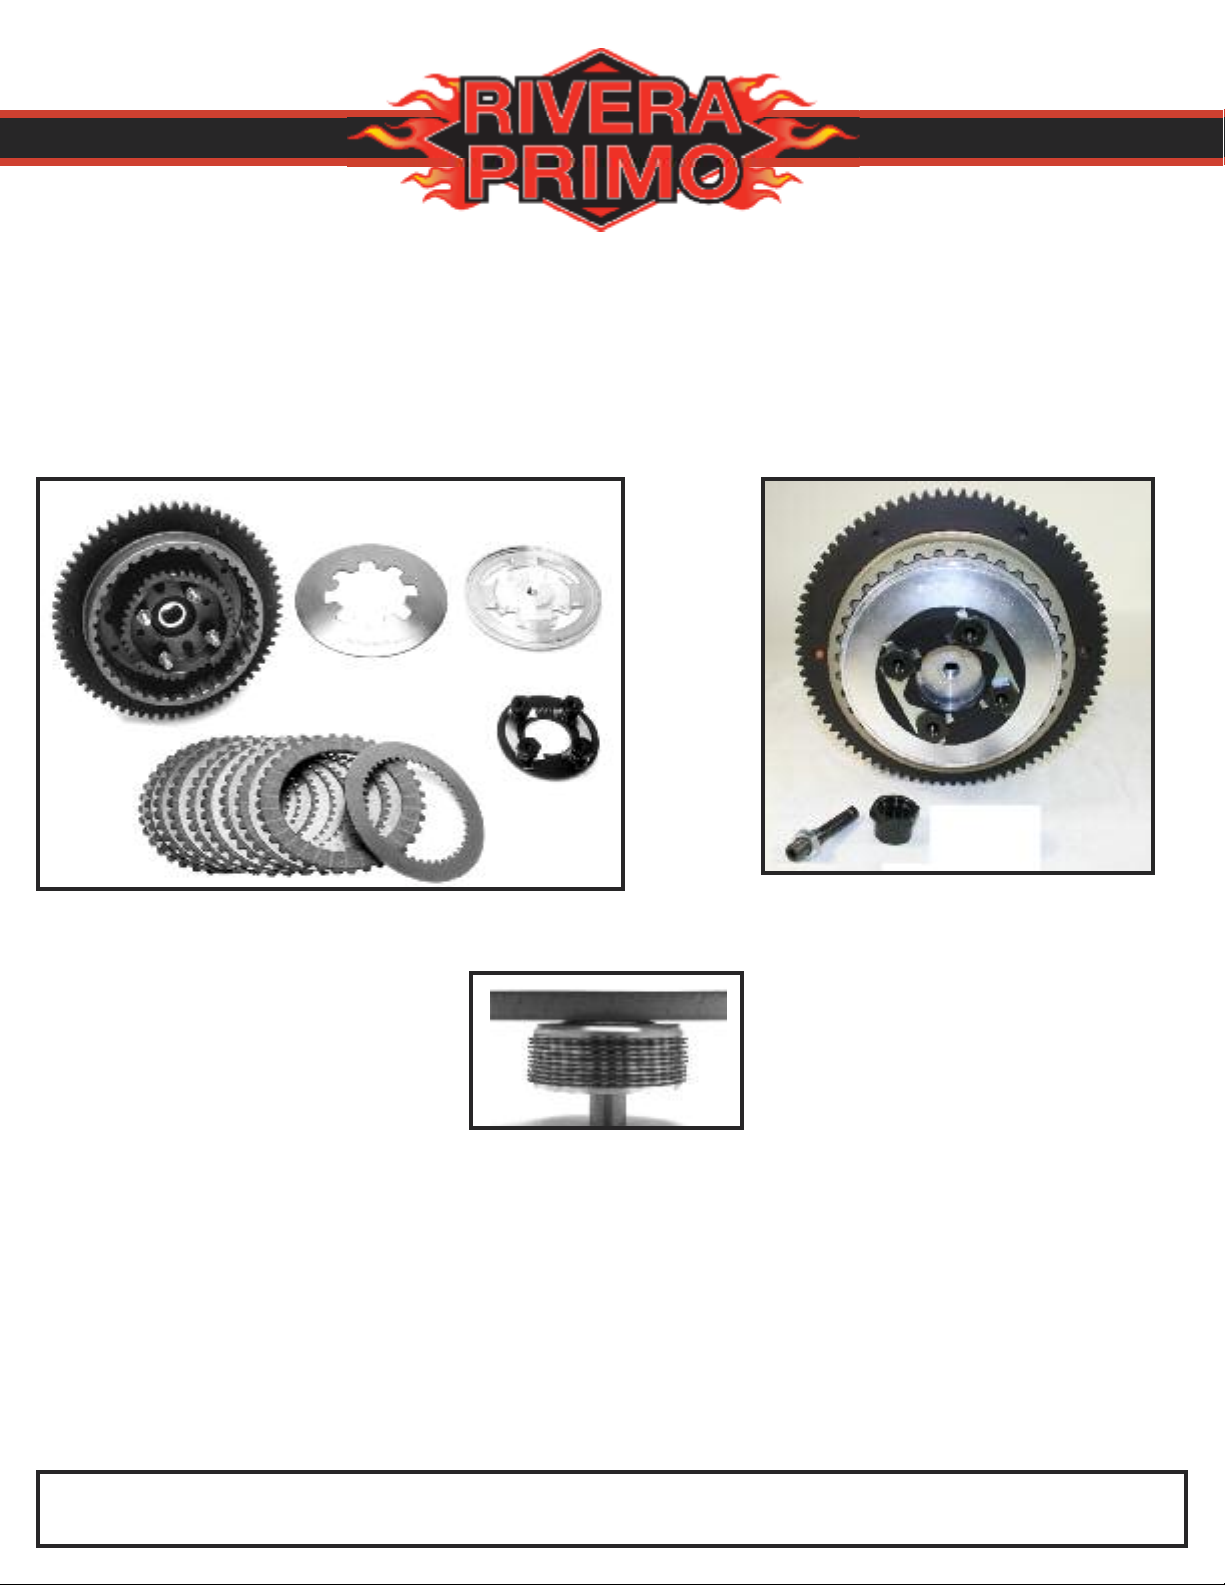
This kit includes a complete basket assembly with a splined hub and 37 tooth
sprocket made with ultra dense high strength 7075 aluminum and fits 1990-93 Big
Twin applications. The kit also includes an 84 tooth ring gear which requires a special
pinion gear (part #1170-0021). This pinion gear must be used with this 84 tooth ring
gear. DO NOT use the OE pinion gear as damage will occur.
RIVERA PRIMO INC. ~ 12450 Whittier Blvd, ~ Whittier, CA 90602
(562) 907-2600 ~ fax (562) 907-2606 ~ www.riveraprimoinc.com ~ email info1@riveraprimoinc.com
 Loading...