

Page 1
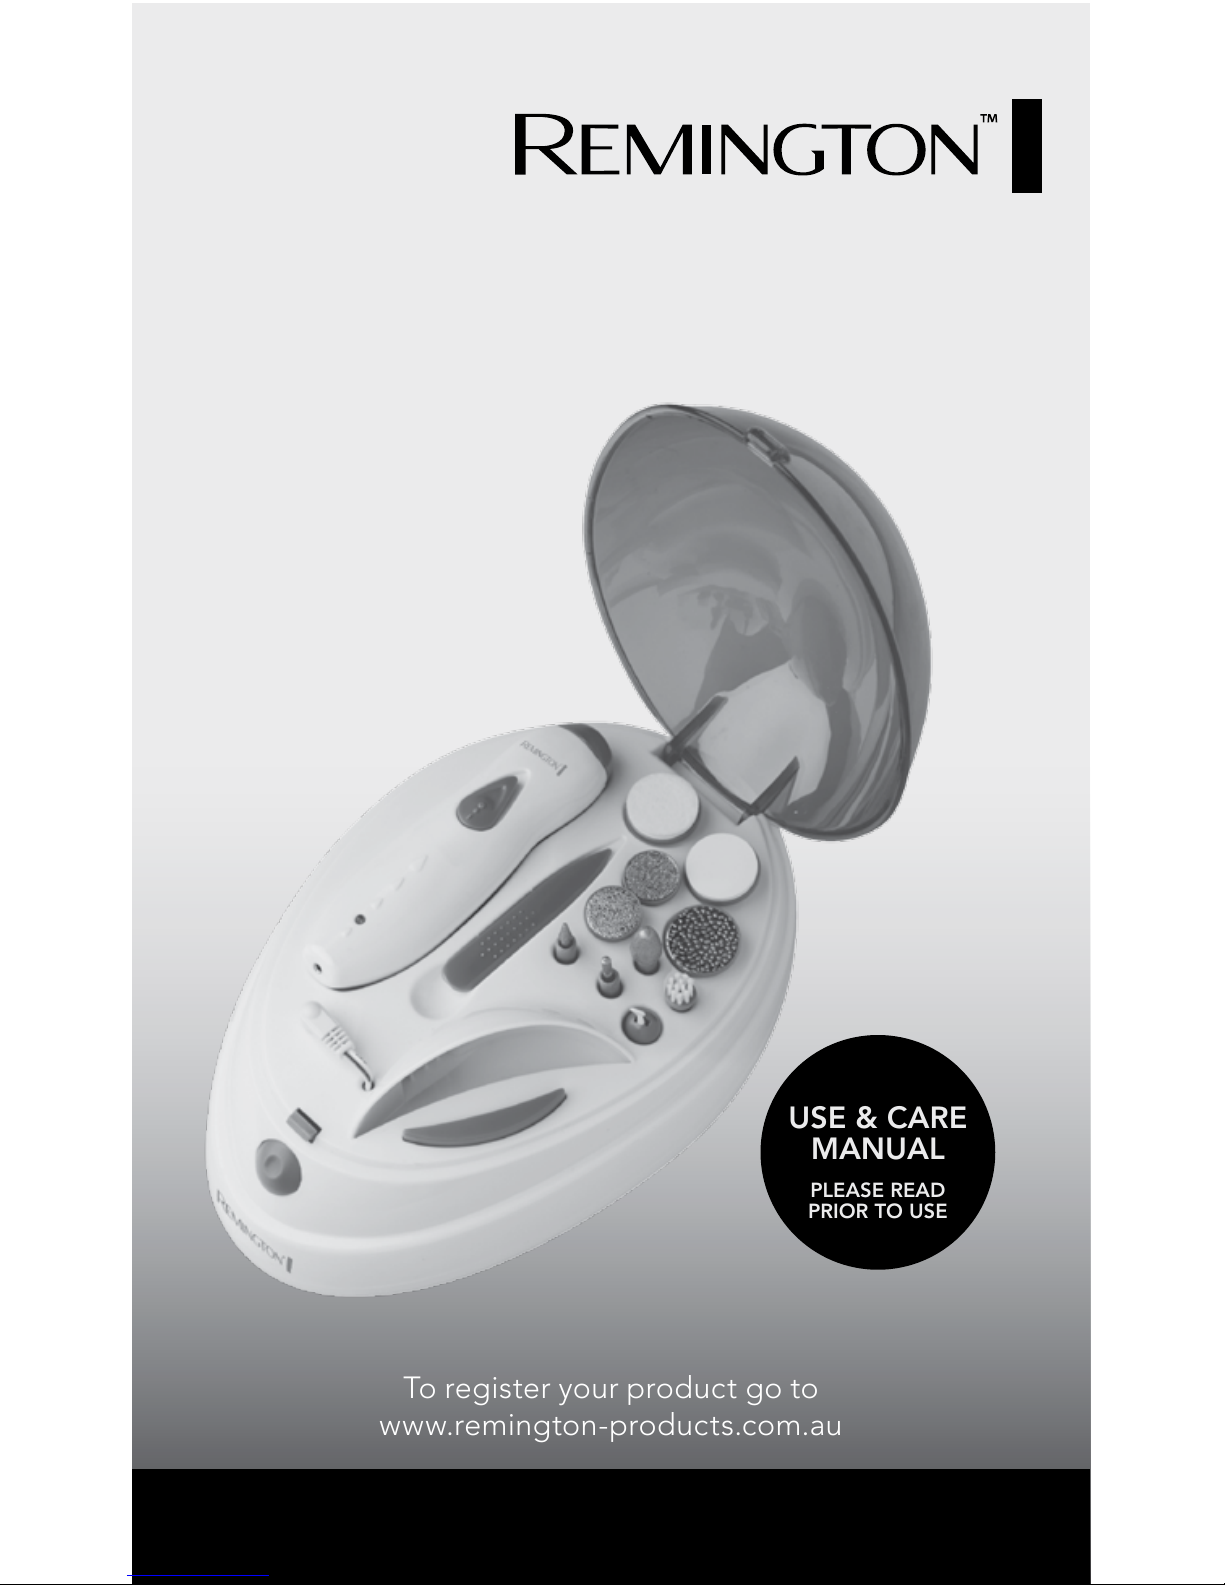
To register your product go to
www.remington-products.com.au
2 YEAR WARRANTY
MAN6000AU
FLAWLESS NAILS
MANICURE & PEDICURE KIT
USE & CARE
MANUAL
PLEASE READ
PRIOR TO USE
Page 2

2
IMPORTANT SAFETY INSTRUCTIONS
When using electrical appliances, especially when children are present, basic safety
precautions should always be followed, including the following:
READ ALL INSTRUCTIONS BEFORE USING
KEEP THE POWER ADAPTOR AWAY FROM WATER
Remington strongly recommends that an approved Safety Switch (residual current
device) should protect all bathroom power outlets. Ask an electrical contractor for
advice.
KEEP THE APPLIANCE DRY
• To prevent accidents keep the appliance away from hair on your head, your eyebrows,
eyelashes as well as clothes, brushes and wire.
• Your appliance should never be left unattended when plugged in to a power outlet.
• Always unplug the appliance when it is not in use.
• This appliance can be used by children aged from 8 years and above and persons with
reduced physical, sensory or mental capabilities or lack of experience and knowledge if they
have been given supervision or instruction concerning use of the appliance in a safe way and
understand the hazards involved. Children shall not play with the appliance. Cleaning and
user maintenance shall not be made by children without supervision.
• Use this appliance only for its intended use as described in this manual. Do not use attachments not recommended by Remington.
• Never operate this appliance if it has a damaged cord or plug, if it is not working correctly, if
mains adaptor has been dropped or damaged. If the cord of this power adaptor is damaged
the power adaptor must be discarded. Handle cord carefully for long life and avoid jerking,
twisting or straining especially at plug connections. The cord cannot be repaired.
• Do not operate this appliance for more than 20 minutes at a time. Allow the appliance to cool
for 15 minutes and then continue use. For household use only.
• Keep the power adaptor cord away from heated surfaces.
• Except when charging, always unplug this appliance from the electrical outlet immediately
after using.
• Unplug this appliance before cleaning it.
• Do not place the appliance or any of its attachments in water or any other liquid.
• Switch off this appliance before changing attachments
• Do not use an extension cord or a voltage converter with this appliance.
• Do not use on people who are asleep.
• Do not use while bathing or in the shower.
• Do not place the appliance under any type of fabric such as clothing, blankets or pillows.
• Never drop or insert any object into any opening of this appliance.
• Do not use outdoors or where aerosol (spray) products are being used or where oxygen is
administered.
• Do not block air inlets.
• Do not place or store this appliance where it can fall or be pulled into a tub or sink.
• Do not plug or unplug the appliance with wet hands.
• Do not wrap the cord of the power adaptor around the unit.
• Do not use this appliance with damaged or broken attachments, as injury may occur.
Page 3

CAUTION
• For your protection the appliance may slow down or even stop if it is pressed too firmly
against the skin.
• Do not use the appliance on irritated skin or skin with varicose veins, rashes, spots, moles
or wounds without consulting a doctor. People with reduced immune response, for example
during pregnancy, or people who suffer from diabetes mellitus, haemophilia or immunodeficiency should consult their doctor before using this appliance.
• For hygiene reasons do not let another person use your manicure pedicure set. It is recommended for use by one person only.
WARNING
FOR THE PURPOSE OF RECHARGING THE BATTERY, ONLY USE THE DETACHABLE
POWER SUPPLY UNIT PROVIDED WITH THIS APPLIANCE.
This appliance should be supplied with approved safety isolating adaptors PA-3215A
with the output capacity of 3.2 dc; 1500mA (adaptor output).
SAVE THESE INSTRUCTIONS
3
Page 4

MAN6000AU MANICURE PEDICURE KIT
USE AND CARE MANUAL
Thank you for purchasing your new Remington® Manicure Pedicure Kit. Your kit can be used on
your hands and your feet, and is suitable for natural and acrylic nails.
KEY PARTS
1. Main hand piece
2. Attachment insert cavity
3. Charging indicator light
4. Power port
5. Power jack
6. Lid release button
7. Cord & power adaptor storage
chamber (underneath)
8. Nail drying fan button
9. Nail drying fan cavity
10. Storage base
11. 10 Attachments (see details below)
12. Manual cuticle push stick
13. Storage base lid
14. On/Off switch with 2 speed settings
ALSO INCLUDES
• Power Adaptor
1
2
3
4
9
8
5
6
7
10
11
12
13
14
4
Page 5

MAN6000AU SPECIFICATIONS
Power System Cordless (rechargeable)
Initial Charge Time 24 Hours
Full Charge Time 16 Hours
Runtime 2.5 hours at low speed
2 hours at high speed
Indicators Charging
Voltage Type (adaptor voltage type) Single 220-240V
BUFFING DISK
Smooths the
surface of nails
POLISHING
DISK
Creates a
natural glossy
shine
COARSE FILING
DISK
For filing and
texturizing
acrylic nails
MEDIUM FILING
DISK
For filing
mid-section of
acrylic nails
FINE FILING
DISK
For fine grade
filing and
shaping
CALLUS
REMOVER
Removes rough
skin from
fingers and toes
PRECISION
SHAPING CONE
Files skin and
smooths nail
edges
PRECISION
SHAPING
CYLINDER
Files around
cuticles and
nail surface
MINI CLEANING
BRUSH
Cleans away
nail dust and
debris
CUTICLE
PUSHER
Gently pushes
cuticles back
for treatment
5
CHARGING
• Before using your manicure kit for the first time, charge it for 24 hours. Note during this
charge ignore the electronic indicators as they are in “start-up-cycle”.
• Always ensure that your hands, the appliance and storage base are dry before charging.
• The handpiece may be charged while sitting in the storage base by first attaching the extension cable to the handpiece, and then plugging the power adaptor into the storage base and
mains power.
• Alternatively the power adaptor can be connected directly to the handpiece for charging.
Page 6

• When connected to a mains power source the charging indicator light will glow to indicate
the handpiece is charging, the light will only turn off once it is disconnected from a power
source.
• The batteries cannot be overcharged, but it is recommended that charging be discontinued
and the kit stored away if it will not be used for an extended period of time (2-3 months).
• When the power adaptor is not in use it can be neatly stored in the compartment at the
underside of the storage base – be sure to check for it here if you think you have lost your
power adaptor.
ATTACHING THE ATTACHMENTS
• To remove an attachment, gently pull it away from the handpiece head in an upwards
motion.
• Select a new attachment, align it with the handpiece head cavity and gently push downwards
until the attachment is securely in place.
NOTE: Do not push too hard as you may accidentally break the attachment.
CAUTION: If an attachment gets stuck and is hard to remove with your fingers then you have
pushed it on too hard. Use a pair of pliers at the plastic attachment base and pull it away
from the handpiece with gentle force.
CLEANING
• Ensure that the appliance is turned off and disconnected from the mains.
• Never immerse the main hand piece, attachments or any other part of this appliance in water
or any other liquid.
• Clean using a damp cloth and dry thoroughly before use.
2 SPEED SETTINGS
Your manicure kit has two speed settings, each for different recommended purposes.
The On/Off switch can be moved into one of three settings at any time; Off, Low speed, and
High speed, by gently moving the switch up from the Off position towards the top of the unit to
engage each speed. Move the switch gently and slowly.
• Low speed setting is recommended for nail filing
• High speed setting is recommended for removing skin and calluses
CAUTION: Using the high speed setting on nails without experience can remove too much nail.
Proceed with upmost care and attention, it is recommended to use low speeds for the nails.
TIPS BEFORE YOU BEGIN
• Always use gentle and slow circular movements.
• Do not apply too much pressure on nails and skin, to avoid removing too much nail from the
surface causing it to become weak, fragile or break.
• Do not stay on the same area of the nail for longer than one or two seconds to avoid removing
too much nail, resulting in a painful burning sensation.
• Do not wet hands or feet before using attachments, they should be completely dry.
• Always switch off this appliance before changing attachments.
6
Page 7

7
NATURAL NAIL MANICURE & PEDICURE
BEFORE YOU START: REMOVE NAIL POLISH FROM YOUR NAILS
STEP 1: PRIME YOUR NAILS
CUTICLE PUSHER or CUTICLE PUSH STICK to gently push back
cuticle skins.
FINE FILING DISK shapes your nails to the desired length.
STEP 2: SHAPE YOUR NAILS
PRECISION SHAPING CONE files away dead skin and smooths the
edges and underside of your nails.
PRECISION SHAPING CYLINDER files around the cuticles and gently
over the entire surface of the nail.
STEP 3: CLEAN & BUFF
Optional: CALLUS REMOVER removes rough skin and corns around
and between the fingers and toes.
MINI CLEANING BRUSH cleans away nail dust and skin debris.
BUFFING DISK smooths the surface of the nails.
STEP 4: POLISH & FINISH
POLISHING DISK creates a natural glossy shine.
NAIL DRYING FAN is used after applying nail polish or gloss of your
choice to quickly dry the nails.
NEW ACRYLIC NAIL MANICURE
STEP 5: PREPARE & ATTACH
Complete steps 1 – 3 above.
Apply acrylic nails as instructed by the chosen manufacturer.
STEP 6: SMOOTH & SHAPE
FINE FILING DISK shape your acrylic nails to the desired length.
Use the MEDIUM FILING DISK on the top mid-section of the acrylic
nails to reduce the thickness and begin to create a smooth transition
between the natural nail and the acrylic nail. Do not use on the
natural nail.
Page 8

8
Use the PRECISION SHAPING CYLINDER gently around the cuticles
and transition area between the natural nails and the acrylic nail until
it is smooth and natural looking with no bumps or lines. Use small
light gentle strokes in the same direction.
Optional: use the end of the acrylic nail to create a square nail finish.
Use the PRECISION SHAPING CONE around the edges of the acrylic
nail and underneath the overhanging nail (file away the natural nail)
to create a clean transition and prevent dirt or impurities underneath
the nail.
Optional: use the end of the acrylic nail to create a rounded nail finish.
STEP 7: CLEAN & BUFF
Optional: Gently use the COARSE FILING DISK on the ends of the
acrylic nails to create a rough texture for easy adhesion of glitters or
textured polishes.
MINI CLEANING BRUSH cleans away nail dust and debris.
BUFFING DISK smooths the surface of the nails.
STEP 8: POLISH & FINISH
POLISHING DISK creates a natural glossy shine.
NAIL DRYING FAN is used after applying nail polish or gloss of your
choice to quickly dry the nails.
ACRYLIC NAIL MAINTENANCE
STEP 10: MAINTAIN
Use the PRECISION SHAPING CYLINDER gently around the cuticles for
a smooth transition between natural nails and acrylic nails.
Use the PRECISION SHAPING CONE around the edges of the acrylic
nail and underneath the overhanging nail (file away the natural nail)
to create a clean transition and prevent dirt or impurities underneath
the nail.
NAIL DRYING FAN is used after applying nail polish or gloss of your
choice to quickly dry the nails.
Page 9

9
Spectrum Brands Australia Pty Ltd and Spectrum Brands New Zealand Limited
WARRANTY AGAINST DEFECTS
In this warranty:
Australian Consumer Law means the Australian consumer law set out in Schedule 2 to the
Competition and Consumer Act 2010;
CGA means the New Zealand Consumer Guarantees Act 1993;
Goods means the product or equipment which was accompanied by this warranty and pur-
chased in Australia or New Zealand, as the case may be;
Manufacturer, We or us means:
1. for Goods purchased in Australia, Spectrum Brands Australia Pty Ltd
ACN, 007 070 573; or
2. for Goods purchased in New Zealand, Spectrum Brands New Zealand Limited,as the case
may be, contact details as set out at the end of this warranty;
Supplier means the authorised distributor or retailer of the Goods that sold you the Goods
in Australia or in New Zealand; and
You means you, the original end-user purchaser of the Goods.
1. Our goods come with guarantees that cannot be excluded under the Australian Consumer
Law, or the CGA. You are entitled to a replacement or refund for a major failure and compensation for any other reasonably foreseeable loss or damage. You are also entitled to have the
goods repaired or replaced if the goods fail to be of acceptable quality and the failure does
not amount to a major failure.
2. The benefits provided by this Warranty are in addition to all other rights and remedies in
respect of the Goods which the consumer has under either the Australian Consumer Law or
the CGA. The original purchaser of the Goods is provided with the following Warranty subject
to the Warranty Conditions:
3. We warrant the Goods for all parts defective in workmanship or materials for the period of
two (2) years from the date of purchase (Warranty Period). If the Goods prove defective
within the Warranty Period by reason of improper workmanship or material, we may, at our
own discretion, repair or replace the Goods without charge.
Warranty Conditions
4. The Goods must be used in accordance with the manufacturer’s instructions. This Warranty
does not apply should the defect in or failure of the Goods be attributable to misuse, abuse,
accident or non-observance of manufacturer’s instructions on the part of the user. As far as
the law permits, the manufacturer does not accept liability for any direct or consequential
loss, damage or other expense caused by or arising out of any failure to use the Goods in
accordance with the manufacturer’s instructions.
5. Exhaustible components (such as shaver heads, cutters and foils) of the Goods are included
under this Warranty only where there is a defect in workmanship or materials used.
6. The warranty granted under clause 3 is limited to repair or replacement only.
7. Any parts of the Goods replaced during repairs or any product replaced remain the property
of the manufacturer. In the event of the Goods being replaced during the Warranty Period,
the warranty on the replacement Goods will expire on the same date as for the Warranty
Period on the original Goods which are replaced.
8. In order to claim under the warranty granted under clause 3 you must:
(a) Retain this warranty with your receipt/proof of purchase; and
(b) Return the Goods to us at the relevant address below or to the Supplier by prepaid freight
within the Warranty Period accompanied with (i) the legible and unmodified original proof of
purchase, which clearly indicates the name and address of the
Supplier, the date and place of purchase, the product name or other product serial
number and (ii) this warranty.
Page 10

10
9. This warranty is immediately void if:
(a) Any serial number or appliance plate is removed or defaced;
(b) The Goods have been serviced or otherwise repaired by a person not authorised to
do so by us or where non approved replaced parts are used.
10. The Goods are designed for domestic use only. A limited 90-day Warranty applies to any
industrial or commercial use of the Goods. The Goods must be connected to the electrical
voltage requirements as specified in the ratings label located on the Goods.
11. This warranty does not cover the cost of claiming under the warranty or transport of the
Goods to and from the Supplier or us.
12. This warranty is only valid and enforceable in Australia against Spectrum Brands
Australia Pty Ltd and in New Zealand against Spectrum Brands New Zealand Limited.
Contact us or the Supplier for further details.
Spectrum Brands Australia Pty Ltd
Locked Bag 3004
Braeside, VIC 3195
Australia
Customer service in Australia: 1800 623 118
E-mail: consumer.enquiry@remington-products.com.au
Spectrum Brands New Zealand Limited
PO Box 9817
Newmarket, Auckland 1149
New Zealand
Customer service in New Zealand: 0800 736 776
E-mail: info@remington.co.nz
Website: www.remington-products.com.au
REMINGTON SERVICE HOTLINE
Australia 1800 623 118 (toll free)
New Zealand 0800 736 776 (toll free)
AUTHORISED REPAIR CENTRES
Visit www.remington-products.com.au for Authorised repair centre details.
® Registered Trade Mark of Spectrum Brands Inc.(SBI), or one of its subsidiaries
Made in China to the Specifications of Spectrum Brands, Inc.
© 2015 Spectrum Brands Inc.
Rev. 03 /15
Part No. T22-0002365
 Loading...