

Radio Shack Extreme Indoor Rescue Helicopter, BladeRunner series Information Manual
Congratulations on the purchase of your BladeRunner Series R/C Helicopter. The BladeRunner Extreme Indoor Rescue
Helicopter is designed for fun and easy flying. Even though the BladeRunner Extreme Indoor Rescue Helicopter is
easy to fly, the helpful tips in this pilot's manual will enhance your skill, so take time to read the following pages and learn about
your helicopter. Look for these symbols for extra help.
PILOT INFORMATION MANUALPILOT INFORMATION MANUAL
TM
PILOT INFORMATION MANUAL
PRE FLIGHT- SYSTEM PREPARATION
Basic Assembly:
1)Insert the antenna into the
transmitter and screw firmly into
place finger tight (as shown).
3) Replace the battery cover and
secure by tightening the screws.
FOR BEST PERFORMANCE
ONLY USE NEW ALKALINE
BATTERIES, DO NOT MIX
OLD AND NEW BATTERIES.
2) Install the battery with correct
polarity.
3) Replace the battery cover.
4) Mo
ve the throttle to the full ON
position and back to the transmitter
position to initialize the controller.
The power LED lights.
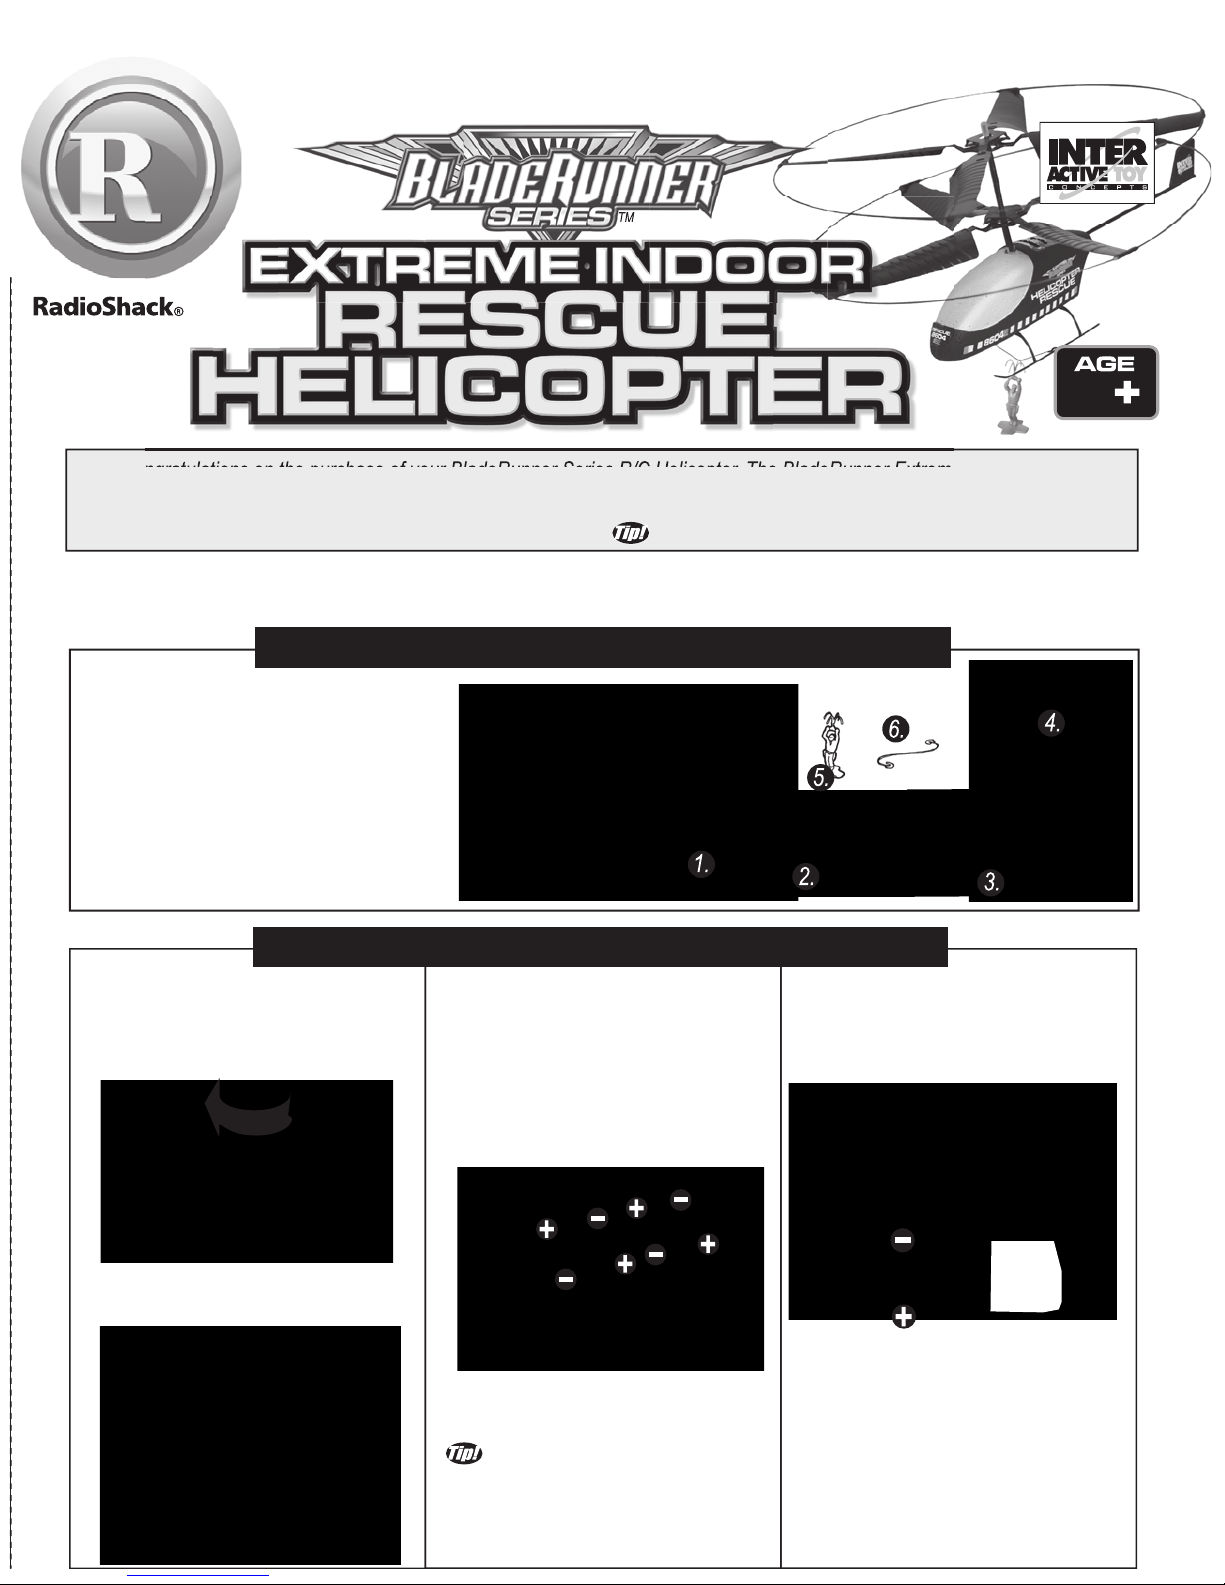
1. Rescue Helicopter.
2. Portable Charger.
3. Radio T ransmitter.
4. Radio Transmitter Antenna.
5. Rescue Figure.
6. Rescue Line.
Also required; (not included)
One 9V alkaline battery (transmitter).
Four C size alkaline batteries (charger).
PACKAGE CONTENTS:
The Helicopter Charger requires
four C size alkaline batteries to
charge the Helicopter.
Installation:
1) Open the charger battery cover
by removing the screws.
2) Be sure to install the batteries
in the correct orientation
(as shown).
The transmitter requires
one 9V alkaline battery.
Installation:
1) Open the battery cover.
TM
8
HOOK LINE
ON BOTH SIDES
2) If desired, install the rescue
line to the landing gear
(as shown).
PRE FLIGHT- SYSTEM PREPARATION -Continued
Charging your helicopter:
1) Ensure the helicopter's
on/off
switch is in the OFF position.
2) Plug the charger into the
helicopter (as shown).
3) Ensure charger is ON- charging
will start automatically.
4) Let the charger run its charge
cycle. When charge is finished
the green LED goes out.
Red LED is ON:
Power switch in "ON" position.
Green LED is OFF:
The helicopter is fully charged.
Red LED Dim:
The battery voltage is low.
Green LED is ON:
The helicopter is charging.
GET IN THE AIR FAST!!!
THE RESCUE HELICOPTER IS
PARTIALLY CHARGED SO YOU CAN
FLY IMMEDIATELY OUT OF THE BOX.
CHARGE TIME VARIES BASED
ON HELICOPTER AND CHARGER
BATTERY CONDITIONS. TYPICALLY
AFTER A 10 MINUTE FLIGHT THE
HELICOPTER WILL NEED A 30
MINUTE CHARGE.
YOU DO NOT NEED TO WAIT FOR
THE CHARGE TO BE COMPLETE TO FLY,
SHORTER CHARGE TIMES = SHORTER FLIGHT TIMES.
WARNING!: Interrupting the charge before the charge cycle is completed will not damage the battery, however for the
longest flight times please let the charger finish its charge cycle.
PILOT INFORMATION NOTICE!PILOT INFORMATION NOTICE!PILOT INFORMATION NOTICE!
The BladRunner is an indoor helicopter only. The technology that makes the helicopter
stable and easy to fly will prevent you from flying in winds!
GETTING TO KNOW THE BLADERUNNER HELICOPTER
Pre-Flight Checklist:
1) Extend transmitter antenna.
2) Turn on transmitter.
3) Turn helicopter on.
4) Set helicopter on a horizontal
flat surface for the best take off.
5) Push UP/DOWN completely to
UP, then back to DOWN to
initialize speed control.
6) Gently increase the UP/DOWN
throttle to ensure that the rotors
start spinning.Now that you know
your helicopter is functioning as
it should-
RELAX! -DO NOT TAKE OFF!
Be sure to read the next
section on "FIRST FLIGHTTRIMMING YOUR
HELICOPTER"
before your first flight!
Basic Functions:
On / Off Switch - turns the
transmitter
on and off.
LED - turns on when the transmitter is on.
Antenna - Fully extend to ensure the
greatest control range.
ON/OFF
ANTENNA
UP/DOWN
LEFT/
RIGHT
FIRST FLIGHT-TRIMMING YOUR HELICOPTER
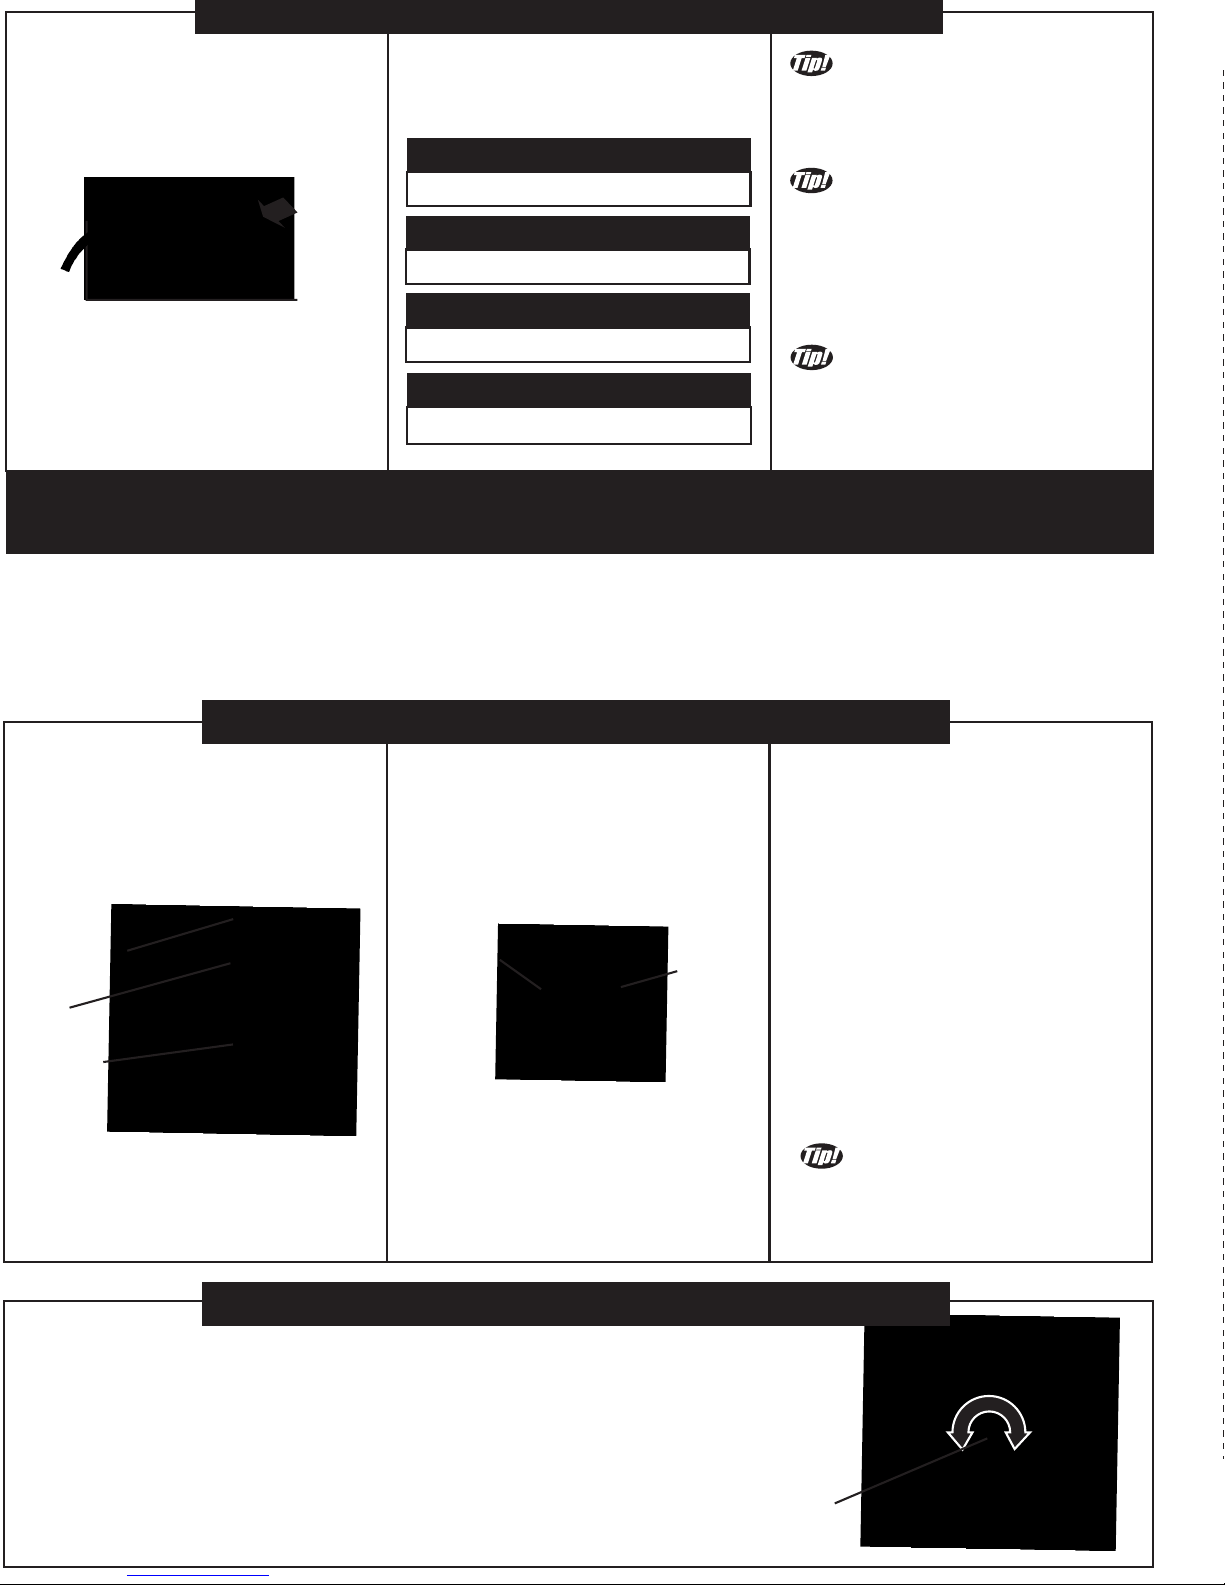
TRIM CONTROL KNOB
LED
Your helicopter must be "trimmed" to stop unwanted rotation. First, using the "UP"
control stick, simply raise the helicopter to eye level and turn the trim control knob
(as shown) on the transmitter unit either left or right till the helicopter stops spinning.
This should be done everytime you fly your helicopter after charging.
Trim setting will vary as the helicopter battery drains.
Re-adjust trim during flight as required.
Transmitter Function:
LEFT/RIGHT - controls left/right
steering direction of the helicopter.
Move the Stick Left -helicopter turns
to the left.
Move the Stick Right -helicopter
turns to the right
UP/DOWN - controls the rotor
speed and vertical movement of
the helicopter. The further you
push UP, the higher the helicopter
will fly.
The transmitter is a digital
proportional radio, therefore small
movements in the control stick
produce
precise control.
Color LED showing battery
power and charging status
 Loading...