

Page 1
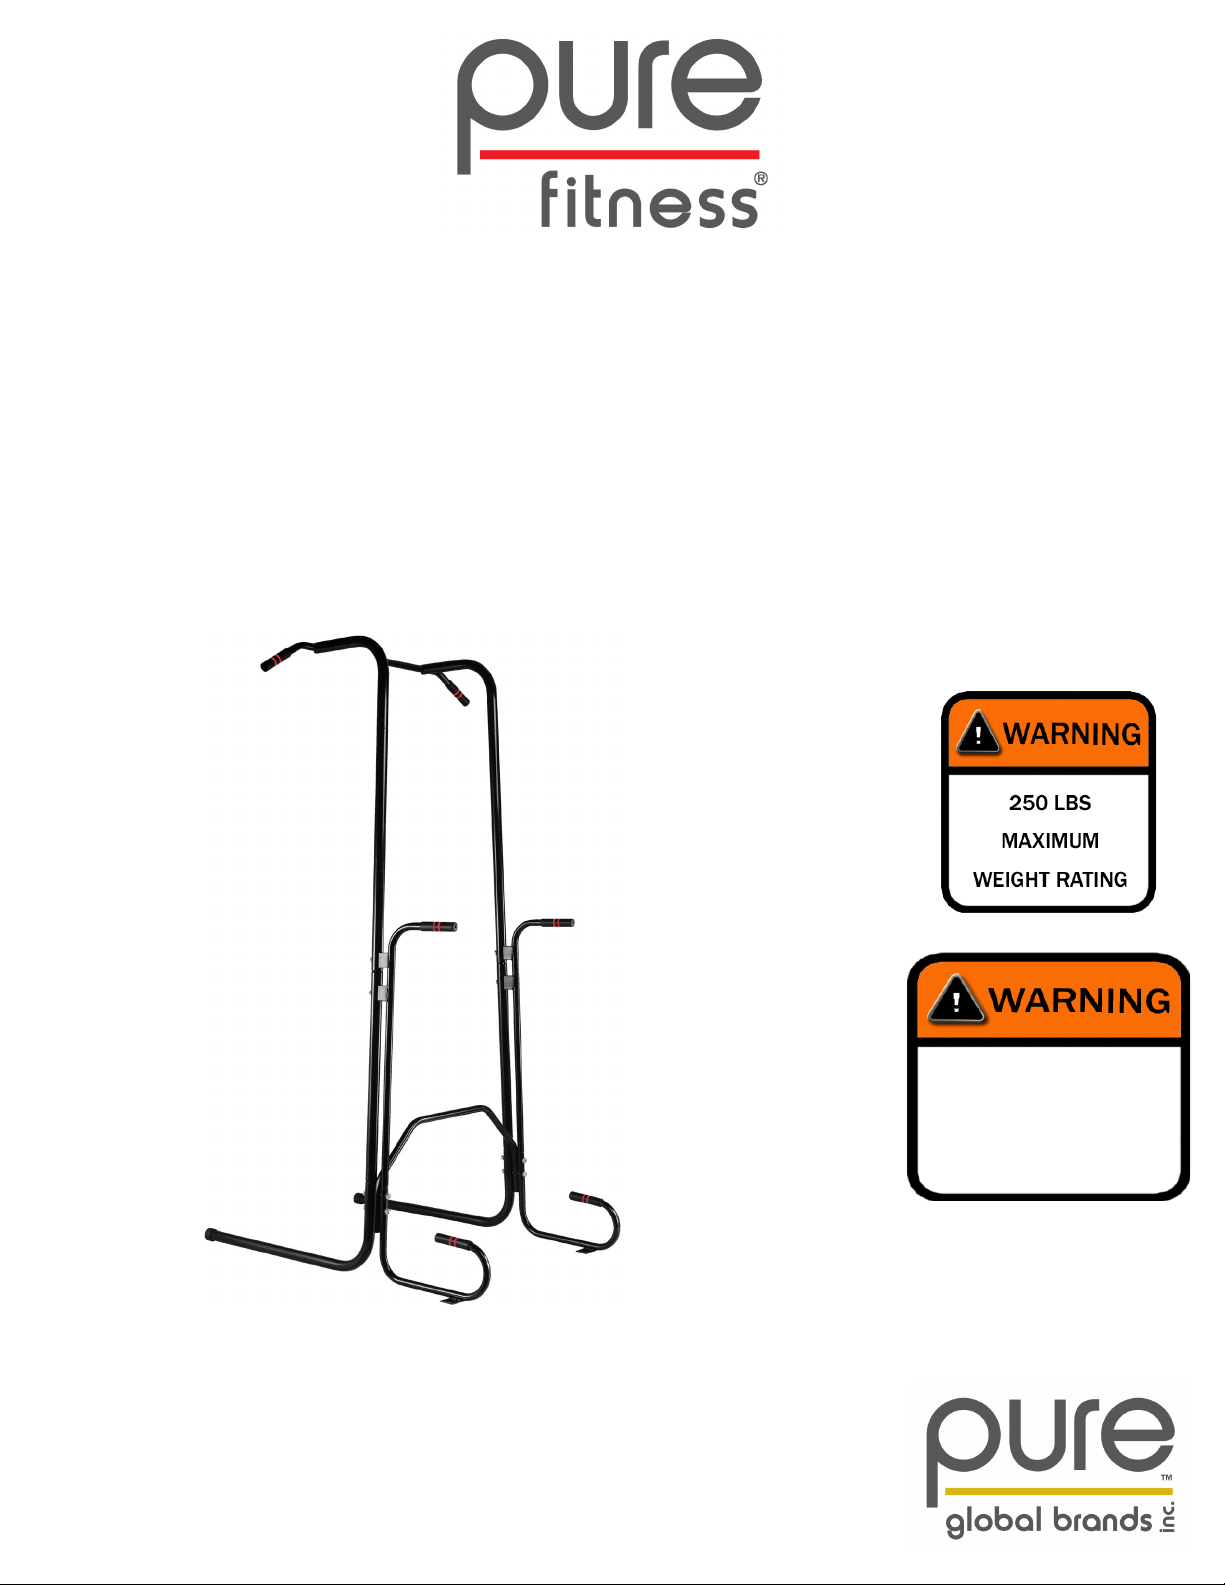
Pure Fitness Power Tower
Model No. 8532PT
Owner’s Manual
Please read all the instructions before using this product.
Consult a physician before beginning any exercise program or strenuous activity.
Do not allow more than one person on this product at any time.
ADULT ASSEMBLY REQUIRED.
For special offers and to ensure warranty protection, register your product at:
www.pureglobalbrands.com
This contents of this package
are not suitable for children
under 3 years of age.
Contains small parts which
may cause choking.
Pure Fitness is a Trademark of
Pure Global Brands, Inc.
Page 2

OWNERS MANUAL
CUSTOMER SERVICE INFORMATION
Thank you for purchasing our Pure Fitness Power Tower
At Pure Global Brands, we want all of our customers to be completely satised with their purchase.
Please take time to review the contents of the product you have just received to make sure that all
of the parts are included. If you nd that any parts are missing or damaged, we will happily provide
replacement parts at no charge within 30 days of purchase. Please keep in mind that for select damaged part replacement requests, we will require a photo for submission to our quality control ofce.
To order these parts, or if you have any other questions or concerns about this Pure Global product,
please e-mail the Pure Global Brands, Inc. customer service department at:
customerservice@puregbi.com or contact us at 1-866-498-5269. You can also visit our web site at:
www.pureglobalbrands.com
If you request replacement parts, please be sure to include the following information in your
correspondence:
YOUR NAME
YOUR SHIPPING ADDRESS
YOUR EMAIL ADDRESS
RETAILER WHERE YOU PURCHASED PRODUCT
DATE OF PURCHASE
ORDER # (IF AVAILABLE)
PRODUCT MODEL #: 8532PT
SERIAL #
PRODUCT NAME: Power Tower
PART # (located in this manual)
QUANTITY NEEDED
PICTURE OF DAMAGED PART(s) – SUBMIT VIA E-mail , Fax, or Mail
Again, thank you for purchasing a Pure Global Brands product.
Sincerely,
Customer Service
Pure Global Brands, Inc.
Phone: 1-866-498-5269
Email: customerservice@puregbi.com
8040 Belvedere Road
West Palm Beach, FL 33411
Page 3

LIMITED WARRANTY
Pure Global Brands, Inc. warrants this product to be free from defects in workmanship and materials
under normal use and conditions for the duration of the period outlined below FROM THE DATE OF
ORIGINAL PURCHASE. This Limited Warranty is not transferable and is available only for the original purchaser of the Product.
The various components of this equipment are warranted against defects and workmanship for the
following time period(s):
• Steel Frame 1-year.
• All Other Parts 90-Days
All warranty coverage extends only to the original retail purchaser from the date of purchase.
Pure Fitness’ obligation under this Warranty is limited to replacing or repairing, at Pure Fitness’
option, the product at one of its authorized service centers. All products for which a warranty claim is
made must be received by Pure Fitness at one of its authorized service centers and accompanied by
sufcient proof of purchase (photocopy of the original store receipt, indicating the date of
purchase). All freight and handling fees are the responsibility of the consumer to pay, both to and
from Pure Fitness. All warranty claims must be pre-authorized by Pure Fitness. Pre-authorization can
be obtained by calling 866-498-5269. This warranty does not extend to any product or damage to a
product caused by or attributable to freight damage, abuse, misuse, improper or abnormal usage, or
repairs not provided by a Pure Fitness authorized service center or for products used for commercial
or rental purposes. This warranty does not cover ordinary wear and tear, weathering, failure to follow
directions, improper installation, improper maintenance or acts of Nature (such as damage caused by
wind, lightning, snow, water or ice). Weather damage, damage caused by unauthorized repair work or
damage caused by improper use of the products are not covered by the product warranty. No other
Warranty beyond that specically set forth above is authorized by Pure Fitness.
PURE FITNESS IS NOT RESPONSIBLE OR LIABLE FOR INDIRECT, SPECIAL OR
CONSEQUENTIAL DAMAGES ARISING OUT OF OR IN CONNECTION WITH THE
USE OR PERFORMANCE OF THE PRODUCT OR OTHER DAMAGES WITH RESPECT
TO ANY ECONOMIC LOSS, LOSS OF PROPERTY, LOSS OF REVENUE OR PROFITS,
LOSS OF ENJOYMENT OR USE, COST OF REMOVAL, INSTALLATION OR OTHER
CONSEQUENTIAL DAMAGES. SOME STATES DO NOT ALLOW THE EXCLUSION OR
LIMITATION OF INCIDENTAL OR CONSEQUENTIAL DAMAGES. ACCORDINGLY, THE
ABOVE LIMITATION MAY NOT APPLY TO YOU. THE WARRANTY EXTENDED HEREUNDER IS IN LIEU OF ALL OTHER WARRANTIES AND Pure Fitness SPECIFICALLY
DISCLAIMS ANY IMPLIED WARRANTY OF MERCHANTABILITY OR FITNESS FOR A
PARTICULAR PURPOSE IS LIMITED IN ITS SCOPE AND DURATION TO THE TERMS
SET FORTH HEREIN. SOME STATES DO NOT ALLOW LIMITATION ON HOW LONG
AN IMPLIED WARRANTY LASTS. ACCORDINGLY, THE ABOVE LIMITATION MAY
NOT APPLY TO YOU.
This warranty gives you specic legal rights. You may also have other rights, which vary from state to
state.
Page 4

WARNING
CHOKING HAZARD – Small parts
NOT for children under 3 years.
Warning
While every attempt is made to ensure the highest degree of protection in all
equipment, we cannot guarantee freedom from injury. The user assumes all risks
of injury due to use. All merchandise is sold on this condition, which no
representative of the company can waive or change.
Page 5

WARNING
IMPORTANT – PLEASE READ!
WARNINGS – GENERAL SAFETY ADVICE
PRIOR TO ASSEMBLING:
Please visit: www.pureglobalbrands.com for any important product information updates
and/or additional safety warnings before assembling or using this product.
Use search word: 8532PT
• Please read these instructions in their entirety before use and retain for future reference.
• Ensure that this product has been assembled correctly per the instructions in the manual.
• This manual is designed to help you assemble, adjust, maintain and use the product. It contains important
information regarding your safety and your use of this equipment.
• ALWAYS consult your physician or other health care professional before starting any exercise regimen
to evaluate your present tness level and to determine an exercise program that is most appropriate for
your particular age, weight and condition.
• If you experience and pain or tightness in your chest, irregular heartbeats, shortness of breath, faintness,
or other unusual discomfort while exercising, stop and consult with your physician before continuing and/
or obtain medical assistance.
• Before each use of this product, carefully inspect your machine. Make sure that all nuts and bolts are
tight and secure, the foam grips are securely attached, and the metal tubing is not bent, warped or
otherwise damaged. Replace any worn, defective, or missing parts before resuming use.
• DO NOT allow children to use, climb on, or play near this product.
• Ensure that the product is on level ground.
• DO NOT exceed the recommended MAXIMUM WEIGHT LIMIT of 250LBS (113KGS).
• Rest adequately between workouts to allow your muscles to tone and develop.
• DO NOT wear loose tting clothing, belt buckles, or jewelry, including but not limited to rings, chains, and
pins before commencing exercise; this can be extremely dangerous.
• DO NOT stand, sit, or kneel on the machine.
• DO NOT climb on or use this machine in any manner not stated in this manual.
• ALWAYS test the machine for stability before beginning an exercise. Do not use the machine if you
experience any tipping or unsafe stability of this machine.
• ALWAYS wear the appropriate tness footwear. DO NOT use this machine barefooted or with socks only.
• For additional safety, it is recommended that you place a rubber non-slip tness mat underneath the
machine prior to use.
MAXIMUM WEIGHT CAPACITY
The maximum recommended weight capacity for your product is:
250lbs. (113KGS)
Page 6

8532PT EXPLODED VIEW
Part # Description Qty Part # Description Qty
1
Base Support Tube 2
2
Central Support Tube 2
3
Left Upright Support 1
4
Right Upright Support 1
5
Lat Bar 1
6
Handle Support 2
7
Right Base Tube 1
8
Left Base Tube 1
9
Cross Tube 1
10
Black Foam 1
11
#25 Round Inner Cap 6
12
#38 Round Outer Cap 2
13
Foam Grips 6
14
M10x55 Bolt 2
15
#10 Arc Washer 14
16
M10x58 Bolt 4
17
M10x105 Bolt 4
18
M10 Nut 4
19
Non-Slip Pad 2
Page 7

ASSEMBLY INSTRUCTIONS
STEP 1:
As the Bolts are not secured until completion, to prevent the sections from coming apart during assembly,
it is recommended that two adults perform this step. If a helper is unavailable, you may nd it easier to rst
connect the left side separately and then the right side in the steps outlined below.
A. Locate the 2x Base Support Tubes (1), and insert a Central Support Tube (2) into the openings on the top
above the “L” brackets.
B. Locate 4x M10x105 Bolts (17). Next, place 1x Arc Washers (15) on each of the 4 Bolts, making sure that
the curve of the washers will t the tubing on the Base Support Tubes once the bolts are inserted. Slide the
bolt and washer assemblies through the holes in the Base Support Tubes, but do not attach washers or nuts
yet.
C. Locate the Cross Tube (9) and slide this piece onto the open 4x M10x105 Bolt ends.
D. Locate the Curved Right Base Tube (7) and the Curved Left Base Tube (8). Insert 2x Handle
Supports (6) into the top of each of these pieces. Once these pieces are together, slide the assembled sections onto the 4x M10x105 Bolt ends.
E. Lastly, place 4x more Arc Washers on the Bolt ends so that the curve ts the curve of the Base Support
Tubes. Loosely secure each M10x105 Bolt with a M10 Nut. It is important that the Arc Washers properly
aligned and in their specied locations (at the Bolt base by the hexagonal head, and touching the M10 Nut at
the other end to achieve proper stability and strength during use.)
DO NOT FULLY TIGHTEN BOLTS/NUTS UNTIL STEP 3.
Page 8

ASSEMBLY INSTRUCTIONS (CONTINUED)
STEP 2:
A. Insert the Left Upright Support (3) into the Left
(when facing the unit) Central Support Tube.
B. Locate 2x M10x58 Bolts and slide an Arc Washer
on each of these Bolts. Again, make sure that the
curve on the Washer will match that of the tube.
C. Loosely secure these Bolts, but do not fully tighten.
Repeat the above steps for the Right Upright
Support (4).
DO NOT FULLY TIGHTEN BOLTS UNTIL
STEP 3
STEP 3:
A. Attach the Lat Bar (5) to the Left and Right Up-
right Supports as shown on the right.
B. Locate 2x M10x55 Bolts (14) and place an Arc
Washer (15) on each Bolt.
C. You may have to adjust the positioning of the Upright Support Tube(s) to get the Lat Bar to securely
t.
D. Once you have threaded the Bolts into the holes,
fully secure this attachment.
E. Locate the Bolts from Steps 1 and 2 and FULLY
TIGHTEN and SECURE these connections now.
IMPORTANT: ENSURE ALL BOLTS ARE
FULLY TIGHTENED BEFORE CONTINUING
Page 9

SAMPLE EXERCISES
Vertical Knee Raise:
Lift yourself up with your arms as shown in the diagram
on the left. Keeping your back straight, use your stomach and leg muscles to raise your legs to your chest.
Variations include alternately raising each leg one at a
time or slightly twisting your torso as you raise your legs
to your chest.
Sit-Ups:
Sit on the ground with your legs bent over the Cross
Tube. Place your hands behind your head, or hold
crossed over your chest. Raise and lower your torso us-
ing your stomach muscles. Variations include
twisting your torso slightly (Crunches) as you raise and
lower your body.
Dips:
Lift yourself up with your arms as shown in the diagram
on the left. Keeping your back straight, and your knees
slightly bent, raise and lower your body using your arm
and chest muscles. Variations include a only lowering
yourself halfway down but performing quicker reps.
Push-Ups:
Gripping the curved Support Bars by the foam grips,
extend your body upwards as shown in the diagram on
the right. Slowly lower and raise your torso, keeping
your back and knees straight. Variations include starting
from a kneeling position for a lower impact workout.
Lat Pull-Ups:
Hang from the Lat Bar with your knees slightly bent as
shown in the diagram on the left. Using your arm, chest,
and back muscles, slowly raise your entire body up until
your head is above the Lat Bar, and slowly return to the
original position. To target different muscle groups, use
the alternate grips on the Lat Bar, but always make sure
your hands are evenly spaced.
Page 10

WARM UP EXERCISES
A successful exercise program consists of a warm-up, aerobic exercise, and a cool-
Inner Thigh Stretch
Hamstring Stretch
Head Roll
Shoulder Lift
WARM UP/COOL DOWN EXERCISES
down. Do the entire program at least two and preferably three times a week, resting for
a day between workouts. After several months, you can increase your workouts to four
or five times per week.
Warming up is an important part of your workout, and should begin every session. It
prepares your body for more strenuous exercise by heating up and stretching out your
muscles, increasing your circulation and pulse rate, and delivering more oxygen to your
muscles. At the end of your workout, repeat these exercises to reduce sore muscle
problems. We suggest the following warm-up and cool-down exercises:
Sit with the soles of your feet together
with your knees pointing outward. Pull
your feet as close into your groin as
possible. Gently push your knees towards
the floor. Hold for 15 counts.
Sit with your right leg extended. Rest the
sole of your left foot against your right
inner thigh. Stretch toward your toe as far
as possible. Hold for 15 counts. Relax and
then repeat with left leg extended.
Rotate your head to the right for one
count, feeling the stretch up the left side
of your neck. Next, rotate your head back
for one count, stretching your chin to the
ceiling and letting your mouth open.
Rotate your head to the left for one count,
and finally, drop your head to your chest
for one count.
Lift your right shoulder up toward your ear
for one count. Then lift your left shoulder
up for one count as you lower your right
shoulder.
Page 11

WARM UP EXERCISES CONTINUED
Calf-Achilles Stretch
Toe Touch
Side Stretch
WARM UP/COOL DOWN EXERCISES
Lean against a wall with your left leg in
front of the right and your arms forward.
Keep your right leg straight and the left
foot on the floor; then bend the left leg
and lean forward by moving your hips
toward the wall. Hold, then repeat on the
other side for 15 counts
Slowly bend forward from your waist,
letting your back and shoulders relax as
you stretch toward your toes. Reach down
as far as you can and hold for 15 counts.
Open your arms to the side and continue
lifting them until they are over your head.
Reach your right arm as far upward toward
the ceiling as you can for one count. Feel
the stretch up your right side. Repeat this
action with your left arm.
Page 12

FREQUENTLY ASKED QUESTIONS
Question: “Is there any maintenance I need to do for my Power Tower?”
Answer: YOU SHOULD ALWAYS DOUBLE CHECK TO MAKE SURE ALL YOUR BOLTS ARE
TIGHT AND SECURE, AND THAT THE METAL TUBING IS NOT DISTORTED OR BENT.
Question: “My Power Tower seems unstable/wobbly, what should I do?”
Answer: IT IS IMPORTANT THAT THE POWER TOWER BE STABLE. ENSURE THAT THE
GROUND UNDER THE POWER TOWER IS STURDY AND LEVEL, THAT THE BOLTS AND NUTS
ARE FULLY SECURE, THAT THE ARC WASHERS ARE CORRECTLY INSTALLED AND YOU ARE
NOT OVER THE MAXIMUM WEIGHT LIMIT.
IF YOU ARE CONCERNED ABOUT THE STABILITY OF THIS UNIT, CONTACT CUSTOMER
SERVICE BEFORE CONTINUING OR RESUMING USE.
Question: “Something was missing from the packaging,” “I need to purchase a replacement part” or “I
discovered a damaged piece. What should I do?”
Answer: CONTACT PURE FITNESS CUSTOMER SERVICE AT: customerservice@puregbi.com or
by calling 866-498-5269. YOU MUST HAVE YOUR PROOF OF PURCHASE AND/OR ORDER CONFIRMATION AVAILABLE TO BE CONSIDERED FOR WARRANTY REPLACEMENT. YOU MUST
REPORT MISSING PIECES WITHIN 30 DAYS FROM DATE OF PURCHASE. PLEASE BE AWARE
THAT UNDER OUR LIMITED WARRANTY, FOR SOME PARTS WE REQUIRE A PICTURE OF THE
DAMAGED ITEM AND/OR RETURN OF THE ITEM TO OUR QUALITY CONTROL OFFICE FOR REVIEW.
Customer Service
1-866-498-5269
customerservice@puregbi.com
Pure Global Brands
8040 Belvedere Road
West Palm Beach, FL 33411
 Loading...