

Page 1

7” Portable DVD Player Extra Screen
PDM-2737
User Manual
20060109
1
Page 2
p
panying
Important Safety
Important Safety
Instructions
Instructions
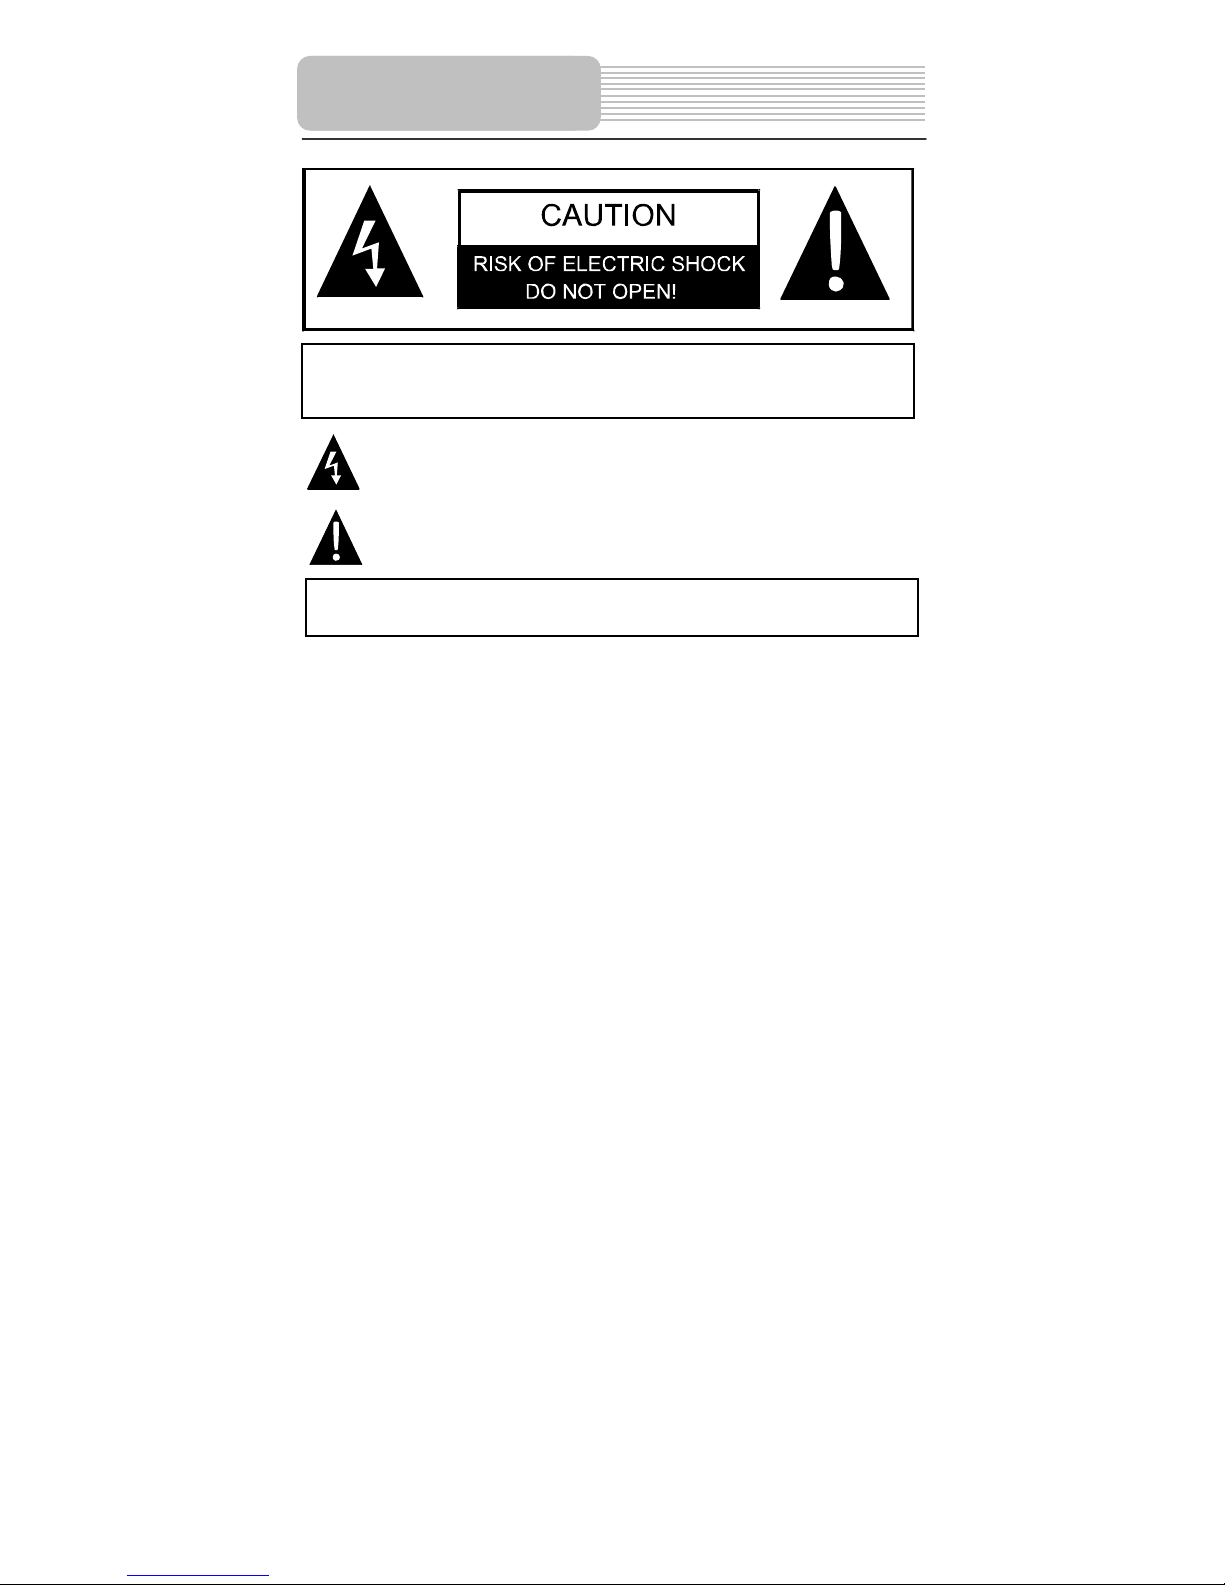
CAUTION: TO REDUCE THE RISK OF ELECTRIC SHOCK, DO NOT
REMOVE COVER (OR BACK). NO USE-SERVICEABLE PARTS
INSIDE. REFER SERVICING TO QUALIFIED SERVICE PERSONNEL.
POWER SUPPLY:
Connect the supplied adapter to the side of the DVD player in the slot marked “Power In”.
Plug the two-prong end of the power cord to an AC100-120V outlet. If you have difficulty
inserting the plug, turn it over and reinsert it, if the unit will not the used for a long time,
disconnect the plug from the outlet.
NOTE:
Before plugging the power cord into an AC outlet, make sure that all the connections
have been made.
The lightning flash with arrowhead symbol, within an equilateral triangle, is
intended to alert the user to the presence of uninsulated “dangerous
voltage” within the product’s enclosure that may be of sufficient magnitude
to constitute a risk of electric to
The exclamation point within an equilateral triangle is intended to alert the
user to the presence of important operating and maintenance (servicing)
instructions in the literature accom
ersons.
the appliance.
WARNING: TO REDUCE THE RISK OF FIRE OR ELECTRIC SHOCK,
DO NOT EXPOSE THIS APPLIANCE TO RAIN OF MOISTURE.
CAUTION: These servicing instructions are for use by qualified service personnel only.
To reduce the risk of electric shock, do not perform any servicing other than that
contained in the operating instructions unless you are qualified to do so.
Refer to service manual for servicing instructions.
2
Page 3

1) Read these instructions.
2) Keep these instructions.
3) Heed all warnings.
4) Follow all instructions.
5) Do not use near water.
6) Clean only with dry cloth.
7)
Do not block any ventilation openings. Maintain well ventilated conditions around the
product, Do not put product on bed, sofa or anything that blocks ventilation. Install
in accordance with the manufacturer’s instructions.
8) Do not install near any heat sources such as radiators, heat registers, stoves, or
other apparatus (including amplifiers) that produce heat.
9) Do not defeat the safety purpose of the polarized or grounding-type plug. A polarized
plug has two blades with one wider than the other. A grounding type plug has two
blades and a third grounding prong. The wide blade or the third prong is provided for
your safety. If the provided plug does not fit into your outlet, consult an electrician for
replacement of the obsolete outlet.
10) Protect the power cord from being walked on or pinched particularly at plugs,
convenience receptacles, and the point where they exit from the apparatus.
11) Only use attachments/accessories specified by the manufacturer.
12) Use only with the cart, stand, tripod, bracket, or table specified by
the manufacturer, or sold with the apparatus. When a cart is used,
use caution when moving the cart/apparatus combination to avoid
injury from tip-over.
13) Unplug this apparatus during lightning storms or when unused for long period s of
time.
14) Refer all servicing to qualified service personnel. Servicing is required when the
apparatus has been damaged in any way, such as power-supply cord or plug is
damaged, liquid has been spilled or objects have fallen into the apparatus, the
apparatus has been exposed to rain or moisture, does not operate normally, or has
been dropped.
15) Apparatus shall not be exposed to dripping or splashing and no objects filled with
liquids, such as vases, shall be placed on the apparatus.
Note: Do not touch the color TFT LCD screen by hand directly.
Important Safety
Instructions
3
Page 4

Contents
Important Safety Instructions
View of Front Panel
View of Side Panel
System Connection
Power Supply Preparation
Rechargeable Battery
Troubleshooting
Specifications
………………...…………………………………….2
…………………………………...………………….5
……...……………………………………………….6
……...……………………………………………….7
……………………………………………………….8
…………………………………………………….….9
……………………………………...………………10
……………………………………………..……….11
4
Page 5

View of Front Panel
1. POWER button
Press to access to or exit from the standby mode.
2. -/+ button
Press to adjust the value of brightness and color.
3. MODE button
Press to change the brightness and color level, press and hold for 1-2 seconds to
change the aspect ratio.
4. Speaker
5. Power Indicator
In normal playback status, it doesn’t indicate and it turns red in standby mode.
6. LCD Screen
5
Page 6

View of Side Panel
1. Volume Control
Used to adjust the volume of the headphone and speaker.
2. Headphone Jack
Used to connect headphones for private listening. When the headphones are
connected to this jack, the speaker will be turned off automatically.
3. Audio Input Jack
Used for audio input.
4. Video Input Jack
Use for video input.
5. DC 9.5V Output Jack
Used for output power to the master DVD player.
6. DC 9.5V Input Jack
Used to connect the power adapter, including the car adapter.
6
Page 7

System Connections
Connect to Master DVD player
1. Make sure that the master DVD player, slave LCD screen and any other electrical
equipment are off before connection.
2. Connect the AC adapter to the slave LCD screen and connect the slave LCD
screen with the master DVD player using power supply cord to supply power to the
master DVD player.
3. Use audio and video cables to connect the slave LCD screen with the master DVD
player so that the master DVD player can input audio and video to the slave LCD
screen.
Please see the figure below for details.
Note: The AC adapter must connect to the slave LCD screen, or the slave screen will
have no power supply.
Connecting to Headphones
Connect the headphones to the right side of the player for private listening.
When headphone is connected, the speakers will automatically turn off.
7
Page 8

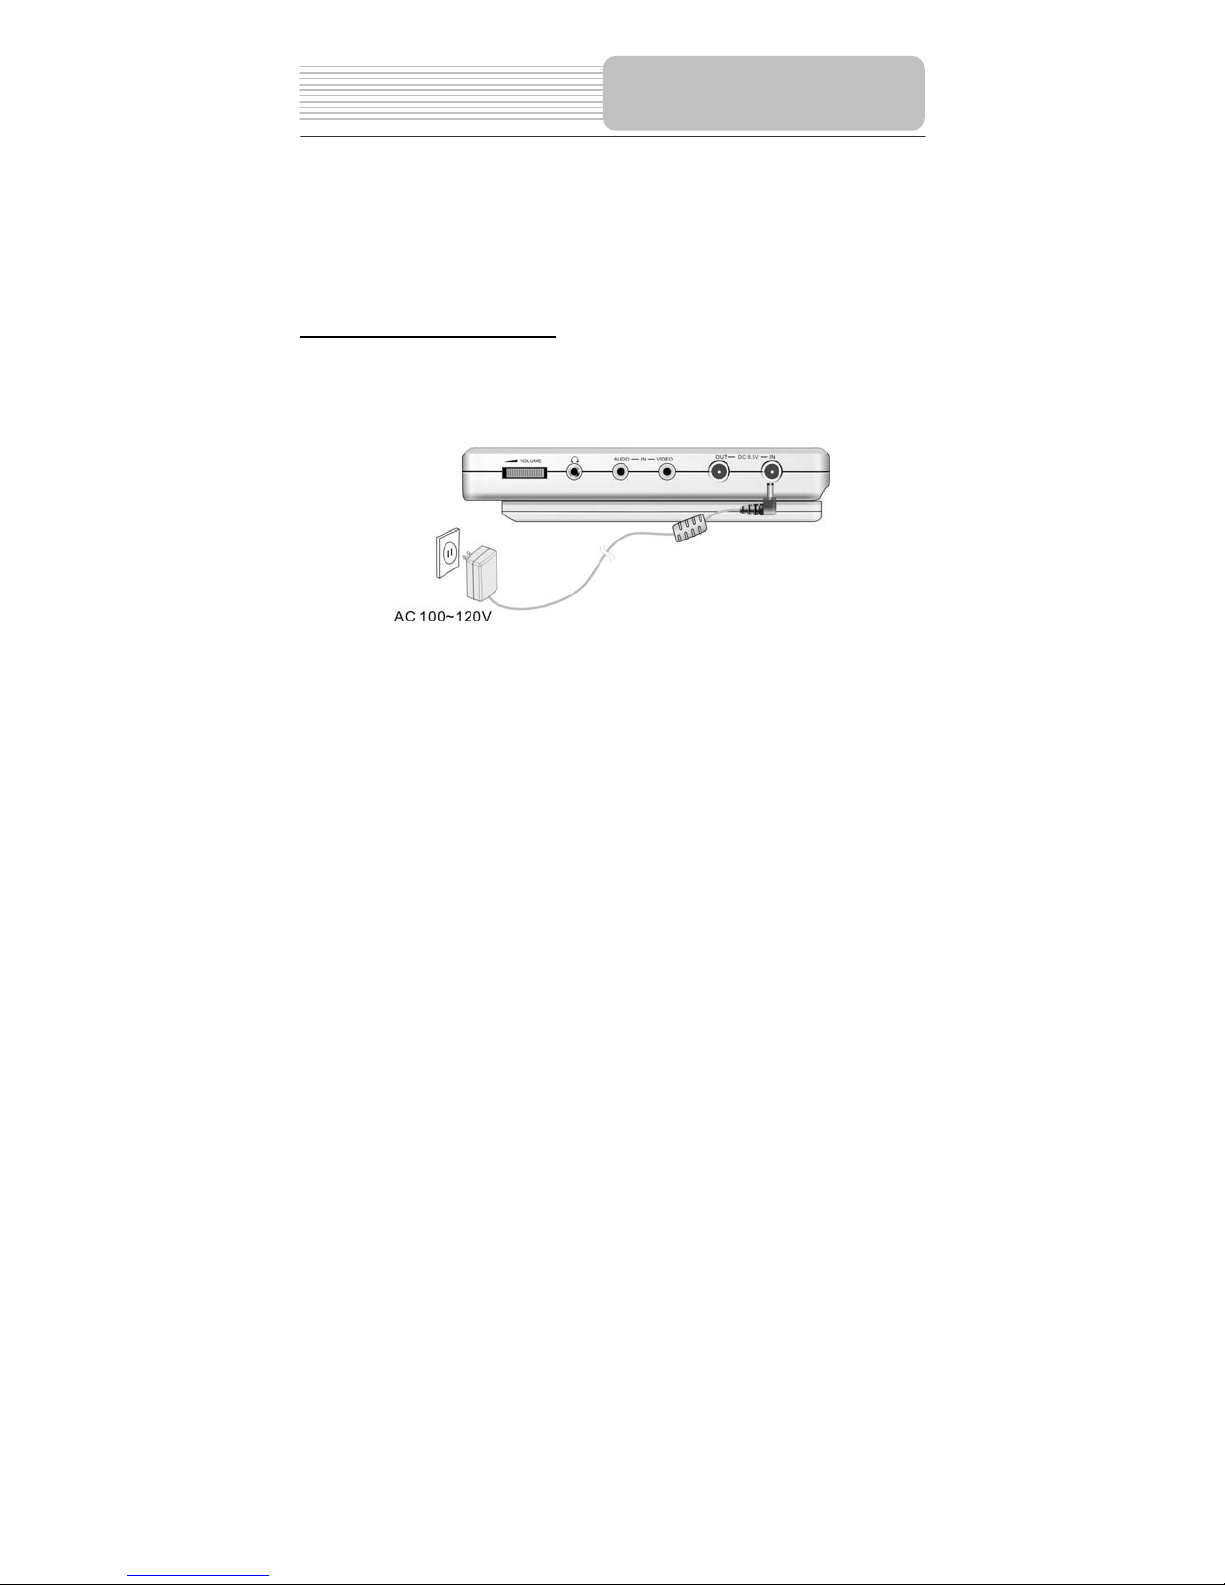
Power Supply Preparation
Using the AC Adapter
1. Connect AC adapter to the jack marked DC 9.5V IN on the right side of the slave
LCD screen in, as shown below.
2. Plug the two-prong end of the power cord into a grounded electrical outlet.
Note: Turn player's power off before unplugging.
Using of Car Adapter
Connect the Car Adapter Power Plug to the slave LCD screen’s power jack and plug the
other end to the vehicle’s cigarette socket as the figure shows below.
Attention
¾
Do not operate the unit or view video software while driving a vehicle.
¾
Place the unit in a proper position for viewing.
¾
Disconnect the player from the Car Adapter when starting the vehicle.
8
Page 9
The extra screen can also be used to charge the rechargeable battery.
Charge the battery fully before initial use. Charging time is normally about 5 hours. If the
battery will not be used for a long period of time, charge the battery fully before storage.
The attaching, detaching and notice of the rechargeable battery are the same with those
of the portable DVD player.
Rechargeable Battery
Charging The Battery Pack
Plug the Power Adapter into the screen’s DC 9.5V IN Jack, which is located on the right
side of the screen, and then plug the other end into a household wall Power Outlet. See
the figure below.
Note: Only in standby mode, the extra screen can charge the rechargeable battery.
9
Page 10

Troubleshooting
SYMPTOM HOW TO CHECK
- Make sure system connection is correct.
There is no sound.
There is no picture.
Others possibilities:
Static or other external interference may cause the unit display abnormally. In order to recover
normal status, unplug the power-supply cord and then plug it in to reset the unit. If the
problems still exist, disconnect the power and consult your service center or a qualified
technician.
- Make sure the speakers are turned on.
- Make sure the audio source is correct.
- Make sure LCD screen is on and in c orrect v ideo m ode.
- Make sure your system connection is correct.
- Make sure the video source is correct.
10
Page 11

Specifications
TFT screen size 7 inches
Video System NTSC
Frequency Response 20Hz~20kHz ±2.5dB
Power AC 100~120V, 50Hz
Power Consumption <25W
Dimensions 230mm x 154mm x 22mm (L*W*D)
Weight 0.37kg
DESIGN AND SPECIFICA TIONS ARE SUBJECT T O CHANGE WITHOUT NOTICE
For service, support and warranty information, visit www.polaroid.com or in the US call
1-866-289-5168, in Canada call 1-866-301-7922 and in Mexico call 01-800-400-2443.
"Polaroid" and “Polaroid and Pixel” are trademarks of Polaroid Corporation, Waltham, MA, USA.
11
 Loading...