

Page 1
PITNEY BOWES
Scanning System
For Windows® 95, 98, NT 4.0
User’s Guide
Page 2

The following trademarks and registered trademarks are used throughout this manual:
Microsoft, MS-DOS, Windows and Windows NT are registered trademarks of Microsoft
Corporation in the USA and other countries.
i386, i486 and Pentium are trademarks of Intel Corporation.
True Type is a registered trademark of Apple Computer, Inc.
All other trademarks identified herein are the property of their respective owners.
Copyright 1996 - 1999 by Pitney Bowes, Inc.
All rights reserved. Unauthorized copying and distribution is a violation of law.
Printed in USA.
The contents of this User’s Guide are subject to change without notice.
Page 3

TABLE OF CONTENTS
PITNEY BOWES SCANNING SYSTEM.............................................................
1. INTRODUCTION..........................................................................................
1.1 Introduction........................................................................................
1.2 Using This manual..............................................................................
2. SYSTEM REQUIREMENTS........................................................................
2.1 Before You Begin...............................................................................
2.2 System Requirements..........................................................................
3. PITNEY BOWES SCANNING DRIVER INSTALLATION.......................
3.1 Installing the Twain Scanning Driver..................................................
3.2 Changing the Port Assignment............................................................
4. OPERATION OVERVIEW...........................................................................
5. REMOVING THE PITNEY BOWES SCANNING DRIVER......................
6. TROUBLESHOOTING.................................................................................
6.1 Error Messages...................................................................................
6.2 Precautions.........................................................................................
6.3 Restrictions.........................................................................................
APPENDIX..............................................................................................................
A. Pitney Bowes 1530, 2030, 2050 Facsimile...........................................
Page 4

3
1. Introduction
1.1 Introduction
Welcome to Pitney Bowes Scanning System, a Twain Scanner Driver for Microsoft® Windows
95, 98 and NT 4.0.
The Pitney Bowes Scanning System software enables the user to import, display and save images in
a file on his or her PC connected to a Pitney Bowes facsimile machine.
Pitney Bowes Scanning System contains two component, the:
• Pitney Bowes Twain Driver - This software passes image data acquired via facsimile
Scanning to TWAIN-compliant applications using the TWAIN interface, and
• Pitney Bowes Twain Reader - This software lets you display and save images acquired
through Pitney Bowes Twain Driver.
1.2 Using This Manual
This manual contains instructions on how to install the Windows dedicated Pitney Bowes Scanner
Driver software. Please install the software using these procedures.
This manual is divided into the following chapters:
Chapter 1 Introduction
Describes the features available through the Pitney Bowes Scanner Driver for
Windows.
®
Chapter 2 Before You Begin and System Requirements
Describes what is required before installing the Pitney Bowes Scanner Driver.
Chapter 3 Pitney Bowes Scanner Driver Installation
Provides step-by-step instructions for installing the Pitney Bowes Scanner Driver on
Windows 95, 98 and NT 4.0.
Chapter 4 Operations Overview
Describes how to print files or documents from within other Windows applications,
such as word-processing, spreadsheet or graphic programs.
Chapter 5 Pitney Bowes Scanner Driver Removal
Describes how to delete the Pitney Bowes Scanner Driver from the Windows Control
Panel.
Chapter 6 Troubleshooting
Describes the error messages and the required precautions that might be generated when
installing the printer driver.
Appendix - Provides additional information, not provided elsewhere, pertaining specifically to your
Pitney Bowes Facsimile model. The information includes conditions, restrictions, precautions and
the particular installation file for your unit. We recommend that you read this section as it contains
pertinent information to your Pitney Bowes Facsimile model. For updated information after this
User’s Guide was printed, please refer to the README.TXT file included in the Pitney Bowes
Scanning System floppy disk.
Page 5

Pitney Bowes Scanning System
4
2. System Requirements
2.1 Before You Begin
Microsoft Windows 95, 98 or NT 4.0 is required to use the Pitney Bowes Scanner Driver. If
Microsoft Windows is not installed on your computer, please do so before proceeding with the
installation.
You should also be familiar with Microsoft Windows basic terminology such as click, double-click,
choose, dialog box, window, open, close, scroll, minimize, group window, icon and select. If you
are not, please refer to the Microsoft Windows User’s Guide.
You should also verify that following items are installed on your Pitney Bowes facsimile unit:
• Parallel Port Interface
• Your Computer and the Pitney Bowes facsimile unit are connected through a IEEE-1284
printer cable
2.2 System Requirements
To use the Pitney Bowes Scanner Driver for Windows, your system must meet the following
minimum requirements:
• IBM® PC/AT or 100% compatible (Pentium™ or better)
• Microsoft Windows 95, 98 or Windows NT 4.0
• RAM: 16MB (32MB is recommended)
• Hard Disk: At least 5MB free space (1st drive)
• A 3.5” Floppy Disk Drive
• An available Parallel Printer Port
• A IEEE-1284 Parallel Interface Cable (provided)
3. Pitney Bowes Scanning Driver Installation
3.1 Installing the Twain Scanning Driver
The Pitney Bowes Scanning System includes a Setup Program.
To install the Pitney Bowes Scanning System software, please follow the steps below:
1. Start Microsoft Windows 95 or 98.
If you are installing on Windows NT 4.0, log onto the computer/network with an account that
can add or change printer configurations (i.e. Administrator).
2. Click the Start button, then click Run.
3. The Run dialog box appears, instructing you to
type a name of the installing program.
Insert Disk 1 of the Pitney Bowes Scanning
System into the diskette drive. In the dialog box,
type:
A:\SETUP
Where “A:” is your floppy disk drive.
Click the OK button.
4. If Setup can not identify the Windows language,
a Choose Setup Language dialog box appears.
(If Setup installer identifies the Windows
language, this dialog box does not appear.)
Choose the Setup Language.
Click the OK button.
Page 6

Pitney Bowes Scanning System
5
5. The Setup instructs you that it will install the
Pitney Bowes Scanning System on your
computer.
Click the Next > button.
6. The Setup indicates the default install
destination location for the Pitney Bowes
Scanning System.
(i.e. C:\Program Files\Pitney Bowes)
Click the Browse… button to change the
destination folder if necessary.
Click the Next > button.
7. The Program Folder Selection dialog box
appears, allowing you to change the destination
folder name.
Click the Next > button.
8. The Language Selection (represented by Flags)
screen may appear, instructing you to select the
desired language.
Click the Language Flag.
9a.
If you are installing on Windows 95 or 98
The Setup will prompt you to insert the
remaining installation disks. After the Setup
finishes installing the Pitney Bowes Scanning
System on your computer, it will prompt you to
complete the Setup.
Click the Finish button.
Page 7

Pitney Bowes Scanning System
6
9b.
If you are installing on Windows NT 4.0
The Setup will prompt you to insert the
remaining installation disks. After the Setup
finishes installing the Pitney Bowes Scanning
System on your computer, it will prompt you to
Restart your computer to complete the
installation, select Restart Now or Later.
Click the Finish button.
10. The Pitney Bowes Scanning System icon is
installed in the Start menu.
3.2. Changing the Port Assignment
The installation program selects LPT1 as the default printer port for the Pitney Bowes Twain
Scanning Driver. If your Pitney Bowes facsimile unit is connected to a different port, you will need
to re-configure the port assignment.
1. Click the Start button, point to Programs, Pitney Bowes, Pitney Bowes Scanning System
and then click on Port Selection Utility.
Note: The location of the program varies according to the destination folder selected during
the installation.
2. The Port Selection dialog box appears.
Select the port where you have the Pitney
Bowes facsimile unit connected. (i.e. LPT1
port)
Click the OK button.
Page 8

Pitney Bowes Scanning System
7
4. Operation Overview
To scan an image, proceed as follows:
1. Click the Start button, point to Programs, Pitney Bowes, Pitney Bowes Scanning System,
and then click on Pitney Bowes Twain Reader.
2. To launch the Pitney Bowes Twain Driver.
Click the Scan icon or Select
File|Aquire the Image… from the menu.
3. The Pitney Bowes Twain Driver window
appears.
Load the document to be scanned face down in
the feeder, select the desired image type,
resolution and paper size..
Click the Scan button.
4. When the scanning is completed, the scanned
image is processed and is displayed in the
Pitney Bowes Twain Reader. You can use the
image manipulation buttons to rotate, zoom
in/out or transfer the image to another
application.
To save a scanned an image, proceed as follows:
5. Click Floppy icon or Select File|Save File from
the menu.
Select the destination folder name for saving the
scanned image, name the file and select the file
format (BMP or TIFF).
Click the Save button.
Note: For a more detailed information, please refer to the Help program.
Page 9

Pitney Bowes Scanning System
8
5. Removing the Pitney Bowes Scanning Driver
This chapter describes how to remove the Pitney Bowes Scanning System.
1. Click the Start button, point to Programs, Pitney Bowes, Pitney Bowes Scanning System,
and then click Uninstall.
2. On the confirmation window, click Yes to
remove the Pitney Bowes Scanning System
from your computer.
.
Note: Please, do not remove by deleting the Pitney Bowes Scanning System folder using Windows
Explorer, this will not remove the Pitney Bowes Scanning System properly.
6. Troubleshooting
This chapter describes the error messages that might be generated during Pitney Bowes Scanning System
installation.
6.1 Error Messages
Cannot find the file ‘A:\Setup’
Cause: Specified an incorrect drive.
Solution: Specify the correct Floppy disk drive.
Cause: No disk in the Floppy disk drive.
Solution: Insert the Floppy into the disk drive and Retry.
6.2 Precautions
When you cannot scan or the unit does not scan, verify that:
1. The Pitney Bowes facsimile unit is connected and the power switch is turned “On”.
2. The Parallel Interface cable is connected properly.
3. The cable is not longer than 6 feet.
4. The document is set in the feeder of Pitney Bowes facsimile unit.
5. No error message is displayed on the Pitney Bowes facsimile. If, an error message is
displayed, correct the cause according to the Operator’s Guide supplied with the unit.
6.3 Restrictions
Note that the Pitney Bowes Twain Driver and Pitney Bowes Twain Reader are subject to the
following restrictions:
1. Two or more Pitney Bowes Twain Drivers cannot be run simultaneously. For detailed
information on Pitney Bowes Twain Driver, see Pitney Bowes Twain Driver Help.
2. Pitney Bowes Twain Reader does not have a paging feature. When multiple pages are read,
each file is displayed as one file resulting in multiple files. For detailed information on
Pitney Bowes Twain Reader, see Pitney Bowes Twain Reader Help.
3. See Appendix for additional information.
Page 10

Pitney Bowes Scanning System
9
Appendix
Note: Some models may not be available in certain countries.
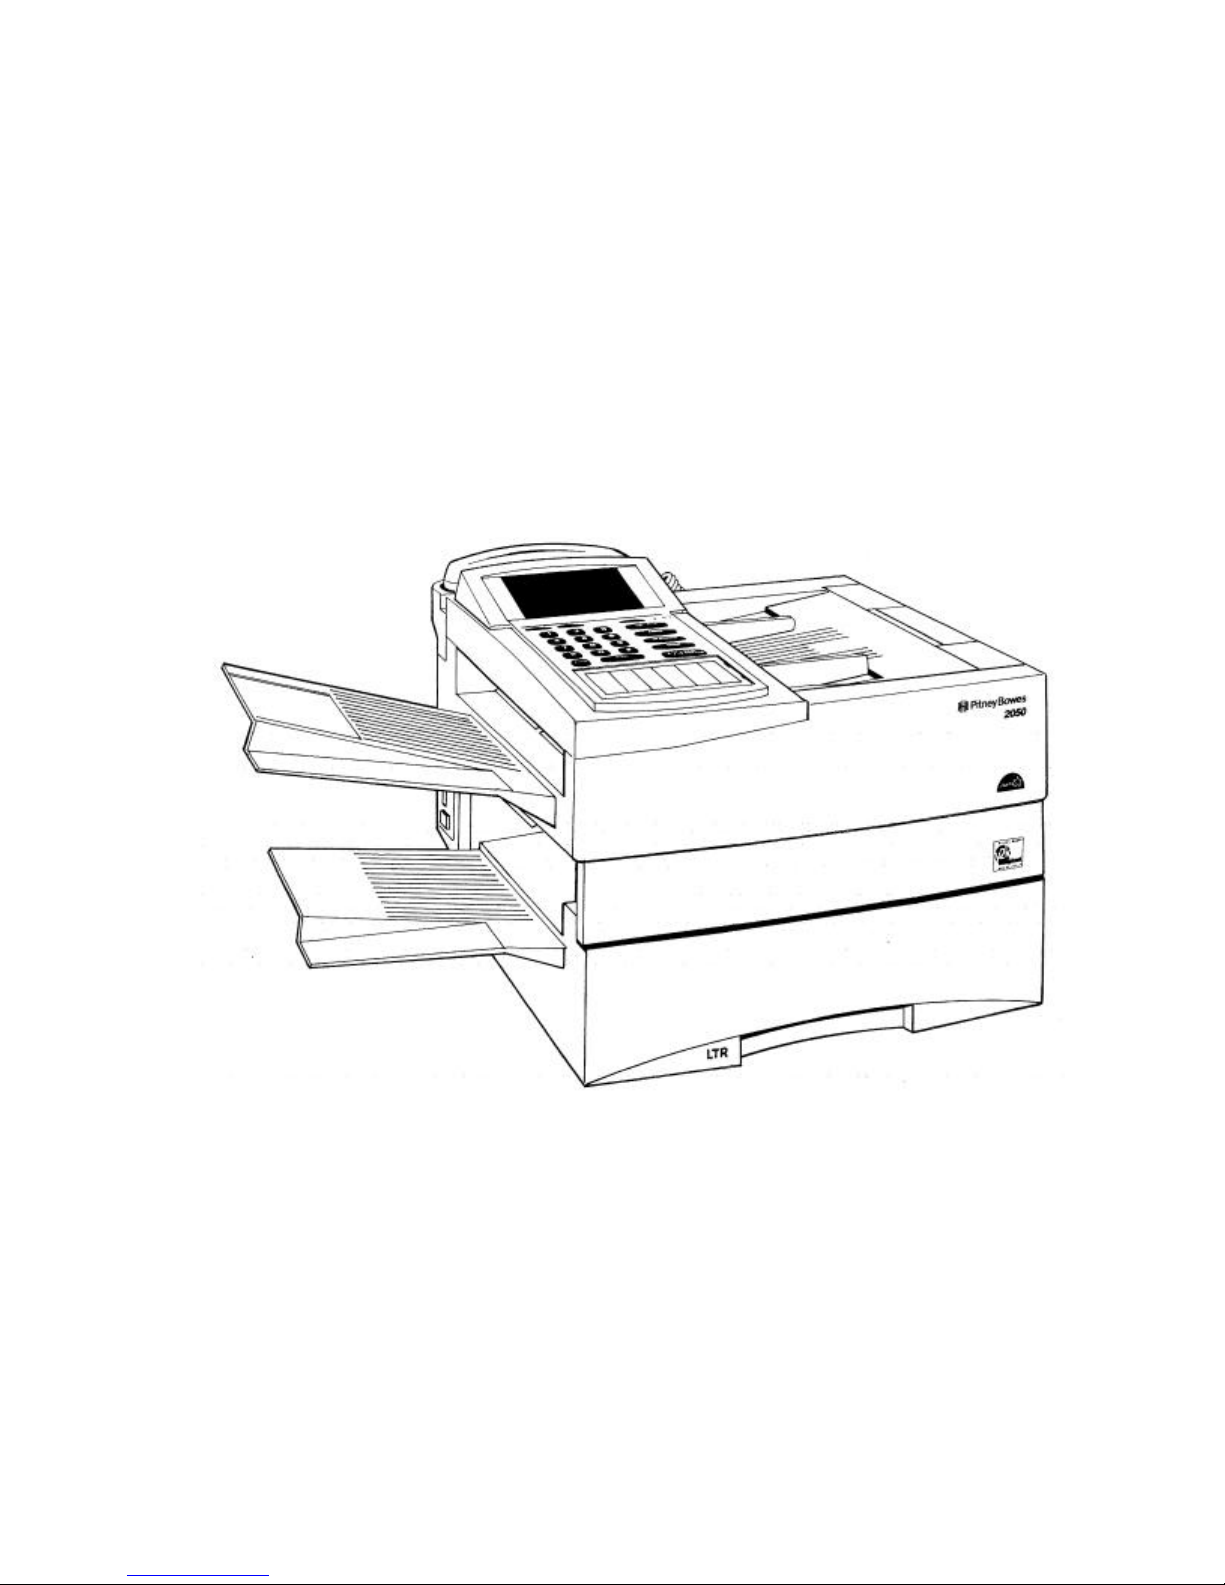
A. Pitney Bowes Facsimile
This appendix provides additional information and restrictions not found in the Facsimile’s
Operator’s Guide, pertaining specifically to your Pitney Bowes Facsimile model.
This section of the manual is divided into the following subjects:
• Specifications
• Restrictions
• Setting up the Facsimile unit with a Scanner Interface
Specifications:
Model Pitney Bowes Models
1530, 2030, 2050
Black & White
Image Type
Halftone (Error diffusion)
Halftone (4 x 4 dot dithering)
Halftone (8 x 8 dot dithering)
Halftone (4 x 4 Bayer dithering)
400 x 400 dpi
Resolution
Paper Size A4
Restrictions:
• Facsimile unit will not accept the scan job from the PC while copying or printing.
• The Pitney Bowes Scanning System and Pitney Bowes Printing System cannot be used
simultaneously.
Setting up your Facsimile unit as a Scanner:
• PC Options selection must be set to “GDI/Bidirectional.”
300 x 300 dpi
200 x 200 dpi
150 x 150 dpi
100 x 100 dpi
75 x 75 dpi
50 x 50 dpi
Letter
Legal
 Loading...