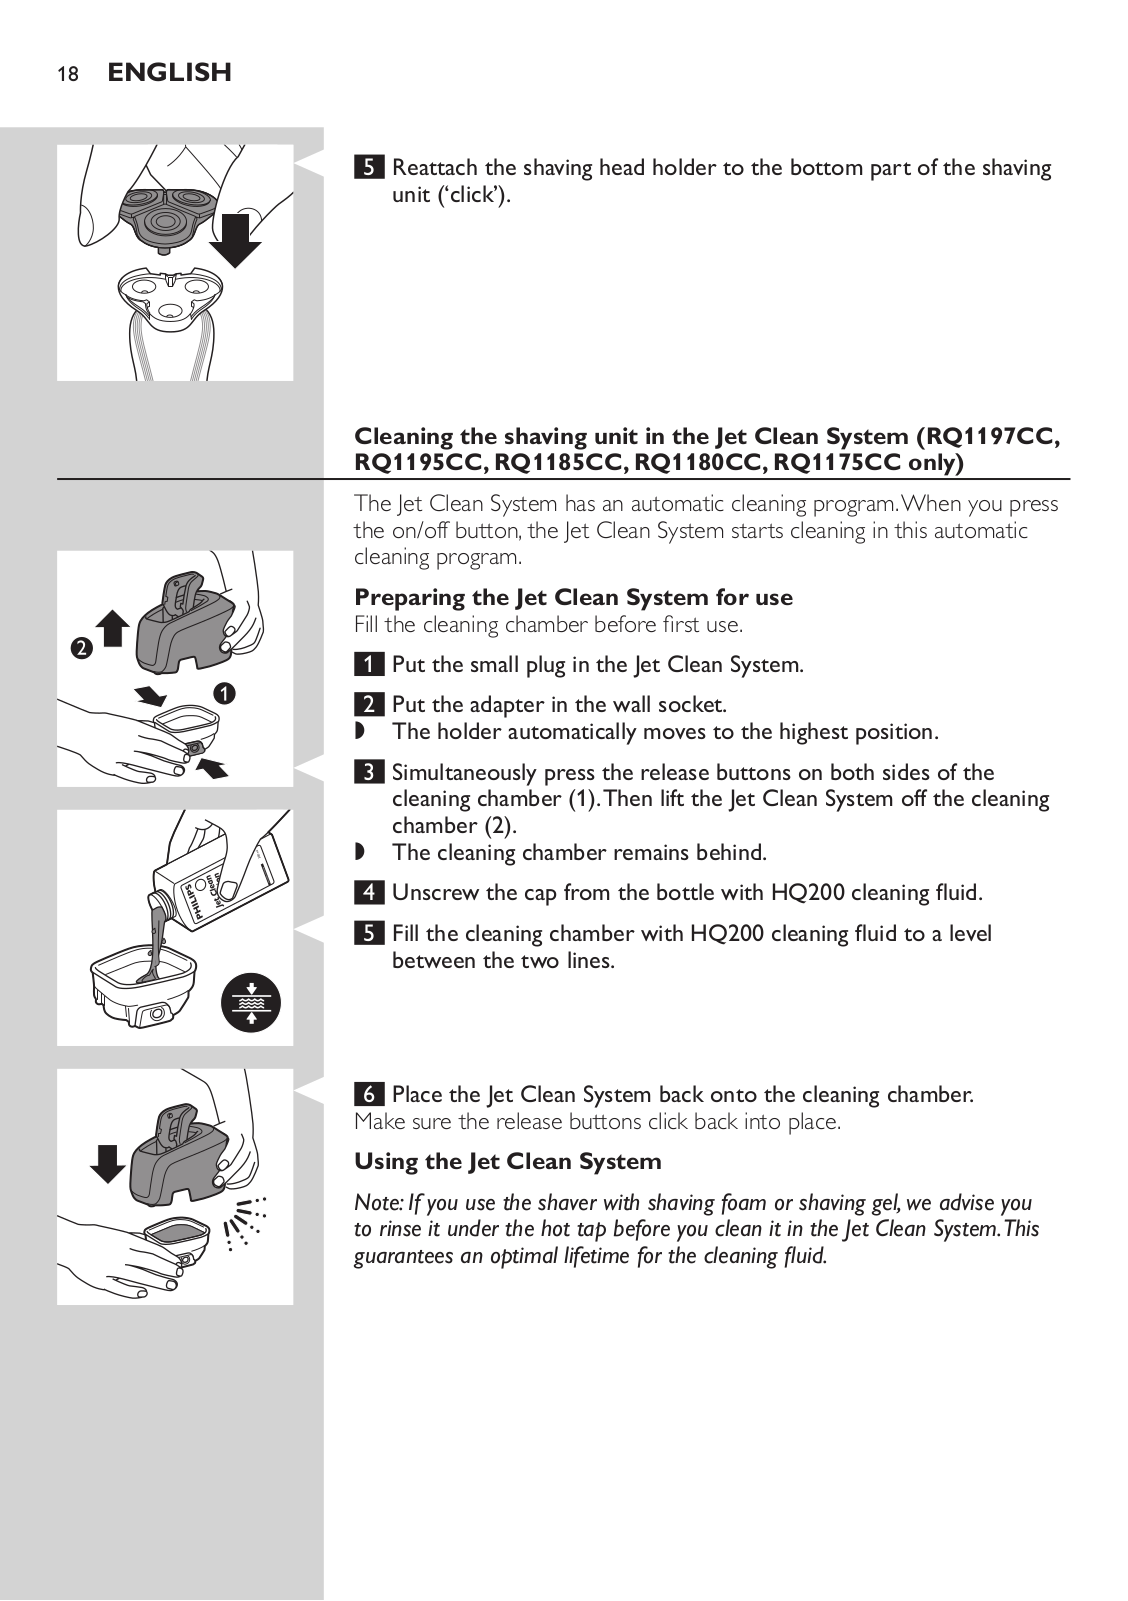
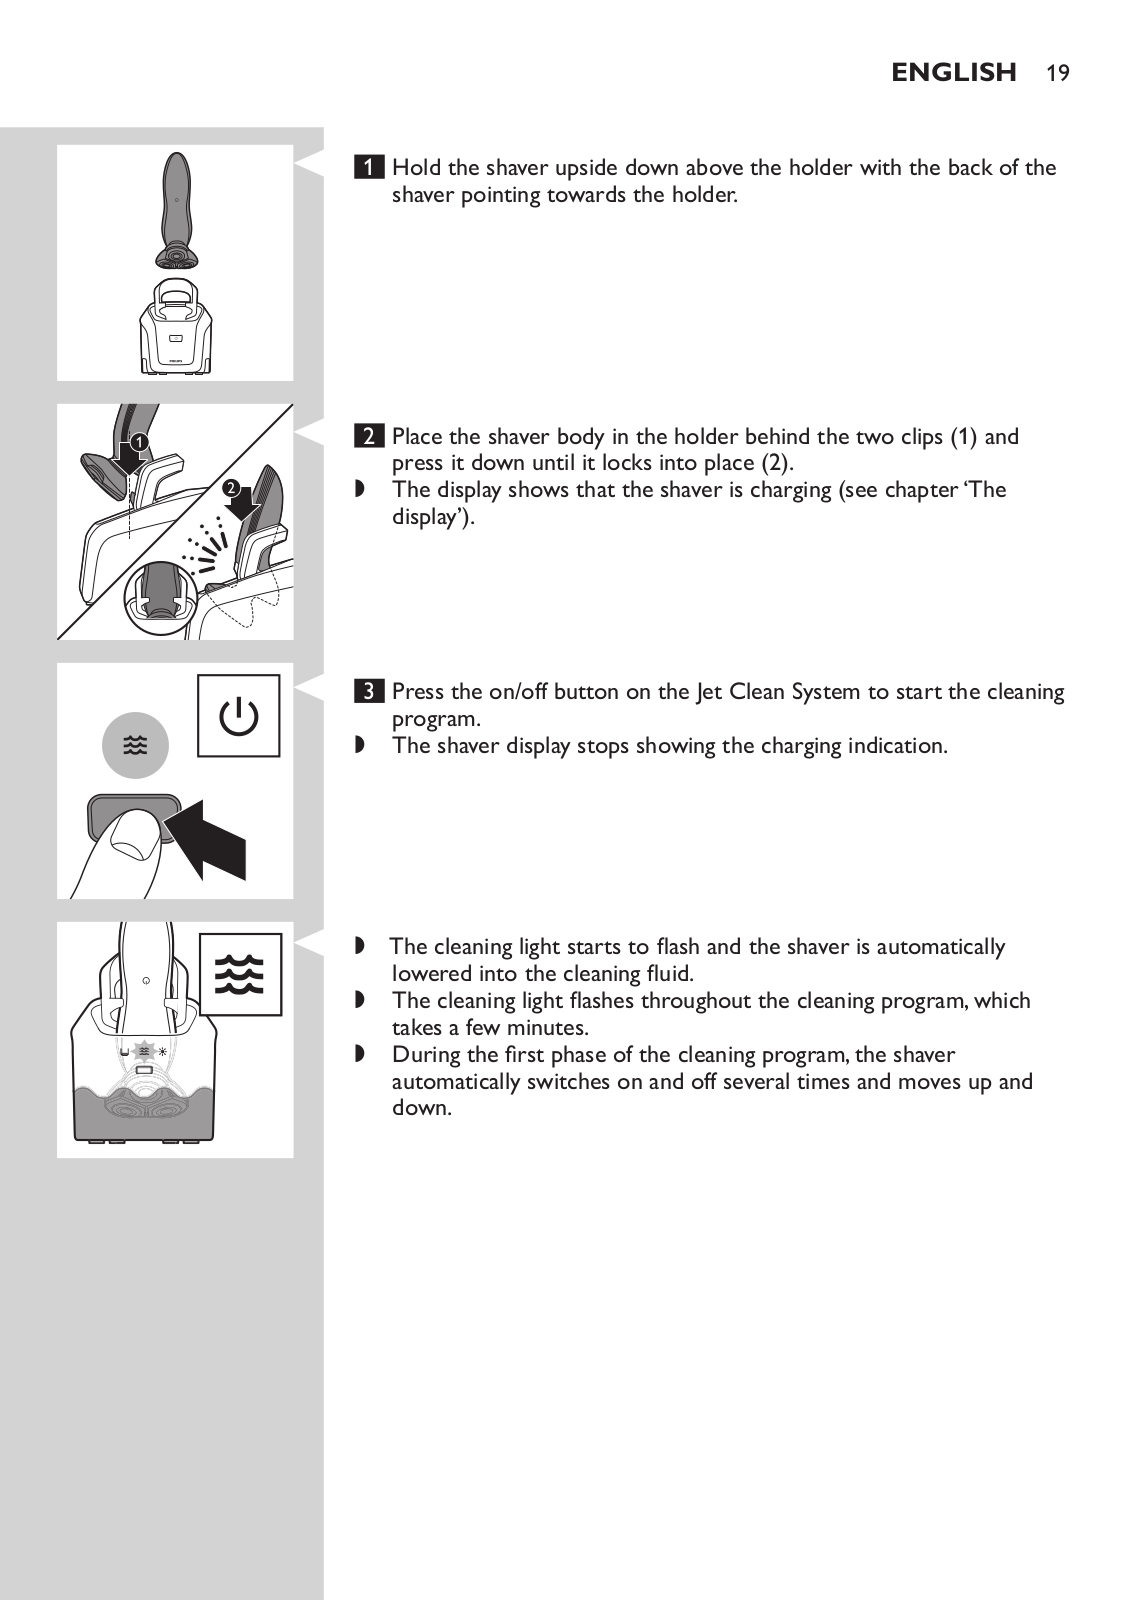
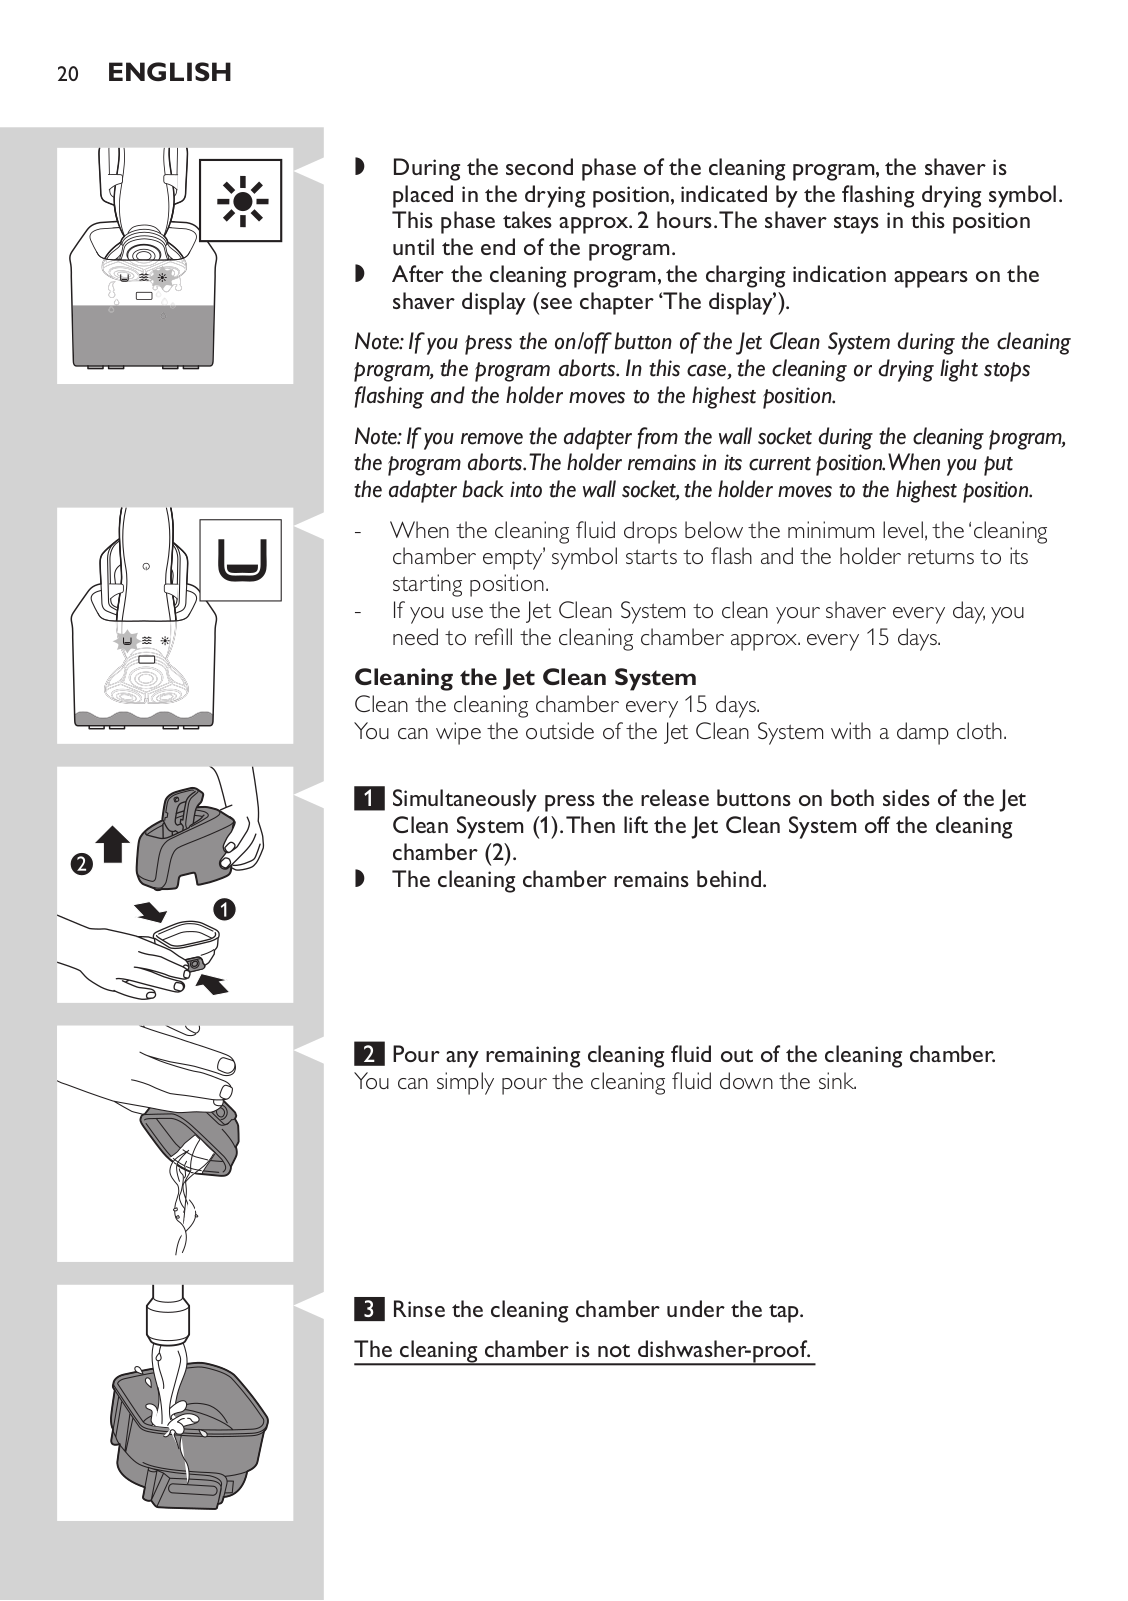
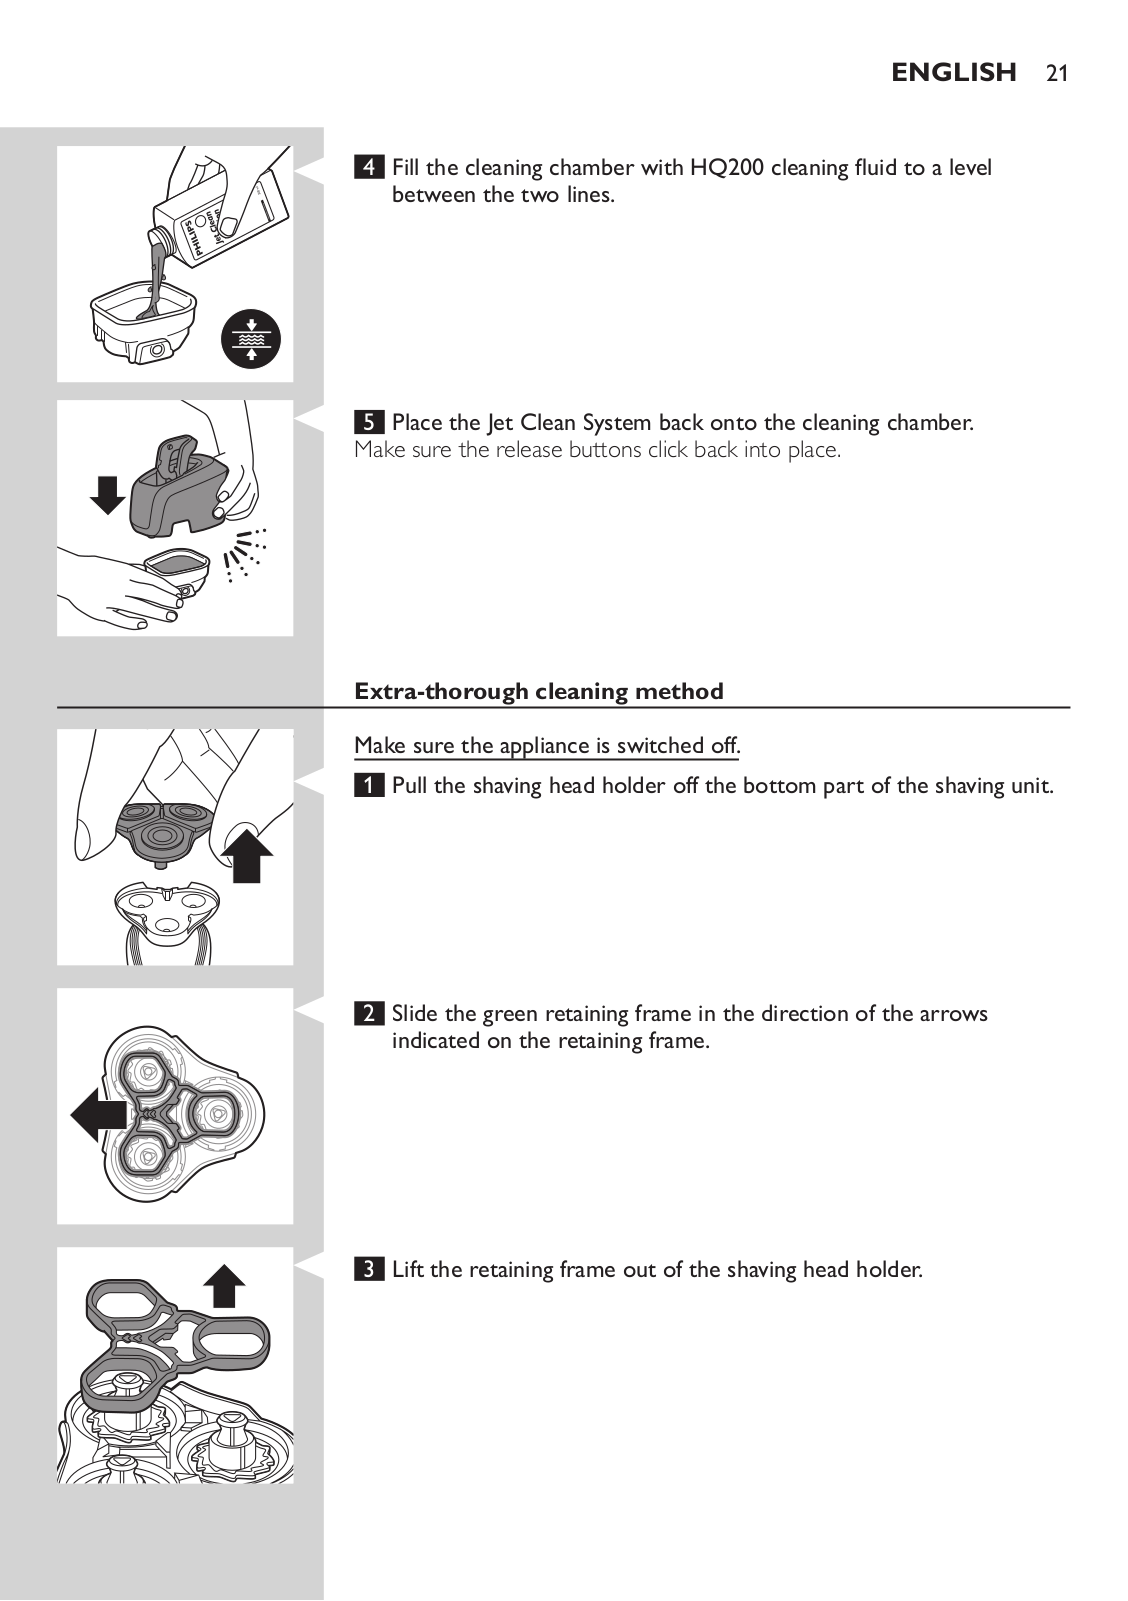
How it Works
Log In / Sign Up
Buy Points
How it Works
FAQ
Contact Us
Questions and Suggestions
Users
Philips
Loading...
R
roma
roma 2
Roma Therm
ROT 350
ROT 351
ROT 500
ROT 501
ROT 504
ROT 507
ROT-GS 501
ROT-GS 505
Router inalámbrico
ROYAL HD 8930
9
RP520
Rphf
RQ10
29
RQ1000 SERIES
RQ10/40
2
RQ10-41
RQ 1050
25
RQ1050/18
9
RQ1051
2
RQ10-52
4
RQ 1053
RQ1060
24
RQ 1060-19
RQ1060/20
7
RQ 1061
3
RQ1062
2
RQ1075
9
RQ1076
2
RQ1077
2
RQ1085
8
RQ 1085-21
RQ1087
3
RQ 1090
18
RQ1095
30
RQ 1095-21
RQ11
33
RQ1100
4
RQ1100 series
RQ-111
7
RQ111/52
2
RQ1131
5
RQ11-40
RQ1141
9
RQ1141/16
2
RQ1141/17
RQ1145
13
RQ 1145/16
RQ-1150
44
RQ1151
8
RQ11-52
RQ1155
9
RQ1155-16
RQ1155/81
RQ 1160
42
RQ1167
4
RQ1175
12
RQ1175-16
RQ1175CC
RQ 1180
37
RQ1185
8
RQ1185-21
RQ1185CC
2
RQ1187/16
RQ1195
5
RQ1197
4
RQ1197/39
RQ1197CC
RQ12
33
RQ1200
2
RQ1200 series
RQ12-41
RQ12-42
RQ 1250
38
RQ1250CC
RQ1251
3
RQ12-52
4
RQ1253
2
RQ 1260
34
RQ1260CC
3
RQ1261
4
RQ1261/17
RQ12/62
3
RQ1265
3
RQ12-70
RQ1273
3
RQ1275
6
RQ 1280
33
RQ1280/16
RQ1280CC
3
RQ1285
4
RQ1286
3
RQ 1290
31
RQ1290/23
8
RQ1295
8
RQ1296
3
RQ1297
2
RQ32
Loading...
Loading...
Nothing found
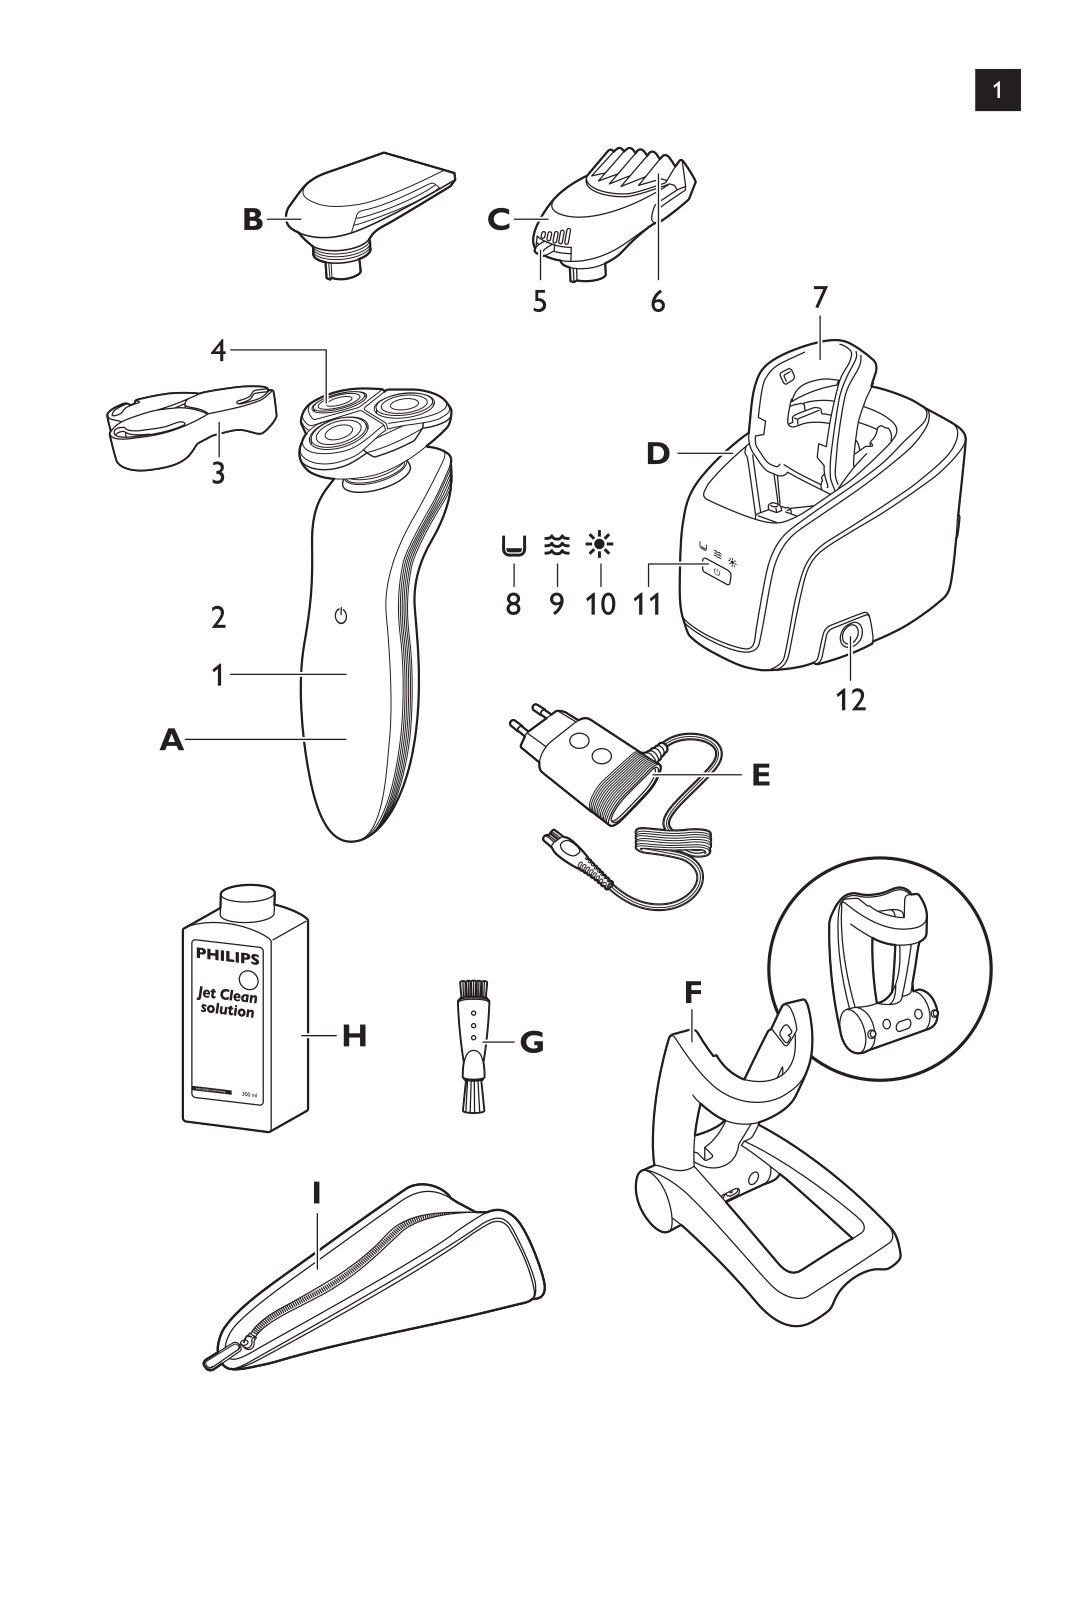
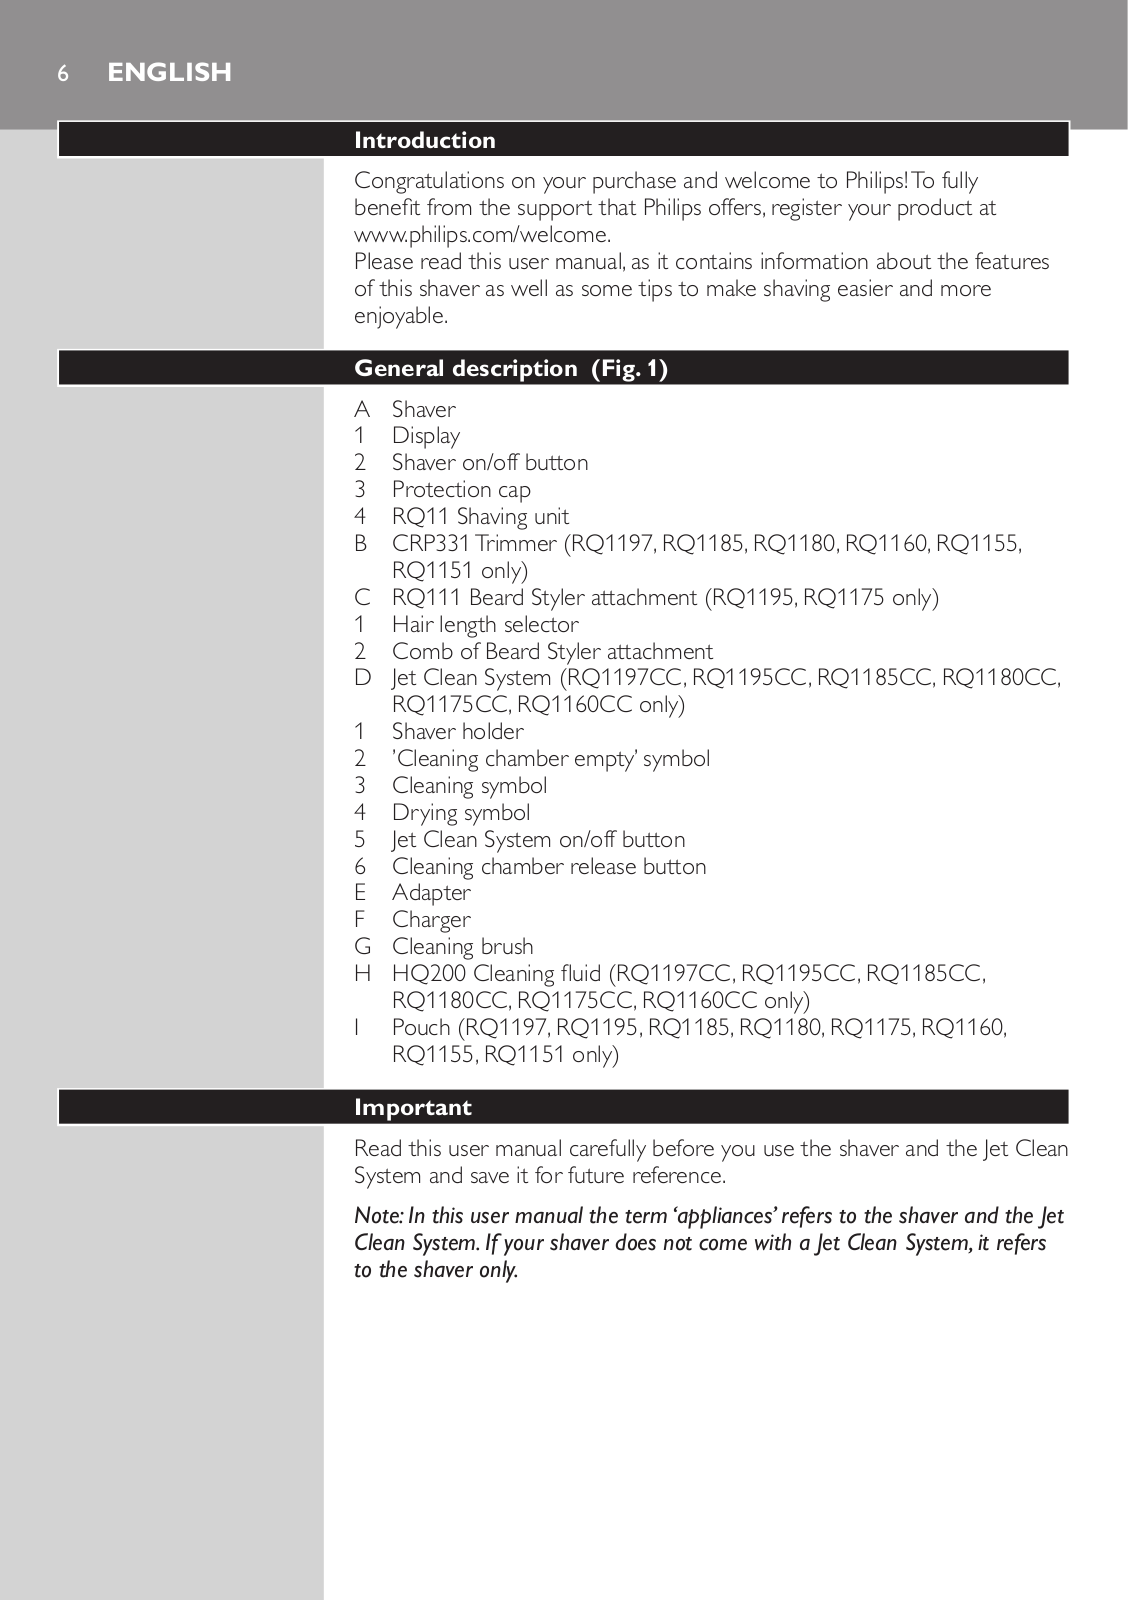
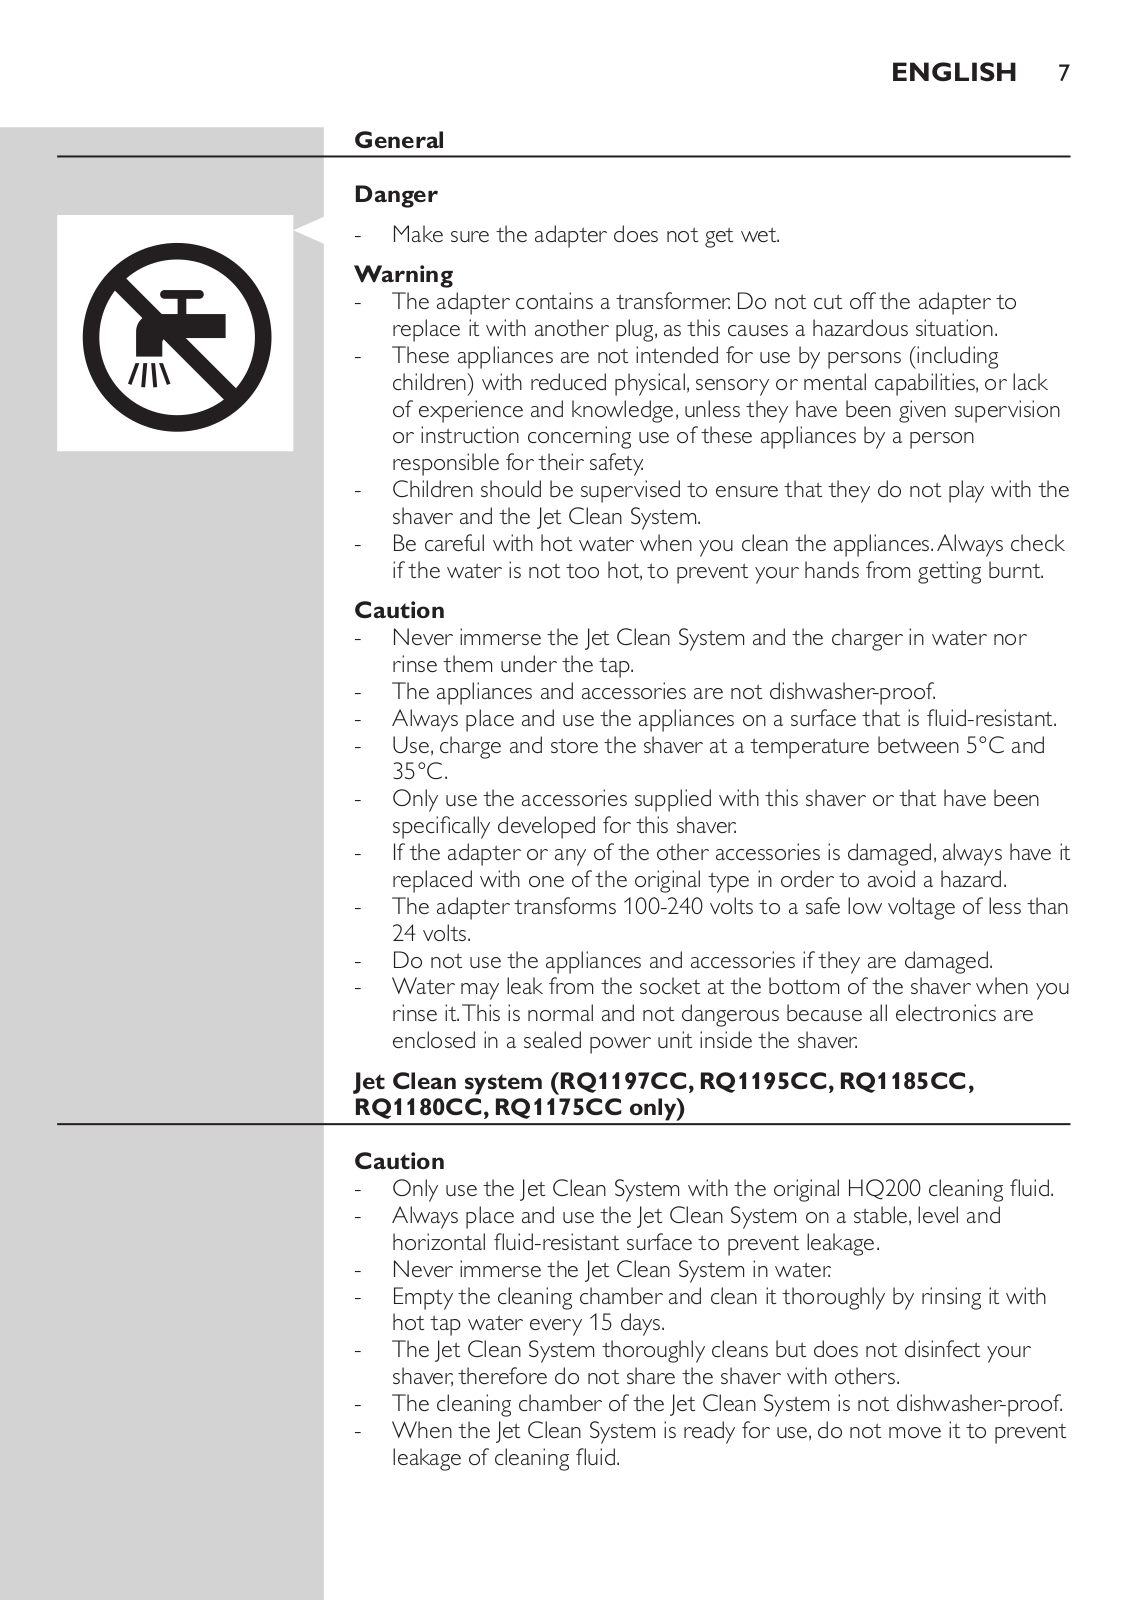
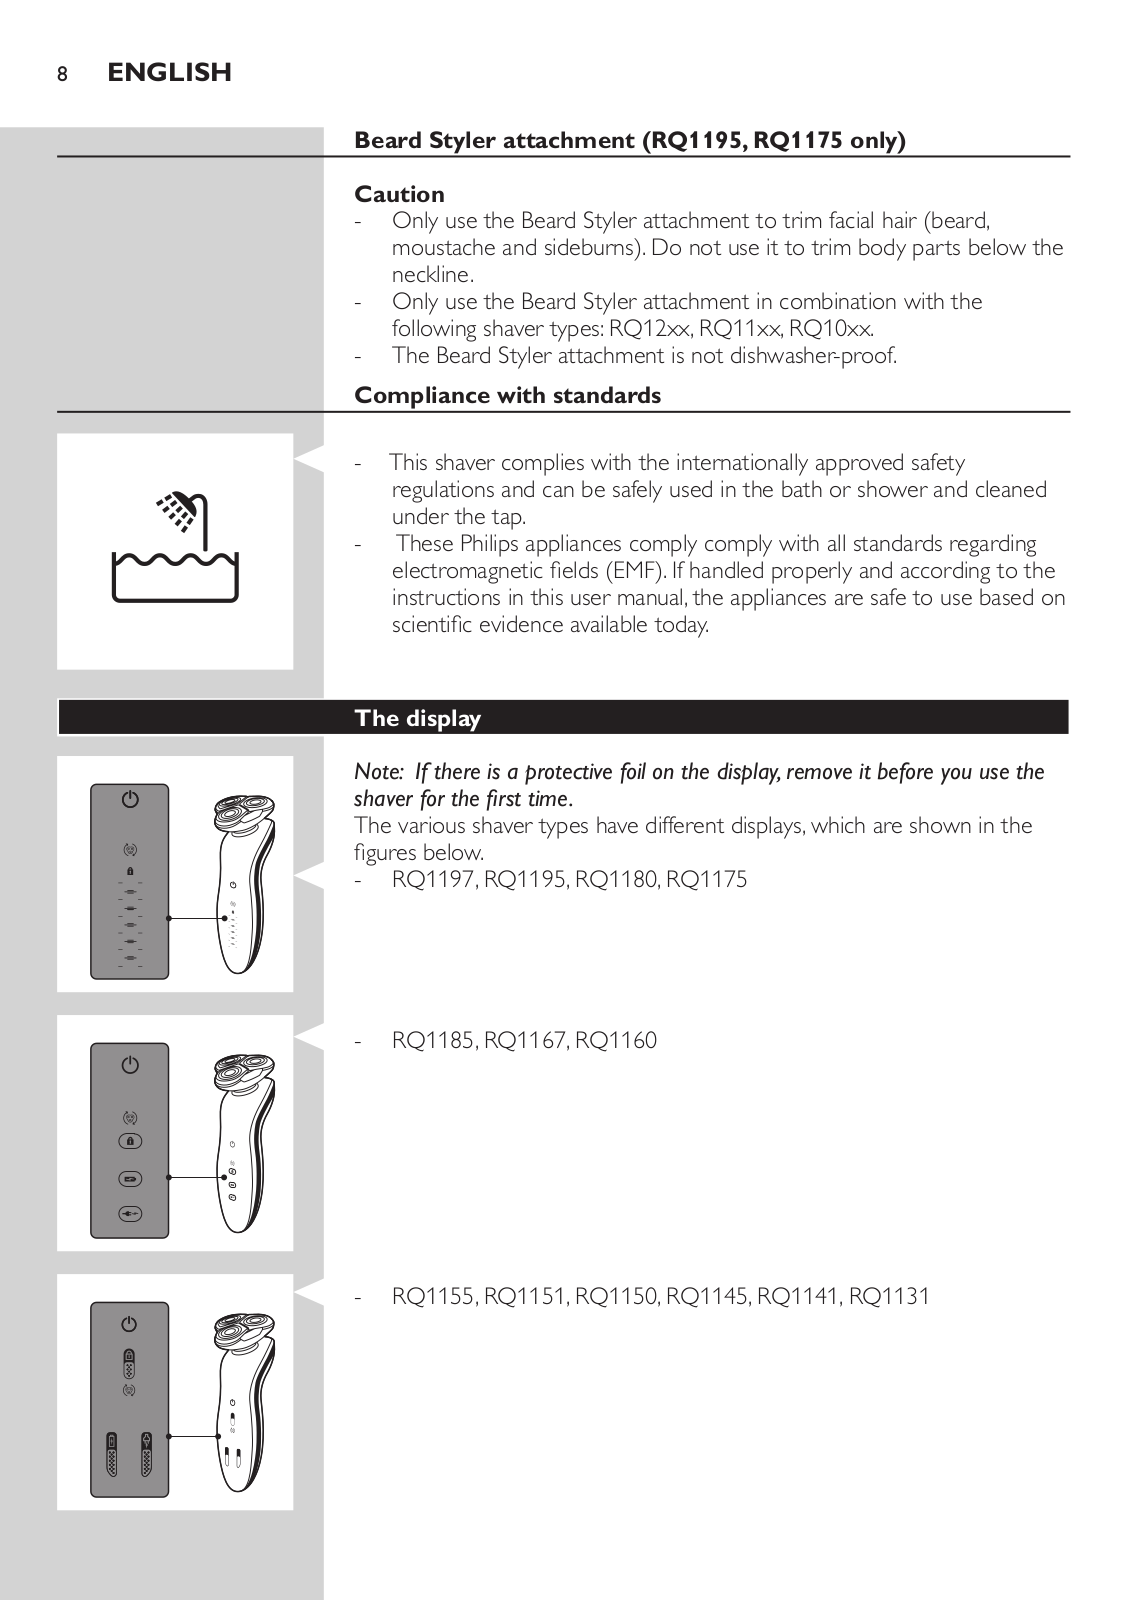
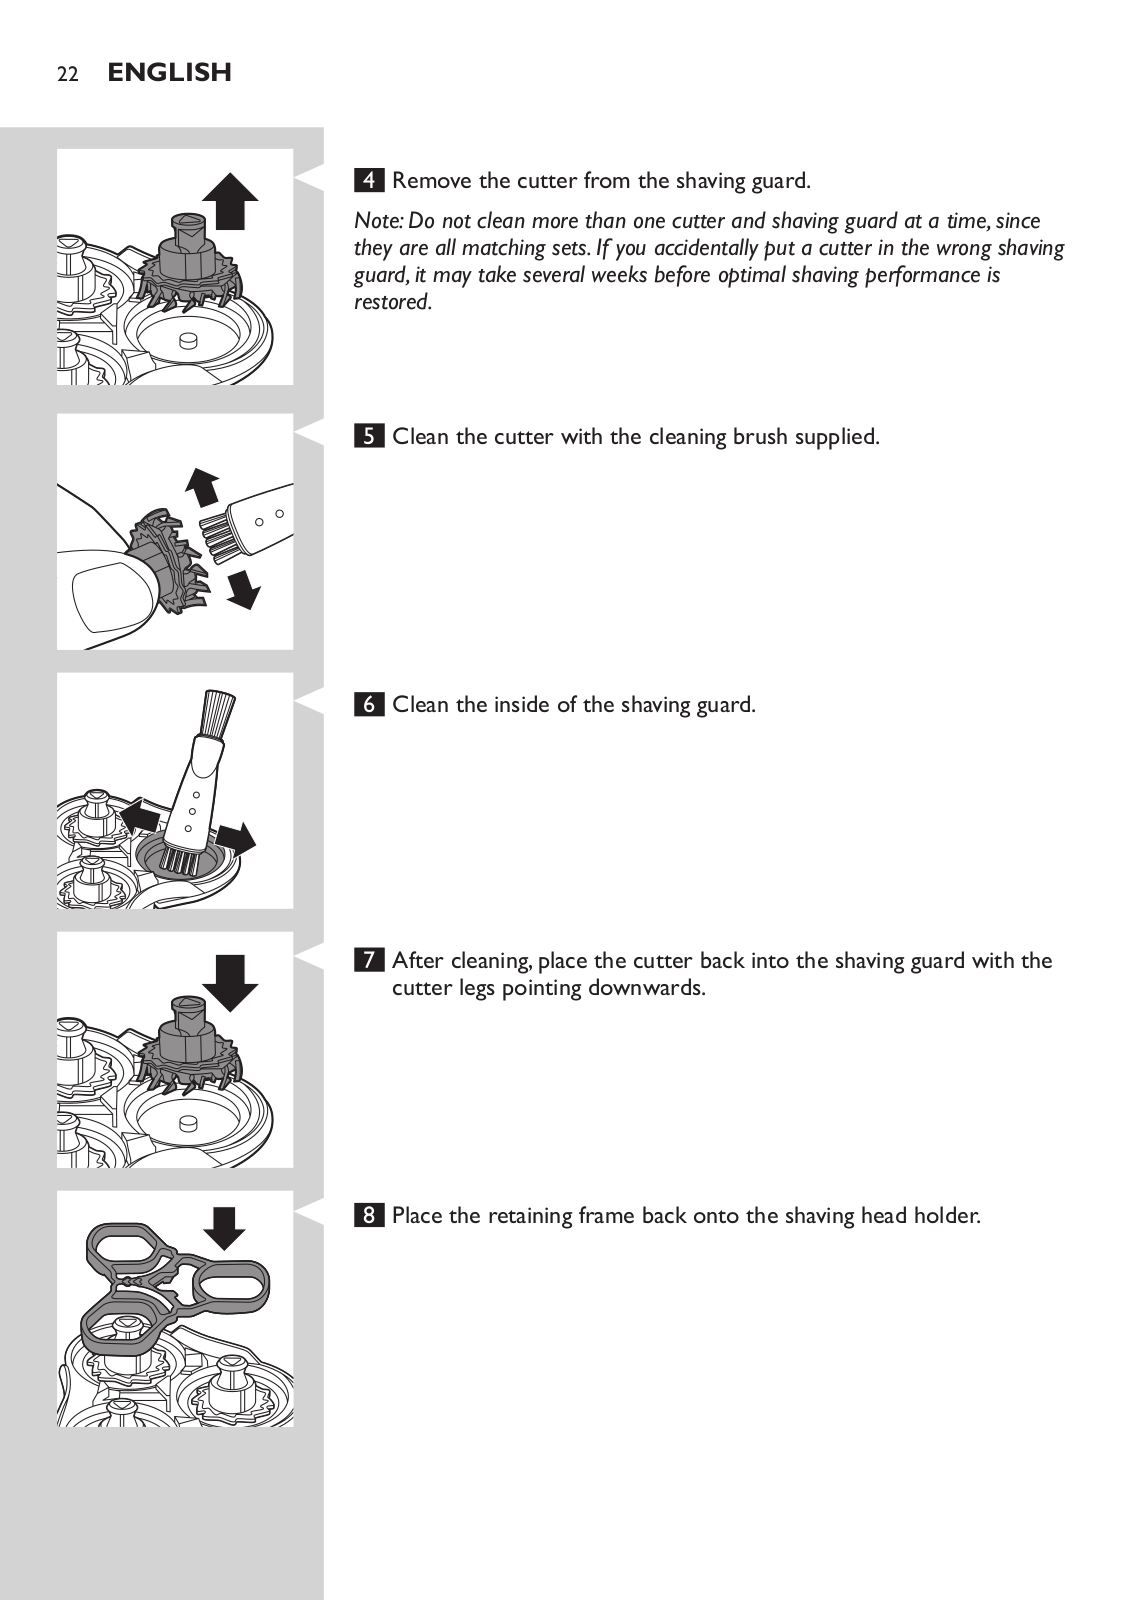
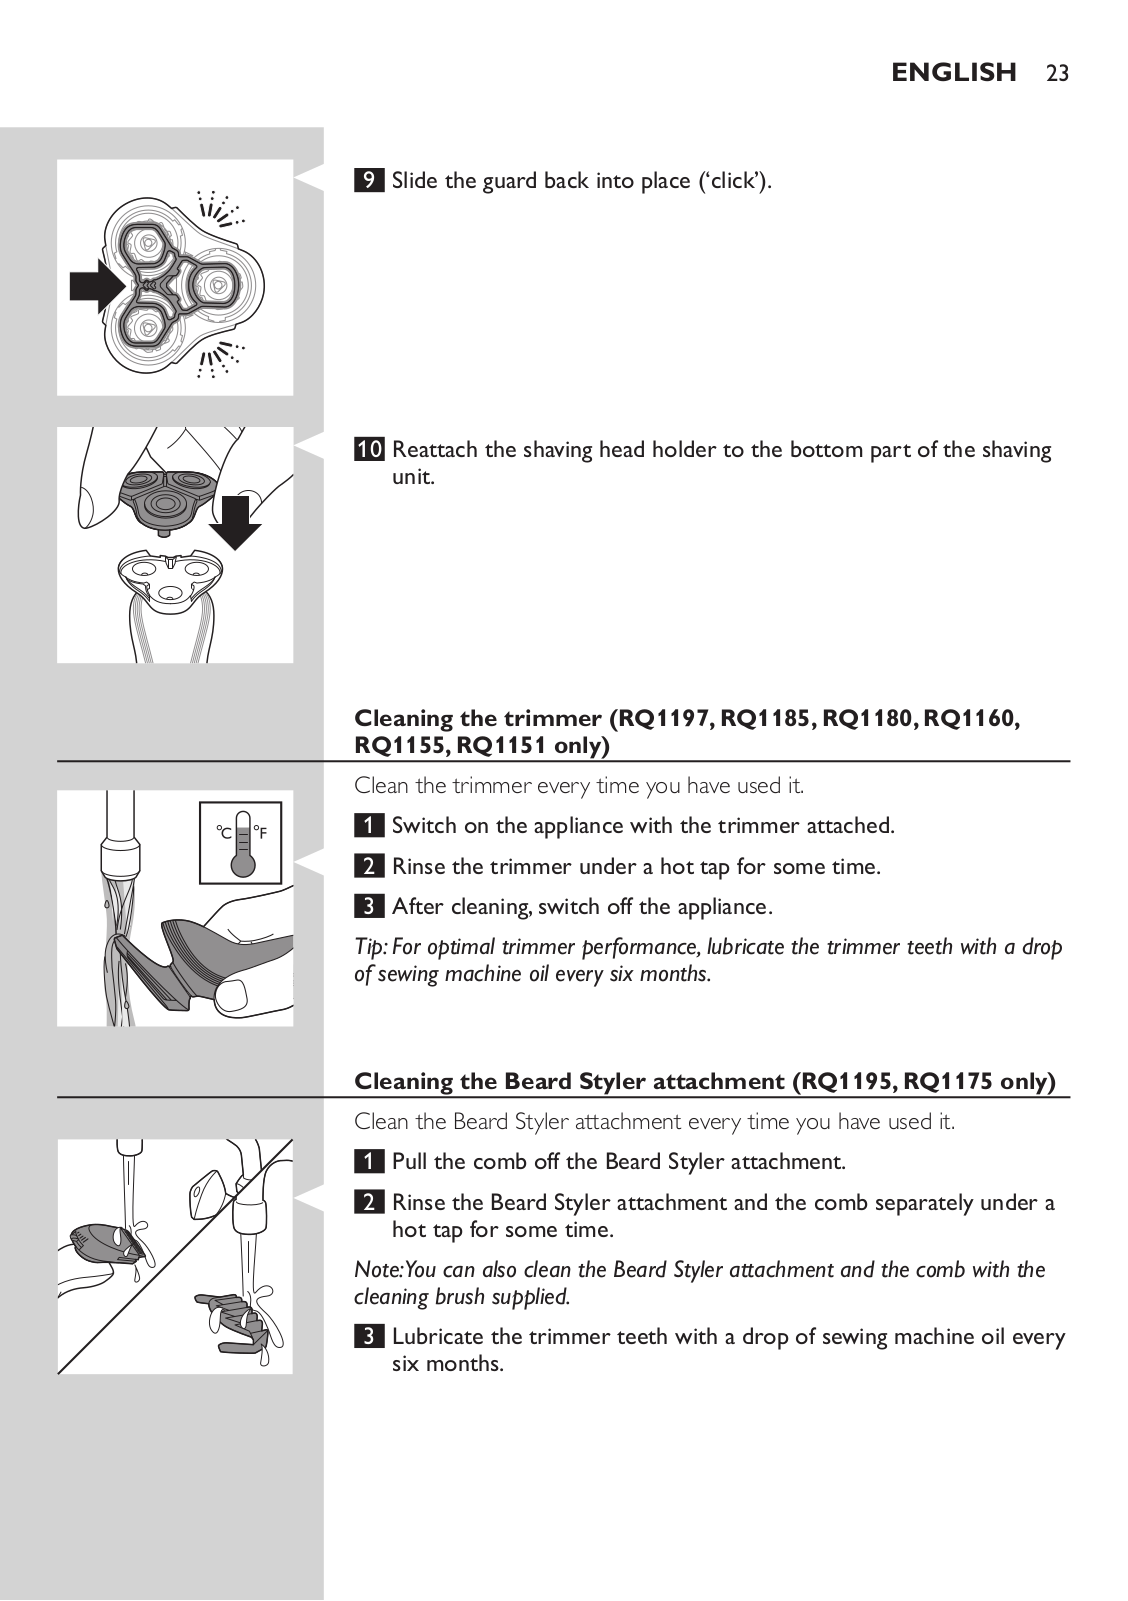
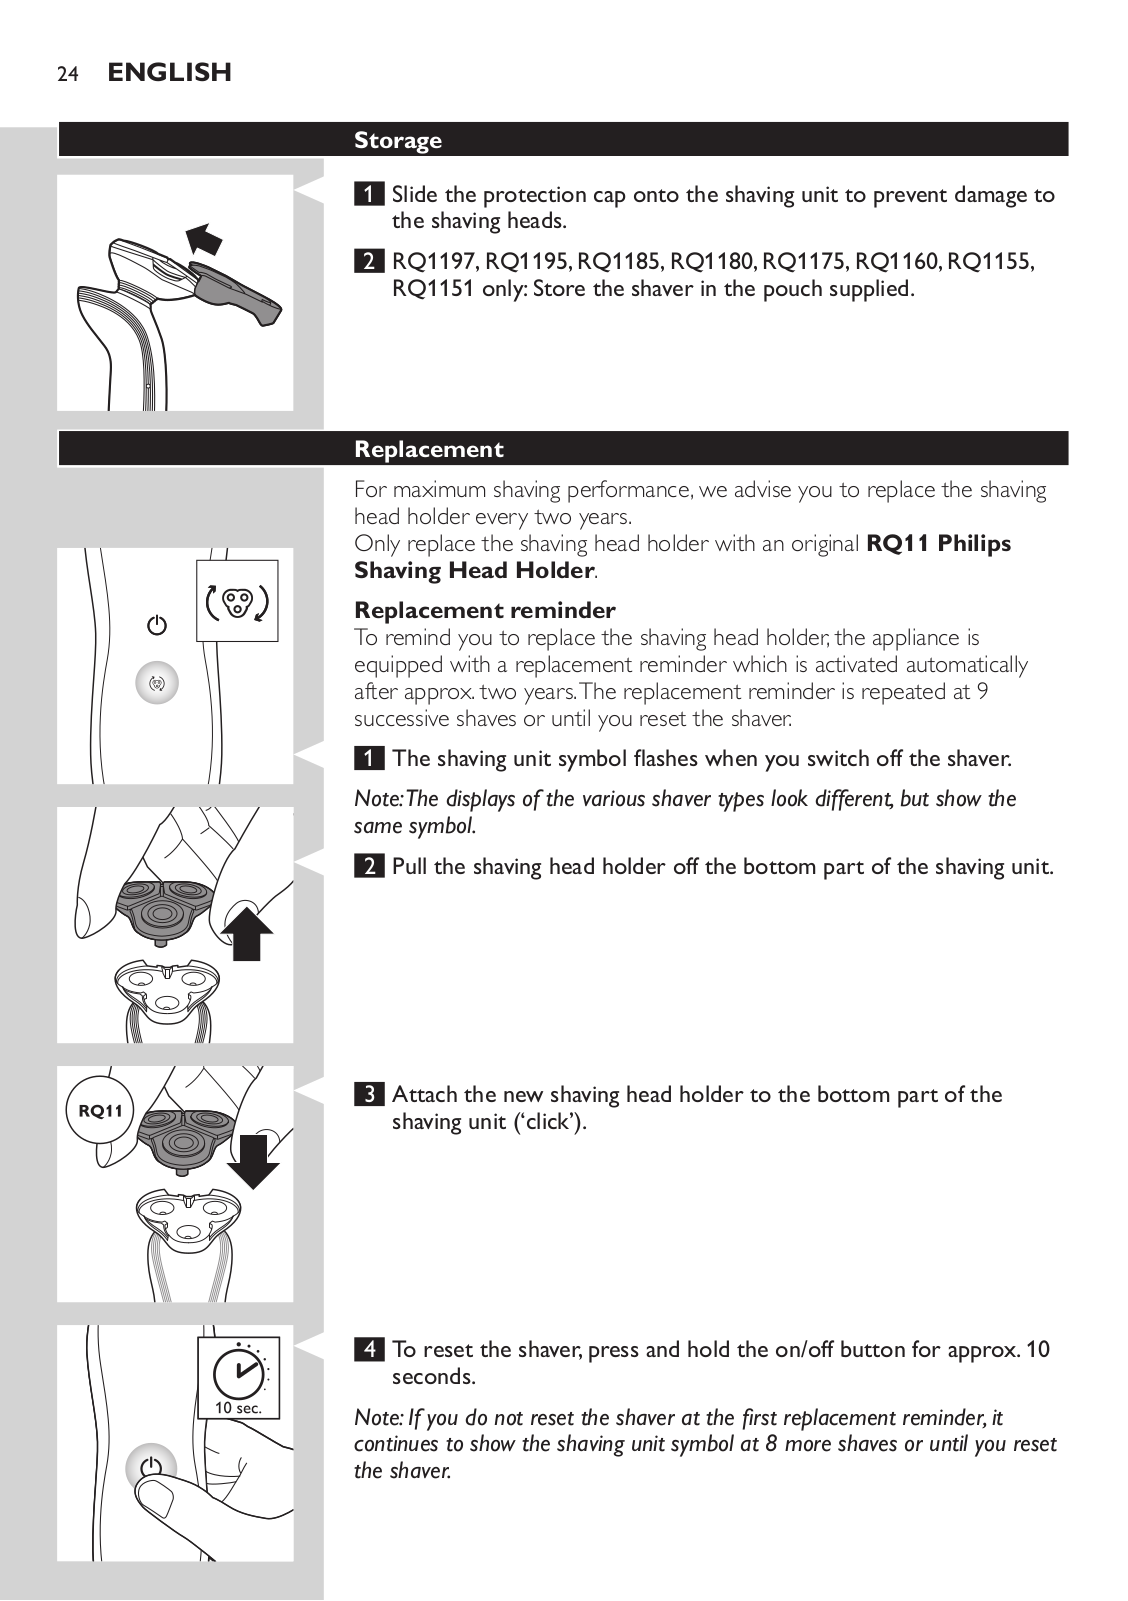
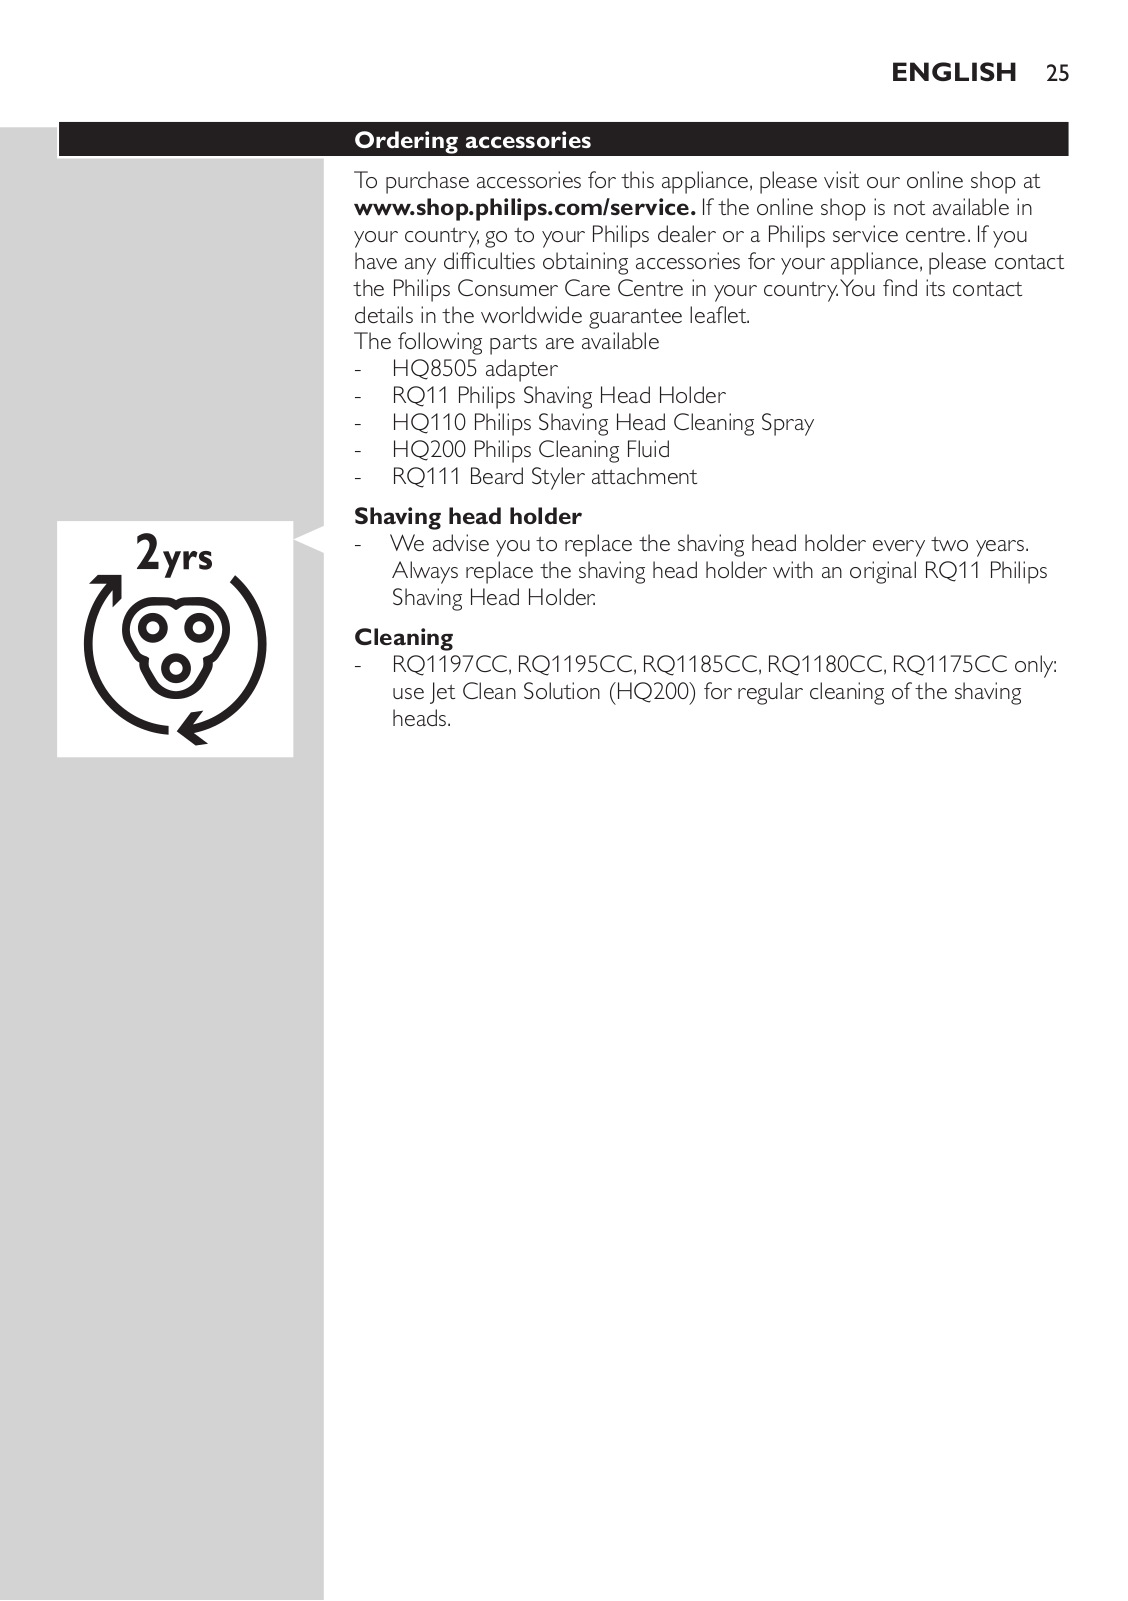
RQ1100
User Manual
6 pgs
1.65 Mb
0
User Manual [ar]
46 pgs
12.63 Mb
0
User Manual [bg]
362 pgs
53.42 Mb
0
User Manual [vi]
160 pgs
24.68 Mb
0
Table of contents
Loading...
Philips RQ1100 User Manual [vi]
...
Philips User Manual [vi]
Download
Specifications and Main Features
Frequently Asked Questions
User Manual
Download
Loading...
+
130
hidden pages
Unhide
You need points to download manuals.
1 point = 1 manual.
You can buy points or you can get point for every manual you upload.
Buy points
Upload your manuals
 Loading...