

Philips GC8700 series, GC7800 series User Manual
GC8700 series

21 3
6 75
9 8
11 1012
4
13


English 6
Hrvatski 18
Română 30
Slovenščina 42
Srpski 54
Български 66

English
Introduction
Congratulations on your purchase and welcome to Philips! To fully benefit
from the support that Philips offers, register your product at
www.philips.com/welcome.
Read this user manual, the important information leaflet, and the quick start
guide carefully before you use the appliance. Save them for future
reference.
Exclusive technology from Philips
OptimalTemp technology
The OptimalTemp technology enables you to iron all types of ironable
fabrics, in any order, without adjusting the iron temperature and without
sorting your garments.
It is safe to just rest the hot soleplate directly on the ironing board without
putting back to the iron platform. This will help reduce the stress on your
wrist.
This iron has been approved by The Woolmark Company Pty Ltd for the
ironing of wool-only products, provided that the garments are ironed
according to the instructions on the garment label and those issued by the
manufacturer of this iron. R1602. In the United Kingdom, Eire, Hong Kong
and India, the Woolmark trademark is a certification trademark.
Compact ProVelocity Technology
This technology delivers continuous steam that penetrates deeply to
remove creases easily. At the same time, it keeps the appliance more
compact and lighter than traditional steam generators, for easier storage.
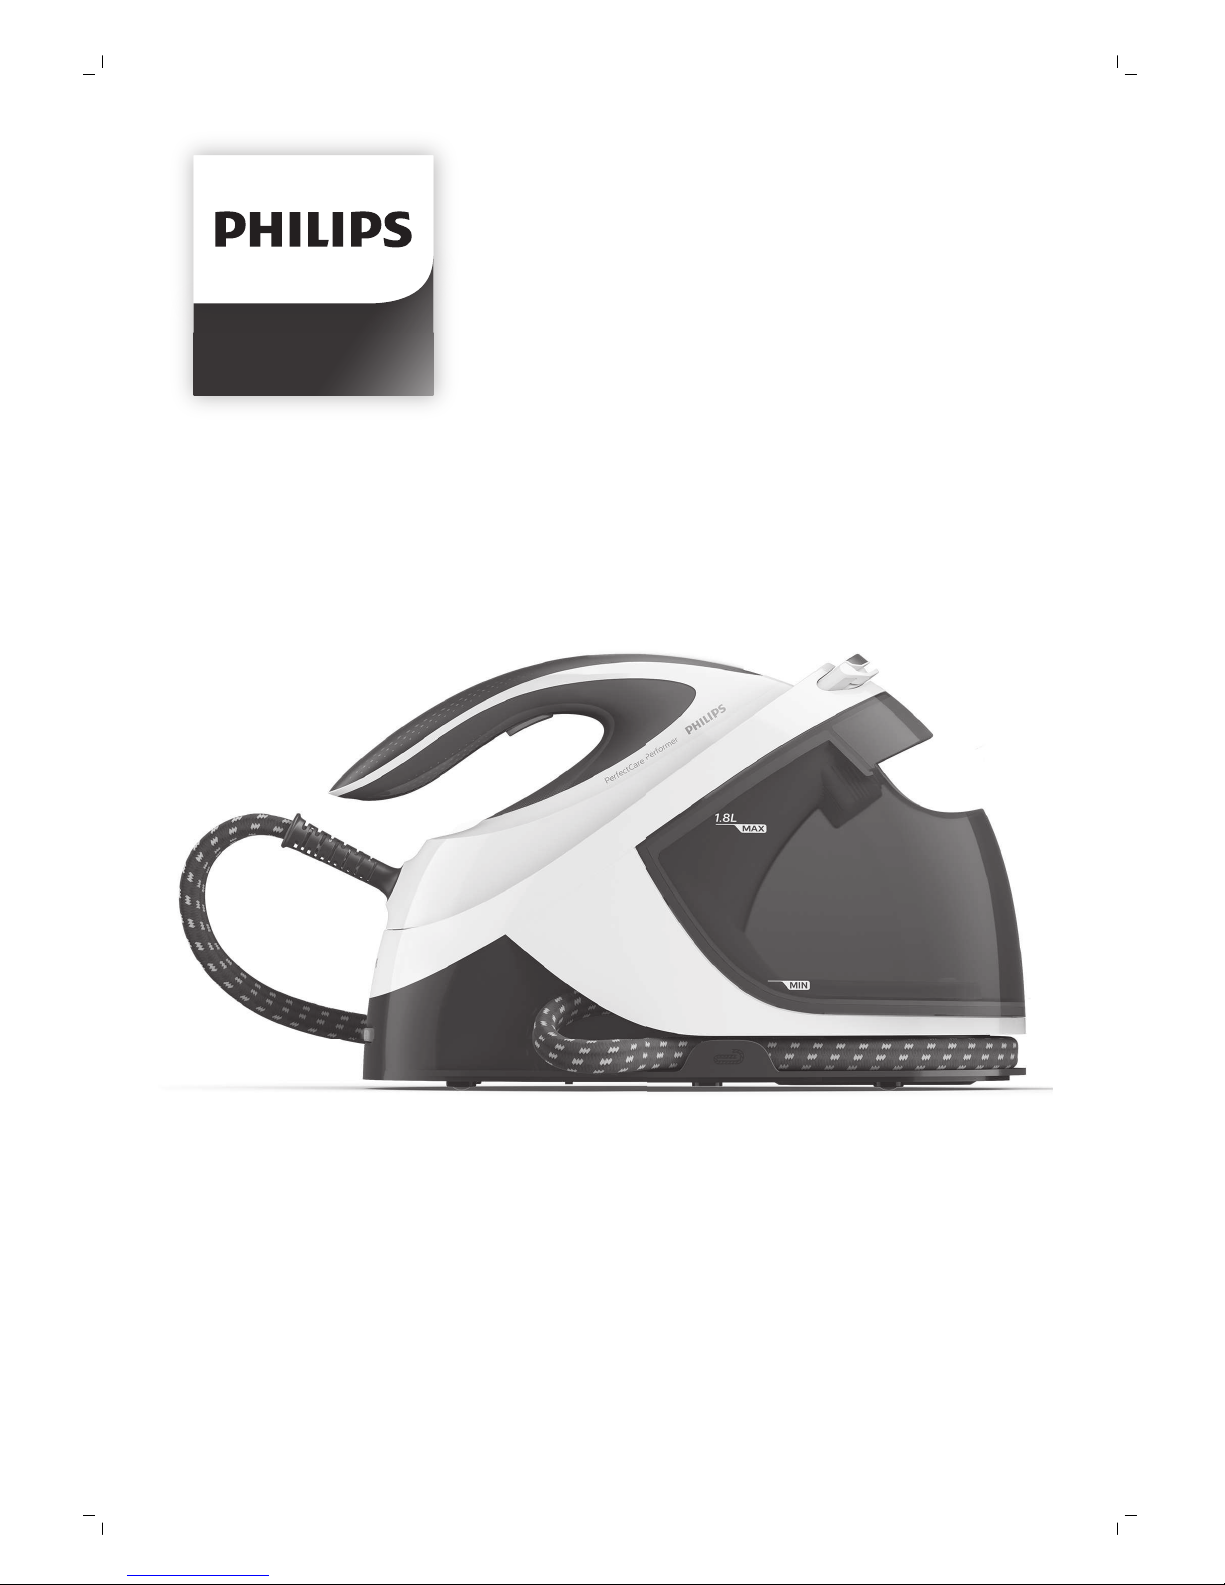
Product overview (Fig. 1)
1 Water supply hose
2 Steam trigger/Steam boost
3 'Iron ready' light
4 Soleplate
5 Iron platform
6 Carry lock release button
7 Detachable water tank
8 Water supply hose storage compartment
9 Mains cord with plug
10 CALC-CLEAN button with light
6
English

11 On/off button with power-on light and auto-off light
12 ECO button with light
13 Smart Calc-Clean container
Preparing for use
Type of water to use
This appliance has been designed to be used with tap water. However, if
you live in an area with hard water, fast scale build-up may occur.
Therefore, it is recommended to use distilled or demineralized water to
prolong the lifetime of the appliance.
Warning: Do not use perfumed water, water from the tumble
dryer, vinegar, starch, descaling agents, ironing aids, chemically
descaled water or other chemicals, as they may cause water
spitting, brown staining or damage to your appliance.
Filling the water tank
1 Fill the water tank before every use or when the water level in the water
tank drops below the minimum level. You can refill the water tank at any
time during use.
2 Remove the water tank from the base.
3 Fill the water tank up to the MAX indication.
7
English

4 Put the water tank back into the appliance by fitting the bottom part into
the appliance first.
5 Push in the top part of the water tank until it locks into place ('click').
Using the appliance
Ironable fabrics
Do not iron non-ironable fabrics.
Fabrics with these symbols are ironable, for example linen, cotton,
polyester, silk, wool, viscose and rayon.
Fabrics with this symbol are not ironable. These fabrics include synthetic
fabrics such as Spandex or elastane, Spandex-mixed fabrics and polyolefins
(e.g. polypropylene). Prints on garments are not ironable either.
Ironing
1 Place the steam generator on a stable and even surface.
Note: In order to ensure safe ironing we recommend to always place the
base on a stable ironing board.
2 Make sure that there is enough water in the water tank.
8
English

3 Put the mains plug in an earthed wall socket and press the on/off button
to switch on the steam generator. Wait until the 'iron ready' light lights up
continuously. This takes approx. 2 minutes.
4 Remove the water supply hose from the water supply hose storage
compartment.
5 Press the carry lock release button to unlock the iron from the iron
platform.
6 Press and hold the steam trigger to start ironing.
Warning: Never direct steam at people.
7 For best ironing results, after ironing with steam, perform the last strokes
without steam.
Note: When you use the appliance for the first time, it may take 30 seconds
for steam to come out of the appliance.
Note: The pump is activated each time you press the steam trigger. It
produces subtle rattling sound, which is normal. When there is no water in
the water tank, the pump sound is louder. Fill up the water tank with water
when the water level drops below the minimum level.
For more powerful steam, you can use the TURBO steam mode, which is
safe on all ironable fabrics.
For fabrics such as cotton, jeans and linen, you are recommended to use the
TURBO steam mode.
1 Press and hold the on/off button for 2 seconds until the light turns white.
2 To deactivate the TURBO mode, press and hold the on/off button for 2
seconds again until the light turns blue.
Steam boost function
Use the steam boost function to remove stubborn creases.
9
English

2x
1 Press the steam trigger twice quickly.
Vertical ironing
Warning: Hot steam is emitted from the iron. Never attempt to
remove wrinkles from a garment while someone is wearing it. Do
not apply steam near your or someone else's hand.
You can use the steam iron in vertical position to remove wrinkles from
hanging fabrics.
1 Hold the iron in vertical position, press the steam trigger and touch the
garment lightly with the soleplate and move the iron up and down.
Safe rest
Resting the iron while rearranging your garment
While rearranging your garment, you can rest the iron either on the iron
platform or horizontally on the ironing board. The OptimalTemp technology
ensures the soleplate will not damage the ironing board cover.
10
English
Energy saving
Eco mode
By using the ECO mode (reduced amount of steam), you can save energy
without compromising on the ironing result.
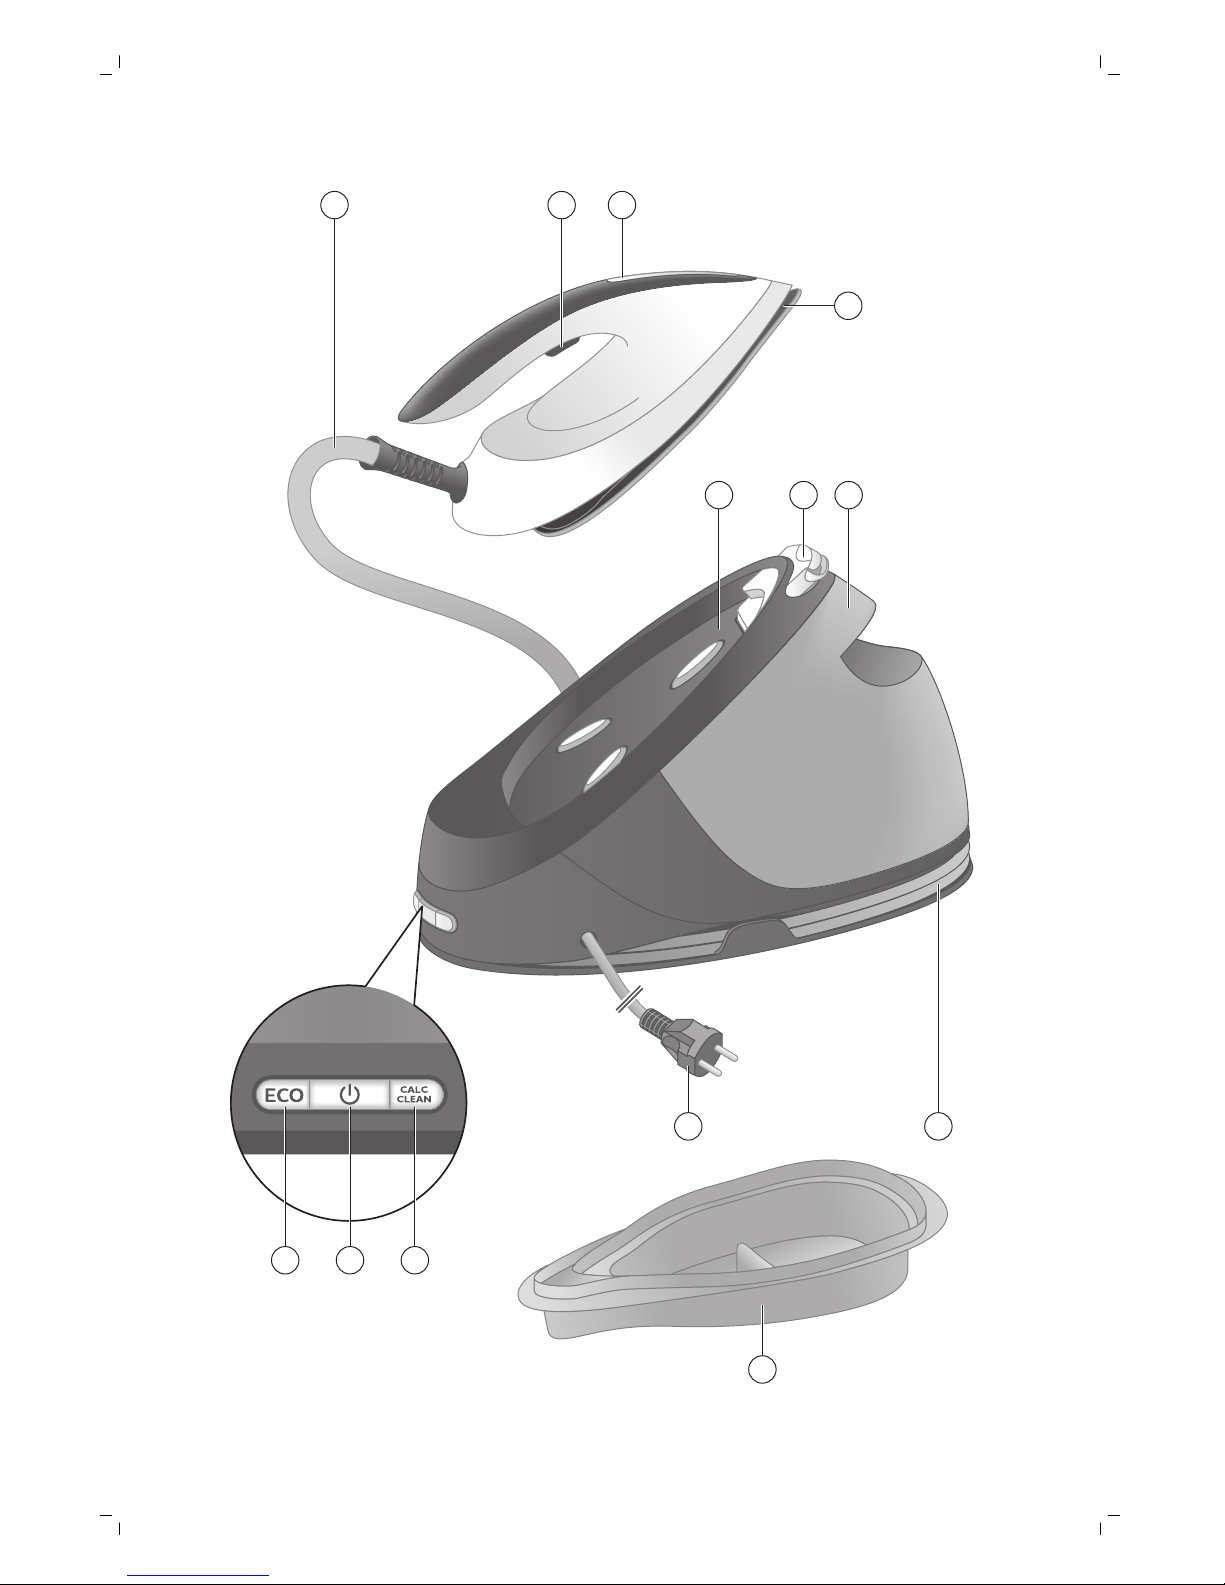
1 To activate the ECO mode, press the ECO button. The green ECO light
goes on.
2 To deactivate the ECO mode, press the ECO button again. The green
ECO light goes out.
Safety auto-off mode (specific types only)
-
To save energy, the appliance switches off automatically when it has not
been used for 5 minutes. The auto-off light in the on/off button starts to
flash.
-
To activate the appliance again, press the on/off button. The appliance
then starts to heat up again.
Warning: Never leave the appliance unattended when it is
connected to the mains. Always unplug the appliance after use.
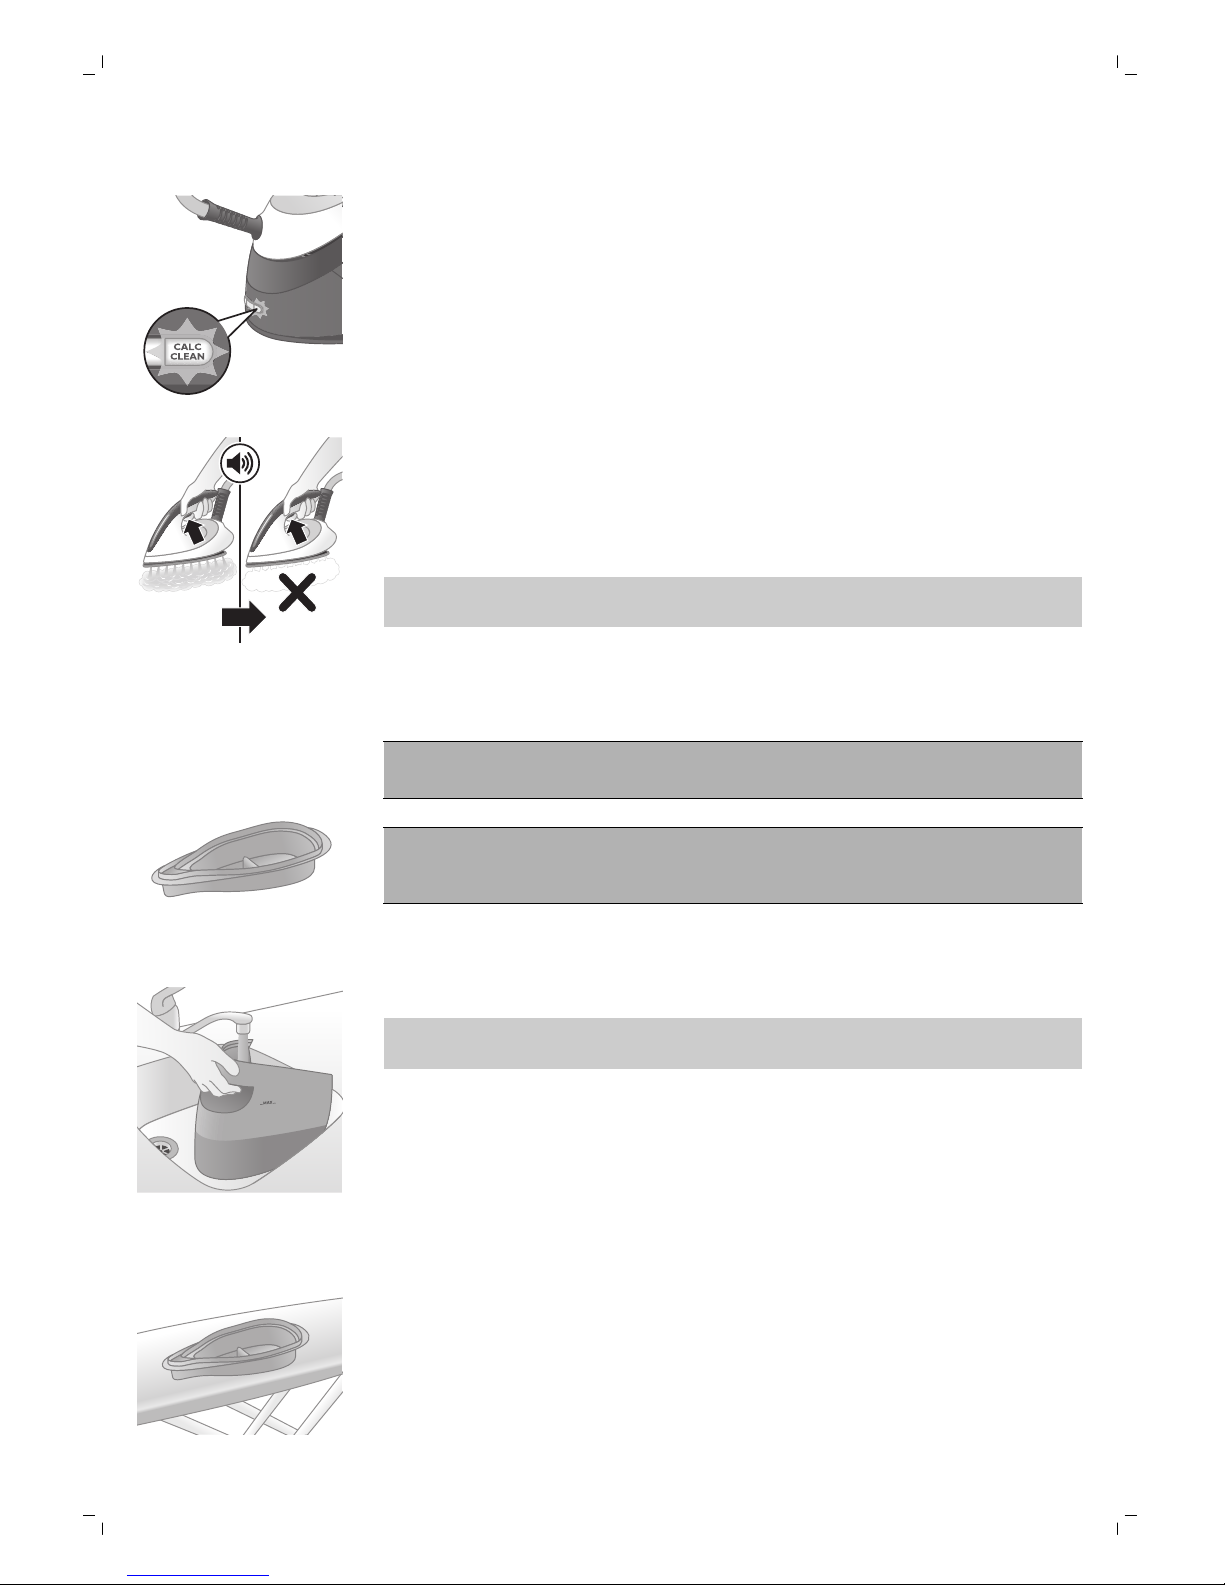
Cleaning and maintenance
Smart Calc-Clean System
Your appliance has been designed with a Smart Calc-Clean system to
ensure that descaling and cleaning is done regularly. This helps to maintain
a strong steam performance and prevents dirt and stains coming out of the
soleplate over time. To ensure that the cleaning process is performed, the
steam generator gives regular reminders.
Sound and light Calc-Clean reminder
After 1 to 3 months of use, the Calc-Clean light starts flashing and the
appliance starts beeping to indicate that you have to perform the CalcClean process.
11
English
Besides that, a second defense step to protect the steam generator from
scale is integrated: the steam function gets disabled if descaling is not done.
After descaling is done, the steam function will be restored. This takes place
regardless of the type of water used.
Note: The Calc-Clean process can be performed at any time, even when the
sound and light reminder is not activated yet.
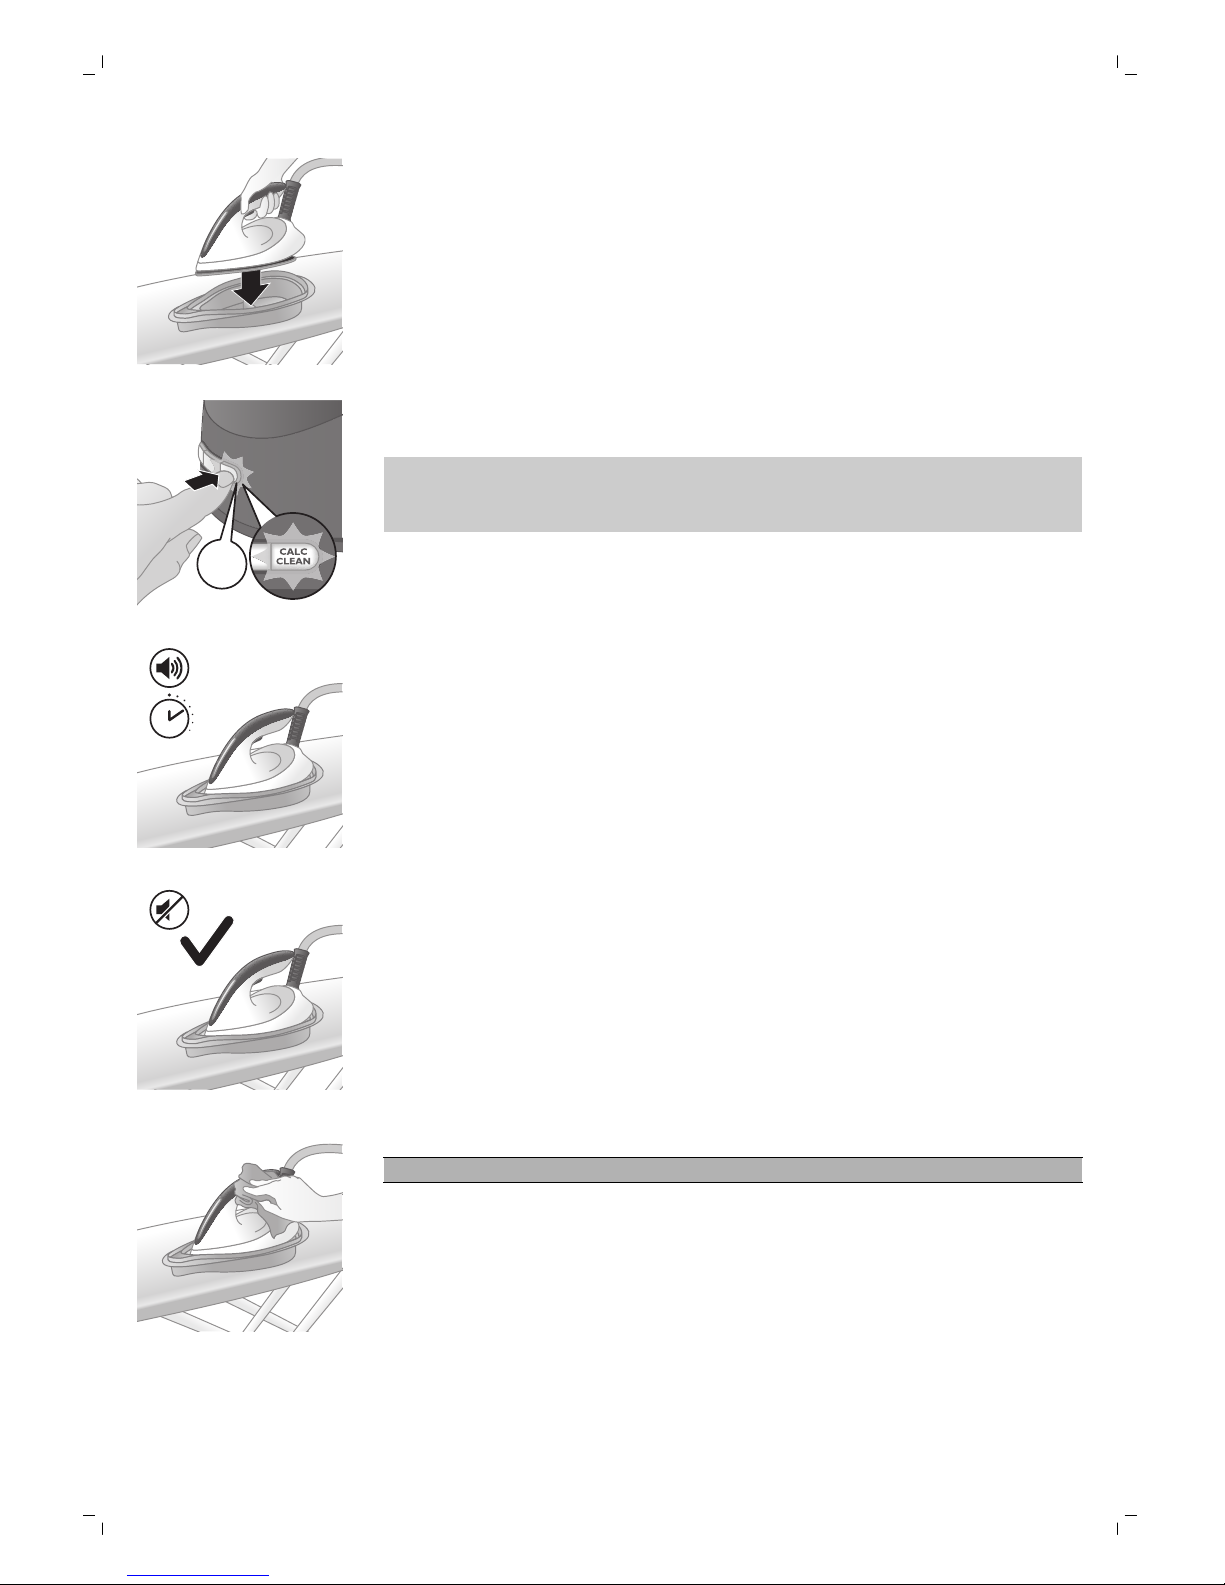
Performing the Calc-Clean process with the Calc-Clean
container
Warning: Do not leave the appliance unattended during the CalcClean process.
Caution: Always perform the Calc-Clean process with the Calc-Clean
container. Do not interrupt the process by lifting the iron up from the
Calc-Clean container, as hot water and steam will come out of the
soleplate.
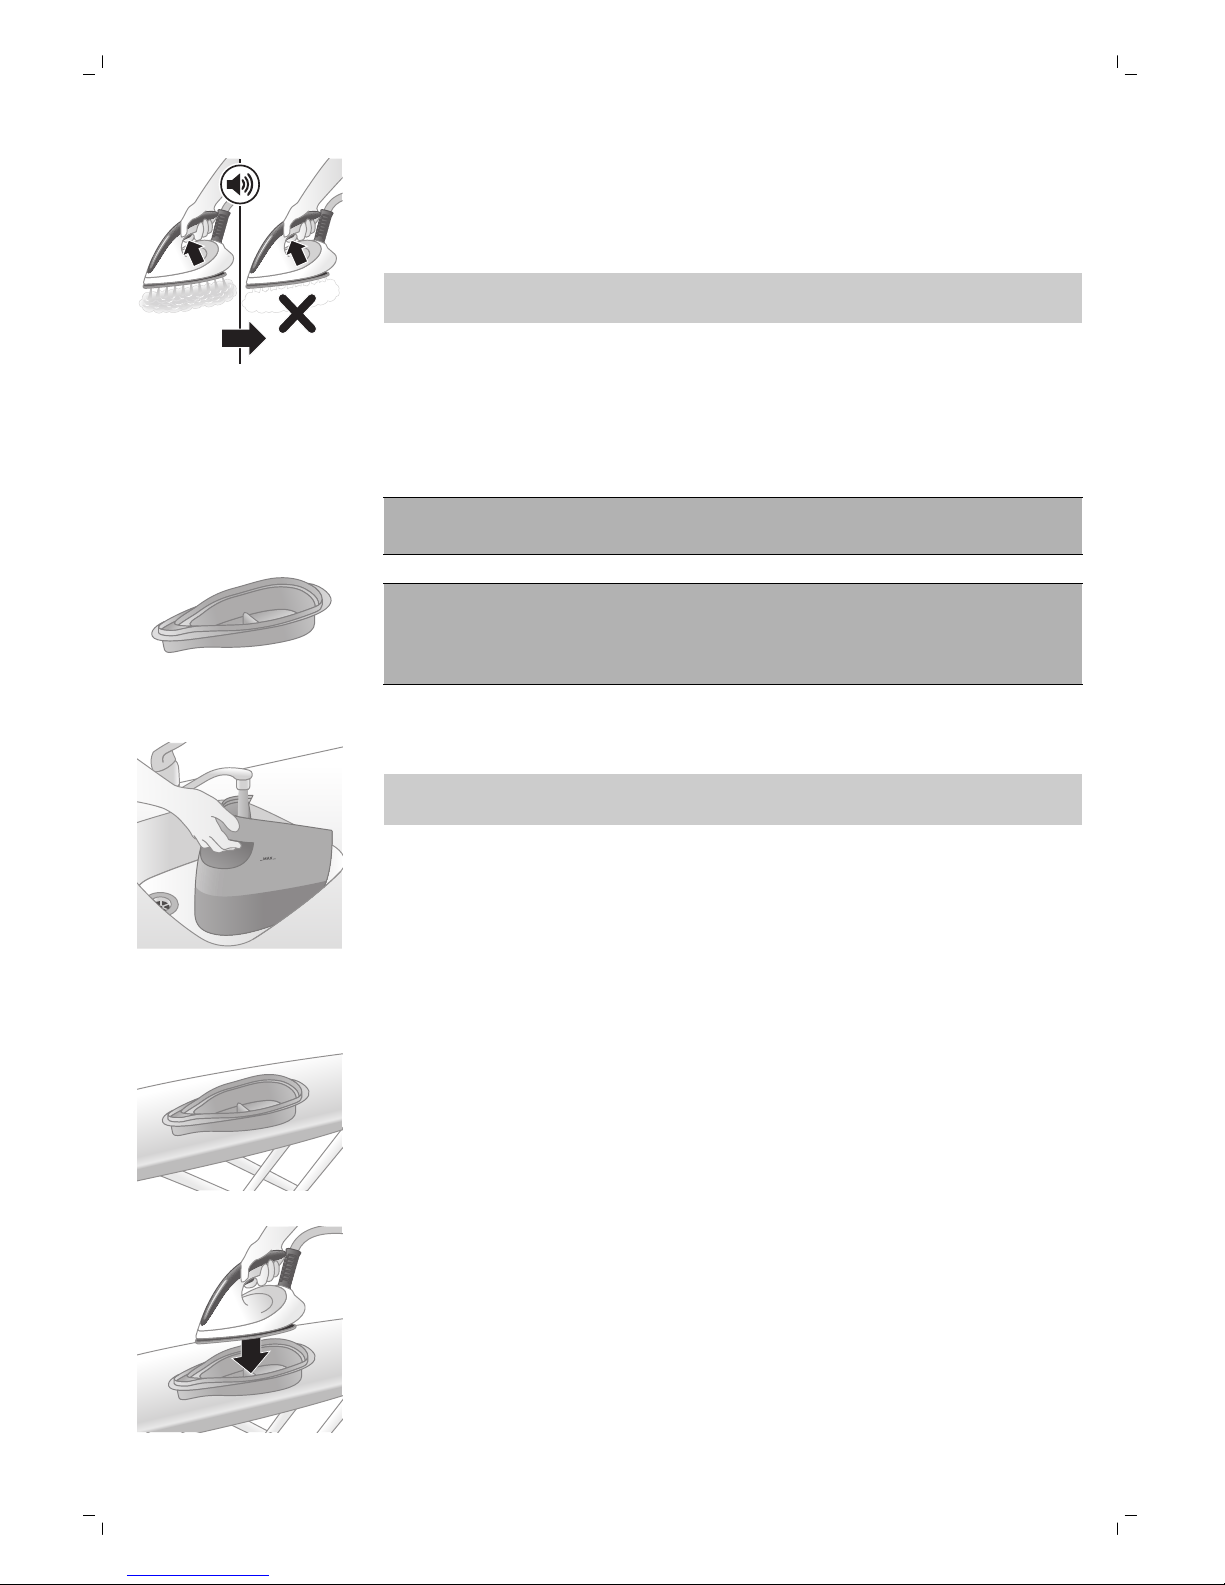
1 Fill up the water tank halfway.
Note: Make sure that the appliance is plugged in and switched ON during
the Calc-Clean process.
2 Place the Calc-Clean container on the ironing board or any other even,
stable surface.
3 Place the iron stably on the Calc-Clean container.
12
English
2 sec.
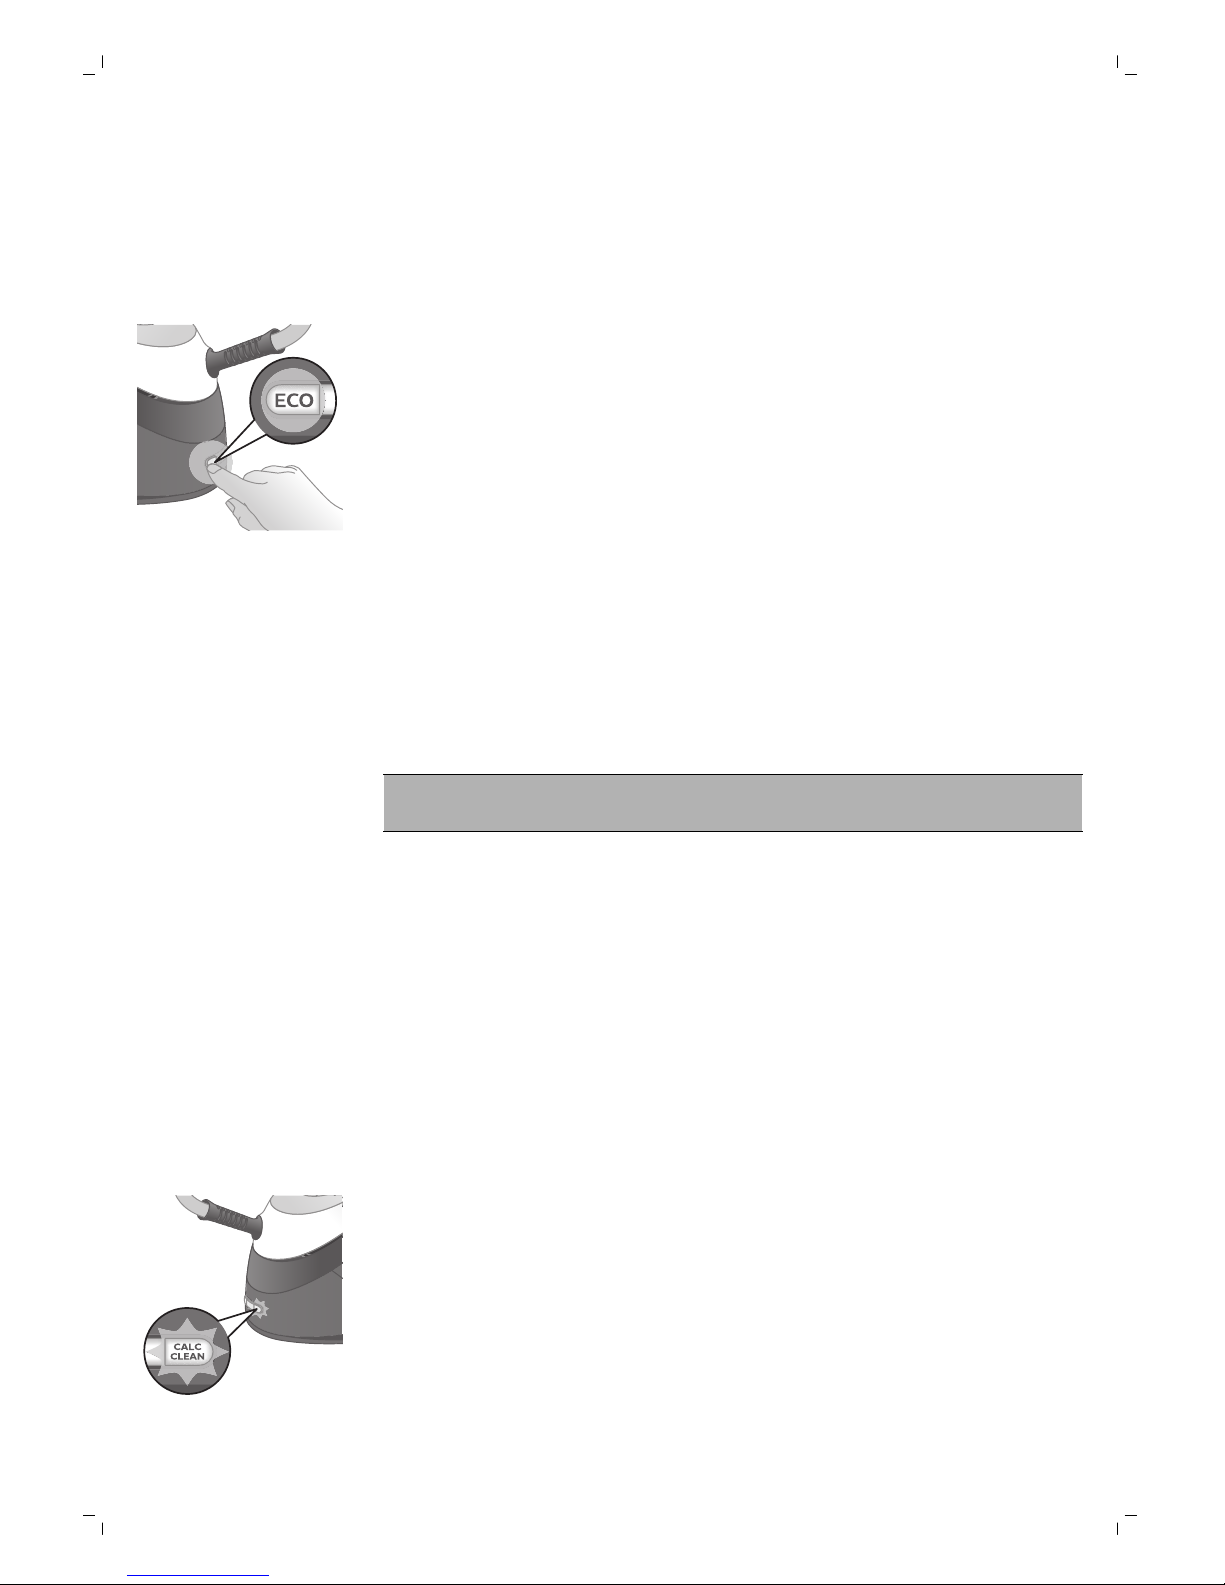
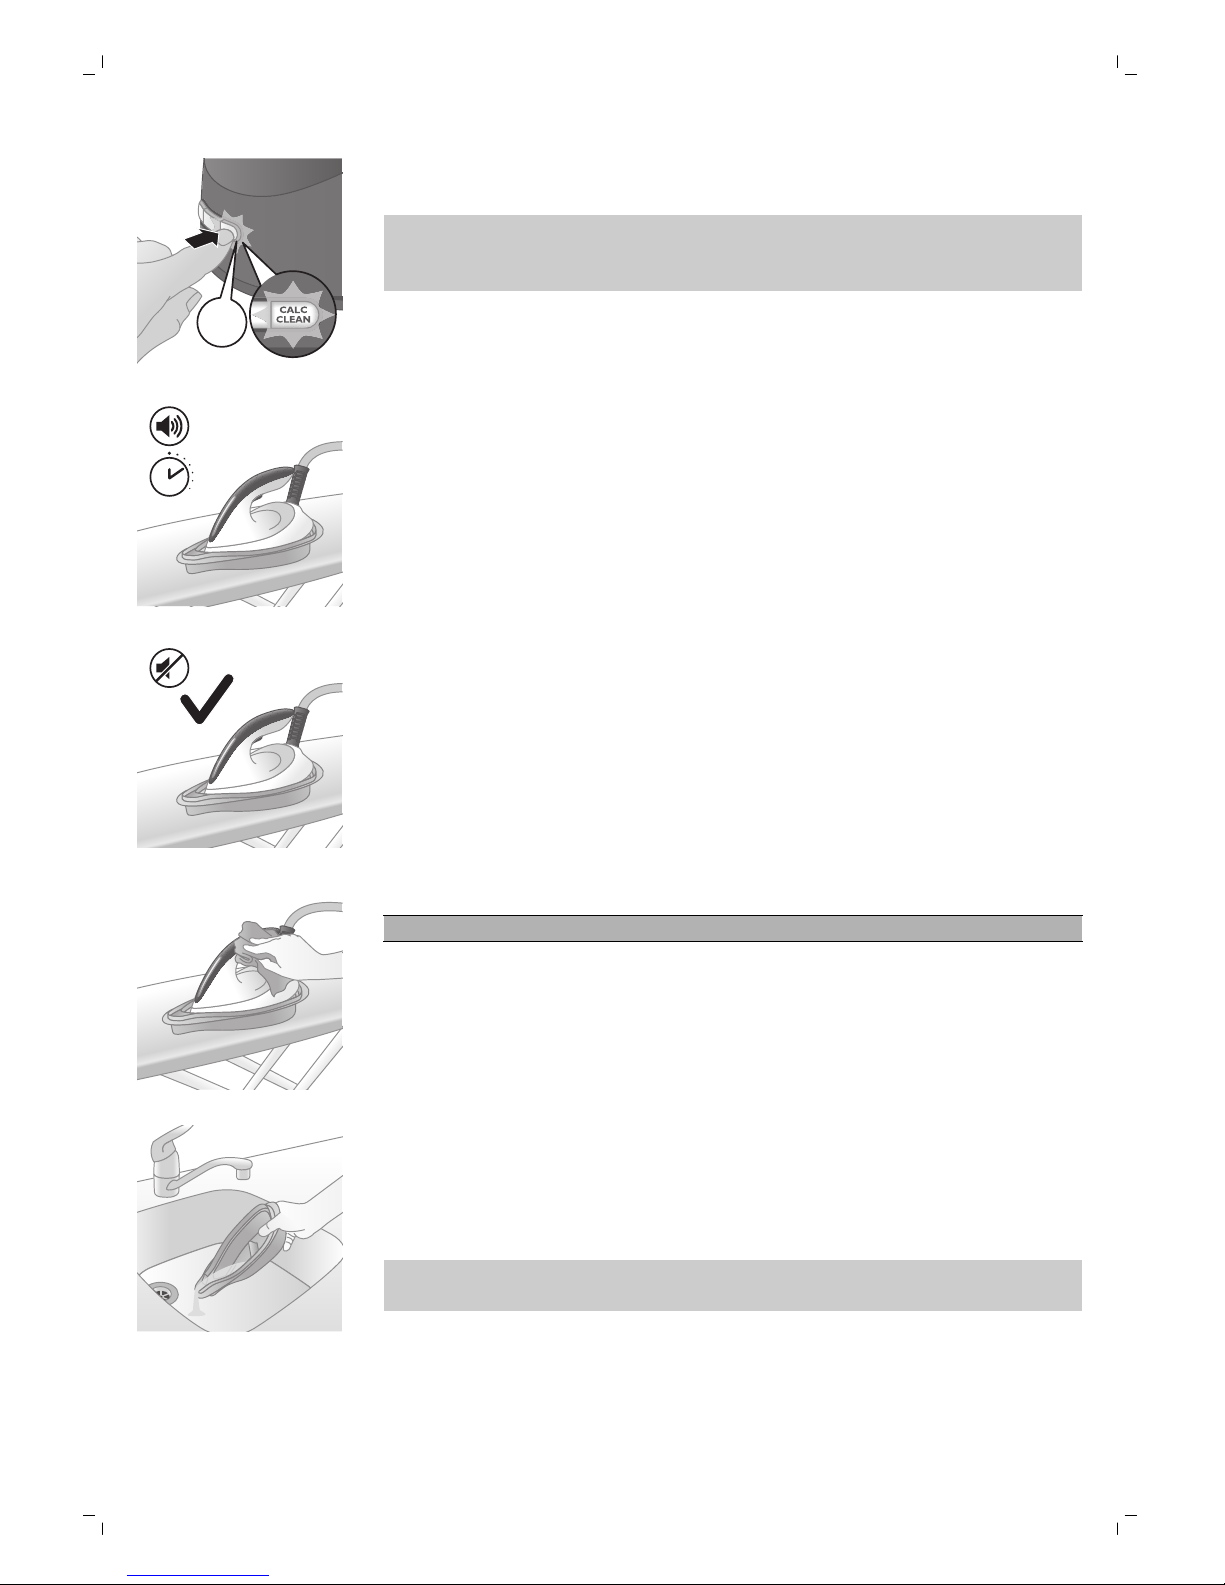
4 Press and hold the CALC-CLEAN button for 2 seconds until you hear
short beeps.
Note: The Calc-Clean container has been designed to collect scale
particles and hot water during the Calc-Clean process. It is perfectly safe
to rest the iron on this container during the entire process.
2 min.
5 During the Calc-Clean process, you hear short beeps and a pumping
sound.
6 Wait approximately 2 minutes for the appliance to complete the process.
When the Calc-Clean process is completed, the iron stops beeping and
the CALC-CLEAN light stops flashing.
7 Wipe the iron with a piece of cloth and put it back on the base station.
Caution: The iron is hot.
8 As the Calc-Clean container becomes hot during the Calc-Clean process,
wait approx. 5 minutes before you touch it. Then carry the Calc-Clean
container to the sink, empty it and store it for future use.
9 If necessary, you can repeat steps 1 to 8. Make sure that you empty the
Calc-Clean container before you start the Calc-Clean process.
Note: During the Calc-Clean process, clean water may come out of the
soleplate if no scale has accumulated inside the iron. This is normal.
For more information on how to carry out the Calc-Clean process, refer to
the videos in this link: http://www.philips.com/descaling-iron.
13
English
Cleaning the soleplate
To properly maintain your appliance, clean it regularly.
1 Clean the appliance with a moist cloth.
2 To easily and effectively remove stains, let the soleplate heat up and
move the iron over a moist cloth.
Tip: Clean the soleplate regularly to ensure smooth gliding.
Storage
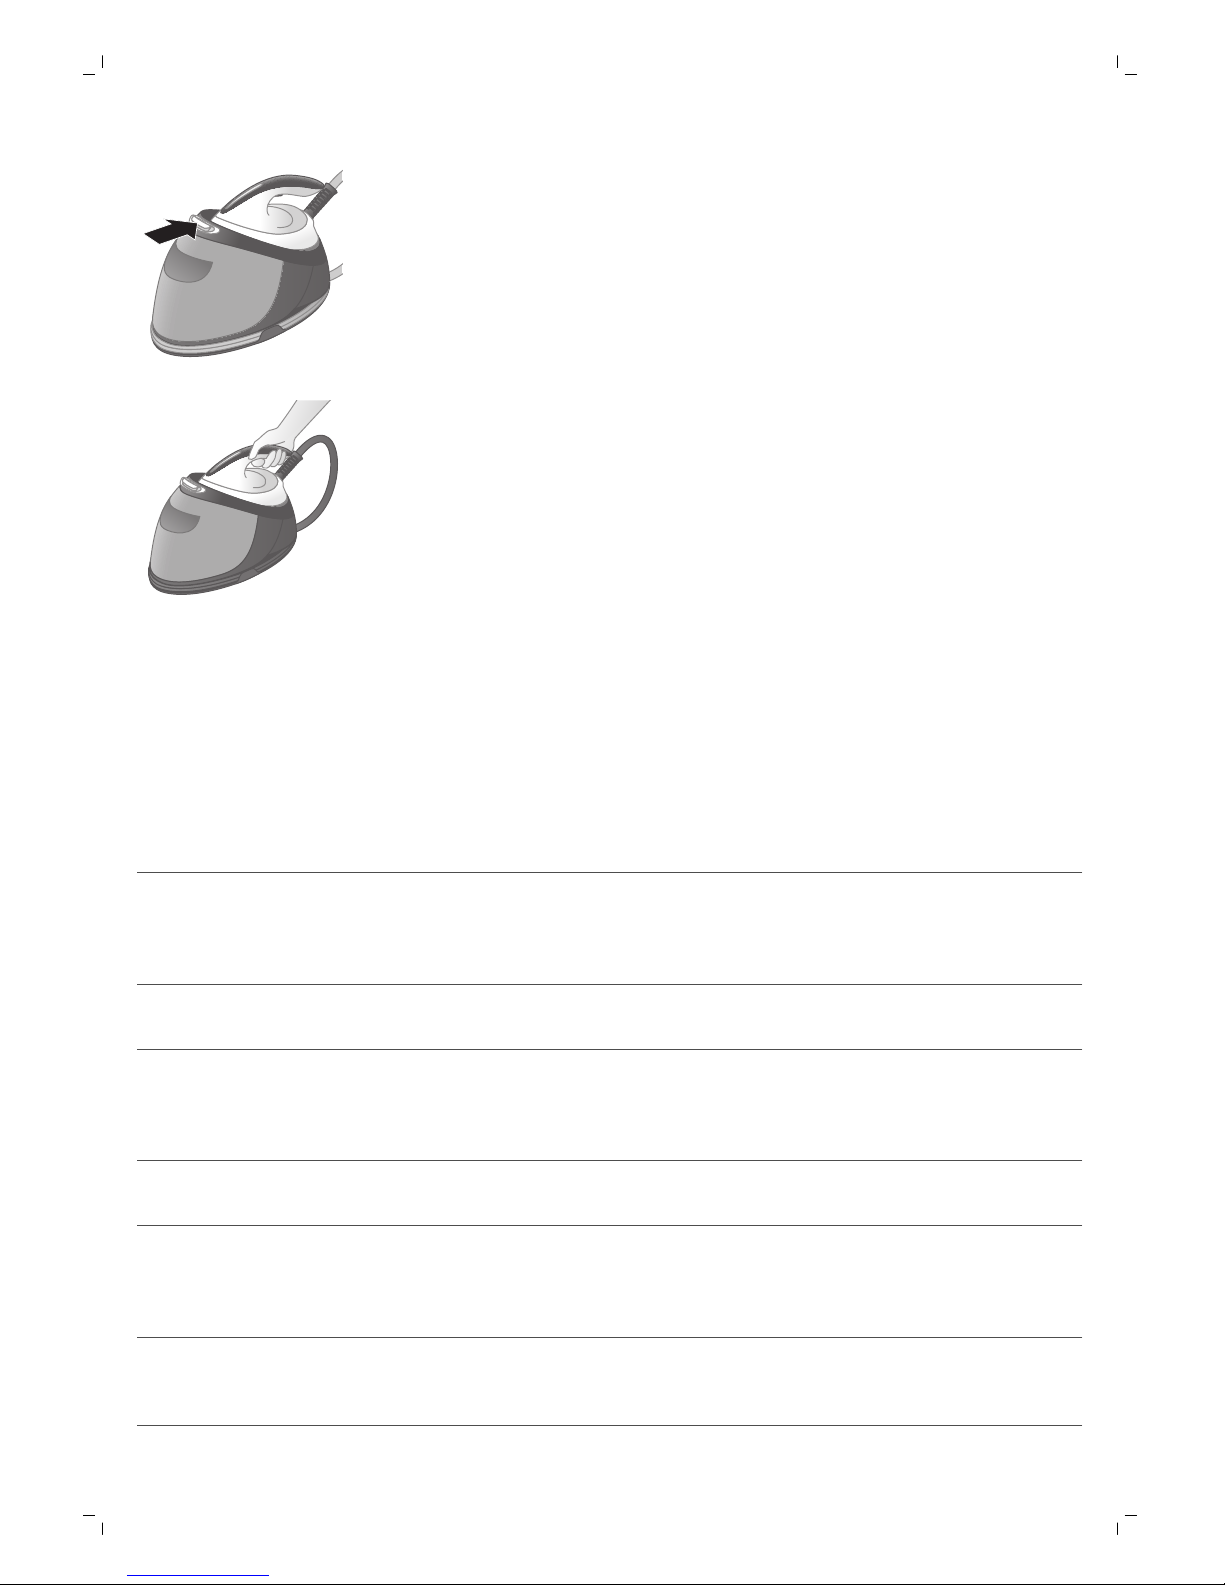
1 Switch off the steam generator and unplug it.
2 Pour the water out of the water tank into the sink.
3 Fold the water supply hose. Wind the water supply hose inside the water
supply hose storage compartment and secure it inside the storage hook.
4 Fold the mains cord and fasten it with the Velcro strip.
14
English
5 Push the carry lock release button to lock the iron onto the iron platform.
6 You can carry the appliance with one hand by the handle of the iron
when the iron is locked on the iron platform.
Troubleshooting
This chapter summarizes the most common problems you could encounter
with the appliance. If you are unable to solve the problem with the
information below, visit www.philips.com/support for a list of frequently
asked questions or contact the Consumer Care Center in your country.
Problem
Possible cause Solution
The iron does not
produce any steam.
There is not enough water in
the water tank.
Fill the water tank beyond the MIN
indication. Press and hold the steam trigger
until steam comes out. It may take up to 30
seconds until steam comes out.
You did not press the steam
trigger.
Press and hold the steam trigger until steam
comes out.
The steam function has
been disabled until you
have performed the CalcClean process.
Perform the Calc-Clean process to restore
the steam function. (see chapter ' Cleaning
and maintenance')
The water tank is not placed
in the appliance properly.
Fit the water tank back into the appliance
firmly ('click').
At the start of your ironing
session, the steam trigger
has not been pressed long
enough.
Press and hold the steam trigger until steam
comes out. It may take up to 30 seconds
until steam comes out.
The light of the CALCCLEAN button flashes
and the appliance beeps.
This is the Calc-Clean
reminder.
Perform the Calc-Clean after the CalcClean reminder is given (see chapter
'Cleaning and maintenance').
15
English

Problem Possible cause Solution
No steam comes out of
the soleplate, the light of
the CALC-CLEAN button
flashes and the appliance
beeps.
You have not done or have
not completed the CalcClean process.
Perform the Calc-Clean process to enable
the steam function again (see chapter
'Cleaning and maintenance').
The appliance has
switched off.
The safety auto-off function
is activated automatically
when the appliance has not
been used for more than 5
minutes.
To activate the appliance again, press the
on/off button. The appliance then starts to
heat up again.
The appliance produces
a loud pumping sound.
The water tank is empty. Fill the water tank with water and press the
steam trigger until the pumping sound
becomes softer and steam comes out of the
soleplate.
Water droplets come out
of the soleplate.
After the Calc-Clean process
remaining water may drip
out of the soleplate.
Wipe the soleplate dry with a piece of cloth.
If the Calc-Clean light still flashes and the
appliance still beeps, perform the CalcClean process (see chapter 'Cleaning and
maintenance').
The Calc-Clean process has
not been completed.
You have to perform the Calc-Clean
process again (see chapter 'Cleaning and
maintenance').
Steam condenses into water
in the hose when you use
steam for the first time or
have not used it for a long
time.
This is normal. Hold the iron away from the
garment and press the steam trigger.Wait
until steam instead of water comes out of
the soleplate.
Dirty water and impurities
come out of the
soleplate.
Impurities or chemicals
present in the water have
deposited in the steam vents
and/or soleplate.
Perform the Calc-Clean process regularly
(see chapter 'Cleaning and maintenance').
Water flushes out of the
soleplate.
You have accidentally
started the Calc-Clean
process (see chapter
'Cleaning and
maintenance').
Switch off the appliance. Then switch it
back on again. Let the iron heat up until the
'iron ready' light lights up steadily.
The Calc-Clean process
does not start.
You have not pressed the
CALC-CLEAN button for 2
seconds until the appliance
started beeping.
See chapter 'Cleaning and maintenance'.
The iron leaves a shine or
an imprint on the
garment.
The surface to be ironed was
uneven, for instance
because you were ironing
over a seam or a fold in the
garment.
PerfectCare is safe on all garments. The
shine or imprint is not permanent and will
come off if you wash the garment.Avoid
ironing over seams or folds or you can place
a cotton cloth over the area to be ironed to
avoid imprints.
16
English

Problem Possible cause Solution
There was not enough felt in
the ironing board cover.
Put an extra layer of felt material under the
ironing board cover.
The ironing board cover
becomes wet, or there
are water droplets on the
floor/garment.
Steam has condensed on
the ironing board cover after
a long ironing session.
Replace the ironing board cover if the foam
or felt material has worn out. You can also
add an extra layer of felt material under the
ironing board cover to prevent
condensation on the ironing board.
You have an ironing board
that is not designed to cope
with the high steam rate of
the appliance.
Put an extra layer of felt material under the
ironing board cover to prevent
condensation on the ironing board.
17
English

Hrvatski
Uvod
Čestitamo na kupnji i dobro došli u Philips! Kako biste potpuno iskoristili
podršku koju nudi tvrtka Philips, registrirajte svoj proizvod na
www.philips.com/welcome.
Prije uporabe aparata pažljivo pročitajte ovaj korisnički priručnik, letak s
važnim informacijama i kratki početni vodič. Sačuvajte ih za buduću
uporabu.
Ekskluzivna tehnologija iz tvrtke Philips
Tehnologija OptimalTemp
Tehnologija OptimalTemp omogućuje vam glačanje svih vrsta tkanina koje
se mogu glačati, bilo kojim redoslijedom, bez prilagodbe postavki
temperature i bez razvrstavanja odjeće.
Vruću površinu za glačanje možete bez brige odložiti izravno na dasku za
glačanje bez potrebe za vraćanjem natrag na platformu za glačanje. To će
vam pomoći pri smanjenju opterećenja zgloba.
Tvrtka Woolmark Company Pty Ltd odobrila je ovo glačalo za glačanje
proizvoda koji se sastoje isključivo od vune uz uvjet da se odjeća glača u
skladu s uputama na oznaci na odjeći i u uputama koje je izdao proizvođač
ovog glačala. R1602. U Ujedinjenoj Kraljevini, Irskoj, Hong Kongu i Indiji
zaštitni znak Woolmark je certifikacijski znak.
Kompaktna tehnologija ProVelocity
Ta tehnologija omogućuje neprestanu paru koja prodire duboko kako bi
jednostavno uklonili nabore. Istodobno, održava aparat kompaktnijim i
lakšim od tradicionalnih generatora pare, radi lakšeg spremanja.
Pregled proizvoda (sl. 1)
1 Crijevo za dovod vode
2 Gumb za paru/Dodatna količina pare
3 Indikator spremnosti za glačanje
4 Površina za glačanje
5 Postolje za glačalo
6 Gumb za otpuštanje mehanizma za fiksiranje prilikom nošenja
7 Odvojivi spremnik za vodu
8 Spremnik za pohranu crijeva za dovod vode
9 Kabel za napajanje s utikačem
10 Gumb CALC-CLEAN s indikatorom
18
Hrvatski

11 Gumb za uključivanje/isključivanje s indikatorom za uključivanje i
indikatorom za automatsko isključivanje
12 Gumb ECO s indikatorom
Priprema za uporabu
Vrsta vode koju treba upotrebljavati
Aparat je namijenjen za uporabu s vodom iz slavine. Međutim, ako živite u
području s tvrdom vodom, može doći do brzog nakupljanja kamenca. Stoga,
preporučuje se uporaba destilirane ili demineralizirane vode kako bi se
produljio vijek trajanja aparata.
Upozorenje: Nemojte upotrebljavati vodu s parfemom, vodu iz
sušilice, ocat, izbjeljivač, sredstva protiv kamenca, sredstva za
olakšavanje glačanja, vodu koja je kemijski očišćena od kamenca
ili druge kemikalije jer mogu prouzročiti prskanje vode, smeđe
mrlje ili oštećenje aparata.
Punjenje spremnika za vodu
1 Napunite spremnik za vodu prije svake uporabe ili kada se razina vode u
njemu spusti ispod minimalne razine. Spremnik za vodu možete napuniti
u bilo koje vrijeme tijekom uporabe.
2 Izvadite spremnik za vodu iz baze.
3 Napunite spremnik za vodu do oznake MAX.
19
Hrvatski
4 Stavite spremnik za vodu natrag u aparat tako da najprije postavite donji
dio u aparat.
5 Gurnite gornji dio spremnika za vodu dok se ne uglavi na mjesto („klik”).
Upotreba aparata
Tkanine koje se glačaju
Upozorenje:Nemojte glačati tkanine koje se ne glačaju.
-
Tkanine s ovim simbolima mogu se glačati, na primjer lan, pamuk,
poliester, svila, vuna, viskoza i umjetna svila.
-
Tkanine s ovim simbolom ne mogu se glačati. Te tkanine obuhvaćaju
sintetičke tkanine kao što je spandeks ili elastan, tkanine s mješavinom
spandeksa i poliolefini (npr. polipropilen). Grafike na odjeći također se ne
smiju glačati.
Glačanje
1 Stavite generator pare na stabilnu i ravnu površinu.
Napomena: Kako biste osigurali sigurno glačanje, preporučujemo da
bazu uvijek postavite na stabilnu dasku za glačanje.
2 Provjerite ima li u spremniku za vodu dovoljno vode.
20
Hrvatski

3 Utikač uključite u uzemljenu zidnu utičnicu i pritisnite gumb za
uključivanje/isključivanje kako biste uključili generator pare. Pričekajte da
indikator spremnosti za glačanje počne neprekidno svijetliti. To traje o. 2
minute.
4 Izvadite crijevo za dovod vode iz spremnika za pohranu crijeva za dovod
vode.
5 Pritisnite gumb za otpuštanje mehanizma za fiksiranje pri nošenju kako
biste otpustili glačalo s platforme za glačalo.
6 Pritisnite i zadržite gumb za paru kako biste započeli glačati.
Upozorenje: Paru nikada nemojte usmjeravati prema ljudima.
7 Kako biste postigli najbolje rezultate glačanja, nakon glačanja parom
izvršite posljednje poteze bez upotrebe pare.
Napomena: Pri prvoj uporabi aparata, može biti potrebno 30 sekundi da
para počne izlaziti iz aparata.
Napomena: Pumpa se aktivira svaki put kada pritisnete gumb za paru.
Proizvodi suptilan zvuk zveckanja, što je normalno. Kada u spremniku za
vodu nema vode, zvuk pumpe je glasniji. Nadopunite spremnik za vodu
vodom kada razina vode bude ispod minimalne razine.
Možete se koristiti načinom TURBO pare za snažno strujanje pare koji je
siguran na svim tkaninama koje se glačaju.
Preporučuje se da se koristite načinom rada pare TURBO za tkanine kao što
je pamuk, traper i posteljina.
1 Pritisnite i zadržite gumb za uključivanje/isključivanje 2 sekunde dok
indikator ne počne svijetliti bijelo.
2 Kako biste deaktivirali način rada TURBO, pritisnite gumb za
uključivanje/isključivanje i zadržite ga 2 sekunde sve dok indikator ne
počne svijetliti plavo.
Funkcija za dodatnu količinu pare
Koristite se funkcijom za dodatnu količinu pare radi izravnavanja postojanih
nabora.
21
Hrvatski

2x
1 Dvaput brzo pritisnite gumb za paru.
Okomito glačanje
Upozorenje: Iz glačala izlazi vruća para. Nikad nemojte pokušati
uklanjati nabore s odjevnog predmeta dok ga netko nosi. Nemojte
pariti u blizini svoje ili tuđe ruke.
Parno glačalo možete upotrebljavati u okomitom položaju kako biste uklonili
nabore s izvješenih tkanina.
1 Glačalo držite u okomitom položaju, pritisnite gumb za paru i lagano
dodirnite tkaninu površinom za glačanje te pomičite glačalo gore-dolje.
Sigurno odlaganje
Odlaganje glačala tijekom preslagivanja odjeće
Tijekom preslagivanja odjeće, glačalo možete odložiti na platformu za
glačalo ili vodoravno na dasku za glačanje. Tehnologijom OptimalTemp
osigurano je da površina za glačanje neće oštetiti navlaku daske za glačanje.
22
Hrvatski

Ušteda energije
Način rada ECO
Koristeći se načinom rada ECO (smanjena količina pare), možete uštedjeti
energiju bez kompromisa u rezultatu glačanja.
1 Kako biste aktivirali način rada ECO, pritisnite gumb ECO. Uključuje se
zeleni indikator ECO.
2 Kako biste deaktivirali način rada ECO, ponovno pritisnite gumb ECO.
Isključuje se zeleni indikator ECO.
Način rada sigurnosnog automatskog isključivanja (samo
određeni modeli)
-
Kako bi se uštedjela energija, aparat se automatski isključuje ako se ne
upotrebljava 5 minuta. Svjetlo s automatskim isključivanjem na gumbu za
uključivanje/isključivanje počne bljeskati.
-
Kako biste ponovno aktivirali aparat, pritisnite gumb za
uključivanje/isključivanje. Aparat se tada ponovno počinje zagrijavati.
Upozorenje: Aparat nikada nemojte ostavljati bez nadzora dok je
spojen na mrežno napajanje. Uvijek isključite uređaj iz utičnice
nakon uporabe.
Čišćenje i održavanje
Napredni sustav Calc-Clean
Vaš aparat osmišljen je s pomoću sustava Smart Calc-Clean kako bi se
osiguralo redovito uklanjanje kamenca i čišćenje. Time se održava učinkovito
stvaranje pare te se sprječava da prljavština i mrlje prodru iz površine za
glačanje tijekom vremena. Kako bi se osiguralo izvršavanje postupka
čišćenja, generator pare redovito daje podsjetnike.
23
Hrvatski
Zvučni i svjetlosni podsjetnik za Calc-Clean
Nakon 1 do 3 mjeseca uporabe indikator Calc-Clean počet će treperiti i
aparat će se početi oglašavati zvučnim signalom kako bi vas upozorio da
morate izvršiti postupak Calc-Clean.
Osim toga, ugrađen je i drugi obrambeni korak za zaštitu generatora pare od
kamenca: funkcija stvaranja pare bit će onemogućena ako se ne provede
uklanjanje kamenca. Nakon što se izvrši uklanjanje kamenca, funkcija
stvaranja pare bit će ponovno uključena. To se odvija bez obzira na vrstu
vode koja se upotrebljava.
Napomena: Postupak Calc-Clean može se izvršiti u bolo kojem trenutku, čak
i kada se zvučni i svjetlosni podsjetnik još nije aktivirao.
Izvršavanje postupka Calc-Clean sa spremnikom Calc-Clean
Upozorenje: Tijekom postupka Calc-Clean nemojte ostavljati
aparat bez nadzora.
Oprez: Uvijek izvršite postupak Calc-Clean sa spremnikom Calc-Clean.
Nemojte prekidati postupak podizanjem glačala sa spremnika Calc-Clean
jer će iz površine za glačanje izaći vruća voda i para.
1 Napunite spremnik za vodu do polovice.
Napomena: Tijekom postupka Calc-Clean aparat mora biti priključen u
izvor napajanja i uključen.
2 Spremnik Calc-Clean postavite na dasku za glačanje ili na bilo koju ravnu
i stabilnu površinu.
24
Hrvatski
3 Glačalo stabilno postavite na spremnik Calc-Clean.
2 sec.
4 Pritisnite gumb CALC-CLEAN i držite ga 2 sekunde dok ne začujete kratke
zvučne signale.
Napomena: Spremnik Calc-Clean osmišljen je za skupljanje čestica
kamenca i vruće vode tijekom postupka Calc-Clean. Potpuno je sigurno
odložiti glačalo na spremnik tijekom čitavog postupka.
2 min.
5 Tijekom postupka Calc-Clean čut ćete kratke zvučne signale i zvuk
pumpanja.
6 Pričekajte približno 2 minute da aparat dovrši postupak. Nakon dovršetka
postupka Auto Calc Clean, glačalo prestaje proizvoditi zvučni signal i
indikator CALC-CLEAN prestane treperiti.
7 Obrišite glačalo komadom tkanine i vratite ga na baznu stanicu.
Oprez: Glačalo je vruće.
25
Hrvatski
 Loading...