

Philips GC4238 Service Manual

Steam Iron Azur 4200
GC4238
Philips Domestic Appliances and Personal Care
Service Manual
PRODUCT INFORMATION
Features
- Color : White
- Careeza soleplate
- Steam output (40 gram/min)
- Shot Of Steam, SOS (95 gram/min)
- Vertical SOS
- Spray feature
- Tank capacity (340 ml)
- Cord winder
- Cord length (2.4 m)
- Drip stop feature
- Anti-calc feature
- Self clean feature
- Soft touch hand grip
- Auto-Shut-Off (ASO) feature
- Safety light
Safety Information
- This product meets the requirements regarding
interference suppression on radio and TV.
- After the product has been repaired, it should function
properly and has to meet the safety requirements and
legal regulations as officially laid down at this moment.
TECHNICAL INFORMATION
Voltage : 220 - 240 V; 100 V
Frequency : 50 - 60 Hz
Power : 2000 - 2400 W; 1200 W
Dimension (F-box) : 328 (L) x 129 (W) x 163 (H) mm
Weight : 1.47 kg
Water Advice
Suitable for tap water use. Advice to mix with equal portion
of distilled water or use only distilled water if the tap water is
very hard.
Self Clean
When the self clean button is pressed, a sudden release of
water into the soleplate loosen scale particles by thermal
shock. These particles are then fl ushed out through the steam
vents by the water.
Careeza Soleplate
Careeza is a multi-layer chemical substance that gives an
excellent gliding effect and better care for the garment.
Vertical Steam
When the iron is kept in a vertical position, the SOS button
can be used to iron hanging fabrics such as curtains.
Anti Drip
Water is only released into steam chamber via the tank
valve when the soleplate temperature is high enough. If the
temperature is too low, the tank valve is closed by means of a
bi-metal disc.
Auto-Shut-Off
The power to the heating element is cut off when the iron has
been motionless. The “Auto-Off” pilot light starts blinking.
When the iron is moved, it is automatically switched on.
Safety Light
A bright LED built into the water tank stays on as long as the
iron is plugged into a power socket. The LED light, obvious
from anywhere in the room, remind user that the iron is on.
Published by Philips Domestic Appliances and Personal Care Printed in the Netherlands © Copyright reserved Subject to modification
03/08
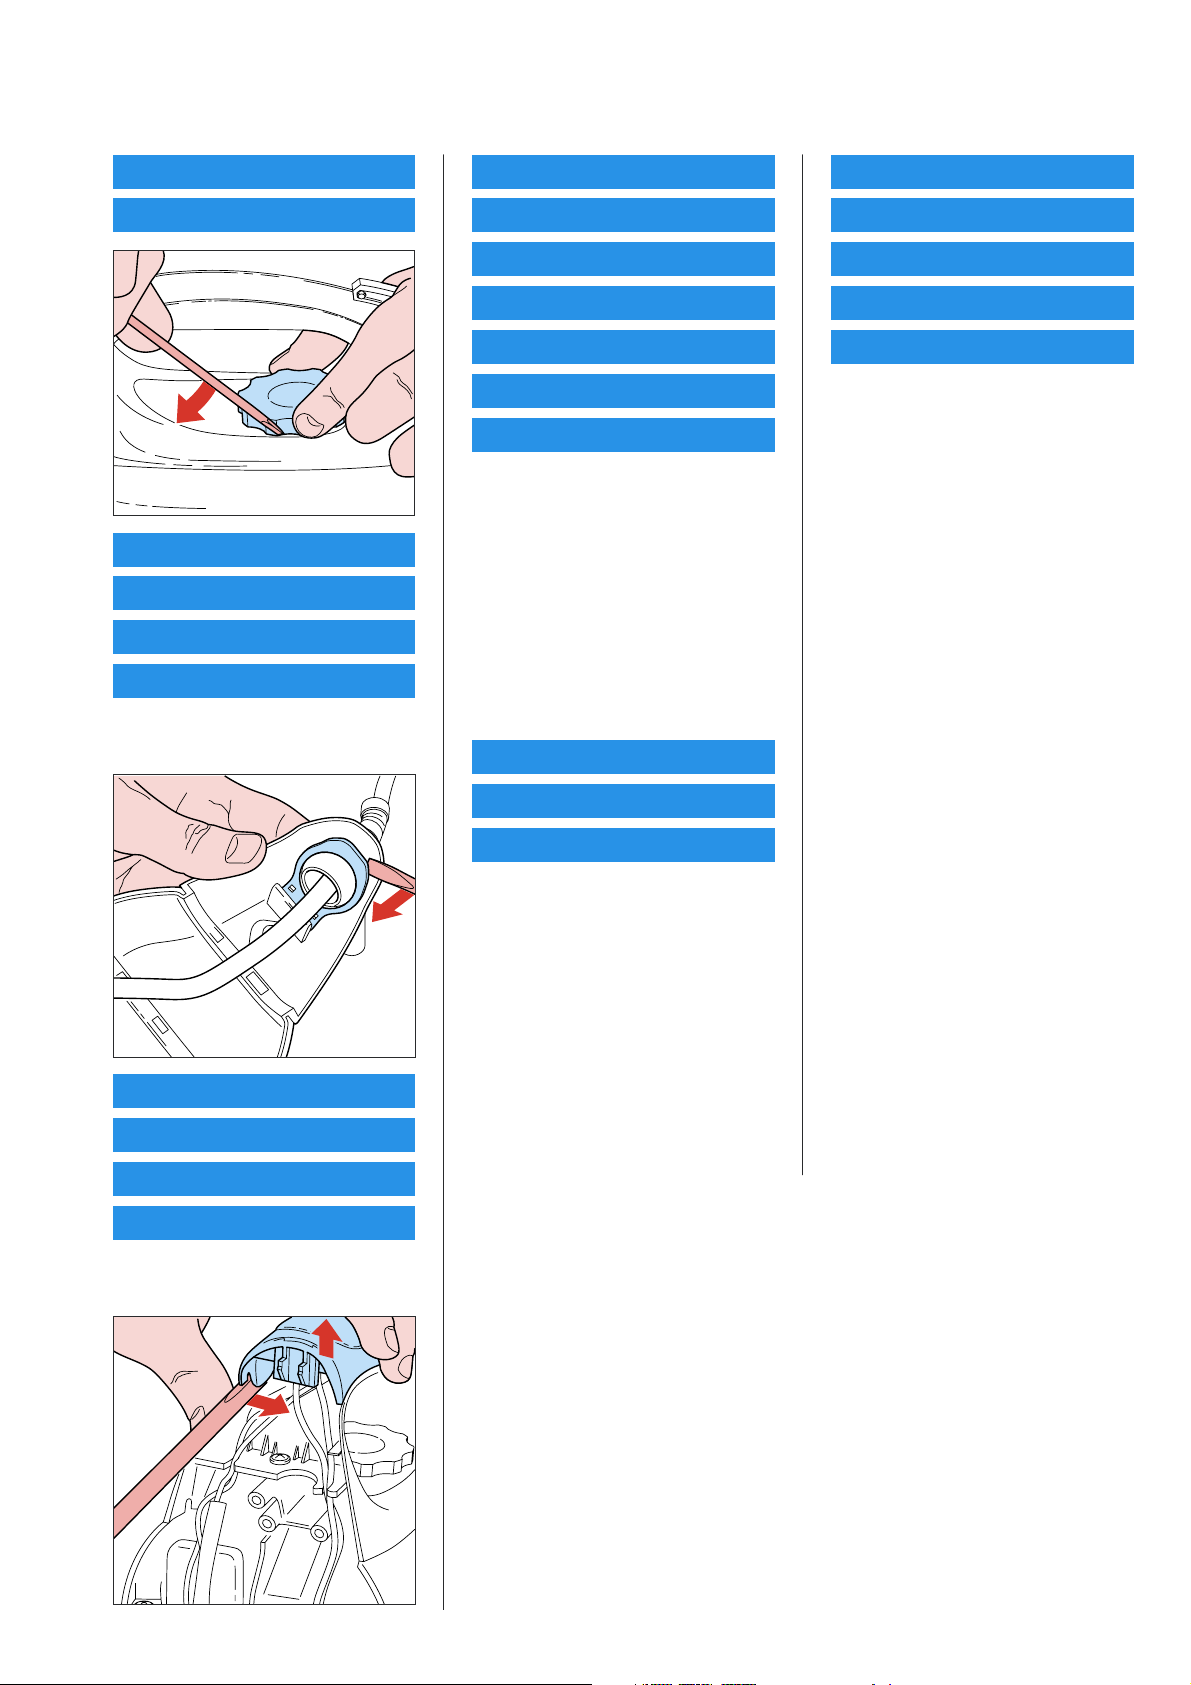
DISASSEMBLY ADVICE
GC4238
DIAL 1
RATTLE SPRING 2
BACKPLATE 3
BACKPLATE COVER 26
CORDSET 4
BALL SWIVEL 5
Remove Screw A
Remove Screws B1, B2
SLIDE UNIT 10
NEEDLE SET 11
TANK SEAL 12
HANDLE 13
SELF CLEAN BUTTONS 14
SPRAY NOZZLE ASSY 15
PUMP ASSY 16
Remove Screw A
Remove Backplate 3, 26
Remove Inlay 7
Remove Operation knobs 101, 102
Remove Screws C1, C2
Remove Slide Unit 103, 104
Remove Needle set
105, 106, 107, 108, 109
Remove Screws D1, D2
THERMOSTAT BUSH 17
SOLEPLATE COVER 19
ISOLATION PLUG 20
SOS SEAL 21
DOSING SEAL 22
SOLEPLATE ASSY 23
Remove Screw A
Remove Backplate 3, 26
Remove Inlay 7
Remove Operation knobs 101, 102
Remove Screws D1, D2
Remove Handle 13
Remove Screws E1, E2
Remove Water tank 18
Remove Screw F
Remove Heat shield
Remove Screws G1, G2
Remove Soleplate cover 19
FILLING DOOR 6
INLAY 7
OPERATION KNOBS 8
ASO UNIT 9
Remove Screw A
Remove Backplate 3, 26
WATER TANK 18
SAFETY LIGHT 28
Remove Screw A
Remove Backplate 3, 26
Remove Screw J
Remove Safety light 28
Remove Inlay 7
Remove Operation knobs 101, 102
Remove Screws D1, D2
Remove Handle 13
Remove Screws E1, E2
Remove Water tank 18
Remove Screw F
REPAIR INSTRUCTIONS
- Due to the high voltage of the iron, ONLY the specified cordsets must be used.
- Thermostat (Pos 116) fitted to the soleplate (Pos 23) was pre-adjusted by the
suppliers and secured by glue. To avoid mal-function of the iron, NEVER adjust
the thermostat.
- No information about the type number and voltage is stamped onto the typeplate.
When replacing the back plate (typeplate is at the bottom), engrave at least the type
number & voltage on the typeplate with a sharp object.
- Parts with numbers from 103 and higher cannot be ordered separately.
OPTIONAL (accessories)
- No specific issues
2-4
 Loading...