

Page 1
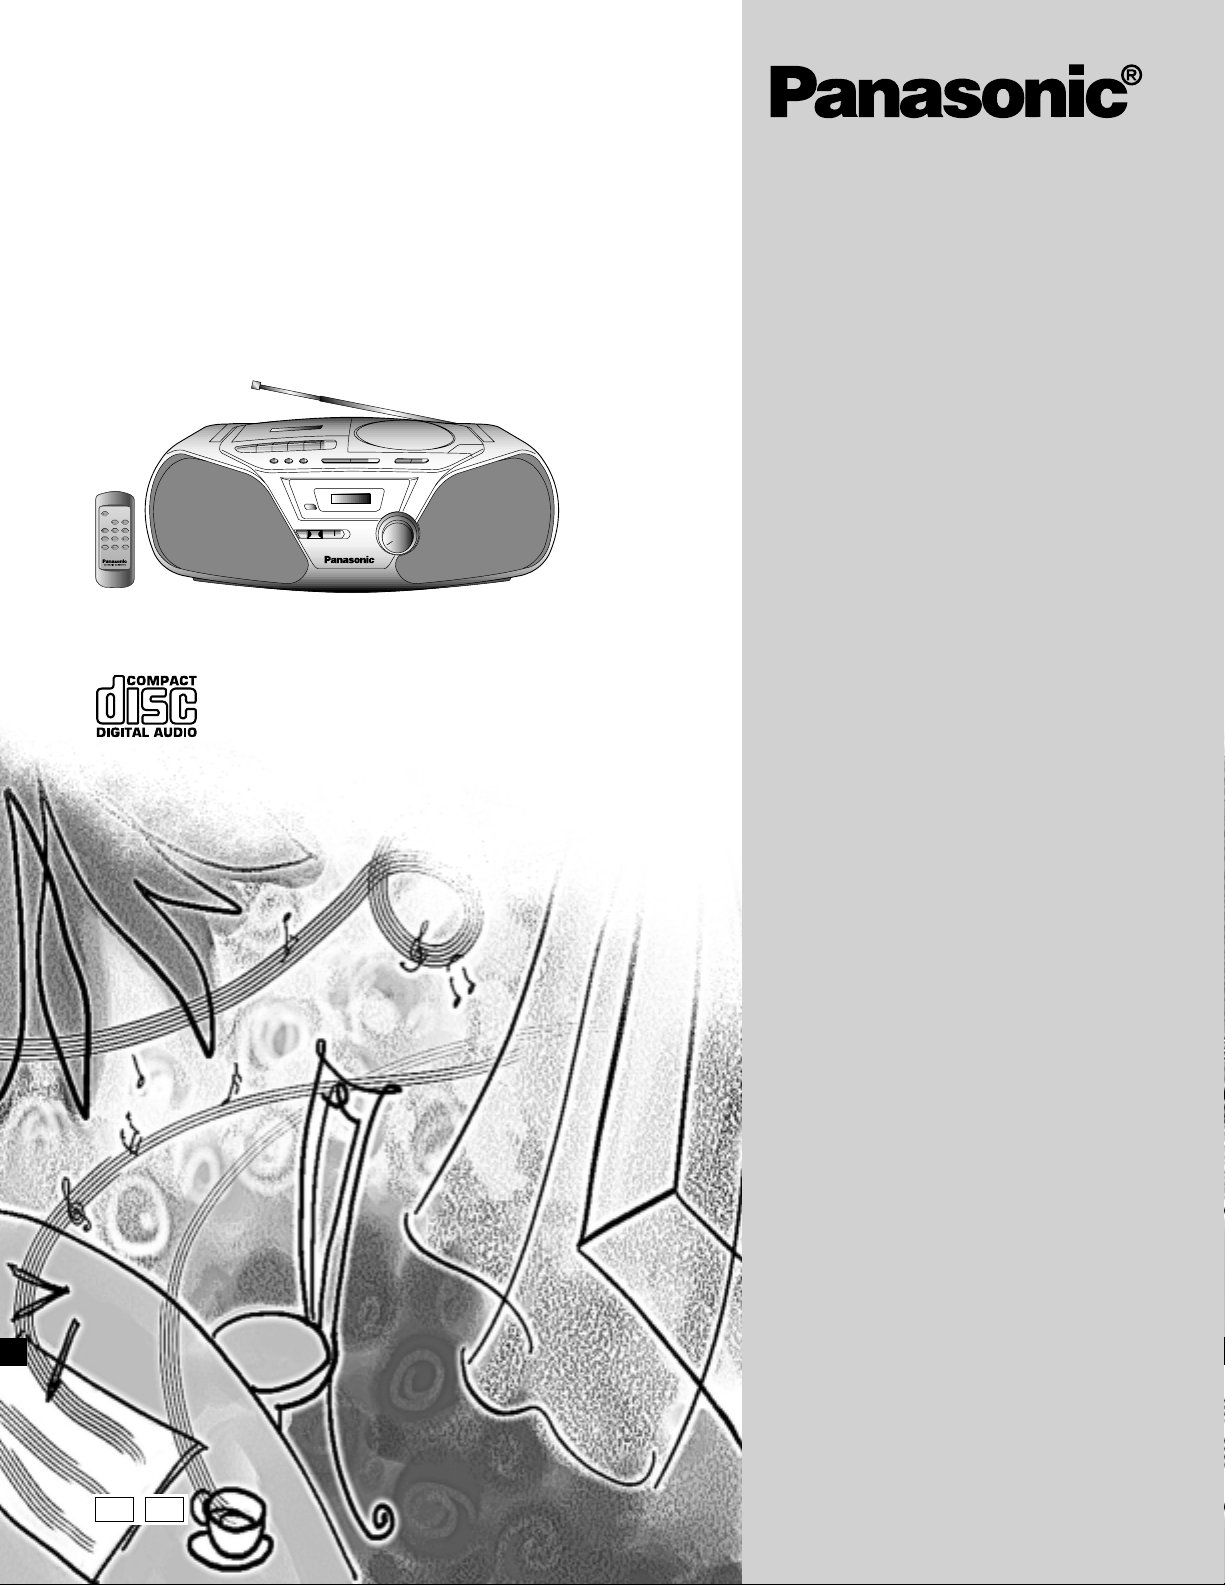
Portable Stereo CD System
Operating Instructions
Model No. RX-D11
RX-D10
The illustrations show RX-D11.
EB GN
Note:
The “EB” indication shown on the packing case
indicates United Kingdom.
Before connecting, operating or adjusting this product, please read these instructions completely.
Please keep this manual for future reference.
RQT5210-B
Page 2
Dear customer
Thank you for purchasing this product.
For optimum performance and safety, please read these instructions
carefully.
Table of Contents
Before use
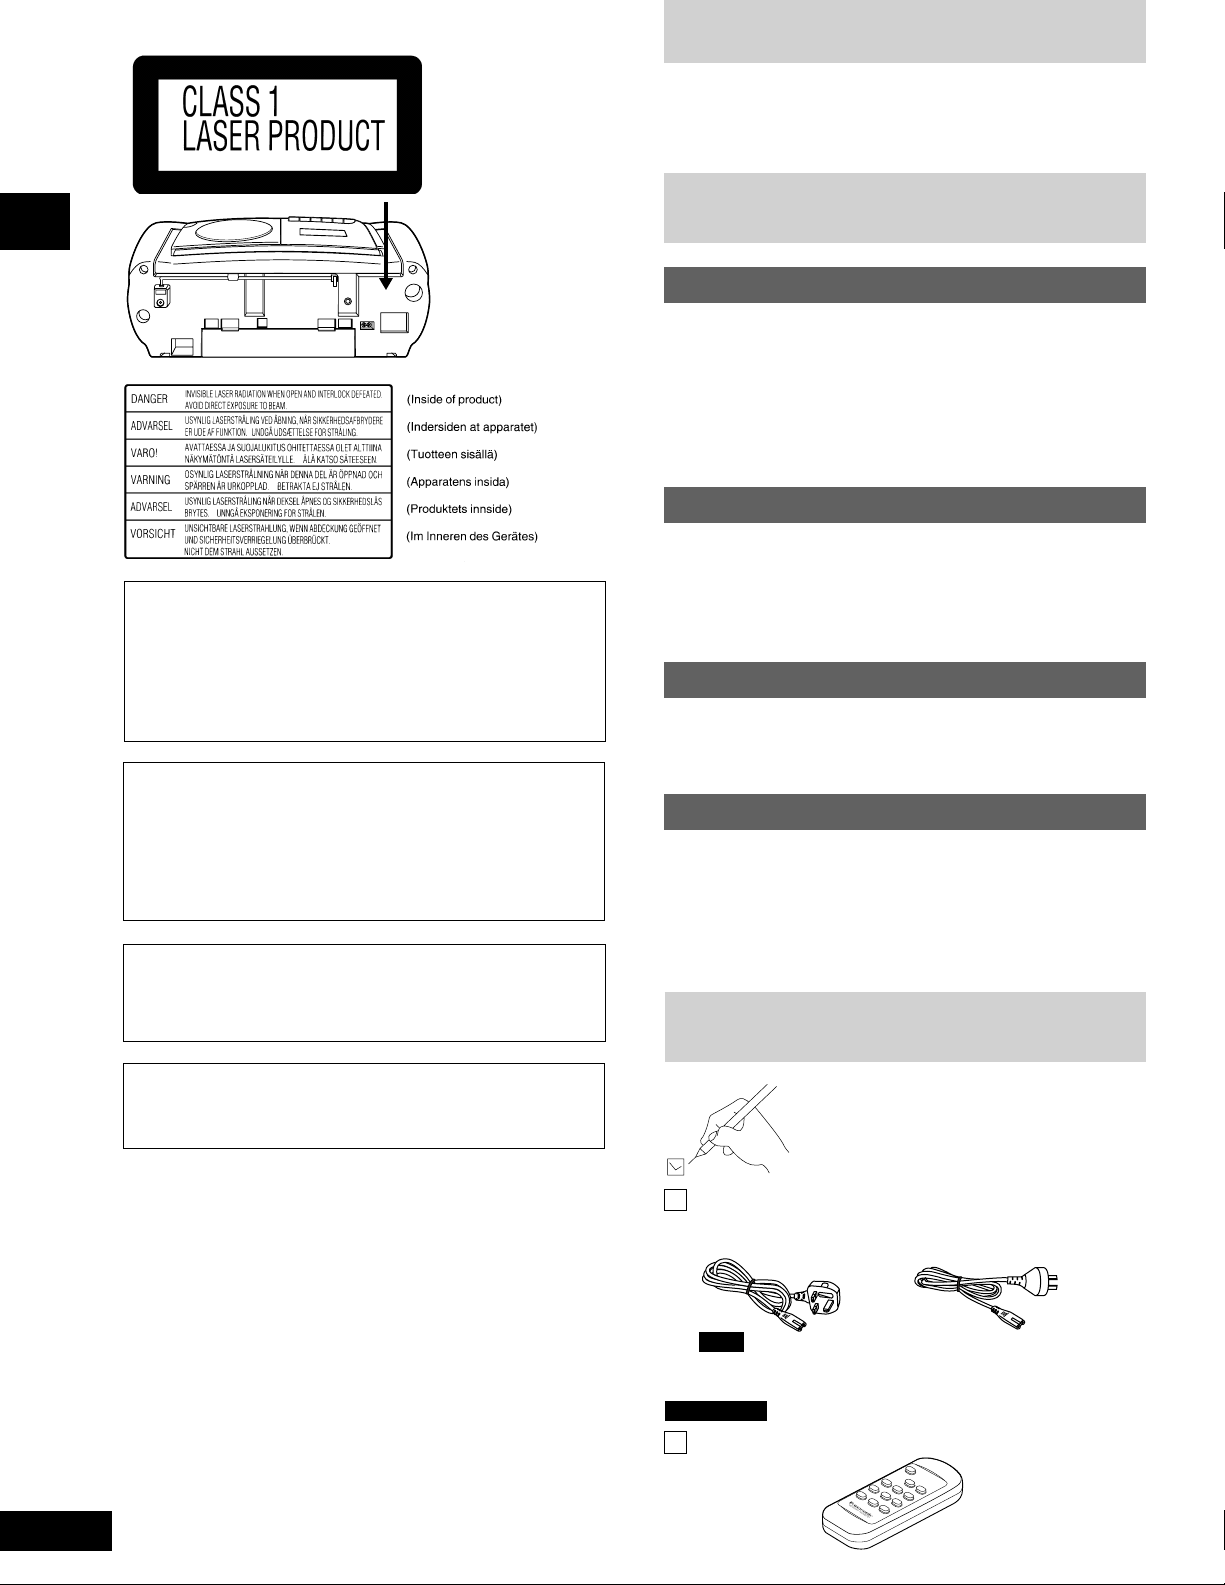
CAUTION!
THIS PRODUCT UTILIZES A LASER. USE OF CONTROLS OR
ADJUSTMENTS OR PERFORMANCE OF PROCEDURES
OTHER THAN THOSE SPECIFIED HEREIN MAY RESULT IN
HAZARDOUS RADIATION EXPOSURE.
DO NOT OPEN COVERS AND DO NOT REPAIR YOURSELF.
REFER SERVICING TO QUALIFIED PERSONNEL.
CAUTION!
DO NOT INSTALL OR PLACE THIS UNIT IN A BOOKCASE,
BUILT IN CABINET OR IN ANOTHER CONFINED SPACE.
ENSURE THE UNIT IS WELL VENTILATED. ENSURE THAT
CURTAINS AND ANY OTHER MATERIALS DO NOT OBSTRUCT
THE VENTILATION TO PREVENT RISK OF ELECTRIC SHOCK
OR FIRE HAZARD DUE TO OVERHEATING.
WARNING:
TO REDUCE THE RISK OF FIRE, ELECTRIC SHOCK OR
PRODUCT DAMAGE, DO NOT EXPOSE THIS APPLIANCE TO
RAIN, SPLASHING, DRIPPING OR MOISTURE.
In these operating instructions, “unit off” defines the following
modes.
“Standby” when AC power is used.
“Battery power off” when batteries are used.
(Back of product)
Before use
Supplied accessories ......................................................... 2
Caution for AC Mains Lead ................................................ 3
Precautions ........................................................................ 4
Power sources ................................................................... 4
Location of controls ............................................................ 5
Concerning the remote control (RX-D11 only) ................... 6
To listen through headphones ........................................... 6
Listening
Presetting radio broadcasts ............................................... 7
Listening to radio broadcasts......................................... 8
Listening to CDs............................................................. 10
Listening to tapes .......................................................... 12
Changing the sound quality ............................................. 12
Recording
Before recording............................................................... 13
Recording from radio broadcasts ................................ 13
Recording from CDs ...................................................... 13
Reference
Concerning CDs............................................................... 14
Concerning cassette tapes .............................................. 14
Troubleshooting guide ..................................................... 15
Maintenance..................................................................... 15
Technical specifications ......................................Back cover
Supplied accessories
Please check and identify the supplied
accessories.
Use numbers indicated in parentheses when
asking for replacement parts.
RQT5210
AC mains lead ....................................................................1 pc.
(For United Kingdom: (For Australia and New Zealand:
RJA0053-2X) RJA0035-X)
Note
The included AC mains lead is for use with this unit only. Do not
use it with other equipment.
RX-D11 only
Remote control transmitter (EUR646553) .......................... 1 pc.
2
Page 3
Caution for AC Mains Lead
(For United Kingdom)
(“EB” area code model only)
For your safety, please read the following text carefully.
This appliance is supplied with a moulded three pin
mains plug for your safety and convenience.
A 5-ampere fuse is fitted in this plug.
Should the fuse need to be replaced please ensure that
the replacement fuse has a rating of 5-ampere and that
it is approved by ASTA or BSI to BS1362.
Check for the ASTA mark or the BSI mark on the
body of the fuse.
If the plug contains a removable fuse cover you must
ensure that it is refitted when the fuse is replaced.
If you lose the fuse cover the plug must not be used
until a replacement cover is obtained.
A replacement fuse cover can be purchased from your
local dealer.
CAUTION!
IF THE FITTED MOULDED PLUG IS UNSUITABLE
FOR THE SOCKET OUTLET IN YOUR HOME THEN
THE FUSE SHOULD BE REMOVED AND THE
PLUG CUT OFF AND DISPOSED OF SAFELY.
THERE IS A DANGER OF SEVERE ELECTRICAL
SHOCK IF THE CUT OFF PLUG IS INSERTED INTO
ANY 13-AMPERE SOCKET.
WARNING: DO NOT CONNECT EITHER WIRE TO
THE EARTH TERMINAL WHICH IS MARKED WITH
THE LETTER E, BY THE EARTH SYMBOL
COLOURED GREEN OR GREEN/YELLOW.
THIS PLUG IS NOT WATERPROOF—KEEP DRY.
i
OR
Before use
Remove the connector cover.
How to replace the fuse
The location of the fuse differ according to the type of
AC mains plug (figures A and B). Confirm the AC mains
plug fitted and follow the instructions below.
Illustrations may differ from actual AC mains plug.
1. Open the fuse cover with a screwdriver.
Figure A
Before use
If a new plug is to be fitted please observe the wiring
code as stated below.
If in any doubt please consult a qualified electrician.
IMPORTANT
The wires in this mains lead are coloured in accordance
with the following code:
Blue: Neutral, Brown: Live.
As these colours may not correspond with the coloured
markings identifying the terminals in your plug, proceed
as follows:
The wire which is coloured Blue must be connected to
the terminal which is marked with the letter N or coloured
Black or Blue.
The wire which is coloured Brown must be connected to
the terminal which is marked with the letter L or coloured
Brown or Red.
Figure B
Fuse cover
2. Replace the fuse and close or attach the fuse cover.
Figure A
Fuse
(5 ampere)
Figure B
Fuse
(5 ampere)
3
RQT5210
Page 4

Precautions
A
A
Before use
B
C
Max. 40°C
AC IN ~
AC mains lead
(included)
To
household
mains
socket
If this unit is not used for a long period of time or is used
•
only from an AC power source, remove all the batteries to
prevent potential damage due to possible battery leakage.
Avoid using or placing this unit near sources of heat. Do not
•
leave it in an automobile exposed to direct sunlight for a long
time with the doors and windows closed as this may deform the
cabinet.
Avoid cuts, scratches, or poor connections in the AC mains lead,
•
as they may result in possible fire or electric shock hazard. Also,
excessive bending, pulling or splicing of the cord should be
avoided.
Do not unplug the AC mains lead by pulling on the lead. To do so
•
may cause premature failure or shock hazard.
Do not operate this unit on AC power in a bathroom, as a potential
•
shock hazard may result.
When not in use, disconnect the AC mains lead from the household
•
mains socket.
Use of batteries
Align the poles (+ and –) properly when inserting the batteries.
•
Do not mix old and new batteries or different types of batteries.
•
Do not recharge ordinary dry cell batteries.
•
Do not heat or disassemble the batteries. Do not allow them to
•
contact flame or water.
If the unit is not going to be used for a long time or if the unit is to
•
be powered exclusively by AC power, remove the batteries and
store them in a cool dark place.
Do not keep together with metallic objects such as necklaces.
•
Do not use rechargeable type batteries.
•
Do not use batteries if the covering has been peeled off.
•
Mishandling of batteries can damage other items, cause damage to
the unit, and may cause a fire through short-circuiting or electrolyte
leakage.
If electrolyte leaks from the batteries, consult your dealer.
Wash thoroughly with water if electrolyte comes in contact with any
part of your body.
(R20/LR20, D, UM-1)
D
Insert your finger into the opening and push out.
Bottom of the unit
Inner row
Outer row
Power sources
Using a household mains socket
FOR UNITED KINGDOM ONLY
BE SURE TO READ THE CAUTION FOR THE AC MAINS LEAD
ON PAGE 3 BEFORE CONNECTION.
Connect the included AC mains lead to the [AC IN ~] socket of the
unit and your household mains socket.
Notes
Before connecting or disconnecting the AC mains lead to the unit,
•
make sure the unit is switched off by setting [ ] to “TAPE/
”. (If the tape is travelling, press [L/c STOP/EJECT] as well.)
If the unit is not going to be used for a prolonged period of time,
•
disconnect the AC mains lead to conserve power.
Using batteries (not included)
Disconnect the AC mains lead from the [AC IN ~] socket of the unit,
and insert six R20/LR20 (D, UM-1, not included) batteries in the
illustrated order.
When to replace the batteries
Replace all batteries with new ones if the sound is distorted or the unit
fails to operate properly. When the batteries start to wear out, it may
not be possible to play CDs properly even when there is nothing
wrong with the radio and tape operations.
B
C
RQT5210
How to remove the batteries D
4
Remove batteries by inserting your finger into opening on the bottom
of the unit and pushing out.
Page 5
Power sources
A
B
(R6/LR6, AA, UM-3)
3
5
1
2 6
Y
A
L
P
C
E
R
4
REW/REV
7
E
S
AU
P
T
C
E
J
E
/
P
O
T
S
E
U
C
/
F
F
10 11 12 13 14 15
Memory back-up batteries (not included)
In the event of a power failure, or if the AC mains lead is disconnected
from the household mains socket (during AC operation), or should the
batteries fail, the memory back-up batteries will preserve the preset
memory of this unit.
Battery installation A
Insert two R6/LR6 (AA, UM-3, not included) batteries into the battery
compartment, making sure that the batteries are installed in the
designated numerical order and that the proper polarities are
maintained.
The life of the memory back-up batteries can be prolonged by
•
keeping the AC mains lead plugged in the household mains socket
at all times.
When disconnecting the AC mains lead, switch off the unit first by
•
98
setting [ ] to “TAPE/ ”. (If the tape is travelling, press
[L/c STOP/EJECT] as well.) The life of the memory back-up
batteries is reduced if the AC mains lead is disconnected from a
household mains socket with the power still supplied.
Battery removal
Press the negative end of the number 2 battery to remove batteries.
Battery life
The life of the memory back-up batteries is about one year.
Before use
C
17 1916 18
Location of controls
Main unit
B
Number Designation Reference page
1 Deck (Recording/playback)
aa
2 Recording button (
3 Playback button (
- -
- PLAY).........................................12
- -
4 Rewind/review button (
5 Fast forward/cue button (
6 Stop/eject button (
7 Pause button (
LL
L/
LL
J J
J PAUSE) ............................................12
J J
8 CD lid
9 CD lid open button (CD
! XBS button (XBS) .......................................................12
" CD program, tuner preset button (MEMORY) ...... 7, 11
# Tuning mode, CD play mode select button
(TUNE MODE, CD PLAY MODE) ........................... 8, 10
$ CD stop/program clear, stereo/monaural button
(L CLEAR, FM MODE) ............................................ 9-11
% CD play/pause, band select button
--
JJ
(
-/
J, BAND) ........................................................... 7, 10
--
JJ
& Tuning/CD skip, search buttons
gg
ff
(–/
g,
gg
+ TUNE/CD) ...................................... 7, 10
f/
ff
C
( Function selector (
The function selector switch does not separate entire unit from
mains even if in “TAPE/ ” position.
) Display panel
~ Volume control (
+ Speaker
Note
These speakers do not have magnetic shielding. Do not place
them near televisions, personal computers or other devices easily
influenced by magnetism.
) .........................................13
a
aa
;; ;;
;; REW/REV) ..................... 12
;; ;;
:: ::
:: FF/CUE) ..................... 12
:: ::
c c
c STOP/EJECT) ...................... 12
c c
cc
c).........................................10
cc
) ......................... 7, 10, 12
)............................................ 8
5
RQT5210
Page 6

Location of controls
A
Before use
B
1
2
10
20
11
21
MEMORY/
PGM
23
25
27
R03/LR03, AAA, UM-4
R03/LR03, AAA, UM-4
22
24
26
Remote control (RX-D11 only)
Buttons ! and " have the same functions as the corresponding
buttons on the main unit.
A
Number Designation Reference page
, Auto scan button (AUTO SCAN) ................................. 9
- CD play mode select button (CD PLAY MODE) ....... 10
. Band select button (BAND) ......................................... 7
/ FM mode select button (FM MODE) ........................... 9
: Preset channel select/preset scan buttons
33
(
3 PRESET TUNE
33
; Manual tuning/CD skip, search buttons
gg
g,
gg
ff
f/
ff
(–/
< CD play/pause button (-/J)...................................... 10
= CD stop/program clear button (L/CLEAR) ......... 10, 11
44
4) .............................................. 7, 8
44
+)....................................................... 7, 10
Concerning the remote control
RX-D11 only
Battery (not included) installation and
removal
1 Open the battery cover. (Push the cover in the direction of the
“ : ” mark, then lift.)
2 Insert the batteries in the correct polarities (e, d).
Remove the batteries by pulling the positive side of the battery up.
B
C
Remote control signal sensor
About 7 meters in front
of the signal sensor.
D
30° 30°
Transmission
window
PHONES
Correct method of use
Operation notes
Do not place obstacles between the remote control signal sensor
•
and remote control unit.
Do not expose the remote control signal sensor to direct sunlight
•
or to the bright light of a fluorescent light.
Take care to keep the remote control signal sensor and end of the
•
remote control unit free from dust.
To prevent damage
Never place heavy items on it.
•
Do not disassemble or reconstruct it.
•
Do not spill water or other liquids into it.
•
C
To listen through headphones (not
included)
Turn down the volume and connect the headphones to
the [PHONES] jack.
Plug type: 3.5 mm stereo
Note
Avoid listening for prolonged periods of time to prevent hearing damage.
D
RQT5210
~
~
6
Page 7

Presetting radio broadcasts
1 3 5 2 4 67
1
2
3
Up to twelve FM and AM stations each can be programmed.
•
If broadcast frequencies are preset in the memory, you can easily
•
tune in any of these frequencies.
You can preset just those stations you like.
•
Set [ ] to “TUNER”.
1
Press [BAND] to select “FM” or “AM”.
2
Every time you press the button: FM ↔ AM
Press [MEMORY].
3
“ ” and the frequency flash.
While “ ” and the frequency are flashing:
4
Press [–/g] or [f/
station.
“ ” lights when an FM stereo program is being received.
Reference
You can select the desired broadcast by using “Automatic
tuning”. (See page 9.)
Press [MEMORY].
5
“ ” and the preset channel number flash.
While “ ” and the preset channel number are
6
flashing:
Press [–/g] or [f/+] to select the preset channel.
+] to select the desired
Listening
4
5
6
Preset channel
Press [MEMORY].
7
If the “ ” indicator goes off during programming, return to
step 3.
Repeat steps 3 to 7 to program other stations.
RX-D11 only
When using the remote control
Preparation: Set [ ] to “TUNER”.
1. Press [BAND] to select “FM” or “AM”.
2. Press [MEMORY/PGM].
3. While “ ” and the frequency are flashing:
Press [–/g] or [f/+] to select the desired station.
4. Press [MEMORY/PGM].
5. While “ ” and the preset channel number are flashing:
Press [3] or [4] to select the preset channel.
6. Press [MEMORY/PGM].
Repeat steps 2 to 6 to program other stations.
7
7
RQT5210
Page 8

Listening to radio broadcasts
A
Listening
1
2
3
42 23 31
Listening to programmed stations (Preset
tuning)
Make sure you have completed the procedure for “Presetting radio
broadcasts” (on page 7).
Preparation: Set [ ] to “TUNER”.
Press [BAND] to select “FM” or “AM”.
1
Every time you press the button: FM ↔ AM
Press [TUNE MODE] to display the preset indicator.
2
The unit is set to the preset tuning mode.
Press [–/g] or [f/+] to select the preset channel.
3
Adjust the volume.
4
RX-D11 only
When using the remote control
1. Press [BAND] to select “FM” or “AM”.
2. Press [3] or [4] to select the preset channel.
Using preset scan B
You can search for a station by listening to all preset channels for 8
seconds each.
Preparation: Set [ ] to “TUNER”.
A
4
B
2
Do steps 1 to 2 above.
Press and hold [–/g] or [f/+] until “PS” appears
on the display.
Preset scan starts.
Press [–/g] or [f/+] when you find the desired
channel.
Preset scan ends after searching through each preset channel once.
To stop during the process, press [–/g] or [f/+].
RX-D11 only
When using the remote control
Press [3] or [4] for [–/g] or [f/+] described above.
Indicates preset scan
RQT5210
3
8
Page 9

Listening to radio broadcasts
1
2
3
L
Listening to broadcast stations which have
not been programmed (Manual tuning)
42 31
Preparation: Set [ ] to “TUNER”.
Press [BAND] to select “FM” or “AM”.
1
Every time you press the button: FM ↔ AM
Press [TUNE MODE] to clear the preset indicator.
2
The unit is set to the manual tuning mode.
Press [–/g] or [f/+] to tune in the station.
3
Adjust the volume.
4
RX-D11 only
When using the remote control
1. Press [BAND] to select “FM” or “AM”.
2. Press [–/g] or [f/+] to tune in the station.
Automatic tuning:
This is a simple way of tuning in stations that have not been preset.
Keep [–/g] or [f/
display starts to change. A station with good reception is automatically
selected and the selection process then stops.
To stop automatic tuning, press [–/
Hint
Automatic tuning may stop without a station having been tuned in
when interference is encountered on neighbouring airwaves. In such
a case, tune in a station by tapping [–/
+] depressed, and release it when the frequency
gg
g] or [
gg
ff
f/+]
ff
gg
g] or [
gg
again.
ff
f/+].
ff
Listening
4
1
2
3
2
3
MEMORY/
PGM
Indicates auto scan
1
Using auto scan
You can search for a station by listening to all tuned-in stations for 8
seconds each.
Preparation: Set [ ] to “TUNER”.
(Only from the remote control)
Press [BAND] to select “FM” or “AM”.
Press [AUTO SCAN].
Auto scan starts.
Press [AUTO SCAN] when you find the desired
station.
Auto scan ends when it reaches the original frequency again.
To stop during the process, press [AUTO SCAN].
To turn off the unit:
Set [ ] to “TAPE/ ”.
If the tape is travelling, press [L/c STOP/EJECT] as well.
Adjusting the antennas A
For FM reception:
Pull out the telescopic antenna and adjust its length and angle for
optimum reception.
For AM reception:
Turn the unit in the direction which gives the best results.
Reference
Radio broadcasts may be hard to receive in a moving vehicle or in a
building because the signal may be weakened. In such cases, use the
unit near a window.
When there is a lot of noise in an FM stereo
broadcast
RX-D11 only
FM AM
A
Reduce the interference by setting the sound to monaural.
Example:
When an FM stereo program is being received;
Press [FM MODE].
MONO
“
” is displayed.
To return to stereo reception, repeat the same procedure to turn off
MONO
the “
” display.
9
RQT5210
Page 10

Listening to CDs
Listening
1
2
Label must face upward.
3
4 23
1 5
xxxxxx
xxxxxxx
xxxxxxxxx
xxxxxxx
xxxxxxx
xxxxxxx
Total play time
Sequential play
Set [ ] to “CD”.
1
“NO DISC” appears when no CD is loaded.
Press [CD c], then insert the CD.
2
Press [••• CLOSE] to close the CD lid by hand.
3
The total number of tracks and total play time of the CD are
displayed.
Press [-/ J] to start play.
4
Play starts from the first track and continues to the last track,
after which it automatically stops.
Adjust the volume.
5
To stop the disc:
Press [L CLEAR].
To pause
To search forward/
backward
To skip forward/
backward
Notes
If interference occurs to radios or televisions, place the unit as far
•
as possible from this equipment.
Do not press [CD c] during play, pause or immediately after when
•
you inserted the CD and closed the CD lid. CD may be scratched.
To prevent damage A
Do not use irregular shaped CDs.
Press [-/ J] during playback.
To resume playback, press [-/ J].
Hold down [–/g] (backward) or [f/+]
(forward) during playback or pause mode.
Press [–/g] (backward) or [f /+]
(forward).
10
RQT5210
Total number of tracks
4
Elapsed play time of track in play
Track number in play
5 A
B
XXXX XXXX XXXXX XXXX XX
XXXX XXXX XXXXX
XXXX XXXX XXXXX
XXXX XXXX
To turn off the unit:
Set [ ] to “TAPE/ ”.
If the tape is travelling, press [L/c STOP/EJECT] as well.
Repeat play and random play
Press [CD PLAY MODE] before or during play. B
Every time you press the button:
(off)
Press [-/J] to begin play if you are in the stop mode.
To repeat just one track:
Press [CD PLAY MODE] to select “ ”.
To repeat all tracks:
Press [CD PLAY MODE] to select “ ”.
To start random play:
x
x
x
x
x
x
x
x
x
x
x
x
x
x
x
x
x
x
x
x
x
x
x
x
x
x
x
x
x
x
x
x
x
x
x
x
x
x
x
x
x
x
x
x
x
x
x
x
x
x
x
x
x
x
Press [CD PLAY MODE] to select “ ”.
All tracks on the loaded CD will be played in random order. Playback
will stop automatically when all tracks have been played.
To cancel repeat play and random play:
Press [CD PLAY MODE] to clear “ ”, “ ” and “ ”.
Pressing [CD c] also cancels repeat function and random function.
To repeat programmed tracks:
1. Program desired tracks (steps 1 to 4 on page 11).
2. Press [CD PLAY MODE] to display “ ”.
3. Press [-/J] to begin play.
Notes
During random play, you cannot skip to tracks which have already
•
been played.
During random play, you can search forward or backward only
•
within the current track.
Random play cannot be used in combination with program play.
•
Page 11

Listening to CDs
Program play
5 23 1
You can program up to 24 tracks.
Preparation:
Set [ ] to “CD”.
•
Program play cannot be used in combination with random play.
•
When “
the display.
Press [L CLEAR].
1
The total number of tracks and total play time of the CD are
displayed.
” is displayed, press [CD PLAY MODE] to clear
1
Total number of tracks
2
Track number
3
Specified track number
4
Total play time
Play time
Program order
Total play time of programmed tracks
Press [–/g] or [f/+] to select the desired track.
2
Press [MEMORY].
3
“ ” is displayed.
Repeat steps 2 and 3 until you have programmed
4
all the tracks you want.
Press [-/ J].
5
Play will start in the programmed sequence.
To cancel program play:
Press [L CLEAR] in the stop mode to display “CLr”.
Pressing [CD c] will cancel program function.
When “– –:––” appears: A
This means that the total play time of the programmed tracks has
exceeded 100 minutes. Tracks can still be programmed and played.
When “FULL” appears: B
The number of programmed tracks is limited to 24. No further tracks
can be programmed.
Memory retention of programmed tracks:
The memory retains the program even if play is stopped or the unit is
turned off.
The display “P” indicates that programming is retained in the memory.
C
To check what has been programmed:
While “P” display is on, press [–/g] or [f/+].
The display will show the track number and programmed sequence.
Listening
5
A
B
C
Notes
During program play, you can search forward or backward only
•
within the current track.
During program play, skipping is always in the programmed order,
•
whether forward or backward.
11
RQT5210
Page 12

Listening
1
3 2
1 4
Listening to tapes
Types of tapes which can be played correctly:
Normal position/TYPE I
High position/TYPE II ✕
Metal position/TYPE IV ✕
High position and metal position tapes can be played, but the unit will
not be able to do full justice to the characteristics of these tapes.
Set [ ] to “TAPE/ ”.
1
Press [L/c STOP/EJECT], load the tape and close
2
the tape lid.
- -
Press [
- PLAY] to start play.
3
- -
Adjust the volume.
2
3
4
A
Side to be played facing upward.
Insert the tape with the exposed tape facing you.
To stop play:
Press [L/c STOP/EJECT].
To stop play temporarily:
Press [J PAUSE].
To resume play:
Press [J PAUSE] again.
The unit’s power is on in the pause mode. Stop tape to turn the unit
off by pressing [L/c STOP/EJECT] when leaving the unit.
To fast-forward or rewind the tape A
Press [( REW/REV] (backward) or [) FF/CUE]
(forward) in the stop mode.
Note
Do not press [-PLAY] when rewinding or fast forwarding, as this may
jam the tape.
Be sure to press [L/c STOP/EJECT] before the next operation.
To find a particular spot on a tape A
Press [( REW/REV] (backward) or [) FF/CUE]
(forward) during playback.
Tape play is resumed when the button is released.
Full auto-stop:
The automatic stop system will release the buttons when the tape
reaches the end during play or when recording, fast forwarding or
rewinding.
12
RQT5210
B
XBS
Changing the sound quality
Adjusting the deep-bass (XBS)
Press [XBS] to boost the bass sounds.
Every time you press the button: XBS ↔ OFF
B
Page 13

Before recording
A
B
1
Leader tape
(Recording cannot be made.)
3 1
To take up the leader tape: A
Only normal tapes can be used.
High position and metal position tapes can be used, but the unit will
not be able to record or erase them correctly.
References
Any changes made to the volume or sound quality during recording
•
will not affect the recording.
In order to prevent trouble caused by flat batteries, it is
•
recommended that you either supply power to the unit from the
household mains socket or replace all the batteries with new ones
when you are recording something which is important to you.
The recording level is set automatically.
•
Note
If the unit is brought near a TV set during recording, noise may be
recorded due to the effects of the signals from the TV set. Maintain a
distance of at least 1.5 metres between the unit and a TV set.
To make a blank tape:
1. Load the recorded tape with the side to be erased facing upward.
2. Set [ ] to “TAPE/ ”.
3. Press [[ ].
[- PLAY] is also depressed with [[ ].
Your attention is drawn to the fact that recording pre-recorded
tapes or discs or other published or broadcast material may infringe
copyright laws.
Recording from radio broadcasts
B
Recording
3
C
1
2
3
42 1 3
Press [L/c STOP/EJECT] and load the tape.
1
Load the tape with the side to be recorded facing upward.
Tune in the station.
2
(See page 9.)
Press [a
3
[- PLAY] is also depressed with [a ].
To stop the recording:
Press [L/c STOP/EJECT].
To stop the recording temporarily:
Press [J PAUSE].
To resume recording, press [J PAUSE] again.
Recording from CDs
Press [L/c STOP/EJECT] and load the tape.
1
Load the tape with the side to be recorded facing upward.
Set [ ] to “CD”.
2
Press [CD c] and insert the CD.
3
The total number of tracks and total play time of the CD are
displayed.
Press [a
4
[- PLAY] is also depressed with [a ].
CD play starts simultaneously.
] to start recording.
C
] to start recording.
4
To stop the recording:
Press [L CLEAR] and [L/c STOP/EJECT].
Recording favourite tracks
1. Program desired tracks (refer to steps 2 to 4 on page 11) after
step 3.
2. Press [a ] to start recording.
[- PLAY] is also depressed with [a ].
13
RQT5210
Page 14

Concerning CDs
A
XXXX XXXX XXXXX XXXX XX
XXXX XXXX XXXXX
XXXX XXXX XXXXX
XXXX XXXX
How to return CDs to their case
B
How to hold CDs
C
How to clean CDs
D
x
x
x
x
x
x
x
x
x
x
x
x
x
x
x
x
x
x
x
x
x
x
x
x
x
x
x
x
x
x
x
x
x
x
x
x
x
x
x
x
x
x
x
x
x
x
x
x
x
x
x
x
x
x
Face label upwards and press
downward from above.
Do not touch the recorded surface.
Only compact discs bearing this mark can be
used with this unit.
However, continued use of irregular shaped
CDs can damage the unit. A
Handling precautions B – E
If you are taking the CD from a cold to a warm environment,
•
moisture may form on the CD. Wipe this off with a soft, dry, lintfree cloth before using the CD.
Do not write on the label side with a ball-point pen or other writing
•
instrument.
Do not use record cleaning sprays, benzine, thinner, static electricity
•
prevention liquids or any other solvent.
Do not attach labels or stickers to CDs. (Do not use CDs with
•
exposed adhesive from tape or left over peeled off stickers.)
Do not use scratch-proof protectors or covers other than those
•
specified for use with this unit.
Do not use CDs printed with label printers available on the market.
•
Storage precautions
Be sure to store CDs in their cases to protect them from dust, scratches,
and warping.
Do not place or store CDs in the following places
Locations exposed to direct sunlight
•
Humid or dusty locations
•
Locations directly exposed to a heat vent or heating appliance
•
In the glove compartment or on the rear deck of an automobile
•
Reference
E
F
G
Wipe from inside outward.
How to take up tape slack
Side A
Tab for side “B”
To re-record
Normal position tape
Tab for side “A”
Adhesive tape
Concerning cassette tapes
Selection of cassette tapes
Tapes can get caught on the capstans. Use caution with the following
types of tapes.
Cassette tapes exceeding 100 minutes
Tapes are made of a thin film material. Do not repeatedly advance
and stop the tape, fast-forward it or rewind it.
Endless-tapes
Failure to operate these tapes correctly may cause the tape to wind
around the revolving parts.
Always read the instructions provided with your tapes.
Tape slack F
Tape slack may cause the tape to break.
Erasure prevention G
Use a screwdriver or similar object to break out the tab.
To re-record on a protected cassette
Cover the hole with adhesive tape.
Storage precautions
Do not place or store tapes in the following places
In high temperature (35°C or higher) or high humidity (80% or
•
higher) areas
In a strong magnetic field (near a speaker, on top of a TV, etc.)
•
This can erase a recording.
Locations exposed to direct sunlight
•
14
RQT5210
Page 15

Troubleshooting guide
Before requesting service for this unit, check the chart below for a possible cause of the problem you are experiencing. Some simple checks or
a minor adjustment on your part may eliminate the problem and restore proper operation.
If you are in doubt about some of the check points, or if the remedies indicated in the chart do not solve the problem, refer to the directory of
Authorized Service Centers (enclosed with this unit) to locate a convenient service center, or consult your dealer for instructions.
Problem Probable cause(s)
Common problems
No operation when the unit
is powered by batteries.
Is the AC mains lead still connected to the unit
but disconnected from a household mains socket
while batteries are being used?
Are the batteries flat?
Have the batteries been installed incorrectly with
their (+) and (–) polarities reversed?
While listening to CDs
“E” appears.
Play does not start.
No display of track
numbers, etc.
Certain sections are not
played properly.
Incorrect operation has been done.
Has the CD been installed upside down?
Has there been a sudden change in temperature?
For instance, was the unit brought straight from a
cold place into a warm location?
Is the CD dirty?
Is the CD scratched?
While using the cassette deck
No recording.
High level of noise; poor
sound quality.
Tape is not ejected.
The lid cannot be closed
when loading the tape.
Has the tape’s accidental erasure-prevention tabs
been broken off?
Are the heads dirty?
Are the batteries flat?
While listening to the radio
High level of noise; stations
cannot be tuned in well.
Noise heard during AM
reception.
Has the antenna been adjusted properly?
Are you using the remote control of another
appliance near the unit?
Are you operating the unit and a TV set at the
same time?
While using the remote control transmitter
No operation.
Are the batteries flat?
Have the batteries been installed with their (+)
and (–) polarities aligned properly?
RX-D11 only
Suggested remedy
Disconnect the AC mains lead from the unit.
Replace them with new ones. Alternatively, use
a household mains socket as the power source.
Align the (+) and (–) polarities properly.
Operate the unit correctly by following the
operating instructions.
Install the CD with the label side facing up.
Condensation may have formed on the lens unit.
Leave it for about an hour before attempting
operation again.
Wipe with a soft cloth.
Replace with a new CD.
Cover the holes with adhesive tape.
Clean them.
Replace them with new ones or, alternatively, use a
household mains socket as the power source and
press [L/c STOP/EJECT] after pressing [- PLAY].
Try changing its direction.
Use the remote control at a distance.
Place the unit at a distance from the TV.
Alternatively, turn off the TV’s power.
Replace them with new ones.
Align the (+) and (–) polarities properly.
Page
4
10
14
14
See
below
4
Reference
9
13
6
Maintenance
If the surfaces are dirty
To clean this unit, wipe with a soft, dry cloth.
If the surfaces are extremely dirty, use a soft cloth dipped in a soapand-water solution or a weak detergent solution.
Never use alcohol, paint thinner or benzine to clean this unit.
•
Before using chemically treated cloth, read the instructions that
•
came with the cloth carefully.
For a cleaner crisper sound
Clean the heads regularly to assure good quality playback and
recording. Use a cleaning tape (not inlcuded).
Lens care
Open the CD lid and clean the lens with a blower (not included).
If the lens is extremely dirty, clean it with a cotton swab.
Recommended product: Lens cleaner kit (SZZP1038C)
Lens
15
RQT5210
Page 16

Technical specifications
Radio
Frequency range
FM 87.50–108.00
AM 522–1629
CD player
Sampling frequency 44.1 kHz
Decoding 16 bit linear
Beam source Semiconductor laser (wavelength 780
No. of channels 2 channel, stereo
Wow and flutter Less than possible measurement data
D/A converter MASH (1 bit DAC)
Tape recorder
Track system 4 track, 2 channel, stereo
Monitor system Variable sound monitor
Recording system AC bias
Erasing system Multi Pole magnet
Frequency range
Normal position 50–12000
General
Speakers 10 cm 4 Ω x 2
Jacks
Output PHONES: 3.5 mm stereo (32 Ω)
Power requirement
AC 230–240 V, 50 Hz
Battery 9 V [Six (R20/LR20, D, UM-1) batteries]
Memory back-up
for computer 3 V [Two (R6/LR6, AA, UM-3) batteries]
Dimensions (WxHxD) 460 x 168 x 268 mm
Weight 3.2 kg without batteries
Reference
Note
Specifications are subject to change without notice.
Weight and dimensions are approximate.
• Do not use rechargeable type batteries.
• Do not use rechargeable type batteries.
MHz (50 kHz steps)
kHz (9 kHz steps)
Power consumption: 11 W
nm)
Hz
16
RQT5210
Matsushita Electric Industrial Co., Ltd.
Osaka 542-8588, Japan
En
RQT5210-B
P1199SL0
 Loading...