

Panasonic CQ-DPX101U User Manual
≥Please read these instructions carefully before using this product and save this manual for future use.
≥Prière de lire ces instructions attentivement avant d’utiliser Ie produit et garder ce manuel pour l’utilisation ultérieure.
≥Lea con atención estas instrucciones antes de utilizar el producto y guarde este manual para poderlo consultar en el futuro.
Removable Full Front CD Player/Receiver
Lecteur CD/Récepteur avec panneau avant
entièrement amovible
Reproductor de CD/Receptor con carátula
completa desmontable
CQ-DPX151/DP101U
(CQ-DPX151U)
<
VOL
SEL
BAND
TUNE
MUTE M/L
12
34
5
6
712
SOURCE
REP
CQ-DPX151U
CD RECEIVER 45WX4
LOUD
RANDOM
PWR
811
910
TRACK
DISP
M
O
N
O
/L
O
C
REMOTE
S
C
A
N
/
A
P
M
Operating Instructions
Manuel d
’instructions
Manual de instrucciones
CQ-DPX151/DP101U
3
CQ-DPX151/DP101U
2
Find the model number and serial number on either
the back or bottom of the unit. Please record them
in the space below and retain this booklet as a permanent record of your purchase to help with identification in case of theft.
MODEL NUMBER CQ-DPX151/DP101U
SERIAL NUMBER
DATE PURCHASED
FROM
Radio Frequency Interference Statement (Part 15 of the FCC Rules):
Applies only in U.S.A.
This equipment has been tested and found to comply with the limits for a Class B digital, pursuant to
Part 15 of the FCC Rules.
≥These limits are designed to provide reasonable protection against harmful interference in an automo-
bile installation. This equipment generates, uses, and can radiate radio frequency energy and, if not installed and used in accordance with the instructions, may cause harmful interference to radio
communications. However, there is no guarantee that interference will not occur in a particular installation. If this equipment does cause harmful interference to radio reception, which can be determined by
turning the equipment off and on, the user is encouraged to consult the dealer or an experience radio
technician for help.
FCC Warning:
Any unauthorized changes or modifications to this equipment would void the user’s authority to operate
this device.
This device complies with Part 15 of the FCC Rules:
Operation is subject to the following two conditions:
(1) This device may not cause harmful interference, and
(2) This device must accept any interference received, including interference that may cause undesired
operation.
§For Canada:
This Class B digital apparatus complies with Canadian ICES-003.
Safety Information
Il est recommandé de noter, dans l’espace prévu cidessous, les numéros de modèle et de série inscrits soit
à l’arrière soit sous le fond de l’appareil, et de conserver
ce manuel comme mémorandum de l’achat afin de permettre l’identification de l’appareil en cas de vol.
NUMÉRO DE MODÈLE CQ-DPX151/DP101U
NUMÉRO DE SÉRIE
DATE DE L’ACHAT
VENDEUR
Consignes de sécurité
Información para su seguridad
Busque el número del modelo y el número de serie ya
sea en la parte trasera o en el fondo de la unidad. Sírvase
anotar dichos números en el espacio siguiente, y mantenga este librete como una anotación permanente de su
compra para ayudar en la identificación en el caso de
robo.
NÚMERO DEL MODELO CQ-DPX151/DP101U
NÚMERO DE SERIE
FACHA DE COMPRA
NOMBRE DE LA TIENDA
E
N
G
L
I
S
H
F
R
A
N
Ç
A
I
S
E
S
P
A
Ñ
O
L
CAUTION:
THIS PRODUCT IS A CLASS I LASER PRODUCT.
USE OF CONTROLS OR ADJUSTMENTS OR
PERFORMANCE OF PROCEDURES OTHER
THAN THOSE SPECIFIED HEREIN MAY RESULT
IN HAZARDOUS RADIATION EXPOSURE.
DO NOT OPEN COVERS AND DO NOT REPAIR
YOURSELF. REFER SERVICING TO QUALIFIED
PERSONNEL.
WARNING:
TO REDUCE THE RISK OF FIRE OR ELECTRIC
SHOCK, DO NOT EXPOSE THIS PRODUCT TO
RAIN OR MOISTURE.
TO REDUCE THE RISK OF FIRE OR ELECTRIC
SHOCK, AND ANNOYING INTERFERENCE, USE
ONLY THE INCLUDED COMPONENTS.
Laser products:
Wave length: 780 nm
Laser power: No hazardous radiation is emitted
with safety protection.
ATTENTION :
CET APPAREIL EST UN PRODUIT LASER DE LA CLASSE
I.
L’UTILISATION DE COMMANDES OU RÉGLAGES OU
L’EXÉCUTION D’OPÉRATIONS AUTRES QUE CELLES
QUI SONT INDIQUÉES DANS CE DOCUMENT PEUVENT
RÉSULTER EN UNE EXPOSITION À UN RAYONNEMENT
DANGEREUX.
N’OUVREZ PAS LES COUVERCLES ET N’ESSAYEZ PAS
D’EFFECTUER VOUS-MÊME DES RÉPARATIONS.
ADRESSEZ-VOUS À UN PERSONNEL QUALIFIÉ POUR
TOUTE RÉPARATION.
MISE EN GARDE:
POUR RÉDUIRE LES RISQUES D’INCENDIE OU D’ÉLECTROCUTION, N’EXPOSEZ PAS CET APPAREIL À LA
PLUIE OU À L’HUMIDITÉ.
AFIN DE PRÉVENIR TOUT RISQUE D’INCENDIE OU
D’INTERFÉRENCES, UTILISER UNIQUEMENT LES
COMPOSANTS FOURNIS.
PRECAUCIÓN:
ÉSTE ES UN PRODUCTO LÁSER DE LA CLASE I.
LA UTILIZACIÓN DE CONTROLES, EL HACER
AJUSTES O EL SEGUIR PROCEDIMIENTOS DISTINTOS
DE LOS ESPECIFICADOS EN ESTE MANUAL PODRÍA
CAUSAR UNA EXPOSICIÓN PELIGROSA A LA RADIACIÓN.
NO ABRA LAS CUBIERTAS NI HAGA REPARACIONES
USTED MISMO. SOLICITE LOS TRABAJOS DE SERVICIO AL PERSONAL CALIFICADO.
ADVERTENCIA:
PARA REDUCIR EL RIESGO DE INCENDIOS O
SACUDIDAS ELÉCTRICAS, NO EXPONGA ESTE
PRODUCTO A LA LLUVIA NI A LA HUMEDAD.
PARA REDUCIR EL RIESGO DE INCENDIOS O SACUDIDAS ELÉCTRICAS, Y PARA EVITAR LAS
INTERFERENCIAS MOLESTAS, UTILICE
SOLAMENTE LOS COMPONENTES INCLUIDOS.
Produits laser:
Longueur d’onde: 780 nm
Puissance du laser: Aucune radiation dangereuse
n’est émise avec la protection de
sécurité.
Productos láser:
Longitud de onda: 780 nm
Potencia láser: Con protección de seguridad no se
emite radiación peligrosa.
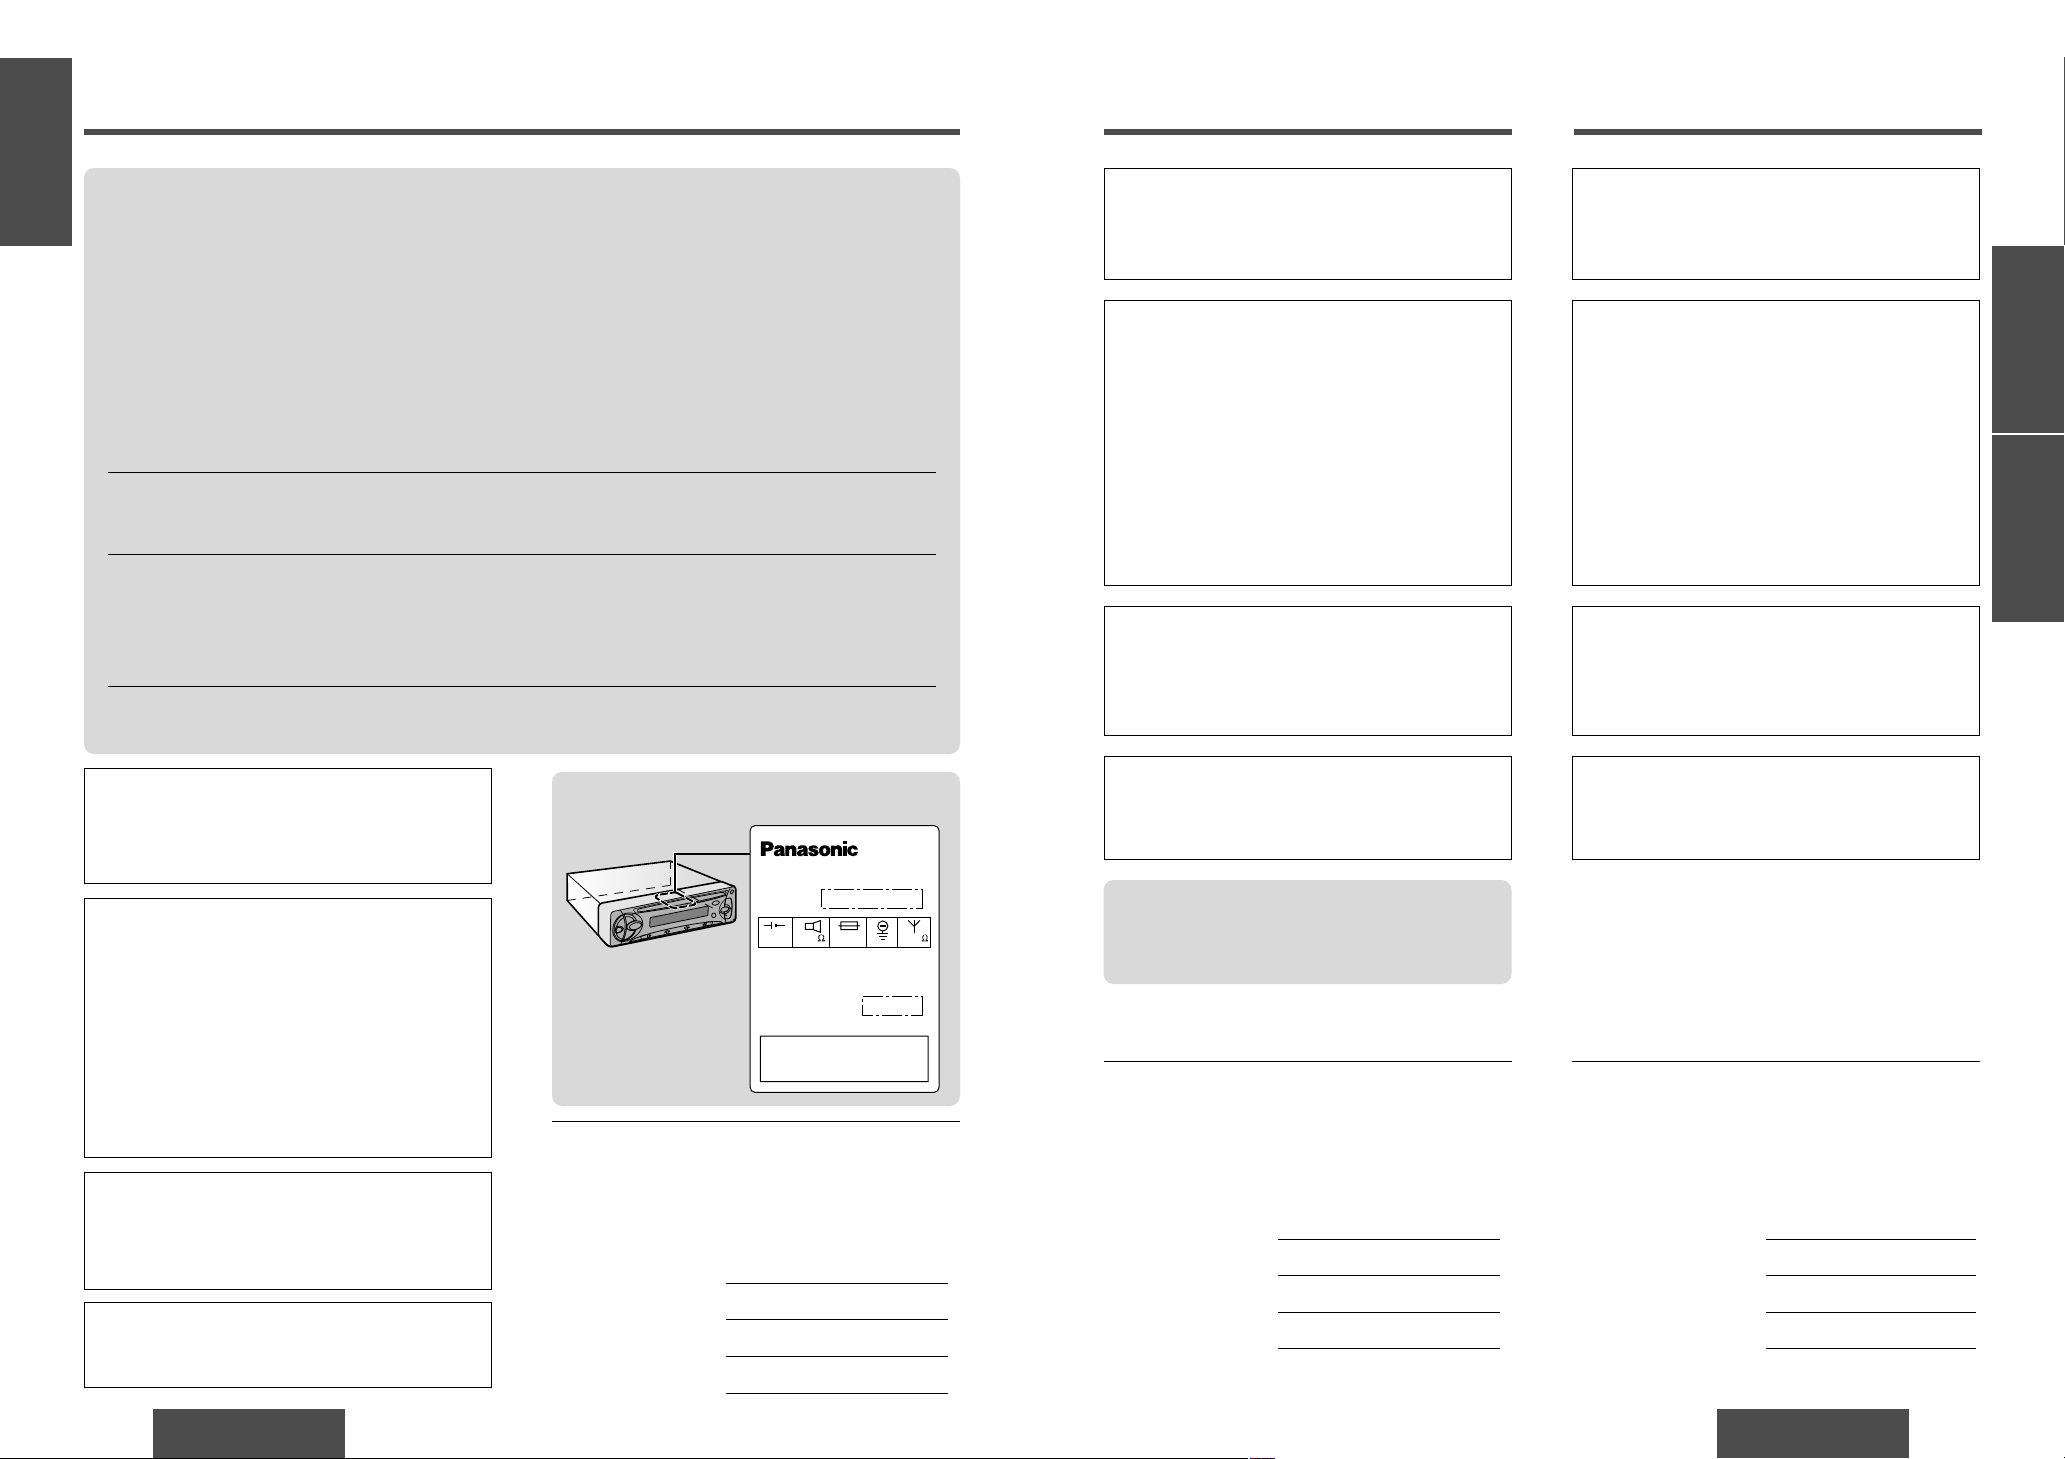
C Q - D P X 1 5 1 U
Model No.
N˚ De Modèle
Serial No.
N˚ De Série
Manufactured by Dalian Matsushita
Communication Industrial Co., Ltd.
Dalian China Made in China
This device complies with Part 15 of the
FCC Rules. Operation is subject to the
condition that this device does not cause
harmful interference.
15A12V 4~8
FM75
(CQ-DPX151U)
Label Indication and Location
§Déclaration d’interférence de fréquences radio
(Partie 15 des Règlements FCC):
Cet appareil numérique de Classe B est conforme au
règlement ICES-003 canadien.
F
R
A
N
Ç
A
I
S
CQ-DPX151/DP101U
5
E
N
G
L
I
S
H
CQ-DPX151/DP101U
4
Panasonic welcomes you to our ever growing family of electronic product owners. We know that this product will bring you many hours of enjoyment. Our reputation is built on precise electronic and mechanical
engineering, manufactured with carefully selected components and assembled by people who take pride in
their work. Once you discover the quality, reliability, and value we have built into this product, you too will
be proud to be a member of our family.
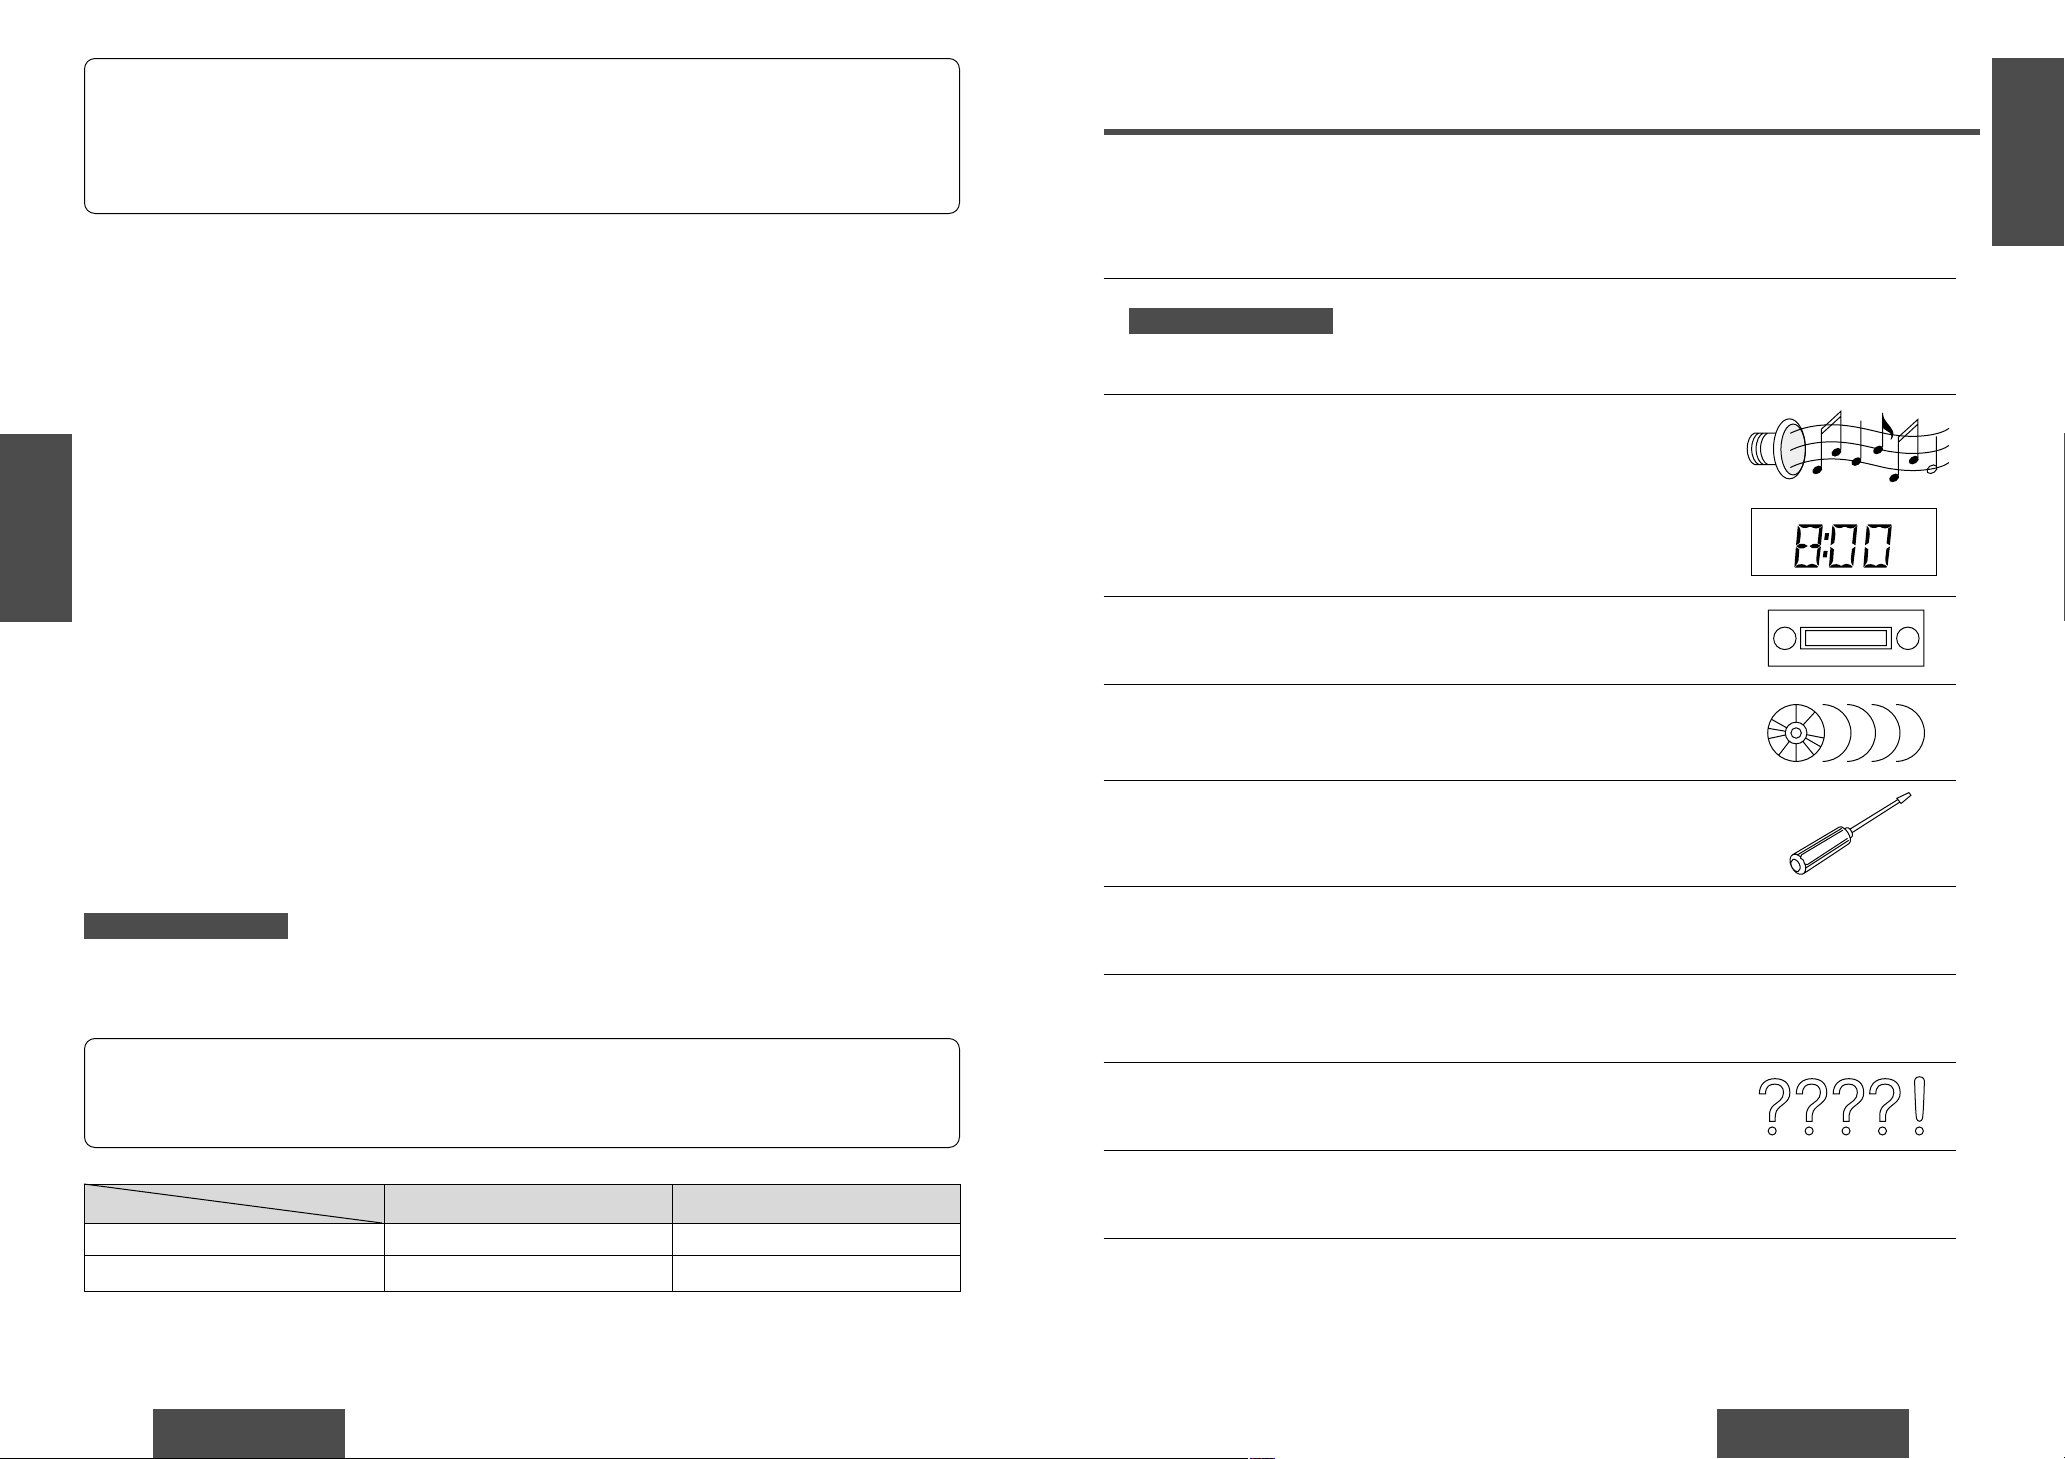
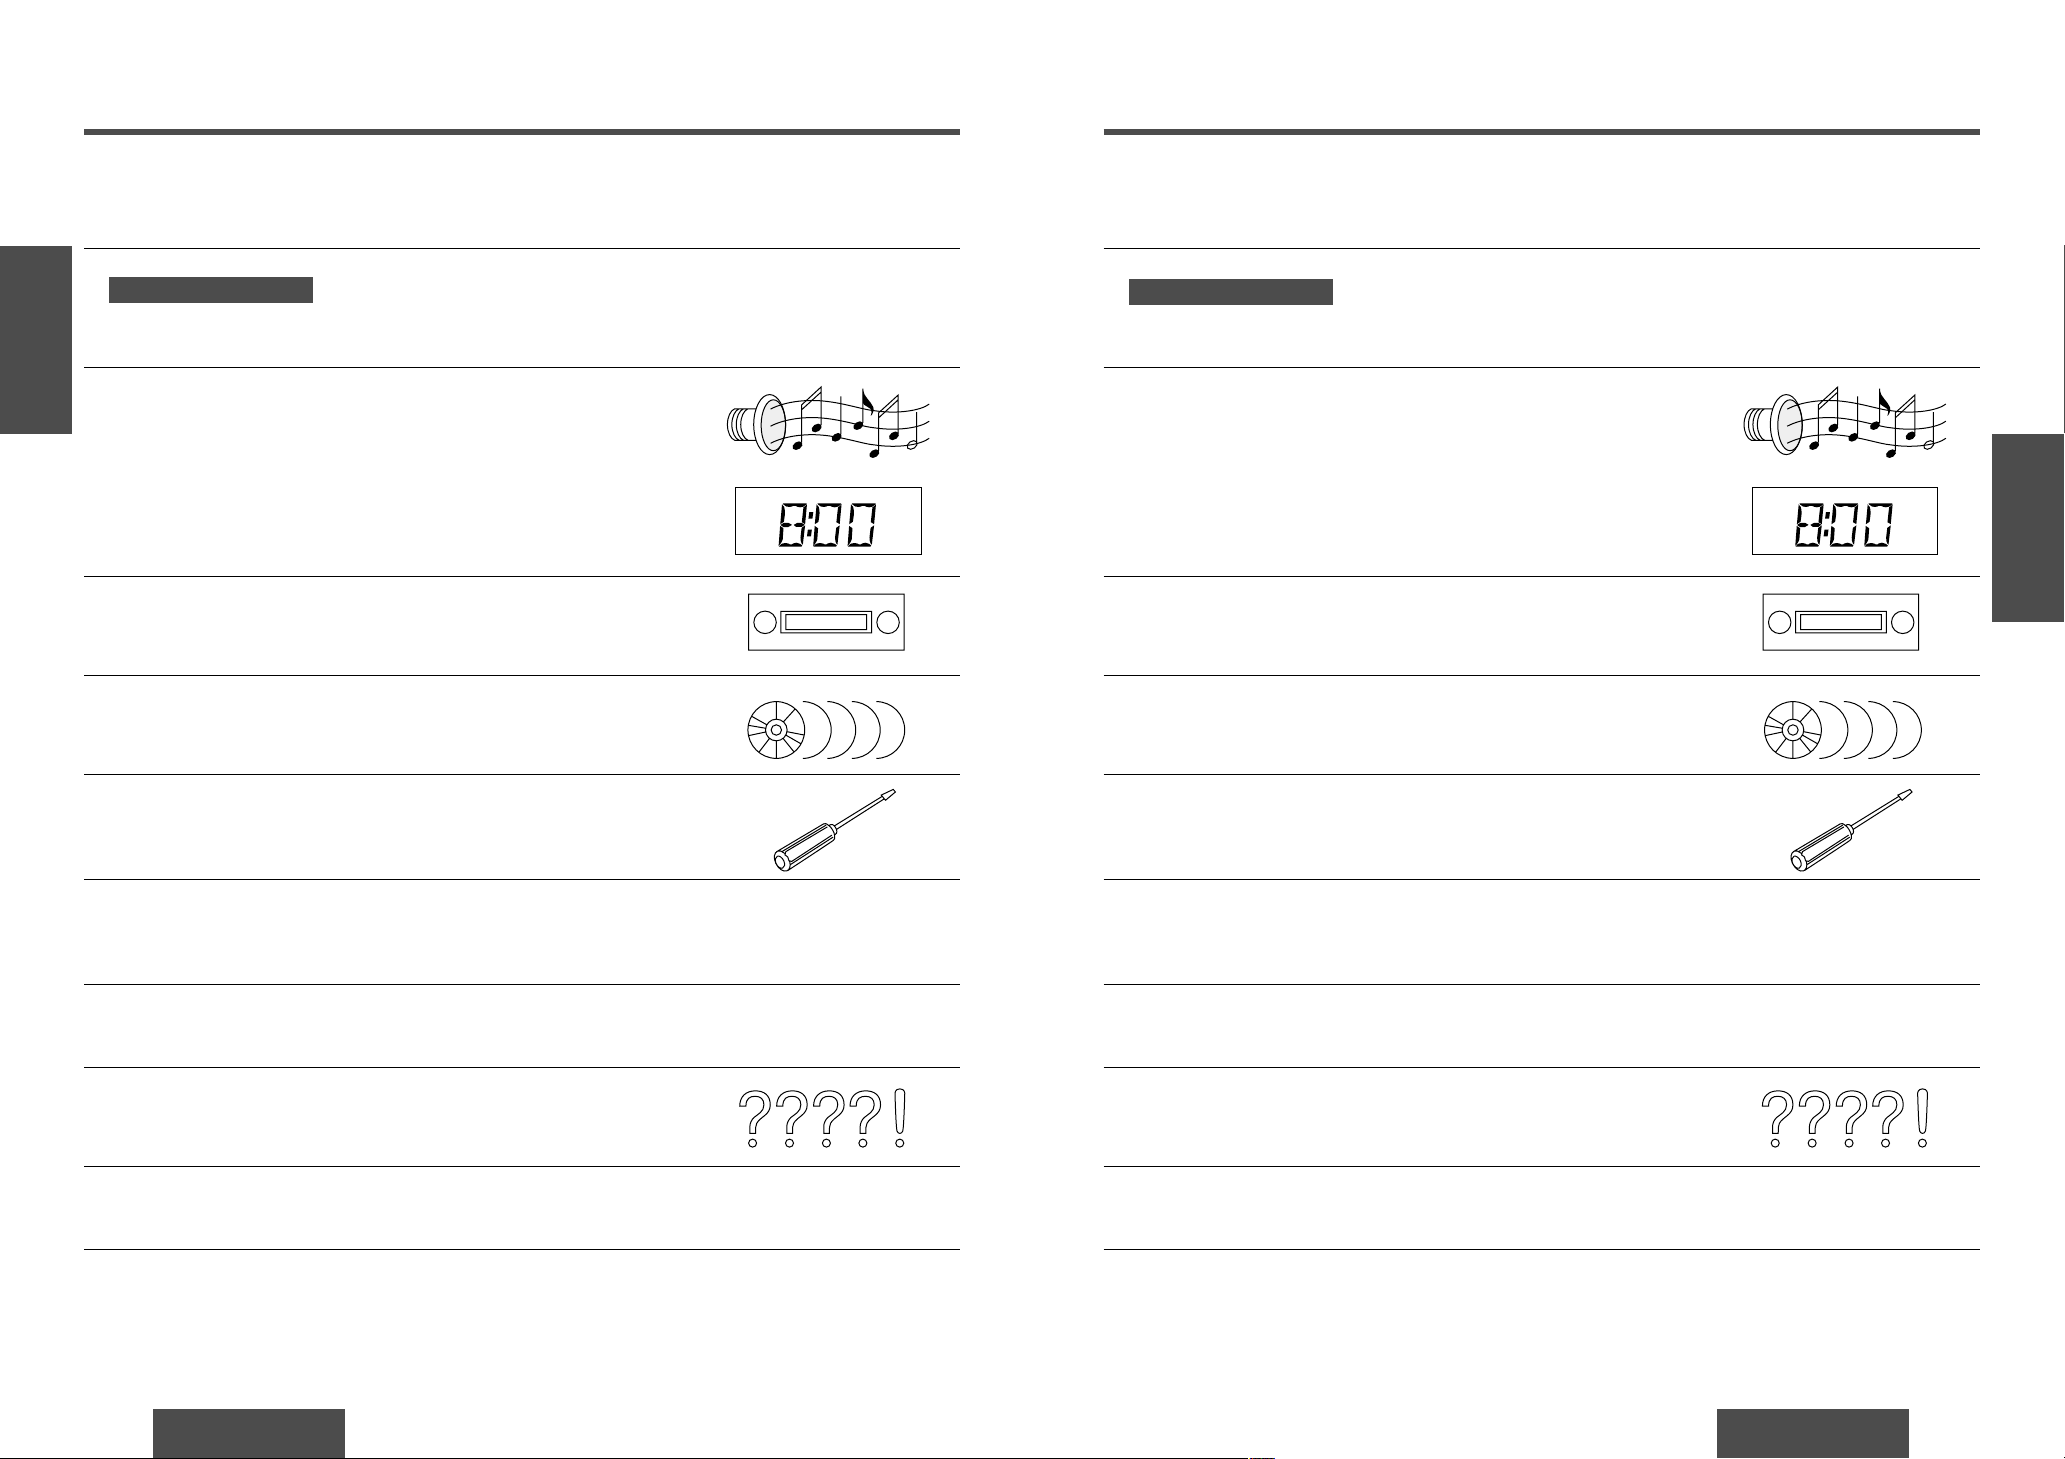
When Driving
Keep the volume level low enough to be aware of
road and traffic conditions.
When Car Washing
Do not expose the product, including the speakers
and CDs, to water or excessive moisture. This
could cause electrical shorts, fire, or other damage.
When Parked
Parking in direct sunlight can produce very high
temperatures inside your car. Give the interior a
chance to cool down before switching the unit on.
Use the Proper Power Supply
This product is designed to operate with a 12 V DC,
negative ground battery system (the normal system
in a North American car).
Disc Mechanism
Do not insert coins or any small objects. Keep
screwdrivers and other metallic objects away from
the disc mechanism and disc.
Use Authorized Servicenters
Do not attempt to disassemble or adjust this precision product. Please refer to the Servicenter list including with this product for service assistance.
For Installation
This product should be installed in a horizontal position with the front end up at a convenient angle,
but not more than 30x.
❐ Use this Product Safely
≥Operating instructions .................................... 1
≥Installation hardware................1 set (➡ page 18)
≥Power connector ............................................ 1
≥Warranty card.................................................. 1
≥Remote control unit ........................................ 1
≥Lithium battery (CR2025)................................ 1
❐ Components
Panasonic est heureuse de vous compter parmi les utilisateurs de ses appareils électroniques. Nous pouvons vous assurer que cet appareil vous procurera de longues heures d’agrément. Notre réputation est fondée sur une ingénierie
électronique et mécanique de haute précision, laquelle préside à la fabrication d’appareils ne comportant que des composants de choix assemblés par un personnel soucieux de la bonne réputation acquise par la qualité de son travail.
Après avoir découvert la qualité, la valeur et la fiabilité de cet appareil, vous aussi serez fier d’être un client Panasonic.
Mécanisme de disque
N’insérez pas de pièces de monnaie ou de petits objets.
Gardez les tournevis et autres objets métalliques à l’écart
du mécanisme de disque et du disque.
Réparation
Ne tentez pas de démonter ou d’ajuster l’appareil vousmême. Veuillez vous référer à la liste des centres de service fournie avec cet appareil pour contacter le service
d’assistance.
Installation
L’appareil doit être installé en position horizontale avec
son extrémité avant inclinée vers le haut à un angle commode, mais ne dépassant pas 30x.
Au volant
Réglez le volume à un niveau qui ne risque pas de masquer les bruits ambiants.
Lavage de la voiture
Afin de prévenir tout risque de court-circuit ou d’incendie, n’exposez pas l’équipement, y compris les hautparleurs et les disques, à l’eau ou à une humidité
excessive.
Voiture stationnée
L’habitacle d’une voiture immobile exposée au soleil
toutes vitres fermées devient rapidement très chaud.
Laisser rafraîchir l’intérieur du véhicule avant d’utiliser
l’appareil.
Source d’alimentation
Cet appareil est conçu pour fonctionner sur un système
d’alimentation avec batterie de 12 V c.c. à masse
négative (système standard sur les voitures de construction nord-américaine).
❐ Précautions à prendre
≥ Manuel d’instructions.............................................. 1
≥ Quincaillerie pour l’installation
..............................................1 ensemble (➡ page 38)
≥ Connecteur d’alimentation ...................................... 1
≥ Carte de garantie .................................................... 1
≥ Télécommande........................................................ 1
≥ Pile au lithium (CR2025) ........................................ 1
❐ Éléments constitutifs
Models
Features
CQ-DPX151U CQ-DP101U
Pre-Amp output connector Rear 2, Front 2 Rear 2
Remote control unit Included Not included
Note:
≥ This operating instruction manual is for 2 models CQ-DPX151U and CQ-DP101U. All illustrations
throughout this manual represent model CQ-DPX151U unless otherwise specified. The following table describes the differences between 2 models.
Modéle
Commande
CQ-DPX151U CQ-DP101U
Connecteur de sortie de préamplificateur Arrière 2, Avant 2 Arrière 2
Télécommande Fourni Non fourni
Only for CQ-DPX151U
CQ-DPX151U seulement
Remarque:
≥ Ce manuel a été conçu pour les 2 modèles CQ-DPX151U et CQ-DP101U. Toutes les illustrations du présent manuel
mettent en présence le modèle CQ-DPX151U à moins d’indication contraire. Le tableau ci-dessous décrit les
différences entre les 2 modèles.
E
N
G
L
I
S
H
CQ-DPX151/DP101U
7
Contents
E
S
P
A
Ñ
O
L
CQ-DPX151/DP101U
6
E
S
P
A
Ñ
O
L
Panasonic le da la bienvenida a la familia constantemente en aumento de poseedores de productos electrónicos. Nos
esforzamos en proporcionarle las ventajas de la ingeniería mecánica y electrónica de precisión, de una fabricación con
componentes cuidadosamente seleccionados, y de un montaje realizado por personas orgullosas de la reputación que
su trabajo ha cimentado para nuestra empresa. Estamos seguros de que este producto le proporcionará muchas horas
de distracción y, una vez comprobada la calidad, el valor y la fiabilidad incorporados, usted también se sentirá orgulloso de pertenecer a nuestra familia.
Cuando conduzca
Mantenga el nivel del volumen suficientemente bajo para
estar atento a la carretera y a las condiciones del tráfico.
Cuando lave el automóvil
No exponga el equipo, incluyendo los altavoces y los
CDs, al agua o a una humedad excesiva. Esto puede
causar cortocircuitos eléctricos, incendios u otros daños.
Cuando esté estacionado
El estacionamiento a la luz solar directa puede producir
temperaturas muy altas en el interior de su vehículo.
Procure enfriar el interior antes de encender la unidad.
Uso de la alimentación apropiada
Este equipo ha sido diseñado para funcionar con un sistema de batería de 12 V CC con negativo a masa (el sistema normal en un vehículo norteamericano).
Mecanismo de disco
No inserte monedas ni ningún objeto pequeño. Mantenga
los destornilladores u otros objetos metálicos apartados
del mecanismo de disco y del disco.
Uso de los centros de servicio autorizados
No intente desmontar ni ajustar este equipo de precisión.
Consulte la lista de centros de servicio incluidos con este
producto para acudir a ellos cuando sea necesario.
Instalación
La unidad deberá instalarse en posición horizontal, con el
extremo delantero hacia arriba formando un ángulo conveniente, pero con no más de 30x.
❐ Uso de este equipo con seguridad
≥ Manual de instrucciones.......................................... 1
≥ Accesorios suministrados ........1 juego (➡ página 58)
≥ Conector de alimentación........................................ 1
≥ Tarjeta de garantía .................................................. 1
≥ Unidad del controlador remoto................................ 1
≥ Pila de litio (CR2025).............................................. 1
❐ Componentes
Safety Information. . . . . . . . . . . . . . . . . . . . . . . . . . . . . . . . . . . . . . . . Page 2
Radio Frequency Interference Statement (Part 15 of the FCC Rules): . . . . 12
Use this Product Safely . . . . . . . . . . . . . . . . . . . . . . . . . . . . . . . . . . . . . . . 14
Components. . . . . . . . . . . . . . . . . . . . . . . . . . . . . . . . . . . . . . . . . . . . . . . . 14
❒ Remote Control Unit Preparation . . . . . . . . . . . . . . . . . . . . . . . . . . . . 10
Battery installation, battery notes, control reference guide
❒ Power and Sound Controls. . . . . . . . . . . . . . . . . . . . . . . . . . . . . . . . . . 11
How to adjust the volume, tone and balance, setting mute, setting/
resetting the time, selecting the clock display
❒ Radio Basics . . . . . . . . . . . . . . . . . . . . . . . . . . . . . . . . . . . . . . . . . . . . 14
Manual and automatic tuning, band selection, preset stations
❒ CD Player Basics . . . . . . . . . . . . . . . . . . . . . . . . . . . . . . . . . . . . . . . . . 16
Disc insert and playback, stop and disc eject, CD play, track selection,
search, repeat, random, scan and direct selection
❒ Installation Guide. . . . . . . . . . . . . . . . . . . . . . . . . . . . . . . . . . . . . . . . . 18
Step-by-step procedures
❒ Anti-Theft System. . . . . . . . . . . . . . . . . . . . . . . . . . . . . . . . . . . . . . . . . 23
Place the removable face plate into case, install removable face plate
❒ Electrical Connections . . . . . . . . . . . . . . . . . . . . . . . . . . . . . . . . . . . . . 24
Cautions and wiring diagram
❒ Troubleshooting . . . . . . . . . . . . . . . . . . . . . . . . . . . . . . . . . . . . . . . . . . 25
Where to get service help, troubleshooting tips, error display messages
❒ Maintenance. . . . . . . . . . . . . . . . . . . . . . . . . . . . . . . . . . . . . . . . . . . . . 28
Care of the unit, notes on CD
❒ Specifications. . . . . . . . . . . . . . . . . . . . . . . . . . . . . . . . . . . . . . . . . . . . 29
FM
CQ-DPX151U solamente
Modelo
Características
CQ-DPX151U CQ-DP101U
Conector de salida de preamplificador Trasero 2, Frontal 2 Trasero 2
Unidad del controlador remoto Suministrado No suministrado
Nota:
≥ Este manual de instrucciones de operación serve para 2 modelos CQ-DPX151U y CQ-DP101U. Todas las ilustra-
ciones de este manual representan el modelo CQ-DPX151U, a menos que se especifique lo contrario. La tabla siguiente muestra las diferencias entre los 2 modelos.
Only for CQ-DPX151U
F
R
A
N
Ç
A
I
S
CQ-DPX151/DP101U
8
Table des matières
E
S
P
A
Ñ
O
L
CQ-DPX151/DP101U
9
Índice
Consignes de sécurité . . . . . . . . . . . . . . . . . . . . . . . . . . . . . . . . . . . . . . . . . . . Page13
Précautions à prendre. . . . . . . . . . . . . . . . . . . . . . . . . . . . . . . . . . . . . . . . . . . . . . . 15
Éléments constitutifs. . . . . . . . . . . . . . . . . . . . . . . . . . . . . . . . . . . . . . . . . . . . . . . . 15
❒ Préparation de la télécommande . . . . . . . . . . . . . . . . . . . . . . . . . . . . . . . . . . 30
Installation de la pile, remarques sur la pile, guide de référence des commandes
❒ Commandes d’alimentation et de son . . . . . . . . . . . . . . . . . . . . . . . . . . . . . . . 31
Comment ajuster le volume, la tonalité et l’équilibre, réglage de la coupure du son,
réglage de l’heure, remise à l’heure, sélection de l’affichage de l’horloge
❒ Fonctionnement de base de la radio . . . . . . . . . . . . . . . . . . . . . . . . . . . . . . . . 34
Syntonisation manuelle et automatique, sélection de la bande et stations en
mémoire
❒ Fonctionnement de base du lecteur CD . . . . . . . . . . . . . . . . . . . . . . . . . . . . . . 36
Chargement/éjection du disque, lecture de CD, sélection des plages, repérage,
lecture en reprise, lecture aléatoire, balayage des plages et sélection directe
❒ Guide d’installation . . . . . . . . . . . . . . . . . . . . . . . . . . . . . . . . . . . . . . . . . . . . . 38
Marche à suivre
❒ Système antivol . . . . . . . . . . . . . . . . . . . . . . . . . . . . . . . . . . . . . . . . . . . . . . . . 43
Mettre la plaque de façade amovible dans l’étui, installer la plaque de façade
amovible
❒ Branchements électriques . . . . . . . . . . . . . . . . . . . . . . . . . . . . . . . . . . . . . . . . 44
Précautions et schéma de câblage
❒ En cas de difficulté . . . . . . . . . . . . . . . . . . . . . . . . . . . . . . . . . . . . . . . . . . . . . . 45
Service après-vente, guide de dépannage, affichage des messages d’erreur
❒ Entretien . . . . . . . . . . . . . . . . . . . . . . . . . . . . . . . . . . . . . . . . . . . . . . . . . . . . . . 48
Entretien de l’appareil, remarques relatives aux disques CD
❒ Données techniques . . . . . . . . . . . . . . . . . . . . . . . . . . . . . . . . . . . . . . . . . . . . . 49
FM
Información para su seguridad. . . . . . . . . . . . . . . . . . . . . . . . . . . . . . . . . . . Página13
Uso de este equipo con seguridad . . . . . . . . . . . . . . . . . . . . . . . . . . . . . . . . . . . . . 16
Componentes . . . . . . . . . . . . . . . . . . . . . . . . . . . . . . . . . . . . . . . . . . . . . . . . . . . . . 16
❒ Preparación del controlador remoto . . . . . . . . . . . . . . . . . . . . . . . . . . . . . . . . 50
Instalación de la pila, notas sobre la pila, guía de referencia de los controles
❒ Controles de alimentación y sonido. . . . . . . . . . . . . . . . . . . . . . . . . . . . . . . . . 51
Cómo ajustar el volumen, tono y equilibrio, configuración de silenciamiento, puesta
inicial de la hora, reposición de la hora, selección de pantalla del reloj
❒ Radio: Conceptos generales. . . . . . . . . . . . . . . . . . . . . . . . . . . . . . . . . . . . . . . 54
Sintoniá manual y automática, selección de banda y preajuste de emisoras
❒ Reproductor de CD: Conceptos generales . . . . . . . . . . . . . . . . . . . . . . . . . . . . 56
Carga/expulsión de un disco, reproducción de CD, selección de pista, búsqueda,
repetición, selección aleatoria, exploración y selección directa
❒ Guía de instalación. . . . . . . . . . . . . . . . . . . . . . . . . . . . . . . . . . . . . . . . . . . . . . 58
Procedimientos paso a paso
❒ Sistema antirrobo . . . . . . . . . . . . . . . . . . . . . . . . . . . . . . . . . . . . . . . . . . . . . . . 63
Coloque la placa frontal removible en la caja, instale la placa frontal removible
❒ Conexiones eléctricas. . . . . . . . . . . . . . . . . . . . . . . . . . . . . . . . . . . . . . . . . . . . 64
Medidas de precaución y diagrama del cableado
❒ Solución de problemas. . . . . . . . . . . . . . . . . . . . . . . . . . . . . . . . . . . . . . . . . . . 65
Dónde obtener ayuda técnica, consejos sobre solución de problemas, mensajes de
error
❒ Mantenimiento . . . . . . . . . . . . . . . . . . . . . . . . . . . . . . . . . . . . . . . . . . . . . . . . . 68
Cuidado del aparato, notas sobre los discos compactos
❒ Especificaciones . . . . . . . . . . . . . . . . . . . . . . . . . . . . . . . . . . . . . . . . . . . . . . . . 69
FM
CQ-DPX151U seulement
CQ-DPX151U solamente
E
N
G
L
I
S
H
2
CQ-DPX151/DP101U
11
Power and Sound Controls
E
N
G
L
I
S
H
1
CQ-DPX151/DP101U
10
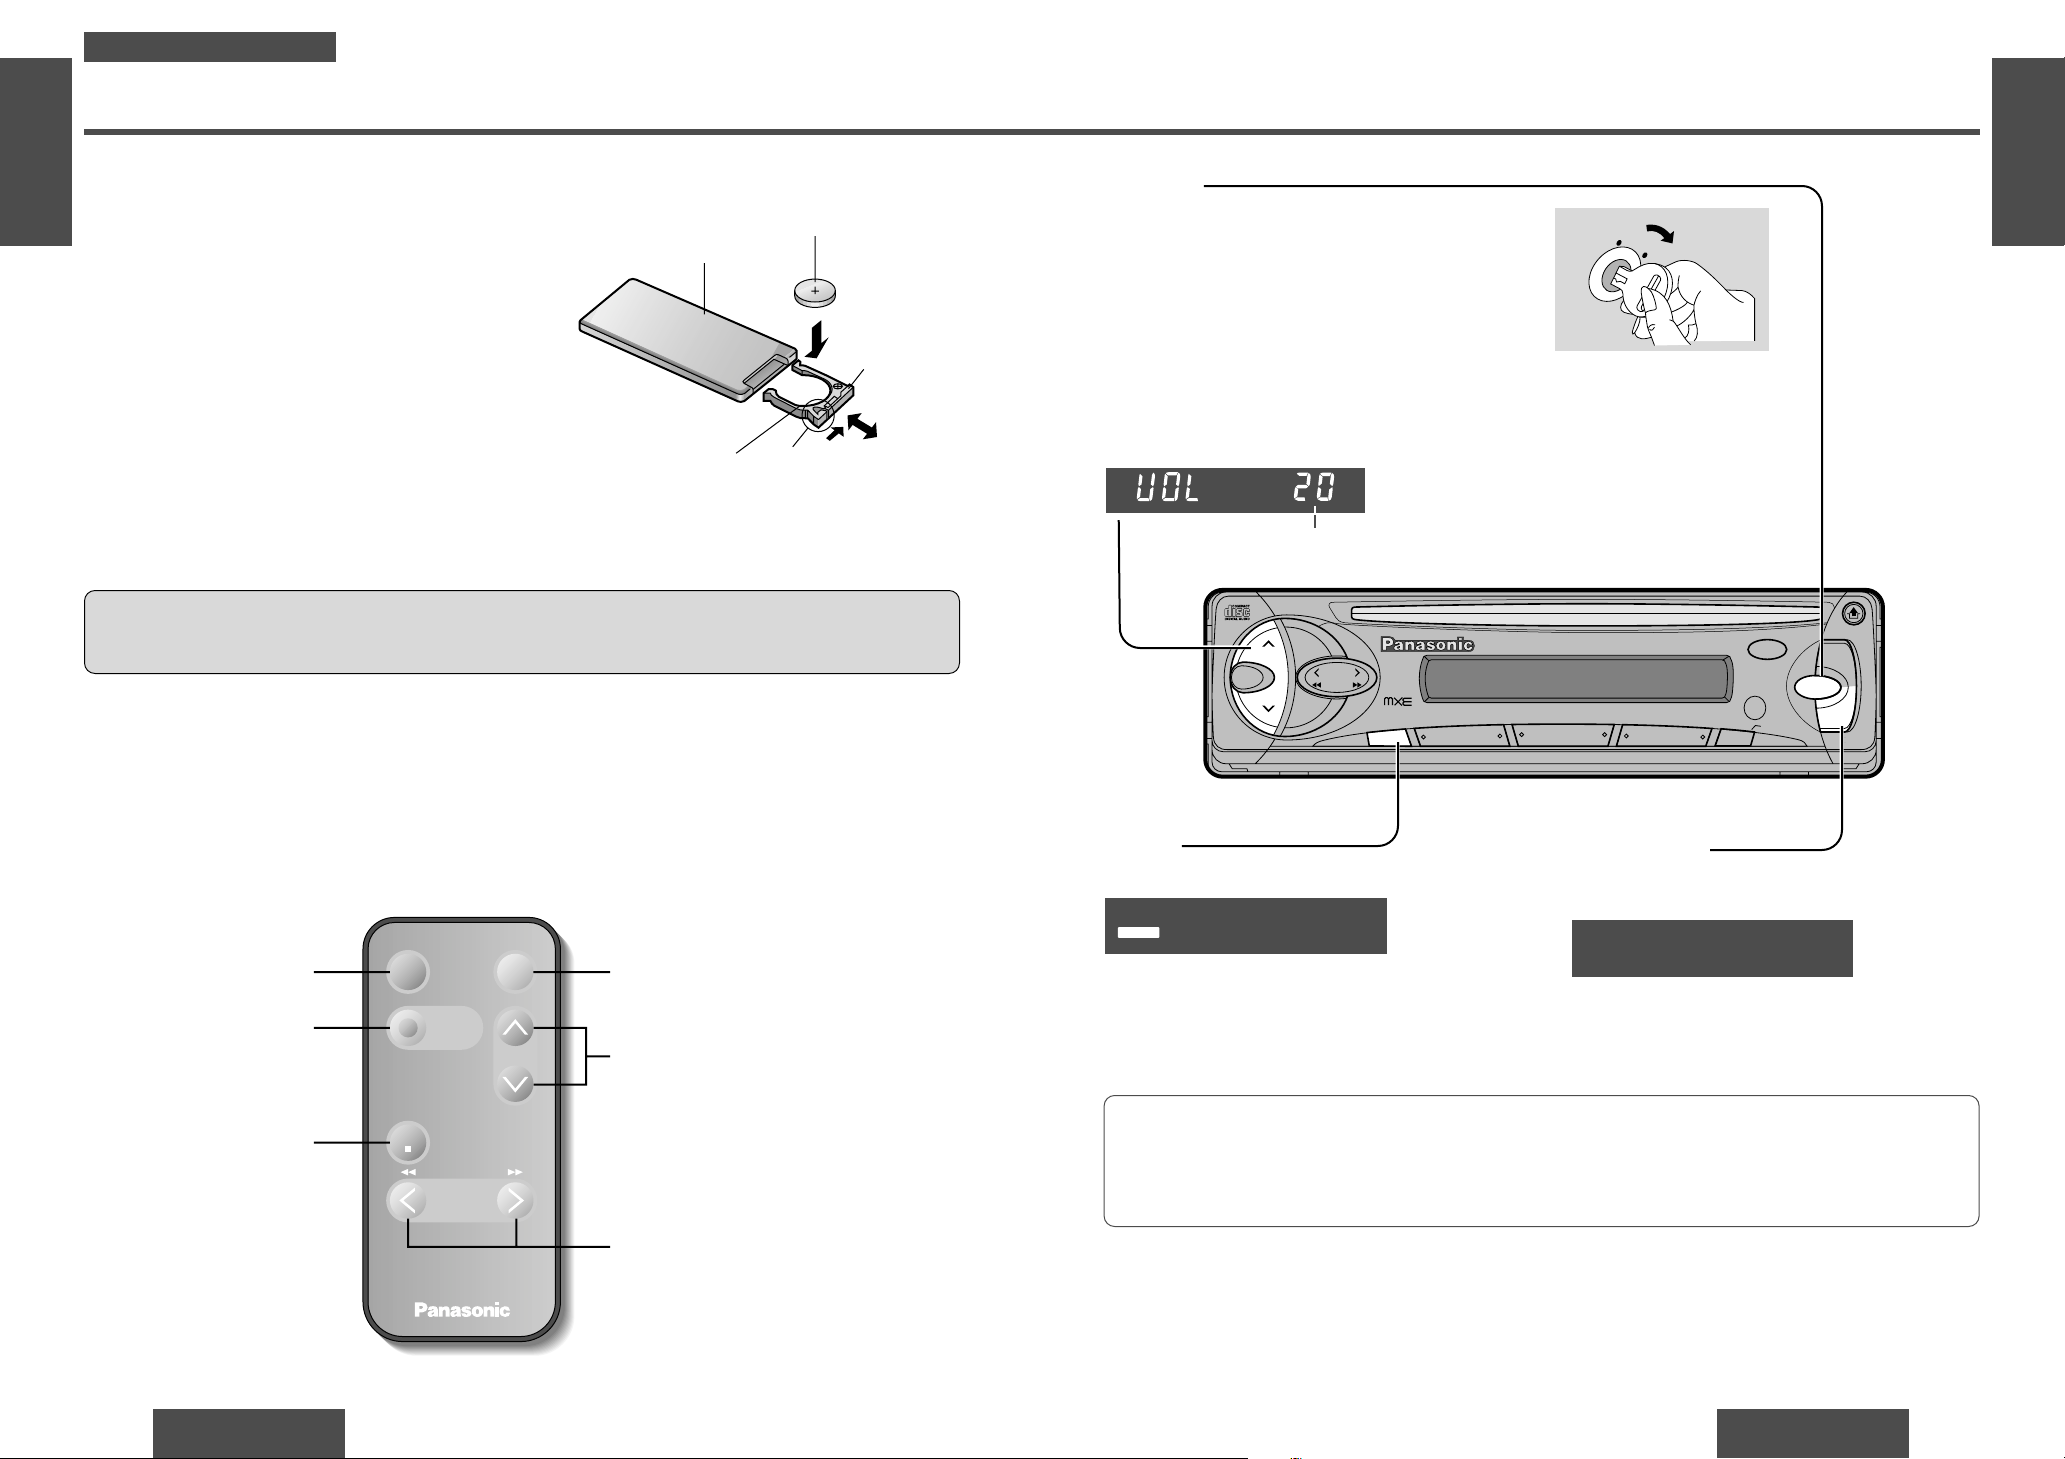
Remote Control Unit Preparation
Battery Installation
1 Remove the battery holder.
Pull the holder by the position B while pushing position A in the direction indicated by the arrow.
2 Install the battery on the battery holder.
Set a new battery properly with its (i) side facing up
as shown in the figure.
3 Insert the battery holder.
Push in the battery holder back into its original position.
Battery Notes
Remove and dispose of an old battery immediately.
Battery Information:
≥Battery type: Panasonic lithium battery (CR2025) (included)
≥Battery life: Approximately 6 months with normal use (at room temperature)
Back side
Lithium battery
(included)
Battery holder Position A
Position B
≥Do not disassemble or short the battery. Do not throw a battery into a fire.
≥Keep batteries away from children to avoid the risk of accidents.
≥Be careful to the local disposal rules when you dispose of batteries.
Control Reference Guide
Buttons of the remote control function in the same way as the controls on the main unit of the reference page.
Point the remote control unit at the main unit’s sensor (REMOTE).
Mute button (MUTE)
(➡ page 11)
Volume control buttons
(VOL, " #
)
(➡ page 11)
Tune/Track buttons
(TUNE/TRACK, 6 5/% $)
(➡ pages 14, 17)
Mode button (MODE)
(➡ pages 14, 16)
Caution:
≥Improper use of batteries may cause overheating, an explosion or ignition, resulting in injury or a fire.
Battery leakage may damage the unit.
Band button (BAND)
(➡ page 14)
PWR
MODE
PRG
TUNE
TRACK
Car Audio
BAND/DISC UP
VOL
MUTE
(ATT)
Power button (PWR)
(➡ page 11)
Power
Turn the key in the ignition until the accessory indicator lights.
Power on: Press [SOURCE] (PWR).
Power off: Press [SOURCE] (PWR) again and hold.
Mute
Press [MUTE] to mute the sound completely.
Press [MUTE] again to cancel.
Volume
[" VOL]: Up
[# VOL]: Down
Press and hold for rapid adjustment.
Volume level (0 to 40)
Anti-volume-blast circuit:
When the power is switched off and on again, the volume slowly rises to the previous level.
The anti-volume-blast circuit will not work when the volume level is set lower than position 20 on the display.
MUTE
<
VOL
SEL
BAND
TUNE
MUTE M/L
12
34
5
6
712
SOURCE
REP
CQ-DPX151U
CD RECEIVER 45WX4
LOUD
RANDOM
PWR
811
910
TRACK
DISP
MONO/LOC
REMOTE
SCAN/APM
Loudness
Press [LOUD] to enhance bass and treble
tones at low or medium volume.
Press [LOUD] again to cancel.
LOUD
AC
C
ON
Note:
≥Disc up button (DISC UP) cannot be used in this model.
Only for CQ-DPX151U
 Loading...