

Page 1

Page 2

THE OMEGA ECHO-3 2-WAY TRANSCEIVER
On
the rearsideis battery compartment.
The
Echousesa standard
"AAA"
1.5 voltbattery
and
itwill indicate
when
to replacethebattery. To replace
thebattery,slightlylift
up
ontheendofthecover (thereis asmallindention),
then slide the
cover
towards the bottomofthe controller.
Page - 2
"."
•
Button
LCD
Screen
":"
•
Button
Programming
Button
"Disarm/Unlock"
Button
~
"Arm/Lock"
Button
Page 3

2- "Disarm/Unlock" button
4-
":"
button for remote start or 3rd Channel Output
ABOUT
THE ECHO TRANSCEIVER
- The Omega Echo system
is
a modular 2-way remote controller transceiver,
which simply plugs into the host Omega vehicle security system.
-
To
utilize the Echo, the host Omega vehicle security system must be a
model which
is
compatible with the Echo. All such models have
in
their
Operations Manuals a description
of
the optional Echo.
- When using the Echo to operate the vehicle security system, the Echo
is
used
in
the exact same manner as the original 1-way transmitters. The
buttons on both share the same markings.
- The original1-way transmitters may still be used to operate the system.
The Echo 2-way transceiver, in addition to operating your system, also receives signals from the
system and displays a variety
of
system conditions on its LCD screen. The Echo also will chirp and
play melodies, which emulate the security system's siren. Your system can be operated by
as
many
as four standard transmitters and/or Echo transceivers.
The 4 Use Buttons: The Echo has the same fouroperationalbuttons
as
the standardtransmitter,
with like icons imprinted on them. These are:
1- "Arm/Lock" button
3-
":"
2nd Channel Output button
Page - 3
Page 4

I.-~W~
11It\UiI
l
~:;:;::;~~~
@
The 5th Button: The Echo transceiver has a fifth button, not found on the I-way transmitter,
which is the "Programming"button. In regularuse, pressing andreleasing this buttonwill illuminate
the Echo's LCD screen for
10
seconds. In other use, the Programming button is used to change
several customizable features.
EchoRemoteTransceiverIcons:
TheLCDscreenontheremotetransceiver
has various icons which indicate system
status (all are seen in the view at right).
When the remote transceiver is used to
operate the system, it receives back a
signal which causes it to
display the appropriate icons, in addition
to chirping (emulating the siren). Brief
descriptions
of
eachofthese icons are:
• Thedigitreadoutis aclock,withAMandPMindication. Thisreadoutalso showswhichvehicle
the controller is operating when used in multi-car situations.
• The "DISARM" will also show "ARM"; this indicates the Armed or Disarmed status
of
the
system. Neither icon is present when the system is in Valet Mode.
• The locked orunlocked padlock (windshield) reflects the true locked orunlocked status
of
the
doors (certain programmable features can automatically arm the system, but not lock the doors).
Arming with the transmitter/transceiver always locks the doors; disarming with the transmitter/
transceiver will unlock the doors unless the system is activated and sounding.
• "VALET" indicates Alarm Valet Mode, replacing the
"ARM"
or "DISARM" icons. A musical
tone occurs when placing the system into Alarm Valet Mode.
Page - 4
Page 5

• When "BAT LOW" appears the transceiver's
1.5
volt AAA battery should be replaced.
• The transceiver's chirps and musical tones may be turned off, which makes the unit vibrate
instead; "MUTE" indicates this state.
• The "3" within a circle appears when the 3rd Channel Output
is
operated.
• "HOOD/TRUNK" indicates that this zone the vehicle
is
or has been violated.
If
associated with
the system being activated, the transceiver also chirps, until any button
is
pressed. In this case,
the icon remains flashing until the ignition switch is turned on.
•
If
a remote starting attemptismade, and systems aborts it due to a violated safety circuit, the
"crossed-out key" on the hood area will appear (thisisaccompanied by a musical tone).
• The "CARJACK" icon within the vehicle's front tag frame indicates that this operation has been
activated, which can be performed by any
of
three methods.
• On the vehicle's windshieldisa "hammer" and "impact" icon. When the shock sensor detects
light impact, causing the system to prewarn, the "impact" icon alone will momentarily appear,
accompanied by three chirps.
If
the sensor detects a harder impact or breaking glass, activating
the system, the full hammer and impact icon appears, and the transceiver chips until any button
is
pressed, and the icon remains flashing until the ignition switchisturned on.
• The"DOOR"iconwill indicatethatthe systemwasactivatedviathedoordetectioncircuit. The
transceiver chirps until any button is pressed, and the icon remains flashing until the ignition is
turned on.
• The "start" icon at the rear
of
the vehicle confirms remote starting. This iconisaccompanied by
a musical melody, and stays on while remote starting is operating; during which the puffs will
change to appearing sequentially. The clock readout also changes to a remote start timer.
Pressing the "P" button will return to the clock for 5 seconds.
• The "2" within a circle indicates use
of
the 2nd Channel Output, whichismost commonly used
for a remote trunk release feature.
Page - 5
Page 6

• The "transmitting tower" icon is an in-range indicator.
It
is present as long as the ECHO
receives responses from the host system.
• The various lines at the upper rear
of
the vehicle graphic represent a unique Omega feature
which allows the user to customize the vehicle type represented by the display. Options are:
passenger car, pickup truck, and SUV/van. This can be set independantly for
CARl
or 2 in
multi-car situations.
• MULTI-CAR
SELECTION:
Press "P" and "LOCK" for 1 second to select
CARl.
Press
"P"
and "UNLOCK" for 1second to select CAR2.
PROGRAMMING THE ECHO TRANSCEIVER FUNCTIONS
The Omega Echo transceiver has several user-programmable features, which are:
II'
Chirp
or
Mute
The chirps may be turned off, and replaced with vibration.
II'
Vehicle Type Choices are a passenger car, pickup truck, or van/SUV.
II'
Time
Adjust
To
set the Echo's clock time.
t!'
Start
Melody; and Stop Melody These are playedwith remote starting.
OR
2- During this time
Chirp
or
Mute
can be chosen bypressing the
button for 1 second.
Configuring these features as desired is a simple process, using the Echo unit's three round side
buttons. This
is
a sequential procedure, in order as follows:
1- Hold this button for 5 seconds to enter the programming mode.
Press and
hold
the
Gbutton
After5seconds
the
Echo
chirps
twice;
release
the
...
Page - 6
button
Page 7

The upper rearofthe vehicle will flash; Vehicle Type may be chosen now.
Press and release the
button
Each pressofthe button changes the vehicle from Passenger Car, then
to Pickup Truck, and then to Van/SUV. When the desired type is flashing
press
and
release
the
0
button
The Time's "Hours" will flash, and may be set now.
Press
and
release
the
•
button
to advance the hours or
press and release the button to reverse the hours.
When the Hours are correct (please note
"AM"
or "PM")
press
and
release
the
0
button
The Time's "Minutes" will flash, and may be set now.
button to reverse the minutes.
button to advance the minutes or
When the mInutes are correct
press
and
release
the
0
button
Page - 7
press and release the
Press and release the
Page 8
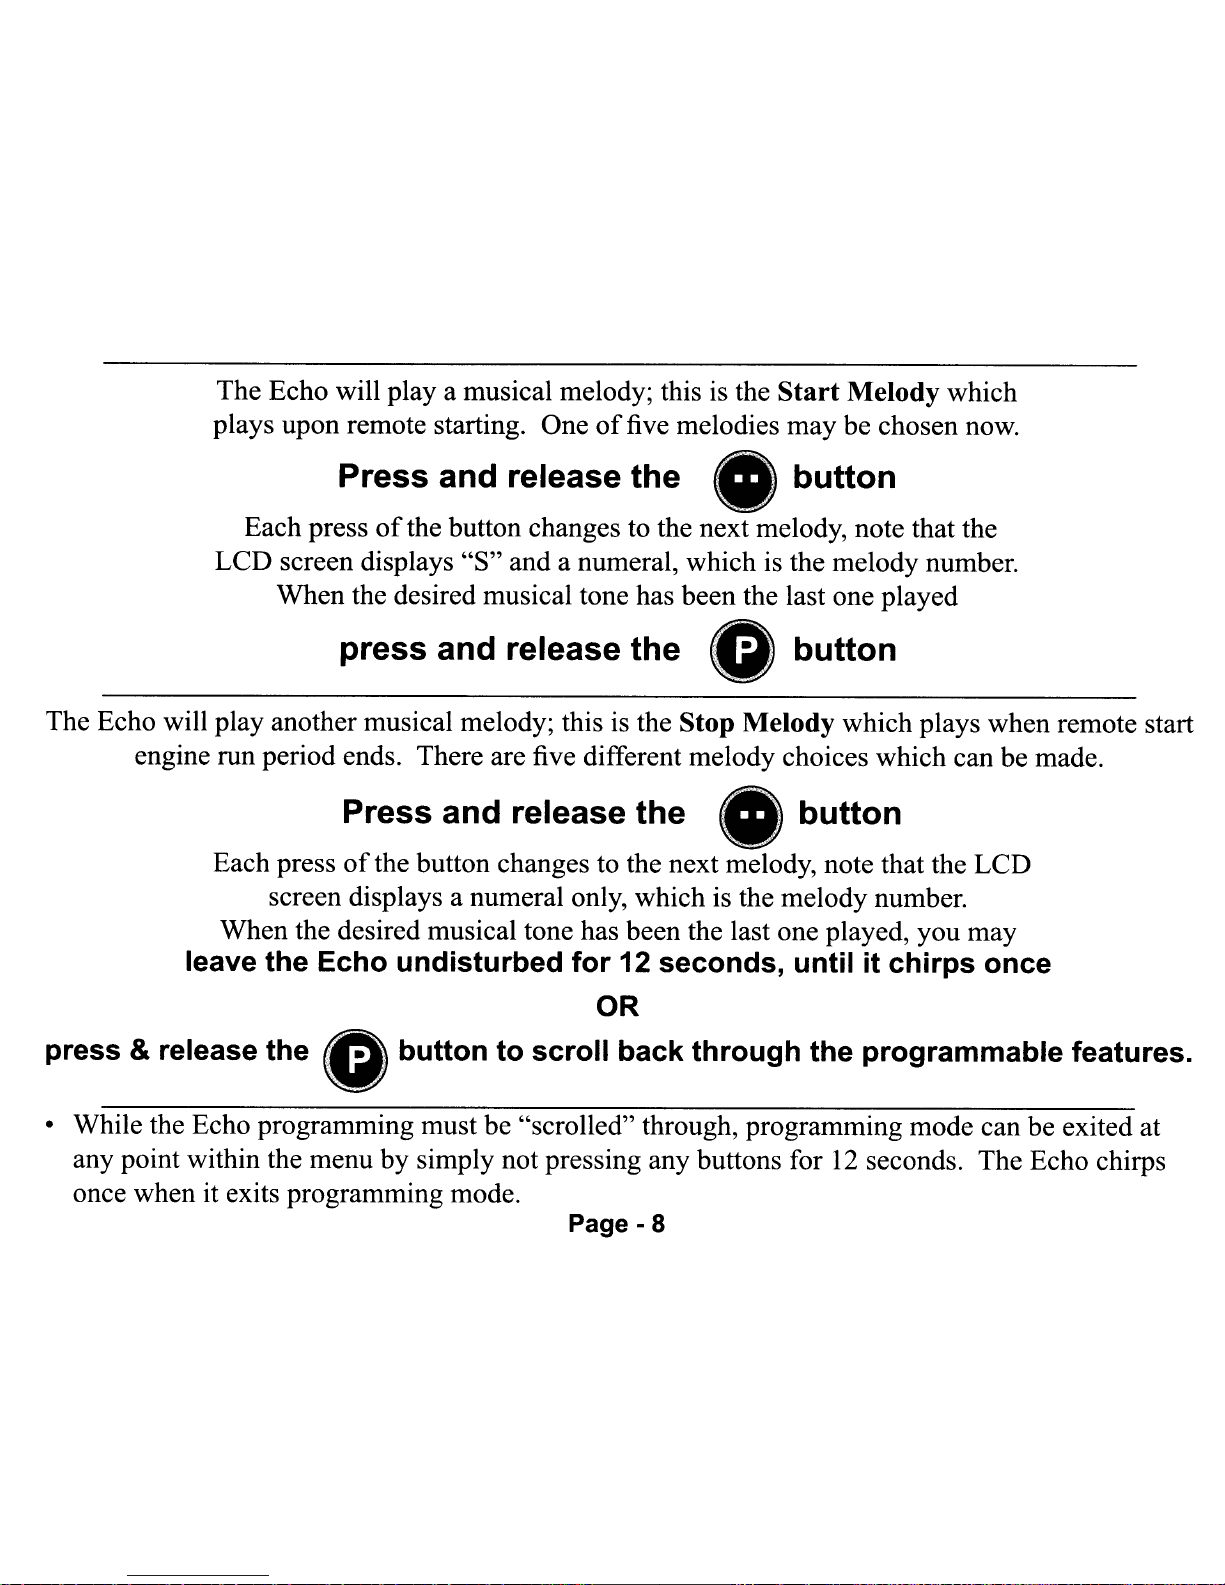
The Echo will
playa
musical melody; thisisthe Start Melody which
plays upon remote starting. Oneoffive melodies may be chosen now.
Press and release the
button
Each pressofthe button changes to the next melody, note that the
LCD screen displays "S" and a numeral, which
is
the melody number.
When the desired musical tone has been the last one played
press
and release
the
0
button
The Echo will play another musical melody; thisisthe Stop Melody which plays when remote start
engine run period ends. There are five different melody choices which can be made.
Press and release
the
•
button
Each pressofthe button changes to the next melody, note that the LCD
screen displays a numeral only, which is the melody number.
When the desired musical tone has been the last one played, you may
leave the Echo undisturbed for 12 seconds, until it chirps once
OR
press & release
the
0
button
to
scroll
back
through
the
programmable
features.
• While the Echo programming must be "scrolled" through, programming mode can be exited at
any point within the menu by simply not pressing any buttons for
12
seconds. The Echo chirps
once when it exits programming mode.
Page - 8
Page 9

•
If
the "MUTE" vibrating operation is selected, turning
off
the chirps, the remote starting
melodies are also replaced by vibration.
• The previous also applies to the musical melodies when programming-
if
the Echo is configured
for "MUTE" operation (vibrates instead chirping), then in programming it will not play the
musical melodies. Instead, it vibrates when the remote starting Start Melody and Stop Melody
are accessed for programming.
Other Omega Echo Notes:
• The system will only transmit a signal to the Echo transceiverifthe Echo was last used to
operate the system (as in Arming, Disarming, etc). Example:
if
the I-way transmitter is used to
Arm the system, the system will not transmit a signal which will cause the Echo to chirp and
change its icons.
•
If
multiple Echo transceivers are programmed to operate the system, the system will send its
signal to only one transceiver- the last one used.
• When the system does send a signal to the Echo transceiver, a few seconds is
needed for this "handshake" to occur.
If
the system is operated in a rapid fashion,
as
in quickly
repeating
Arm
and Disarm cycles, the Echo will not have time to receive the signal from the
system, and therefore it will stop responding and reporting the system's status. Normally
operating the system corrects this symptom.
• A final point to remember is that the Echo transceiver cannot receive a signal from the
system while it itselfis transmitting. For normal operations, the Echo's buttons are
pressed and released. Even when "Panic" is operated, the Echo button should be released as
soon as "Panic" engages. Otherwise, the Echo cannot receive the signal from the system.
Page - 9
•
If
the "MUTE" vibrating operation is selected, turning
off
the chirps, the remote starting
melodies are also replaced by vibration.
• The previous also applies to the musical melodies when programming-
if
the Echo is configured
for "MUTE" operation (vibrates instead chirping), then in programming it will not play the
musical melodies. Instead, it vibrates when the remote starting Start Melody and Stop Melody
are accessed for programming.
Other Omega Echo Notes:
• The system will only transmit a signal to the Echo transceiverifthe Echo was last used to
operate the system (as in Arming, Disarming, etc). Example:
if
the I-way transmitter is used to
Arm the system, the system will not transmit a signal which will cause the Echo to chirp and
change its icons.
•
If
multiple Echo transceivers are programmed to operate the system, the system will send its
signal to only one transceiver- the last one used.
• When the system does send a signal to the Echo transceiver, a few seconds is
needed for this "handshake" to occur.
If
the system is operated in a rapid fashion,
as
in quickly
repeating
Arm
and Disarm cycles, the Echo will not have time to receive the signal from the
system, and therefore it will stop responding and reporting the system's status. Normally
operating the system corrects this symptom.
• A final point to remember is that the Echo transceiver cannot receive a signal from the
system while it itselfis transmitting. For normal operations, the Echo's buttons are
pressed and released. Even when "Panic" is operated, the Echo button should be released as
soon as "Panic" engages. Otherwise, the Echo cannot receive the signal from the system.
Page - 9
Page 10
PROGRAMMING THE ECHO
TO
THE SECURITY SYSTEM
The Echo must be programmedto the system in orderto operate it. This programming procedure
is
identical for a I-way transmitter orEcho transceiver. The original I-way transmitters may be used
to also operate the security system, in addition to the Echo.
To
program all, follow this procedure:
Have all
of
the transmitters or transceivers at hand (when one is programmed, all others are erased).
Step 1 Tum the vehicle's ignition "on".
Step 2 Within5seconds
of
turning"on"the ignition,pressthe ValetSwitch5times. Thesirenwill
chirp once, confirming that the system is ready to learn an Echo or I-way transmitter.
Step 3 Within I0secondspressandreleasethe"ArmlLock" button(the"lockedpadlock"graphic).
The siren will chirp once, confirming that the system learned the Echo or transmitter.
Step 4 Repeat the previous step for each Echo or transmitter which is to operate the system.
• The system will remove itself from the programming mode
if
10 seconds expire without its
receiving a signal,
if
the ignition is turned
"off',
or upon four transmitters or transceivers
being programmed into the system.
• Only the "Arm/Lock" button is pressed in programming; when it is learned all
of
the other
buttons' functions are automatically assigned.
Page
-10
Page 11

INSTALLING THE ECHO TRANSCEIVER SYSTEM
The Omega Echo communicates with a remotely-mounted base receiver/transmitter unit
which is plugged directly into the host security system module; no other wiring connections
are needed. The base receiver/transmitterunit maybe mounted directly to an interior glass
by
utilizing the attached adhesive pad (clean and prepare the glass before adhering) for the
bestoperating range. The receiver/transmitter also contains alternative system Status Lights
and a Valet Switch. these may be used, or the original items may be retained.
Host Omega Security
System Control
Module
Step 2
Plug
in
and
route
the
Echo
transmitter/receiver unit wiring harness.
Using the adhesive tape, mount the Echo
transmitter/receiver onto an interior glass
(carefully clean the surface).
Step 3 ProgramtheEchotransceiverandtheoriginal
I-way transmitters into the security system.
Page-11
Security
System
Receiver (configurations vary)
Step 1 \ Echo Base
Locate & \ Transmitter/
Remove the \ Receiver Unit
security system's \
Echo portjumper
connector (it has a \
Red wire loop). \
\
\
\
\
CL',
\
Page 12

LIMITED LIFETIME
WARRANTY
Products
manufactured
and
soldbyOMEGA
RESEARCH&DEVELOPMENT,
INC.
(the
"Company"),
are
warrantedtobe
free
from
defectsinmaterials
and
workmanship
under
nonnal
use.Ifa
product
sold
by
the
Company
provestobe
defective,
the
Company
will
repairorreplace
it freeofcharge
within
the
first
year
and
thereafter
all
parts
to
be
repaired
will
be
free
with
onlyanominal
charge
for
OMEGA
RESEARCH
&
DEVELOPMENT,
INC.'slabor
and
return
shipping,tothe
original
owner
during
the
lifetimeofthe
carinwhich
it
was
originally
installed.
All
products
for
warranty
repair
mustbesent
postage
prepaidtoOMEGA
RESEARCH&DEVELOPMENT,
INC.,
981
North
Burnt
Hickory
Road,
Douglasville,
Georgia
30134,
with
billofsaleorother
dated
proof
of
purchase.
This
warrantyisnontransferable
and
does
not
applytoany
product
damaged
by
accident,
physical
or
electrical
misuse
or
abuse,
improper
installation, alteration,
any
use
contrary
to
its
intended
function,
unauthorized
service,
fire, flood,
lightning,orother
actsofGod.
This
warranty
limits
the
Company's
liabilityto
the
repairorreplacementofthe
product.
The
Company
shall
not
be
responsible
for
removal
and/or
reinstallation
charges,
damagetoor
theftofthe
vehicleorits
contents,orany
incidental
or
consequential
damages
causedbyany
failureoralleged
failureofthe
producttofunction
properly.
UNDER
NO
CIRCUMSTANCES
SHOULD
THIS
WARRANTY,
OR
THE
PRODUCT
COVERED
BY
IT
BE
CONSTRUED
ASAGUARANTEE
OR
INSURANCE
POLICY
AGAINST
LOSS.
The
Company
neither
assumes
nor
authorizes
any
person
or
organization
to
make
any
warranties
or
assume
any
liability
in
connection
with
the
sale, installation,oruseofthis
product
This
device
complies
with
F.C.C.
Rules
part
15.
Operationissubjecttothe
following
two
conditions:
(1)
This
device
may
not
cause
harmful
inter-
ference
and,
(2)
this
device
must
accept
any
interference
that
may
be
received,
including
interference
that
may
cause
undesired
operation.
The
manufacturer
is
not
responsible
for
any
radio
TV
interference
caused
by
unauthorized
modifications
to
this
equipment.
Such
modifications
 Loading...