

Page 1
User Guide:
Hard Disk Option
for OKI B6100 Printer
59344902
Page 2

i OKI Hard Disk User Guide
Copyright
Every effort has been made to ensure that the information in this document is complete,
accurate, and up-to-date. Oki Data assumes no responsibility for the results of errors or
omissions beyond its control. Oki Data also cannot guarantee that changes in software and
equipment made by other manufacturers and referred to in this document will not affect the
applicability of the information in it. Mention of software products manufactured by other
companies does not necessarily constitute endorsement by Oki Data.
Copyright 2002 by Oki Data. All Rights Reserved
First Edition: September, 2002
Written and produced by the Oki Data Training and Publications Department.
Contact Information
Please address any comments on this publication to:
Mailing Address
Oki Data Americas, Inc.
Training and Publications Department
2000 Bishops Gate Boulevard
Mount Laurel, NJ 08054-4620
e-Mail Address
Web Site
Trademarks
OKI is a registered trademark, marque déposée, marca registrada of Oki Electric Industry
Company, Ltd.
Adobe and PostScript are trademarks of Adobe Systems, Inc. which may be registered in
certain jurisdictions.
pubs@okidata.com
http://www.okidata.com.
Page 3

OKI Hard Disk User Guide ii
Contents
Copyright ............................................................................................................... i
Contact Information ...............................................................................................i
Trademarks.............................................................................................................i
Safety Precautions................................................................................................iii
Chapter 1: Installation ............................................................ 1
Features of the Hard Disk Option ......................................................................... 1
Installing the Hard Disk........................................................................................ 1
Chapter 2: Using the Hard Disk ............................................. 8
Control Panel Menu Structure............................................................................... 8
Using the Disk Menu .......................................................................................... 10
Using the PCL and PostScript Power-On Files Feature...................................... 10
Using the Hard Disk as a PostScript Device....................................................... 11
Contents
Chapter 3: Service & Support .............................................. 13
Page 4
Safety Precautions
CAUTION: Handling ESD-Sensitive Parts
Many electronic parts use parts that are known to be sensitive to electrostatic discharge (ESD).
To prevent damage to ESD-sensitive parts, follow the instructions below in addition to all the
usual precautions, such as turning off power before removing logic boards:
❥ Keep the ESD-sensitive part in its original shipping container (a special “ESD bag”) until
you are ready to install the part into the machine.
❥ Make the least-possible movements with your body to prevent an increase of static
electricity from clothing fibers, carpets, and furniture.
❥ Use an ESD wrist strap on your wrist if available. Connect the wrist band to the system
ground point. This discharges any static electricity in your body to the machine.
❥ Hold the ESD-sensitive part by its edge connector cover; do not touch its pins. If you are
removing a pluggable module, use the correct tool.
❥ Do not place the ESD-sensitive part on any metal surface; if you need to put down the
ESD-sensitive part for any reason, first put it into its special bag.
❥ Metal surfaces are electrical grounds. They increase the risk of damage because they make
a discharge path from your body through the ESD-sensitive part. (Large metal objects can
be discharged paths without being grounded.)
❥ Prevent ESD-sensitive parts from being accidentally touched by other personnel.
❥ Take extra care working with ESD-sensitive parts when cold weather heating is used
because low humidity increases static electricity.
OKI Hard Disk User Guide iii
Safety
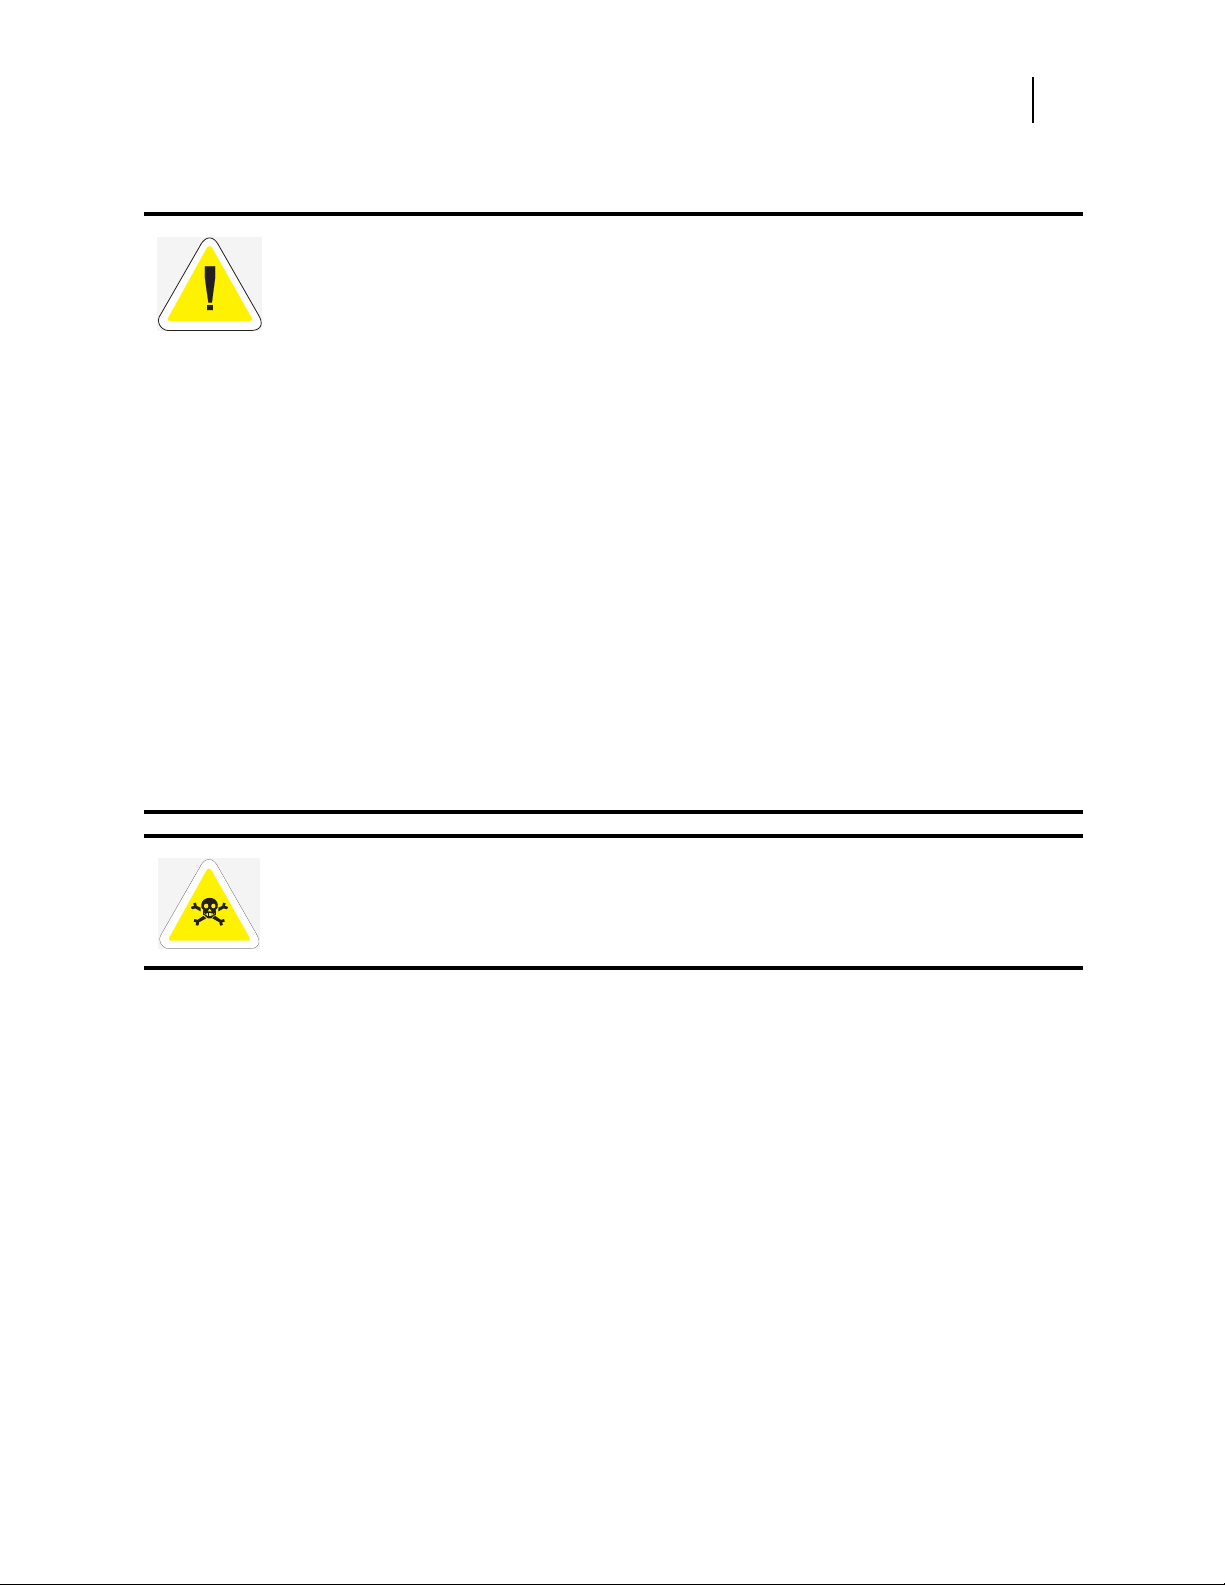
WARNING: To prevent the danger of electric shock, before installing any options
be sure to turn the power switch of the printer to the off [O] position and disconnect
the power cord from the wall outlet.
Page 5

Chapter 1
Installation
Features of the Hard Disk Option
The Hard Disk Option for your printer provides the following:
• Quick and easy installation requiring no tools
• 10 GB capacity
• Storage of PostScript files and/or storage of PCL power-on files (see page 10)
• Control panel menus enable fast and easy file manipulation (see page 8).
Installing the Hard Disk
NOTE: Carefully review the safety precautions on page iii before starting
this installation procedure.
Page 6
OKI Hard Disk User Guide 2
Chapter 1: Installation
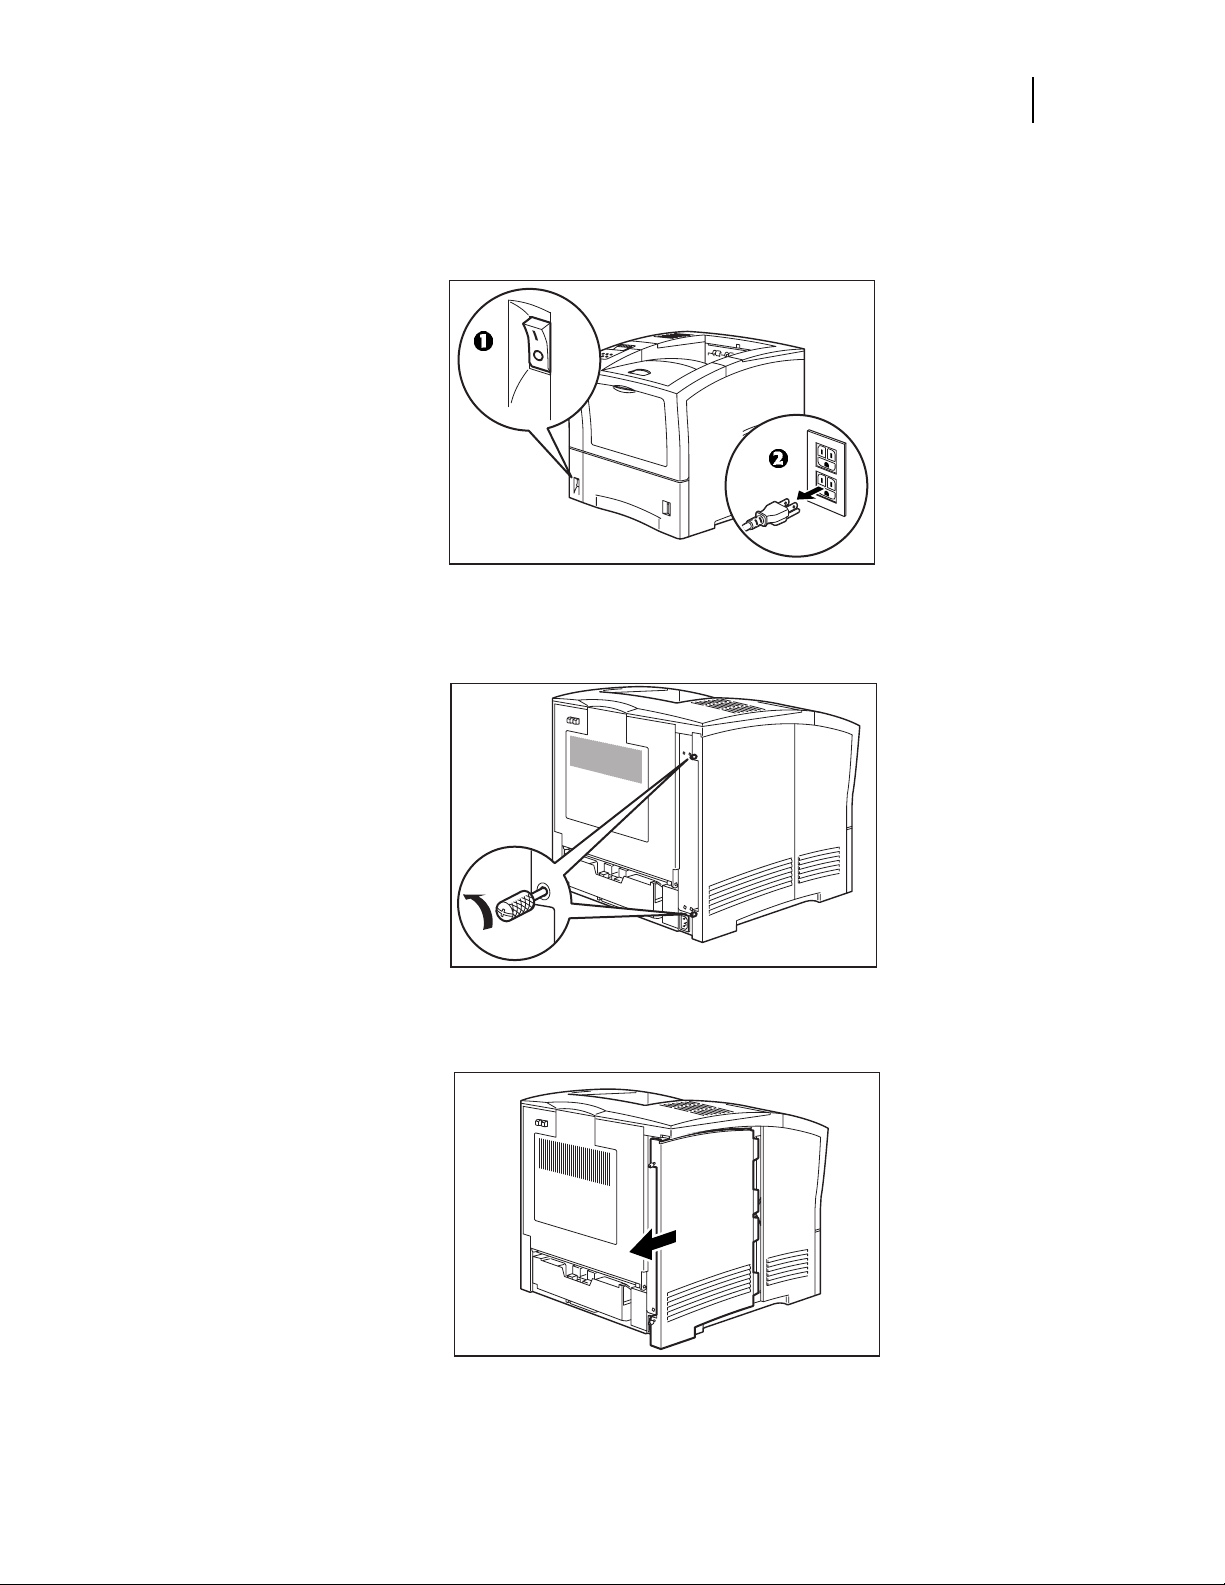
Remove the Side Panel from the Printer
1. Turn the printer power switch (1) OFF (O position), then unplug the power cord from the
AC outlet (2).
2. Loosen the thumbscrews at the top and bottom of the side cover by turning them in a
counter-clockwise direction.
3. Slide the cover towards the rear of the printer, then down to remove it.
Page 7

OKI Hard Disk User Guide 3
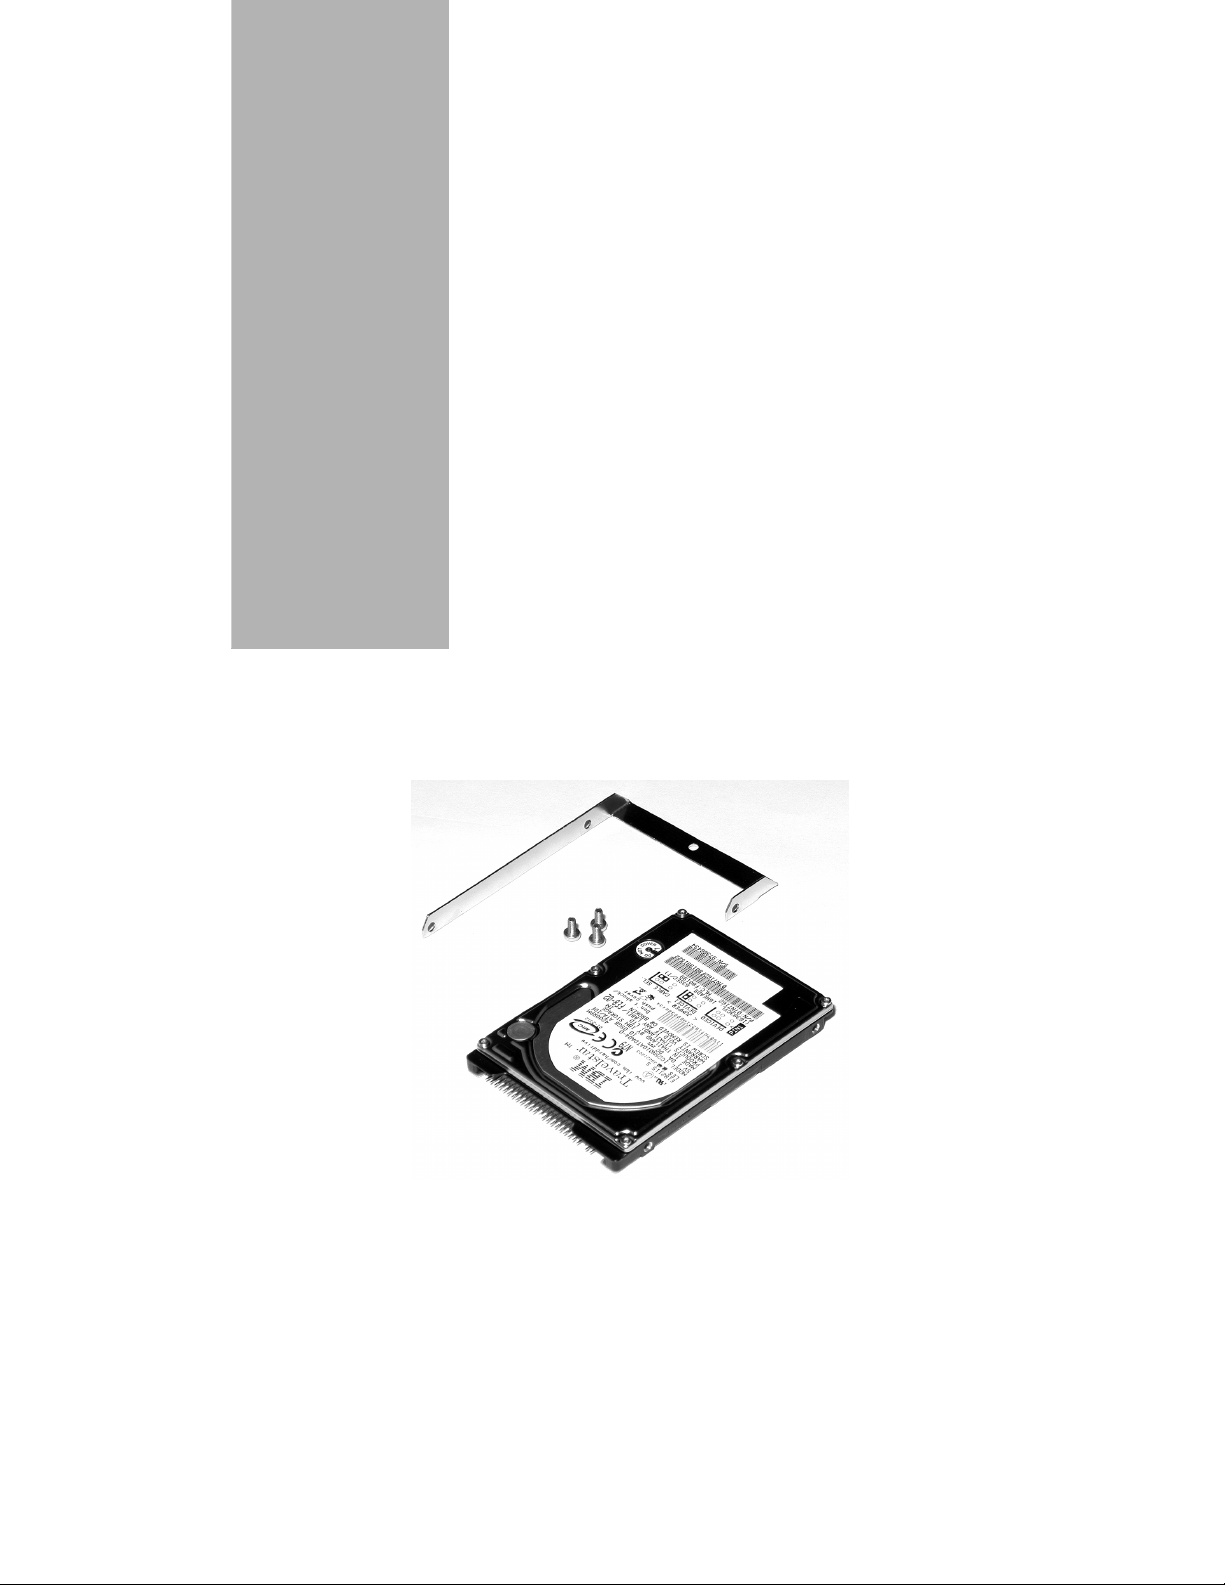
Install the Hard Disk in the Bracket
CAUTION: Handling ESD-Sensitive Parts
The Hard Disk is sensitive to electrostatic discharge (ESD).
❥ Keep the Hard Disk drive in its original shipping container until you are ready to install it.
❥ Minimize your movements to prevent build up of static electricity.
❥ Use an ESD wrist strap on your wrist if available. Connect the wrist band to the system
ground point. This discharges any static electricity in your body to the machine.
❥ Hold the Hard Disk by its edge connector cover; do not touch the pins.
❥ Do not place the Hard Disk on any metal surface; if you need to put it down for any
reason, first put it into its special bag.
1. Place the bracket on a flat area protected against static electricity.
Chapter 1: Installation
2. With the label side up, place the Hard Disk on the bracket, aligning the three holes in the
bracket with the mounting holes on the Hard Disk.
Page 8

OKI Hard Disk User Guide 4
Chapter 1: Installation
3. Use the three screws (1) provided to secure the bracket to the Hard Disk. Be sure to tighten
the screws securely.
Mount the Hard Disk on the Controller Board
1. Locate the area of the controller board (1) in the lower right corner, identified as “Hard Disk
Option.”
Page 9

OKI Hard Disk User Guide 5
Chapter 1: Installation
2. Align the wide bank of pins (1) on the Hard Disk—CAREFUL! The pins (2) in a separate
group on the Hard Disk are not used to make the connection—with the connector on the
control board, then gently slide the Hard Disk down to seat the pins firmly in the connector.
3. Align the hole in the Hard Disk bracket with the hole in the controller board, and insert the
included plastic rivet (1) through the aligned holes (2).
Page 10

OKI Hard Disk User Guide 6
Chapter 1: Installation
Reinstall the Side Panel on the Printer
1. Insert the top part of the left side cover into the printer. Ensure the locking tab aligns with
the hole in the printer’s side.
2. Slide the side cover towards the front of the printer to install it.
3. Tighten both thumbscrews in a clockwise direction.
Page 11

OKI Hard Disk User Guide 7
Chapter 1: Installation
4. First, connect the power cord to the wall outlet, and then turn the printer on.
5. Check the operator panel. After the warm up and initialization cycles, it should read
READY. If it is blank, the Hard Disk pins are improperly installed in the connector:
a. Turn the printer off, then remove the power cord from the outlet.
b. Remove the side panel from the printer.
c. Check to be sure that the Hard Disk pins—wide bank only: the separate pins should
not engage the connector—are properly seated in the connector.
d. Reinstall the side panel, plug the printer in and turn it on. Wait for the warm up and
initialization cycles to complete, then check the display for
READY.
The installation of your Hard Disk is complete.
Page 12

Chapter 2
Using the Hard Disk
Control Panel Menu Structure
When the Hard Disk is installed, the printer control panel menu structure is
enhanced as shown in the following table. The shaded areas denote additional features and settings relevant to the Hard Disk.
Page 13

Menu
OKI Hard Disk User Guide 9
Chapter 2: Using the Hard Disk
Paper Menu
Interface Menu
PS Menu
PCL Menu
System Menu
Display Language
Alarm Control
Power Saver
Wait Timeout
Job Timeout
Jam Recovery
Hex Print
Toner Out
Power-On Files
Playback FILE01.POR
FILE02.POR
FILE03.POR
. . .
. . .
Delete FILE01.POR
FILE02.POR
FILE03.POR
. . .
. . .
Quality Menu
Functions
Disk Menu
Print
Delete
Format Disk
Disk Summary
NOTE: The Disk Menu will only appear when the Hard Disk is installed.
The Power-On Files menu will only appear if the Hard Disk (or the Flash SIMM
option) is installed and power-on files exist.
Page 14

Using the Disk Menu
Manipulation of files stored on the Hard Disk can be accomplished using the Disk Menu (Print,
Delete, Format Disk, Disk Summary).
Print
This selection reads the selected file from the Hard Disk and prints it as if it were being received
from one of the input ports.
Delete
This selection deletes the selected disk file or directory from the Hard Disk. To delete an entire
directory, you must first delete all the files within that directory.
Format Disk
This selection reformats the Hard Disk.
CAUTION! All files on the Hard Disk are deleted if this function is selected.
OKI Hard Disk User Guide 10
Chapter 2: Using the Hard Disk
Disk Summary
This selection prints a page containing information about the Hard Disk including a list of all
the current files and directories.
Using the PCL and PostScript Power-On Files Feature
Power-on Files Defined
Your printer can store files on the Hard Disk which can be read and interpreted at power-on.
Such power-on files can contain either PCL or PostScript language content. Examples of
power-on files include soft fonts, and macro/overlay definitions.
NOTE: Power-on files are processed only at power-on initialization and not at the start of
every print job.
Contact the technical support organization at your point of purchase for full details about the
power-on files feature.
Page 15

Using the Hard Disk as a PostScript Device
In order to allow PostScript® programs to access the Hard Disk, a full implementation of a
PostScript storage device is provided. This section discusses an overview of the PostScript
operators and parameter sets that are included.
For detailed information on using the operators/parameter sets, please refer to the following
®
publications (available on the Adobe
• PostScript Language Reference Manual
• Adobe PostScript 3 Version 3010 Product Supplement
Device Name and Priority
The device name assigned to the Hard Disk option is %disk0%.
• If both the Hard Disk and the Flash SIMM options are installed, both can be referenced
uniquely by name.
• If no device name is specified in the PostScript operation, the SearchOrder parameter in the
device parameter set establishes the priority for file operations.
• When both devices are installed, the SearchOrder value for the Hard Disk is set to 1, while
the SearchOrder value for the Flash SIMM is set to 2. This gives priority to the Hard Disk.
web site, www.adobe.com):
OKI Hard Disk User Guide 11
Chapter 2: Using the Hard Disk
PostScript Operators
All of the standard file-object related operators (file, read, write, etc.) are supported. In addition,
following is a list of device-related PostScript Compatibility operators that are supported for
use with the Hard Disk (%disk0%):
- devdismount
- devforall
- devformat
- devmount
- devstatus
- diskonline
- diskstatus
- initializedisk
- dosysstart
- setdosysstart
Page 16

OKI Hard Disk User Guide 12
Chapter 2: Using the Hard Disk
Device Parameter Sets
When installed, a device parameter set will be supported for the Hard Disk. The parameter sets
can be referenced using the device names %disk0%. Each parameter set will include the
following parameters:
- LogicalSize
- Writeable
- BlockSize
- Searchable
- SearchOrder
- Type
- Mounted
- HasNames
- PhysicalSize
- InitializeAction
- Free
- Removable
Warmstart.ps and Sys/Start Files
When the Hard Disk is installed, there are two features which provide support for automatic
execution of a PostScript program during power-on initialization: warmstart.ps and Sys/Start.
warmstart.ps File
Each time the printer is powered on, the Hard Disk is checked for a file named warmstart.ps. If
this file is found, it is read and parsed by the PostScript interpreter. It is up to the PostScript
programmer to create the content of this file and get the file onto the Hard Disk using the
PostScript device and file operators.
Sys/Start File
With the Hard Disk installed, an additional parameter is supported in the System Parameter set.
This parameter is an integer parameter called StartupMode and is set to 1 by default.
NOTE: This parameter can be read or written using the dosysstart and setdosysstart
operators.
Each time the printer is powered on, if the StartupMode parameter is set to 1, the Hard Disk is
searched for a file called Sys/Start, a file named Start in a path called Sys. If this file is found, it
is read and parsed by the PostScript interpreter. Again, it is up to the PostScript programmer to
create the content of this file and get the file onto the Hard Disk the PostScript device and file
operators.
◆ ◆ ◆
Page 17

Chapter 3
Service & Support
First …
Consult the store where you purchased your Hard Disk.
Additional OKI Resources: Available 24/7
• Visit our multilingual web site www.okidata.com.
• Visit http://my.okidata.com.
• Call 1-800-654-3282
Have the following information ready:
• Your phone number, fax number and shipping address.
• A description of the problem.
• The printer model.
• The type of host computer you are using.
• The type and version of operating system you are using.
• The application and version you are using.
• The interface you are using (e.g., network, parallel, serial).
• If using the network interface, the network protocol (TCP/IP, EtherTalk, IPX/
SPX, NetBIOS/NetBEUI).
• The printer emulation you are using (e.g., PCL or PostScript).
• A printout of your printer’s Configuration Summary. (Refer to your printer’s
User manual).
• If you have a printer hardware problem you cannot resolve, provide the error
message displayed on the Control Panel. For a list of error messages, refer to
your printer’s User manual.
Page 18

OKI Hard Disk User Guide 14
Chapter 3: Service & Support
NOTE: To confirm that a problem is isolated to the Hard Disk option, you may want to
remove the Hard Disk from the printer and diagnose the printer using the User’s
Manual that came with your printer. If the condition persists, it can be assumed
that the problem resides within the printer and not necessarily the Hard Disk.
 Loading...