

Page 1

Wire-Free Camera
Quick Start Guide
Page 2
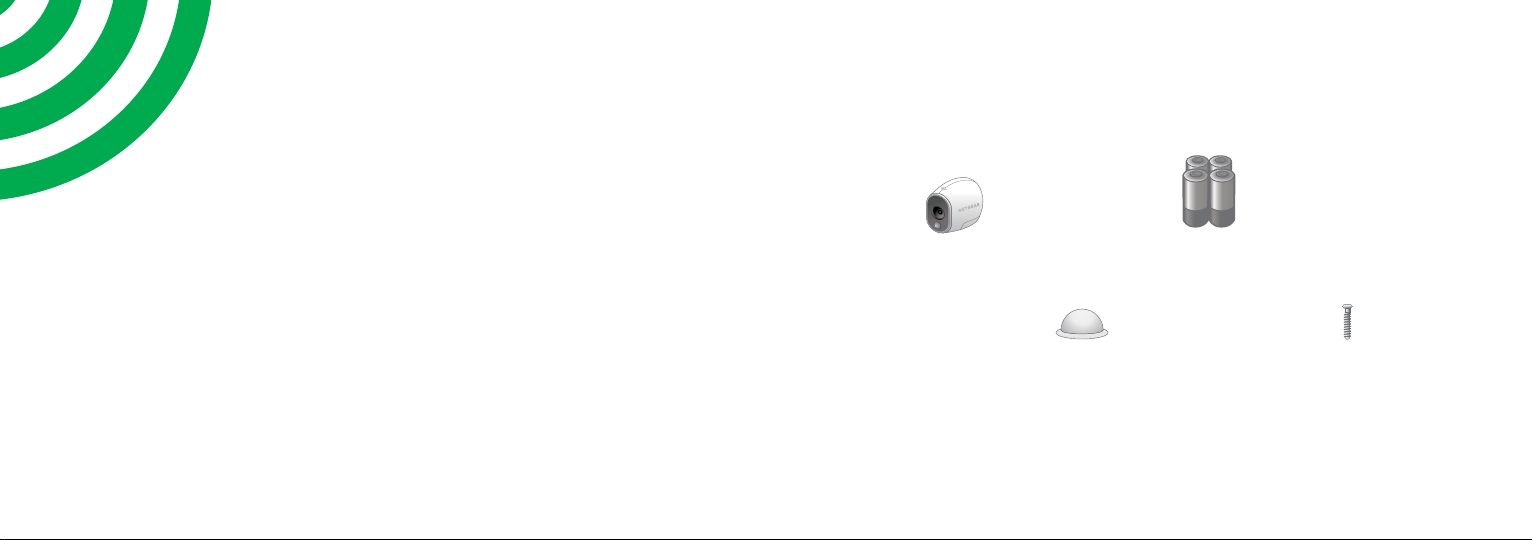
What’s Included
Available AFTER beta
Welcome
Thank you for choosing Arlo. Getting
started is easy.
100% wireless
camera
Lithium 123 batteries
Magnetic wall
mount
Mounting
screw
32
Page 3
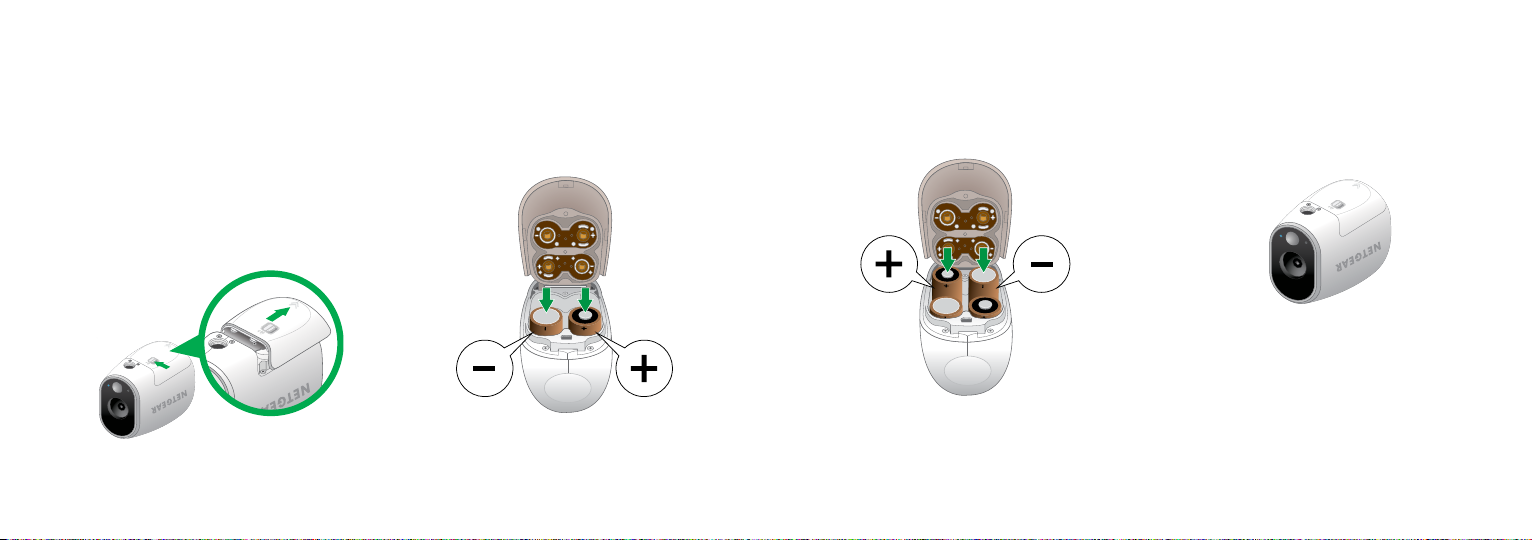
Insert Batteries
1. Unlock the battery
compartment by sliding and
holding the latch.
2. Slide the battery door
back and lift it to open the
compartment.
3. Insert two batteries near
the back of the camera.
4. Insert two batteries near
the compartment hinge.
5. Close the battery door.
54
Page 4

Sync Your Camera with a Base Station
1. Bring the camera within one to three feet of the base station.
Your base station will look like one of the following.
1’ - 3’
30 cm - 100 cm
Or
1’ - 3’
30 cm - 100 cm
2. Press the Sync button on the side of the base station for two
seconds. Release the button.
3. Wait for the sync status LED to blink green.
Or
76
Page 5

4. Press the Sync button on top of the camera for two
seconds.
5. Release the button.
Note: Cameras must be synced one at a time.
A blue LED on the camera blinks slowly when
starting the sync process. The blue LED blinks
rapidly to confirm sync.
The camera is ready for viewing.
Note: The LED blinks amber if the sync is not
successful. You must repeat the sync process.
98
Page 6

Add Your Camera to Your Arlo Account
You’re Done!
1. Launch the Arlo app from your smartphone, log in,
and click or tap Add Device.
If you are using a computer, visit arlo.netgear.com.
2. Follow the onscreen instructions.
10
Congratulations!
Your Arlo camera is set up and ready to go.
To view useful tutorial videos, find troubleshooting tips, or get support,
visit arlo.com/support.
Page 7

©NETGEAR, Inc., NETGEAR, the NETGEAR Logo, and Arlo are trademarks of NETGEAR, Inc.
Compliance
For the current EU Declaration of Conformity,
visit http://kb.netgear.com/app/answers/detail/a_id/11621/.
For regulatory compliance information,
visit http://www.netgear.com/about/regulatory/.
NETGEAR INTL LTD
Building 3, University Technology Center
350 East Plumeria Drive
San Jose, CA 95134, USA
Curraheen Road, Cork, Ireland
February 2017
12
 Loading...