

Page 1
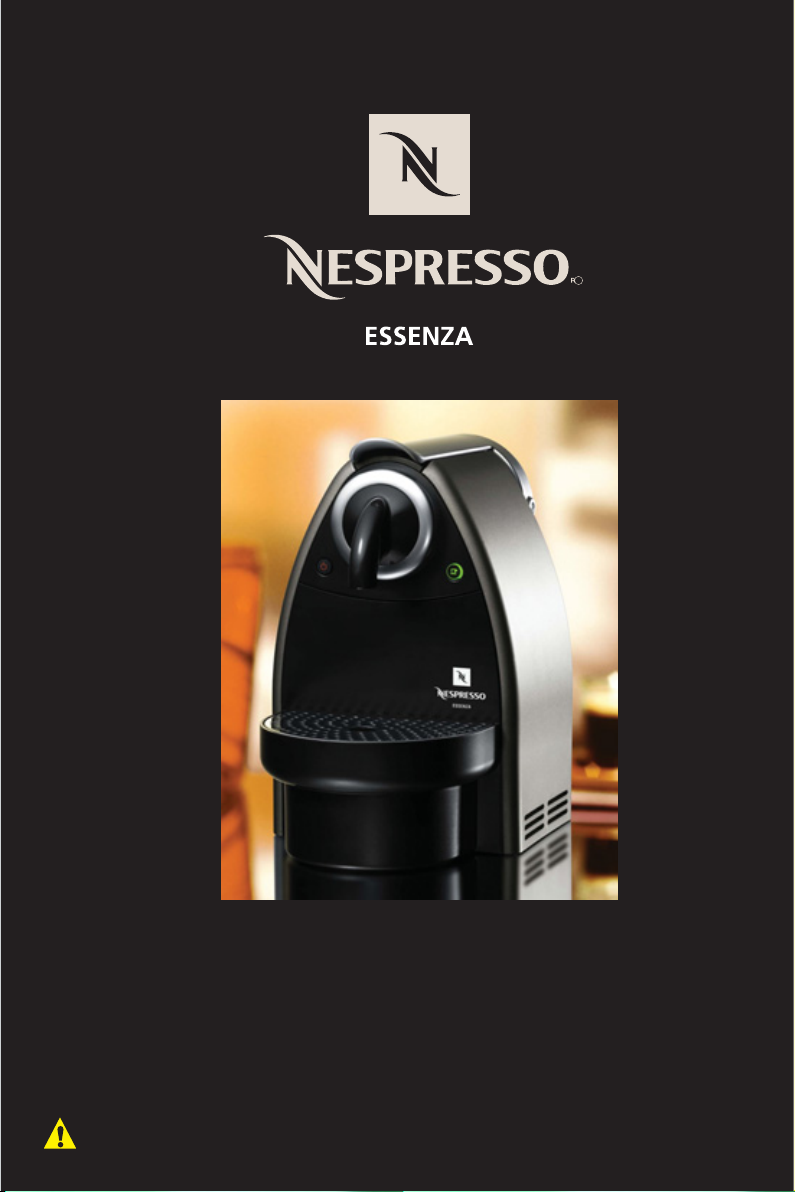
C90
Instruction Manual
Please read this Instruction Manual and the safety instructions on pages 1 and 2 before operating
the appliance!
Page 2

IMPORTANT SAFEGUARDS
When using electrical appliances, basic safety precautions should
always be followed, including the following:
• Read all instructions carefully.
• In case of emergency, immediately remove plug from power outlet.
• Do not touch hot surfaces. Use levers or knobs.
• To protect against re, electric shock and personal injury, do not immerse cord, plug
or appliance in water or other liquid. Never clean the appliance or the power cord if
those are humid.
Avoid touching the machine with wet hands.
• Close supervision is required when any appliance is used by or near children.
• Unplug appliance from outlet if leaving for an extended period of time (vacation, etc).
• Allow to cool before adding or removing parts, and before cleaning the appliance.
• Do not operate any appliance with a damaged cord or plug or after the appliance
malfunctions, or has been damaged in any manner. Return appliance to the nearest
authorized service facility for examination repair or adjustment.
• The use of accessory attachments not recommended by the appliance manufacturer
may result in re, electric shock or personal injury.
• Always attach plug to appliance rst, then plug cord into the wall outlet. To
disconnect, turn o appliance, then remove plug from wall outlet.
• Do not use appliance for other than intended purposes.
• Do not put ngers inside capsule housing, due to sharp edges.
1
Page 3

POWER CORD INSTRUCTIONS
Regarding your power cord:
a) A short power cord (and detachable power cord) is ovided to reduce risks
that may result from longer and tangled cords.
b) Longer detachable power cords or extension cords are available and may be
used if proper care is used.
c) If a long detachable power-supply cord or extension cord is used (1) the
marked electrical rating of the detachable power-supply cord or extension
cord should be at least as great as the electrical rating of the appliance, (2) If
the appliance is of the grounded type 3-wire cord (3) the longer cord should be
arranged so that it will not drape over the counter top or table top where it can
be pulled on by children or tripped over.
2
Page 4

CAUTION
Household use only. Do not use outdoors. To reduce the risk of
re or electric shock, any servicing other than cleaning and user
maintenance should be performed by an authorized service representative.
Under no circumstances should you open the machine yourself.
• Check voltage to be sure that the voltage indicated on the name plate corresponds
with your voltage.
• Never use warm or hot water to ll the water container. Use cold water only!
• Keep your hands and the cord away from hot parts of the appliance during
operation.
• Never clean with scouring powders or sharp tools.
3
Page 5

SAFETY INSTRUCTIONS
Read these instructions carefully before using your
Nespresso machine.
• Do not plug the machine into anything other than a grounded electrical socket.
Verify that the voltage indicated on the technical specifications plate on the
bottom of the unit corresponds to your electrical installation. The use of
incorrect connection voids warranty.
• Do not place your Nespresso machine on a hot surface (electrical heating plate
for example) or near a flame.
• Do not lift the closing lever while the machine is functioning since co ee is extracted
under high pressure.
• Do not use the machine without the drip tray and drip grid in place.
• Ensure that the electrical cord does not hang over edge of table or counter.
Do not disconnect the electrical plug by pulling on the cord.
• Avoid touching the electrical cord as well as any other part which may become hot
during the use of the machine.
• For descaling, adhere to the directions which follow:
a) Preparation: please read carefully the safety instructions on the descaling
packaging.
c) Descaling: do not open the closing handle during the descaling process.
d) Rinse: rinse the water tank and clean the machine to avoid any residual
descaling agent.
• Waste disposal: Unplug the machine. Cut o power cord near the housing. Dispose
machine and cable at your public disposal or customer service.
Save these Instructions
4
Page 6

Start
Stop
Troubleshooting
Check mains: plug, voltage, fuse. In case of failure, call
the Nespresso Club.No light indicator
No co ee,
no water
Water tank empty –> Fill tank
Venting
2.
Start
1.
1. Open + 2. hold lever in position close
Descale, if necessary –> refer to point 7
Co ee is not hot enough Preheat cup, descale if necessary
Capsule area is leaking
(water in capsule container)
Irregular interval blinking Send machine to repair or call the Nespresso Club
Position capsule correctly.
In case of leakage: call the Nespresso Club
Water comes
Stop
Speci cations Optional Accessory
Nespresso descaling kit
C90_Z1_01.06
5
Page 7

Button ON/OFF
Start
Stop
Co ee outlet
Co ee button
Lever
Capsule container for 12 - 14 capsules**
Drip grid**
Drip tray**
Initial set-up or after a longer period of non-use
Remove protective lm Fill water tank Place a container Plug machine in.
Start
Heating up Ready Let water run through
No water see:
Turn machine on
Water tank**
** Spare parts
Stop
8b
Daily: before brewing your rst cup
Fill water tank with
fresh water
6
Press the ON switch Heating up READY
Page 8

Espresso Lungo
OK
Start
Stop
Start
Stop
Preparation
Start
Preheat espresso cup: run 1 cup of water through Insert capsule
Start
Flow speed depends on co ee variety
Eject capsule (drops into capsule container)
Stop
2.
1.
OK
3.
Stop
Daily: After the last co ee
Press the OFF switch Empty capsule
container + drip tray
7
Rinse and empty water tank
Page 9

Clean: When necessary
abrasive solvent containing dish washer
Damped cloth, mild cleaning agent
Empty the system: After long period of non-use, for frost protection and after repair
Press the OFF switch Press and hold and push 3 x
2.
1.
Machine switches o automatically and is blocked for 10 min
(1.) Open
and (2.) hold
8
Close
Page 10

Start
Stop
Descaling
Carefully read safety instructions on descaling package.
Descaling solution can damage machine casing.
Avoid using vinegar as it can damage your machine.
Preparation
2.
1.
Eject capsule Empty drip tray and
Fill in descaling kit solution
and two cups of water
capsule container
Place a recipient
Avoid using vinegar as it can
damage your machine
Descaling
Start
Water hardness Descale after
fH dH
36 20
18 10
00
Rinse machine,
see step 1
1.
2.
3.
1. Lift lever, 2. insert lter,
3. close lever
Stop
300
600
1200
If leakage,
refers to:
8d
OFF
Press both buttons
simultaneously for 3 seconds
Let descaling solution run through twice
Re ll water tank once more
with descaling solution
and repeat step
Rinse
+
Remove lter Empty, rinse and ll
water tank
9
Rinse machine,
see 1
Exit: press both buttons
simultaneously for 3 secs
 Loading...