

Nad VISO THREE owners Manual
®
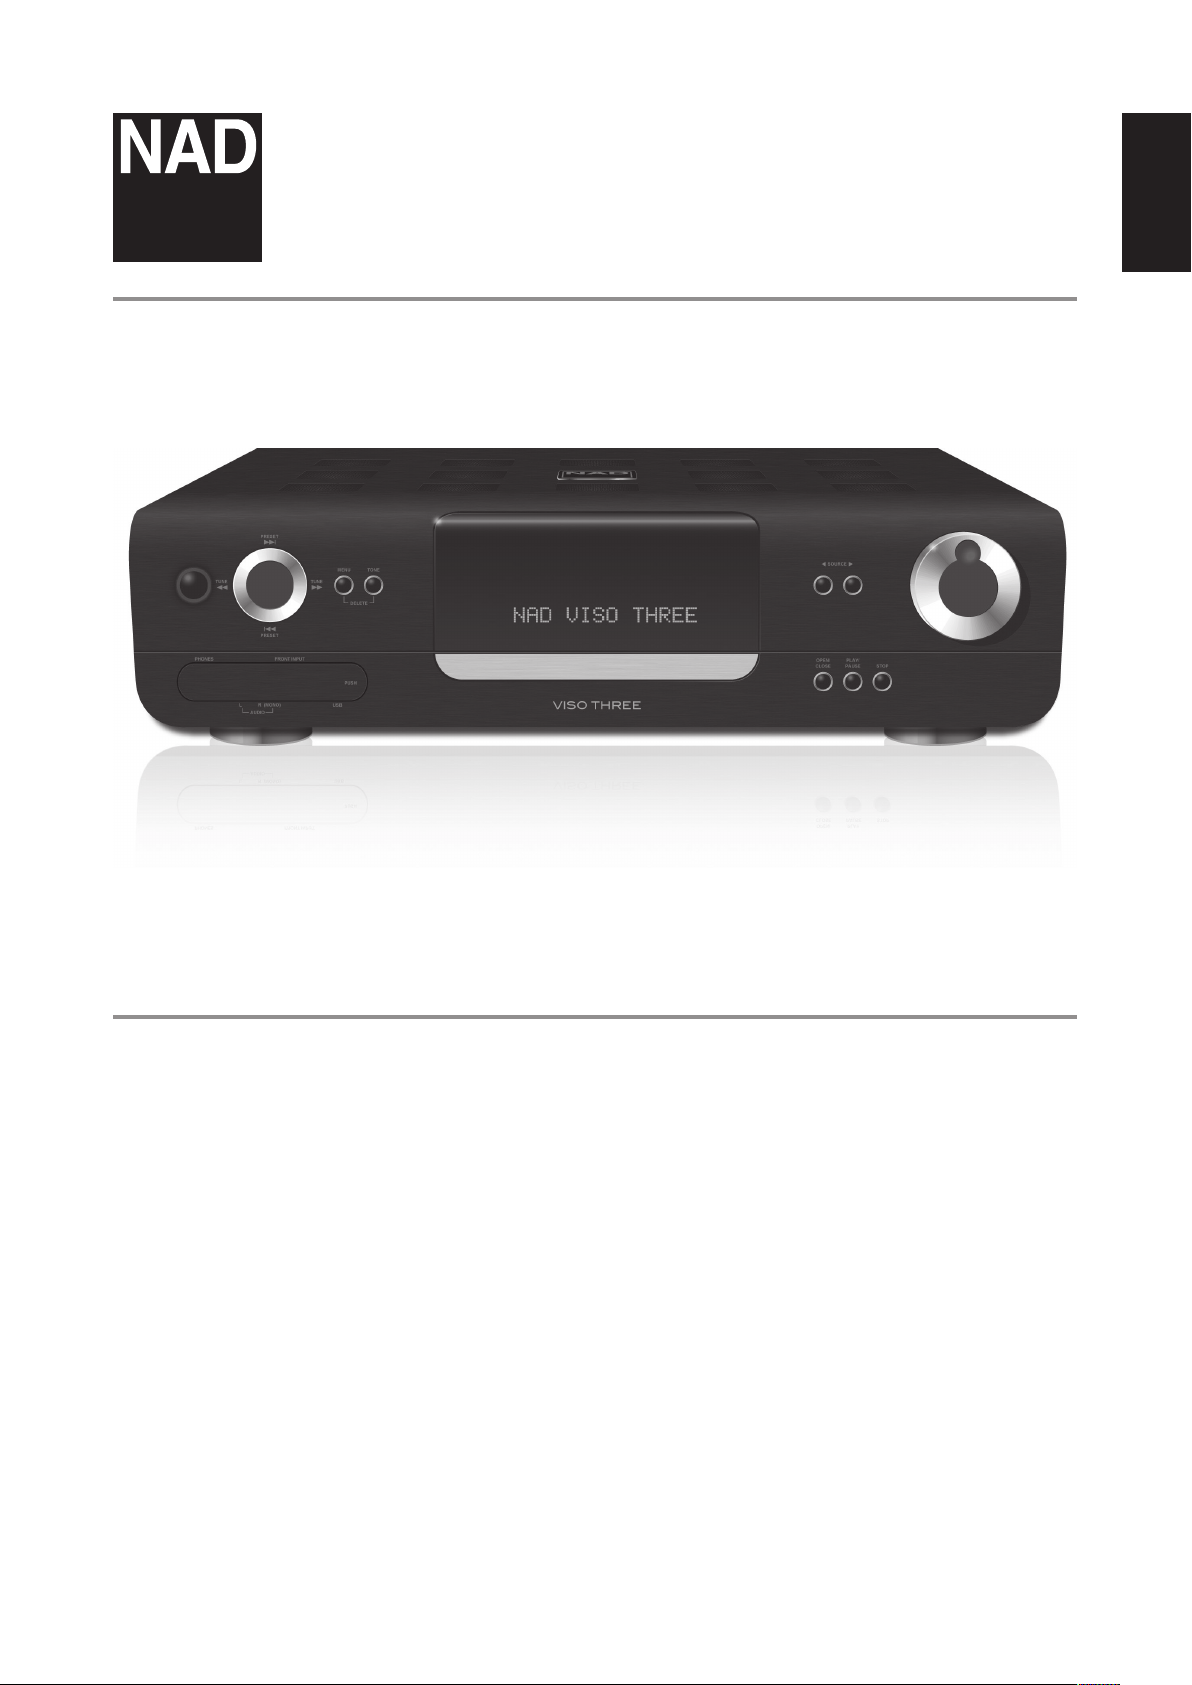
VISO THREE
CD Receiver
ENGLISHPORTUGUÊS FRANÇAISESPAÑOLITALIANODEUTSCHNEDERLANDSSVENSKAРУССКИЙ
Owner’s Manual
ENGLISH PORTUGUÊSFRANÇAIS ESPAÑOL ITALIANO DEUTSCH NEDERLANDS SVENSKA РУССКИЙ
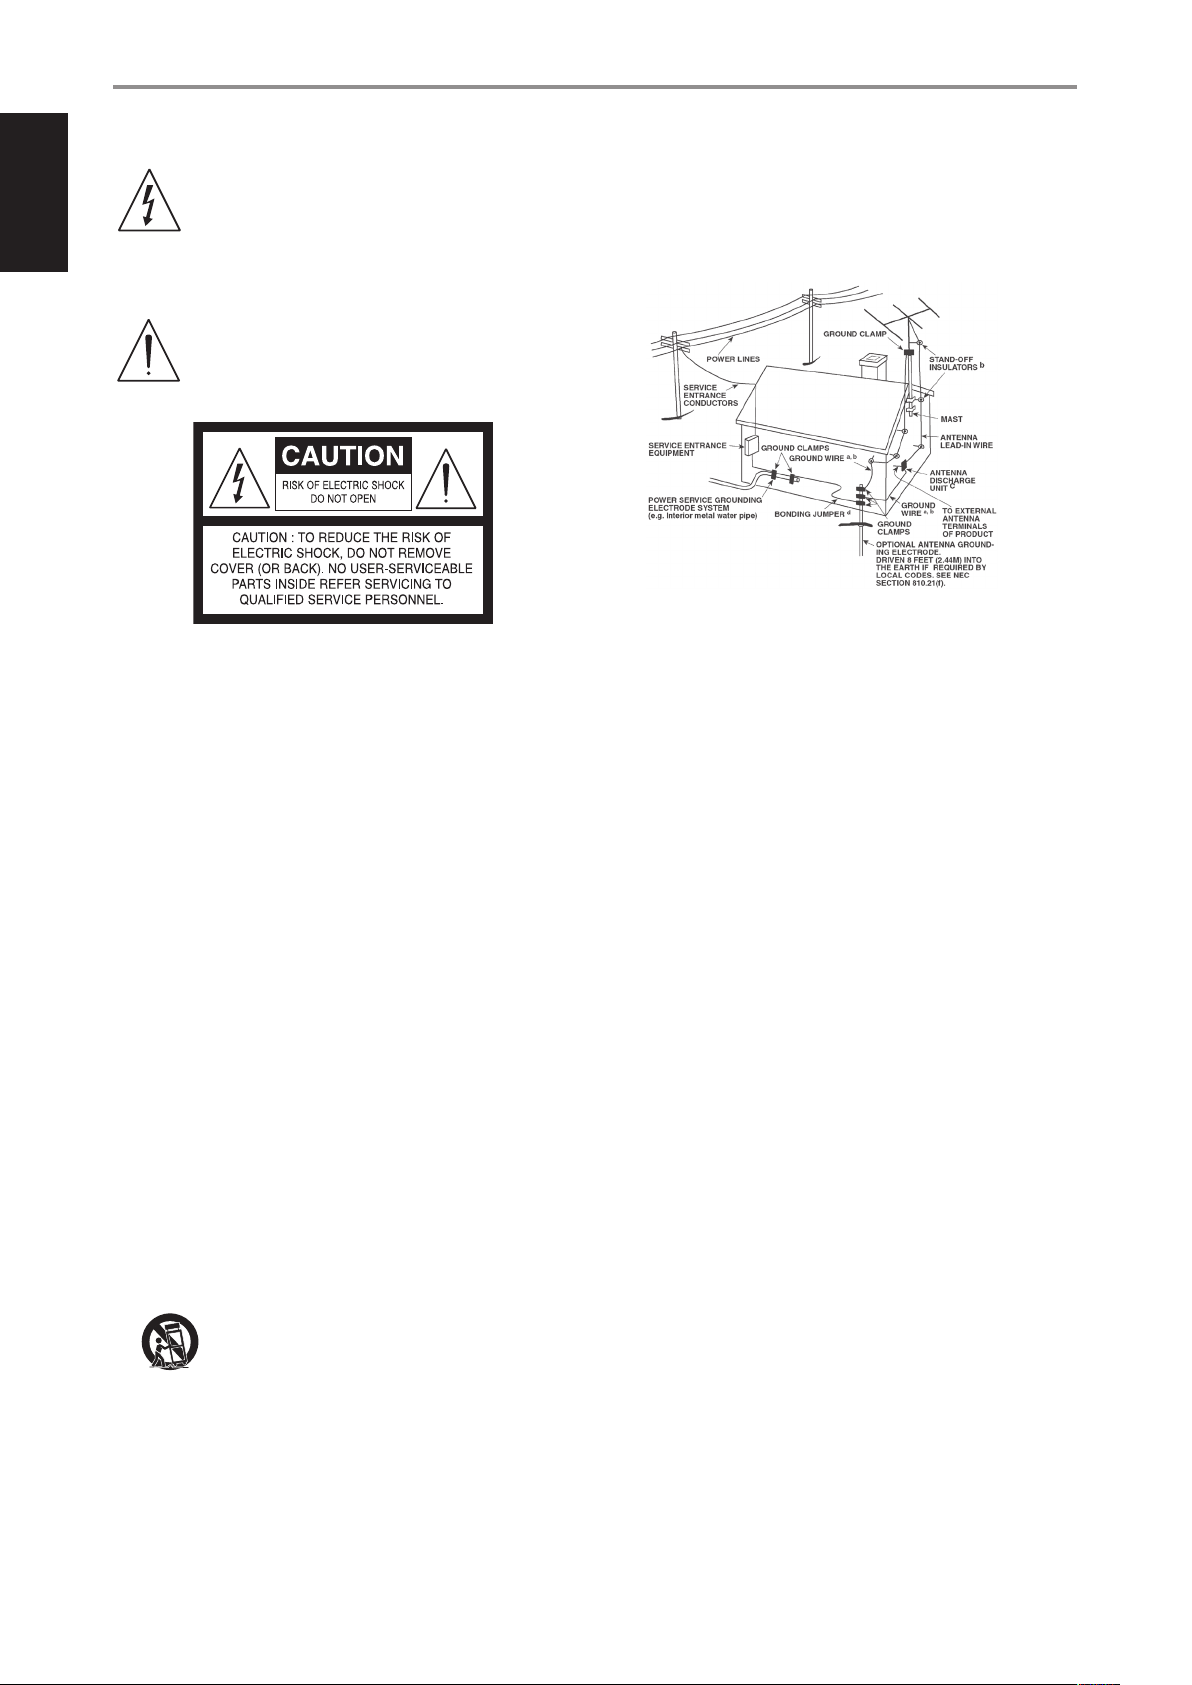
IMPORTANT SAFETY INSTRUCTIONS
THE LIGHTNING FLASH WITH ARROWHEAD SYMBOL, WITHIN
AN EQUILATERAL TRIANGLE, IS INTENDED TO ALERT THE USER
TO THE PRESENCE OF UNINSULATED “DANGEROUS VOLTAGE”
WITHIN THE PRODUCT’S ENCLOSURE THAT MAYBE OF
SUFFICIENT MAGNITUDE TO CONSTITUTE A RISK OF ELECTRIC
SHOCK TO PERSONS.
THE EXCLAMATION POINT WITHIN AN EQUILATERAL TRIANGLE IS
INTENDED TO ALERT THE USER TO THE PRESENCE OF IMPORTANT
OPERATING AND MAINTENANCE (SERVICING) INSTRUCTIONS IN
THE LITERATURE ACCOMPANYING THE APPLIANCE.
THE APPARATUS SHOULD BE INSTALLED NEAR TO AN EASILY ACCESSIBLE
SOCKE TOUTLET.
WARNING
TO REDUCE THE RISK OF FIRE OR ELECTRIC SHOCK, DO NOT EXPOSE THIS
PRODUCT TO RAIN OR MOISTURE.
SAVE THESE INSTRUCTIONS FOR LATER USE. FOLLOW ALL
WARNINGS AND INSTRUCTIONS MARKED ON THE EQUIPMENT.
1 Read these instructions.
2 Keep these instructions.
3 Heed all warnings.
4 Follow all instructions.
5 Do not use this apparatus near water.
6 Clean only with a dry cloth.
7 Do not block any of the ventilation openings. Install in accordance with
the manufacturer’s instructions.
8 Do not install near any heat sources such as radiators, heat registers,
stoves, or other apparatus (including ampliers) that produce heat.
9 Do not defeat the safety purpose of the polarized or grounding type
plug. A polarized plug has two blades with one wider than the other.
A grounding type plug has two blades and a third grounding prong.
The wide blade or the third prong is provided for your safety. When the
provided plug does not t into your outlet, consult an electrician for
replacement of the obsolete outlet.
10 Protect the power cord from being walked on or pinched particularly at
plugs, convenience receptacles, and the point where they exit from the
apparatus.
11 Only use the attachments/accessories specied by the manufacturer.
12 Use only with a cart, stand, tripod, bracket, or table specied
by the manufacturer, or sold with the apparatus. When a
cart is used, use caution when moving the cart/apparatus
combination to avoid injury from tip-over.
13 Unplug this apparatus during lightning storms or when unused for long
periods of time.
14 Refer all servicing to qualied service personnel. Servicing is required
when the apparatus has been damaged in any way, such as power
supply cord or plug is damaged, liquid has been spilled or objects have
fallen into the apparatus, the apparatus has been exposed to rain or
moisture, does not operate normally, or has been dropped.
NOTE TO CATV SYSTEM INSTALLER
This reminder is provided to call the CATV system installer’s attention to Section
820-40 of the NEC which provides guidelines for proper grounding and, in
particular, species that the cable ground shall be connected to the grounding
system of the building, as close to the point of cable entry as practical.
FCC NOTICE
This equipment has been tested and found to comply with the limits for a
Class B digital device, pursuant to part 15 of the FCC Rules. These limits are
designed to provide reasonable protection against harmful interference in a
residential installation.
This equipment generates uses and can radiate radio frequency energy
and if not installed and used in accordance with the instructions, may
cause harmful interference to radio communications. However, there is no
guarantee that interference will not occur in a particular installation. If this
equipment does cause harmful interference to radio or television reception,
which can be determined by turning the equipment o and on, the user
is encouraged to try to correct the interference by one or more of the
following measures
• Reorient or relocate the receiving antenna.
• Increase the separation between the equipment and receiver.
• Connect the equipment into an outlet on a circuit dierent from that to
which the receiver is connected
• Consult the dealer or an experienced radio/TV technician for help.
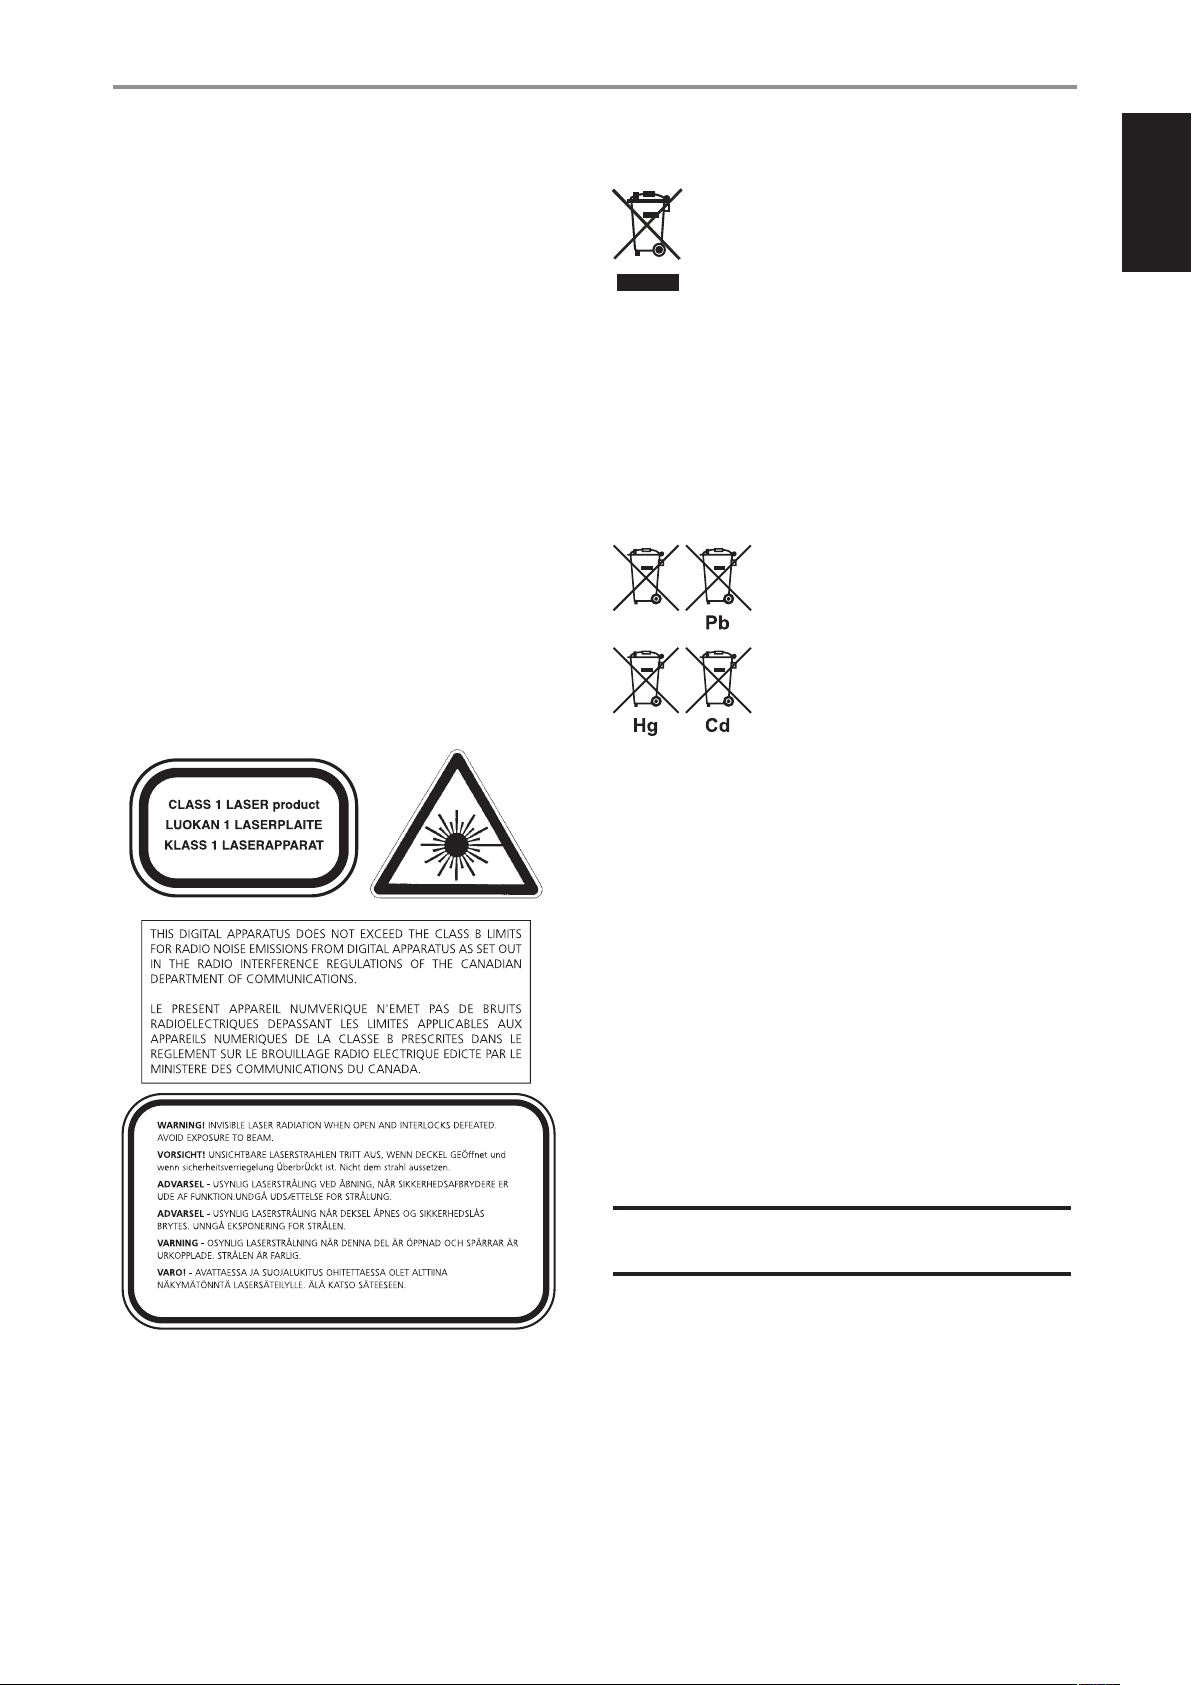
CAUTION
The VISOTHREE employs a Laser System. To ensure proper use of this
product, please read this owner’s manual carefully and retain for future
reference. Should the unit require maintenance, contact an authorized
service location. Use of controls, adjustments or the performance of
procedures other than those specied may result in exposure to laser
radiation. To prevent direct exposure to laser beam, do not try to open the
enclosure. Visible laser radiation when the enclosure is opened.
DO NOT STARE INTO BEAM.
2
IMPORTANT SAFETY INSTRUCTIONS
WARNING!
The unit must not be exposed to dripping or splashing liquids, and liquidlled objects such as vases or cups should not be placed on the unit.
CAUTION
Changes or modications to this equipment not expressly approved by
NAD Electronics for compliance could void the user’s authority to operate
this equipment.
CAUTION
These servicing instructions are for use by qualied service personnel only. To
reduce the risk of electric shock, do not perform any servicing other than that
contained in the operating instructions unless you are qualied to do so.
ATTENTION
Disconnect this apparatus from the AC mains completely by unplugging
the power cord plug from the AC receptacle.
CAUTION REGARDING PLACEMENT
To maintain proper ventilation, be sure to leave a space around the unit
(from the largest outer dimensions including projections) that is equal to or
greater than shown below.
Left and Right Panels: 10 cm
Rear Panel: 10 cm
Top Panel: 50 cm
NOTES ON ENVIRONMENTAL PROTECTION
At the end of its useful life, this product must not be disposed
of with regular household waste but must be returned to a
collection point for the recycling of electrical and electronic
equipment. The symbol on the product, user’s manual and
packaging, point this out.
The materials can be reused in accordance with their markings. Through
re-use, recycling of raw materials or other forms of recycling of old
products, you are making an important contribution to the protection of
our environment. Your local administrative oce can advise you of the
responsible waste disposal point.
INFORMATION ABOUT COLLECTION AND DISPOSAL OF
WASTE BATTERIES DIRECTIVE 2006/66/EC OF THE EUROPEAN
PARLIAMENT AND THE COUNCIL OF EUROPEAN UNION FOR
EUROPEAN CUSTOMERS ONLY
Batteries bearing any of these symbols indicate
that they should be treated as “separate collection”
and not as municipal waste. It is encouraged that
necessary measures are implemented to maximize
the separate collection of waste batteries and
to minimize the disposal of batteries as mixed
municipal waste.
End-users are exhorted not to dispose waste
batteries as unsorted municipal waste. In order
to achieve a high level of recycling waste batteries, discard waste batteries
separately and properly through an accessible collection point in your
vicinity. For more information about collection and recycling of waste
batteries, please contact your local municipality, your waste disposal service
or the point of sale where you purchased the items.
ENGLISHPORTUGUÊS FRANÇAISESPAÑOLITALIANODEUTSCHNEDERLANDSSVENSKAРУССКИЙ
By ensuring compliance and conformance to proper disposal of waste
batteries, potential hazardous eects on human health is prevented and
the negative impact of batteries and waste batteries on the environment
is minimized, thus contributing to the protection, preservation and quality
improvement of the environment.
NOTE: THE VISOTHREE IS NOT AN AUTO VOLTAGE UNIT. CONNECT
ONLY TO THE PRESCRIBED AC OUTLET, I.E., 120V 60HZ OR 230V
50HZ.
RECORD YOUR MODEL NUMBER NOW, WHILE YOU CAN SEE IT
The model and serial number of your new VISO THREE are located on the
back of the cabinet. For your future convenience, we suggest that you
record these numbers here:
Model no: . . . . . . . . . . . . . . . . . . . . . . . . . . . . . . . . . . . . . .
Serial no.: . . . . . . . . . . . . . . . . . . . . . . . . . . . . . . . . . . . . . .
NAD is a trademark of NAD Electronics International, a division of Lenbrook Industries Limited
Copyright 2010, NAD Electronics International, a division of Lenbrook Industries Limited
3

INTRODUCTION
TABLE OF CONTENTS
ENGLISH PORTUGUÊSFRANÇAIS ESPAÑOL ITALIANO DEUTSCH NEDERLANDS SVENSKA РУССКИЙ
IMPORTANT SAFETY INSTRUCTIONS . . . . . . . . . . . . . . . . . . . . . . . . . . . . . . 2
INTRODUC TION
GETTING STARTED . . . . . . . . . . . . . . . . . . . . . . . . . . . . . . . . . . . . . . . . . . . . . . . 5
WHAT’S IN THE BOX . . . . . . . . . . . . . . . . . . . . . . . . . . . . . . . . . . . . . . . . . . . . . . . . . .5
CHOOSING A LOCATION . . . . . . . . . . . . . . . . . . . . . . . . . . . . . . . . . . . . . . . . . . . . .5
QUICK START . . . . . . . . . . . . . . . . . . . . . . . . . . . . . . . . . . . . . . . . . . . . . . . . . . . . . . . . .5
IDENTIFI CATION OF CONTROLS
FRONT PANEL . . . . . . . . . . . . . . . . . . . . . . . . . . . . . . . . . . . . . . . . . . . . . . . . . . . . 6
REAR PANEL . . . . . . . . . . . . . . . . . . . . . . . . . . . . . . . . . . . . . . . . . . . . . . . . . . . . . 8
REMOTE CONTROL . . . . . . . . . . . . . . . . . . . . . . . . . . . . . . . . . . . . . . . . . . . . .10
USING THE VR3 REMOTE CONTROL . . . . . . . . . . . . . . . . . . . . . . . . . . . . . . . . 10
LIBRARY . . . . . . . . . . . . . . . . . . . . . . . . . . . . . . . . . . . . . . . . . . . . . . . . . . . . . . . . . . . . 13
SETUP
SETTING UP THE VISO THREE . . . . . . . . . . . . . . . . . . . . . . . . . . . . . . . . . . . . 14
SELEC TING SOURCES . . . . . . . . . . . . . . . . . . . . . . . . . . . . . . . . . . . . . . . . . . . . . . . 14
DISC LOADING AND PLAYBACK . . . . . . . . . . . . . . . . . . . . . . . . . . . . . . . . . . . . 14
ADJUSTING THE VOLUME . . . . . . . . . . . . . . . . . . . . . . . . . . . . . . . . . . . . . . . . . . 14
ADJUSTING THE TONE CONTROLS . . . . . . . . . . . . . . . . . . . . . . . . . . . . . . . . . . 14
RESTORING VISO THREE TO ITS FACTORY DEFAULT SET TINGS . . . . . . 14
OPERATION
USING THE VISO THREE – CD MODE . . . . . . . . . . . . . . . . . . . . . . . . . . . . . .15
CDR AND CDRW AUDIO DISCS . . . . . . . . . . . . . . . . . . . . . . . . . . . . . . . . . . . 15
PLAYING MP3/WMA FILES . . . . . . . . . . . . . . . . . . . . . . . . . . . . . . . . . . . . . . . . . . 15
PROGRAMMING CD/USB . . . . . . . . . . . . . . . . . . . . . . . . . . . . . . . . . . . . . . . . . . 15
USING THE VISO THREE – USB MODE . . . . . . . . . . . . . . . . . . . . . . . . . . . . .16
LISTENING TO USB DEVICE . . . . . . . . . . . . . . . . . . . . . . . . . . . . . . . . . . . . . . . . . 16
SELEC TING FOLDERS OR FILES USB, CDR/RW . . . . . . . . . . . . . . . . . . . 16
LISTENING TO AM/FM RADIO . . . . . . . . . . . . . . . . . . . . . . . . . . . . . . . . . . . .17
SELEC TING A TUNER BAND . . . . . . . . . . . . . . . . . . . . . . . . . . . . . . . . . . . . . . . . . 17
STORING PRESETS AM/FM . . . . . . . . . . . . . . . . . . . . . . . . . . . . . . . . . . . . . . . . 17
CHOOSING THE TUNER MODE . . . . . . . . . . . . . . . . . . . . . . . . . . . . . . . . . . . . . . 18
ABOUT USER NAMES . . . . . . . . . . . . . . . . . . . . . . . . . . . . . . . . . . . . . . . . . . . . . . . 18
ABOUT RDS . . . . . . . . . . . . . . . . . . . . . . . . . . . . . . . . . . . . . . . . . . . . . . . . . . . . . . . . 18
LISTENING TO DAB RADIO . . . . . . . . . . . . . . . . . . . . . . . . . . . . . . . . . . . . . . . 19
CONNECTING THE DAB MODULE . . . . . . . . . . . . . . . . . . . . . . . . . . . . . . . . . . 19
DAB OPERATION . . . . . . . . . . . . . . . . . . . . . . . . . . . . . . . . . . . . . . . . . . . . . . . . . . . 19
SERVICE LIST . . . . . . . . . . . . . . . . . . . . . . . . . . . . . . . . . . . . . . . . . . . . . . . . . . . . . . . 19
DAB TUNER MODE . . . . . . . . . . . . . . . . . . . . . . . . . . . . . . . . . . . . . . . . . . . . . . . . . 20
LOCAL SCAN . . . . . . . . . . . . . . . . . . . . . . . . . . . . . . . . . . . . . . . . . . . . . . . . . . . . . . . 20
STATION ORDER . . . . . . . . . . . . . . . . . . . . . . . . . . . . . . . . . . . . . . . . . . . . . . . . . . . . 20
DYNAMIC RANGE. . . . . . . . . . . . . . . . . . . . . . . . . . . . . . . . . . . . . . . . . . . . . . . . . . . 20
MANUAL TUNE . . . . . . . . . . . . . . . . . . . . . . . . . . . . . . . . . . . . . . . . . . . . . . . . . . . . . 20
PRUNE LIST . . . . . . . . . . . . . . . . . . . . . . . . . . . . . . . . . . . . . . . . . . . . . . . . . . . . . . . . . 21
DAB RESET . . . . . . . . . . . . . . . . . . . . . . . . . . . . . . . . . . . . . . . . . . . . . . . . . . . . . . . . . 21
SET TING DAB PRESETS . . . . . . . . . . . . . . . . . . . . . . . . . . . . . . . . . . . . . . . . . . . . . 21
DELETING A DAB PRESET . . . . . . . . . . . . . . . . . . . . . . . . . . . . . . . . . . . . . . . . . . . 21
INFORMATION SETTINGS . . . . . . . . . . . . . . . . . . . . . . . . . . . . . . . . . . . . . . . . . . . 22
LISTENING TO YOUR iPod PLAYER . . . . . . . . . . . . . . . . . . . . . . . . . . . . . . . .23
CONNECTING THE OPTIONAL “NAD IPD DOCK FOR iPod”
AND iPod PLAYER TO THE VISO THREE . . . . . . . . . . . . . . . . . . . . . . . . . . . . . . 23
iPod MENU OPTIONS . . . . . . . . . . . . . . . . . . . . . . . . . . . . . . . . . . . . . . . . . . . . . . . 23
CONTROL FEATURES . . . . . . . . . . . . . . . . . . . . . . . . . . . . . . . . . . . . . . . . . . . . . . . 24
NAD IPD 2 . . . . . . . . . . . . . . . . . . . . . . . . . . . . . . . . . . . . . . . . . . . . . . . . . . . . . . . . . . 24
REFERENC E
TROUBLESHOOTING . . . . . . . . . . . . . . . . . . . . . . . . . . . . . . . . . . . . . . . . . . . .25
SPECIFICATIONS . . . . . . . . . . . . . . . . . . . . . . . . . . . . . . . . . . . . . . . . . . . . . . . . 26
4

INTRODUCTION
GETTING STARTED
WHAT’S IN THE BOX
Packed with your VISO THREE you will nd
• IPD 2 gift box incorporated with the following
− NAD IPD 2 Dock for iPod
− Stereo RCA and 3.5mm stereo jack patch cord
− Dock Adapters
− IPD 2 DR 1 Remote Control with 3V CR2025 battery
− Universal switching adaptor with interchangeable plugs
• VISO THREE VR3 Remote Control with 2 (two) AA batteries
• VISO THREE detachable mains power cord
• AM loop antenna
• FM lead-type antenna
• Owner’s manual in CD-ROM
SAVE THE PACKAGING
Please save the box and all of the packaging in which your VISO THREE
arrived. Should you move or otherwise need to transport your VISO THREE,
this is by far the safest container in which to do so. We’ve seen too many
otherwise perfect components damaged in transit for lack of a proper
shipping carton, so please: Save that box!
CHOOSING A LOCATION
Choose a location that is well ventilated (with at least several inches to
both sides and behind), and that will provide a clear line of sight, within
23 feet/7 meters, between the VISO THREE’s front panel and your primary
listening/viewing position—this will ensure reliable infrared remote control
communications. Avoid placing the unit in direct sunlight or near sources
of heat and damp.
QUICK START
In case you simply cannot wait to experience the performance of your new
NAD VISO THREE, we provide the following “Quick Start” instructions to get
you underway.
Please make all the connections to your VISO THREE with the unit
unplugged. It is also advisable to power-down or unplug all associated
components while making or breaking any signal or AC power connections.
PLAY A CD
1 Connect your speakers to the LEFT and RIGHT speaker terminals and
input sources to the applicable rear panel input sockets.
2 Connect the mains power cord to the VISO THREE’s AC mains input
and then plug into a mains power source. The Standby LED indicator
embedded around the bezel of the STANDBY button will illuminate
amber and the VISO THREE goes to standby mode.
3 Press the front panel STANDBY button to turn ON the VISO THREE. The
Standby LED indicator will turn from amber to blue.
4 Press the [OPEN/CLOSE] button to draw open the disc tray. Place a
CD, label side up, in the tray’s circular recess. Be certain that the disc is
centered within the recess.
5 Press [PLAY/PAUSE] button. The drawer closes automatically and the
disc begins to play.
ENGLISHPORTUGUÊS FRANÇAISESPAÑOLITALIANODEUTSCHNEDERLANDSSVENSKAРУССКИЙ
5
ENGLISH PORTUGUÊSFRANÇAIS ESPAÑOL ITALIANO DEUTSCH NEDERLANDS SVENSKA РУССКИЙ
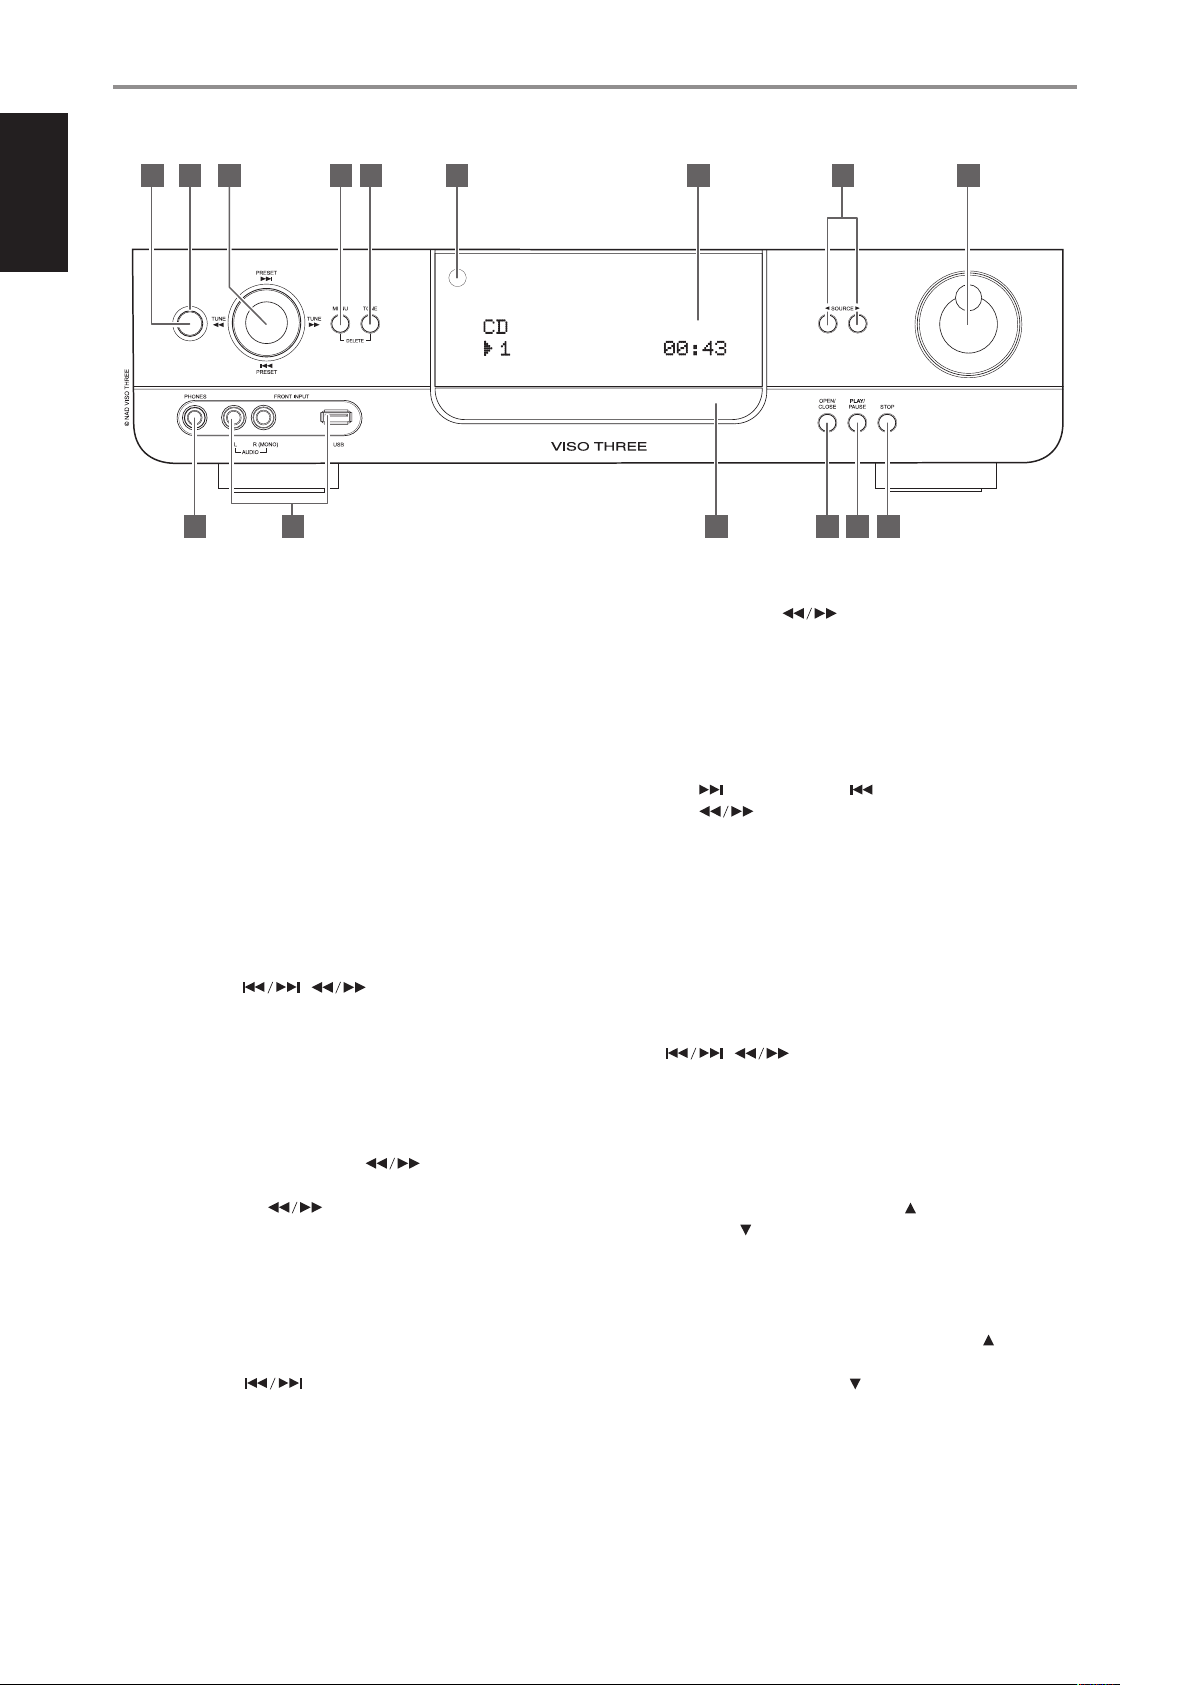
IDENTIFICATION OF CONTROLS
FRONT PANEL
1
2 3 4 5 6 7 8 9
15141310 11 12
1 STANDBY BUTTON
• Press this button to switch ON the VISO THREE from standby mode.
The Standby LED indicator will turn from amber to blue. Pressing
the STANDBY button again turns the unit back to standby mode.
• Pressing the [OPEN/CLOSE] button will also automatically switch
ON the VISO THREE from standby mode and at the same time draw
open the disc tray.
• Pressing the [PLAY/PAUSE] button will also automatically switch ON
the VISO THREE from standby mode and start playback if a disc is
loaded.
2 STANDBY LED
• This indicator will light up amber when the VISO THREE is at standby
mode.
• When the VISO THREE is powered up from standby mode, this
indicator will illuminate blue.
3 NAVIGATION and ENTER BUTTONS
The navigation [ / ] and ENTER buttons have various
applications specic to given modes. The middle round button is
designated as [ENTER] button; this is normally pressed to complete a
selection, procedure, sequence or other applicable functions.
AM/FM mode
Toggle [ENTER] button to switch between “Tune” and “Preset” mode.
Select “Tune” mode.
• Pressing momentarily the TUNE [ ] button will manually
scan the AM or FM band.
• Press and TUNE [ ] hold for more than 2 seconds to search
up or down; the VISO THREE’s tuner will stop at the next suciently
strong signal it encounters.
• Note too that this function “wraps” and will continue searching up or
down from one end of the AM or FM band to the other.
Toggle [ENTER] button to switch between “Tune” and “Preset” mode.
Select “Preset” mode.
• Use PRESET [ ] to step up or down AM/FM Presets.
“Unused” presets are skipped over. Note that Presets must have
been previously stored.
Refer also to the item about STORING PRESETS (AM/FM) at the
LISTENING TO AM/FM RADIO section of the OPERATION page.
DAB mode (230V version model only)
• Use the navigation [ ] and ENTER buttons in combination
with the MENU button to select through applicable DAB menu
options.
Refer also to the LISTENING TO DAB RADIO section of the OPERATION
page.
CD/USB mode
• Press [ ] to skip forward or [ ] to skip backward a track/le.
• Press [ ] during playback to rapidly scan forward or
backward the current track/le.
4 MENU
The MENU button has dierent applications depending upon the
selected mode.
• At FM mode, this button will toggle between FM STEREO ON and
FM STEREO OFF. Select FM STEREO OFF for stations that have too
much interference or are too weak.
• In DAB radio (230V version only), the DAB menu options are enabled
using the MENU button in combination with the navigation
[ / ] and ENTER buttons.
5 TONE
Toggle to select Bass, Treble, Balance, Tone Active or Tone Defeat.
Bass, Treble (Tone Controls)
• Adjust the Bass or Treble level over a ±10dB range by rotating the
VOLUME control clockwise (or VR3 [VOL ]) or counterclockwise
(or VR3 [VOL ]).
Balance
The “Balance Center” setting provides equal level to the left and right
speakers.
• Rotating the VOLUME control clockwise (or VR3 [VOL ]) moves
the balance towards the right. Rotating the VOLUME control
counterclockwise (or VR3 [VOL ]) moves the balance to the left.
Tone Active, Tone Defeat
• Select “Tone Defeat” to bypass the Tone Controls eectively
defeating the eect of the tone control circuits. If “Tone Active” is
selected, the Tone Control circuits are active.
6

IDENTIFICATION OF CONTROLS
FRONT PANEL
6 REMOTE SENSOR
Point the VR3 remote control at the remote sensor and press the
buttons. Do not expose the remote sensor of the VISO THREE to a strong
light source such as direct sunlight or illumination. If you do so, you may
not be able to operate the VISO THREE with the remote control.
Distance: About 23ft (7m) from the front of the remote sensor.
Angle: About 30° in each direction of the front of the remote sensor.
7 VACUUM FLUORESCENT DISPLAY (VFD)
Provide visual information about the current settings like displaying the
active Source, volume level, playback information, applicable RDS/DAB
display information and other related indicators.
8 SOURCE
Toggle these buttons to select through the following SOURCE modes
– CD, iPod, Tuner (AM, FM or DAB as applicable), USB, Audio 1, Audio 2
and Front.
9 VOLUME
The VOLUME control adjusts the overall loudness of the signal being fed
to the loudspeakers or headphones.
· Turn clockwise to increase the volume level; counter clockwise to
lower it.
· The VOLUME knob is also used to increment/decrement the Bass
and Treble levels as well as in shifting BALANCE levels.
13 OPEN/CLOSE
• Press this button to open and close the disc drawer and
simultaneously select the internal CD player.
• Pressing the [OPEN/CLOSE] button will also automatically switch
ON the VISO THREE from standby mode and at the same time draw
open the disc tray.
• If the current Source is not CD mode (i.e., FM mode) and [OPEN/
CLOSE] is pressed, the VISO THREE will immediately switch to CD
mode as the disc tray draws open.
14 PLAY/PAUSE
• Press this button to toggle between Play and Pause of a CD or other
compatible media disc.
• Press to start play or resume play after Pause. The icon “ ” is
illuminated in the VFD indicating the VISO THREE is in playback
mode.
• If the disc tray is open, press this button to automatically close the
tray and start playback if a disc is loaded.
• During playback, press this button to stop playback temporarily,
keeping the optical pickup at its current position on the disc. The
icon “ ” is illuminated in the VFD indicating the VISO THREE is
in pause mode. To resume playback at the exact point where it
stopped, press [PLAY/PAUSE] again.
• Pressing the [PLAY/PAUSE] button will also automatically switch ON
the VISO THREE from standby mode and start playback if a disc is
loaded.
ENGLISHPORTUGUÊS FRANÇAISESPAÑOLITALIANODEUTSCHNEDERLANDSSVENSKAРУССКИЙ
10 PHONES
• Accepts stereo headphone using a standard 1/4-inch stereo phone
plug (use a suitable adaptor for headphones equipped with a
smaller plug).
• Plugging in headphones automatically mutes output from the
speakers.
11 FRONT INPUT
Use these convenience jacks for occasional sources such as tape player
or any analog audio sources.
• If your source has a single audio out jack only or is marked “mono
output”, plug this into the VISO THREE’s Front Input “R (Mono)”.
• On the other hand, if your source has two output jacks indicative of
stereo output, insert both jacks into the VISO THREE’s corresponding
Front Input “L” and Front Input “R (Mono)” to achieve stereo output as well.
USB
Connect a USB memory stick to this input. Refer also to the item about USB
MODE at the USING THE VISO THREE section of the OPERATION page.
12 DISC TRAY
• With the disc tray open, insert a CD or other compatible media disc
face down onto the tray. Place the disc in the drawer, centered in
the smaller circular recess, with its label facing UP.
• “No Disc” appears on the VISO THREE’s VFD if the drawer is closed
with a disc placed upside down or no disc loaded.
15 STOP
• During disc playback, press this button to STOP disc or le playback.
The display reverts to showing the number of tracks and total
playing time on the disc; for WMA/MP3 les, the display will revert
to the total number of les.
• Pressing [STOP] button will result to full stop of current track/le
playback. Pressing [PLAY/PAUSE] after stop mode will start playback
of the rst track/le/program.
• If the VISO THREE was programmed to play a selection of tracks/les,
the program will be retained in the player’s memory. Pressing the
[STOP] button twice during program playback will delete the whole
program list.
7

ENGLISH PORTUGUÊSFRANÇAIS ESPAÑOL ITALIANO DEUTSCH NEDERLANDS SVENSKA РУССКИЙ
IDENTIFICATION OF CONTROLS
REAR PANEL
1 432 5 6 7 8 9 10
230V version only
ATTENTION!
Please make sure that the VISO THREE is powered o or unplugged from the mains power source before making any connections. It is also advisable to
power down or unplug all associated components while making or breaking any signal or AC power connections.
11
12
1 SPEAKERS
The VISO THREE is designed to produce optimum sound quality when
connected to speakers with impedances within its operating range.
Please make sure that all the speakers are rated 8 ohms minimum per
speaker.
• Connect the right speaker to the terminals marked “R +” and “R-”
ensuring that the “R+” is connected to the “+” terminal on your
loudspeaker and the “R-” is connected to the loudspeaker’s “-”
terminal. Connect the terminals marked “L+” and “L-” to the left
speaker in the same way. Use extra care to ensure that no stray wires
or strands cross between posts or terminals at either end.
NOTE
Use stranded wire of at least 16 gauge (AWG). Connections to the VISO
THREE can be made with banana-type plugs, or using bare wire or pins, by
loosening the terminal’s plastic nut, making a clean, neat connection, and
re-tightening carefully. To minimize the danger of short circuit, ensure that
only 1/2-inch of exposed wire or pin is employed when connecting.
2 FM ANTENNA TERMINAL
• Connect the supplied lead-type FM antenna to the FM antenna
input. Extend the lead. Experiment freely with your antenna
placement and orientation until you get the clearest sound and
lowest background noise.
• Fix the antenna in the desired position by using thumb tacks, push
pins or any suitable means.
3 AM ANTENNA TERMINAL
The AM loop antenna supplied with the VISO THREE (or a suitable
replacement) is required for AM reception.
· Open the clip terminal lever; insert the wire making sure to match
the color-coded (white and black) ends of the wire to that of the
terminal and close the lever ensuring that the lever locks the wire in
place.
• Testing dierent positions for the antenna may improve reception;
vertical orientation will usually produce the best results. Antenna
proximity to large metal objects (appliances, radiators) may impair
reception, as will as attempts to lengthen the wire to the loop.
Refer also to the item about ASSEMBLING THE LOOP ANTENNA at the
LISTENING TO AM/FM RADIO section of the OPERATION page.
4 AUDIO 1, AUDIO 2
• Input for additional line level input signal such as another CD player
or other line level audio sources.
• Use a twin RCA-to-RCA lead to connect these sockets to the source
device’s left and right analog output.
5 MP
• Input for a Media Player or other line level audio input signal.
• Use a twin RCA-to-RCA lead to connect these sockets to the source
device’s left and right analog output.
• MP is the default port connection of the audio output of the
separately sold NAD IPD (NAD IPD Dock for iPod) 1, NAD IPD 2 or
later variant; with NAD IPD’s DATA PORT correspondingly connected
also to VISO THREE’s rear panel MP DOCK DATA PORT.
NOTE
The “NAD IPD 2 Dock for iPod” (NAD IPD 2) model is supplied with your
VISO THREE.
6 SUBW (SUBWOOFER) PRE OUT
Connect this output to a powered (active) subwoofer or to a power
amplier channel driving a passive system.
8

IDENTIFICATION OF CONTROLS
REAR PANEL
7 DAB MODULE INPUT (230V version only)
The VISO THREE is compatible only with the NAD DAB Adaptor module
models DB 1 or DB 2.
• Plug-in the other end of the Mini-Din connector from the NAD DAB
Adaptor module output port into this socket.
• With DAB, you can receive CD-like quality programs without any
annoying interference and signal distortion.
NOTE
The external NAD DAB Adaptor module is not supplied with your VISO
THREE.
8 +12V TRIGGER OUT
The +12V TRIGGER OUT is used for controlling external equipment that
is equipped with a +12V trigger input.
• Connect this +12V TRIGGER OUT to the other equipment’s
corresponding +12V DC input jack using a mono cable with 3.5mm
male plug.
• This output will be +12V when the VISO THREE is ON and 0V when
the unit is either OFF or in standby mode.
9 MP DOCK
The VISO THREE is equipped with a data port in the rear panel where
an optional NAD IPD (NAD IPD Dock for iPod) 1, NAD IPD 2 and later
variants can be plugged in.
• Connect the “MP DOCK (DATA PORT)” jack of the VISO THREE to the
corresponding “DATA PORT” socket of the optional NAD IPD model.
10 RS-232
NAD is a certied partner of AMX and Crestron and fully supports
these external devices. Check out the NAD website for information
about AMX and Crestron compatibility with NAD. See your NAD audio
specialist for more information.
• Connect this interface using RS-232 serial cable (not supplied)
to any Windows® compatible PC to allow remote control of the
VISOTHREE via compatible external controllers.
11 AC MAINS INPUT
The VISO THREE comes supplied with a separate detachable mains
power cord. Before connecting the plug to the mains power source,
ensure that it is rmly connected to the VISO THREE’s AC Mains input
socket rst.
• Connect only to the prescribed AC outlet, i.e., 120V 60 Hz (for 120V
version models of VISO THREE only) or 230V 50 Hz (for 230V version
models of VISO THREE only).
• Always disconnect the mains power plug from the mains power
source rst, before disconnecting the cable from the VISO THREE’s
AC Mains input socket.
12 SWITCHED AC OUTLET
This convenience outlet can supply switched power to another
component or accessory.
· The total draw of all devices connected to this outlet must not
exceed 100 watts.
· It is powered ON and OFF by the front panel Standby button or by
the VR3’s ON and OFF keys.
ENGLISHPORTUGUÊS FRANÇAISESPAÑOLITALIANODEUTSCHNEDERLANDSSVENSKAРУССКИЙ
Refer also to the “LISTENING TO YOUR iPod PLAYER” segment of the
“OPERATION” section.
NOTE
The NAD IPD 2 Dock for iPod (NAD IPD 2) is supplied with your
VISOTHREE.
9
 Loading...