

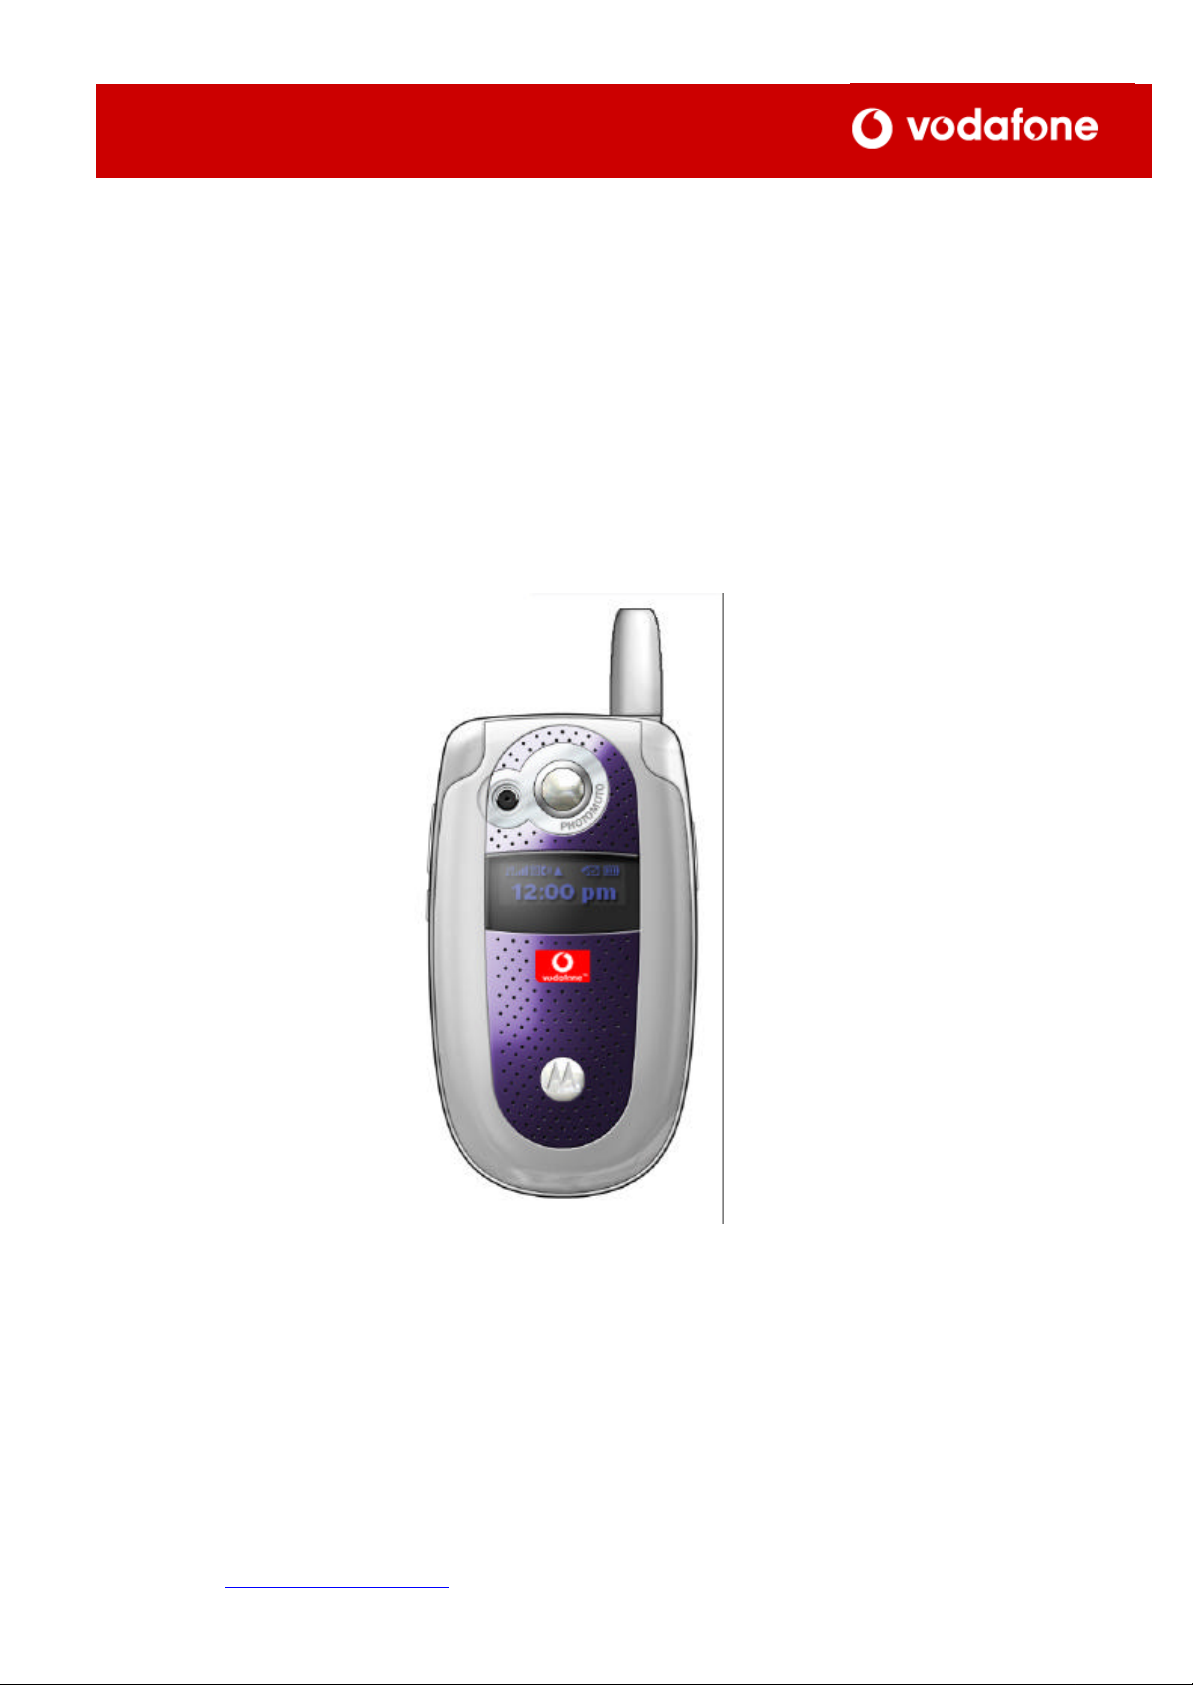
Motorola V525
Setup guide
For help or assistance please contact us.
In New Zealand, phone 777 free from your mobile or 0800 800 021
Phone +64 9 357 5198 from Overseas (except Australia)
Phone, toll free, +800 777 000 21 from Australia
Or visit www.vodafone.co.nz
C
V525
1
ONFIGURING THE MOTOROLA
FOR WAP SERVICE
Setting GPRS Access
Point
Please remember to
switch your phone off
and back on again
after you have
changed any settings
in the phone.
Setting up WAP CSD
Access
• Press down the middle button with four lines on it to enter the menu structure.
• Scroll to Vodafone Live and press Select.
• Scroll down to Web Sessions and press Select.
• Highlight [New Entry] and press Select.
• Highlight Name: and pres s Change. Enter VFNZ GPRS and press OK.
• Scroll down to Home Page: and press Change.
• Enter http://wap.vodafone.co.nz and press OK.
• Scroll down to Gateway IP: and press Change.
• Enter 172.030.038.003 and press OK.
• Scroll down to Port 1: and press Change.
• Enter 9201 and press OK.
• Scroll to Service type1 and select WAP.
• Scroll down to Gateway IP 2: and press Change.
• Enter 172.030.038.003 and press OK.
• Scroll down to WAP Port 2: and press Change.
• Enter 9201 and press OK.
• Scroll to Service type 2 and select WAP.
• Scroll down to GPRS APN and press Change.
• Enter live.vodafone.com and press OK.
• Select Done.
• Scroll to the profile you just configured and press the menu key.
• Select set default.
• Press down the middle button with four lines on it to enter the menu structure.
• Scroll to Vodafone Live and press Select.
• Scroll down to Web Sessions and press Select.
• Highlight [New Entry] and press Select.
• Highlight Name: and press Change. Enter VFNZ CSD and press OK.
• Scroll down to Home Page: and press Change.
• Enter http://wap.vodafone.co.nz and press OK.
• Scroll down to Gateway IP: and press Change.
• Enter 172.030.038.003 and press OK.
• Scroll down to Port 1: and press Change.
• Enter 9201 and press OK.
• Scroll down to Gateway IP 2: and press Change.
• Enter 172.030.038.003 and press OK.
• Scroll down to Port 2: and press Change.
• Enter 9201 and press OK.
• Scroll down to Timeout: and press Change.
• Scroll to 1 minute and press Select
• Scroll down to CSD No. 1: and press Change.
• Enter the number +6421700747 and press OK.
• Scroll do wn to User Name 1: should be blank.
• Scroll down to Password 1: should be blank.
• Scroll down to Speed (Bps) 1: and press Change.
• Scroll 14400 and press Select.
• Scroll down to Line Type 1: and press Change.
• Scroll to ISDN and press Select.
• Scroll down to Line Type 2: and press Change.
• Scroll to ISDN and press Select.
• Press Done.

C
V525
C
V525
3
Setting up PXT
access
Setting up email
access
ONFIGURING THE MOTOROLA
2
FOR PXT
ONFIGURING THE MOTOROLA
FOR EMAIL CLIENT.
• Select Message from the main screen of your phone.
• Press the Menu button and scroll to Message setup and press Select.
• Scroll to MMS Msg Setup. Press Change
• Scroll to Server info and select Select
• Press the menu key and select New
• Scroll to Service name and press Change
• Enter VFNZ PXT and press OK.
• Scroll to Server Name and press Change.
• Enter http://pxt.vodafone.net.nz/pxtsend and press OK.
• Scroll to Web session name and press change.
• Select VFNZ GPRS and press Select.
• Press Done.
• Scroll to the profile you just created and press Select.
• Select Message from the main screen of your phone.
• Press the Menu button and scroll to Email Message Setup and press Select.
• Scroll to ISP setting. Press Change
• Scroll to Connection type . Press Change.
• Scroll to GPRS. Press Select.
• Scroll to APN address. Press Change.
• Enter www.vodafone.net.nz press OK.
(Leave Username, Password and DNS IP blank)
• Click on Done
• Scroll to Protocol and press Change
• Scroll to POP3 and press Select
• Scroll to User ID and press Change
• Type in the User ID for your Internet Service Provider and press OK
• Scroll to Password and press Change
• Type in password for your Intern et Service Provider and press OK
• Type in password again and press OK
• Scroll to Sending Host and press Change
• Type in smtp.vodafone.net.nz and press OK
• Scroll to Receiving host and press Change.
• Enter the POP address for your email provider. Call your email provider if you
are not aware of the POP address.
• Scroll to Return address and enter your email address.
• Scroll to Name and enter the name you want to be displayed on emails sent
from your phone.
• Scroll to Save on server and press Change. Select Yes.
• Scroll to Check new msgs and press Change. Select No.
• Press Done.
 Loading...