

Mocet IP2061 Quick Reference Manual
MOCET
IP2061 IP Phone
Quick Reference Guide
Extension Name: ___________________
Extension Number: ___________________
Extension Password: ___________________
Answer a Call
1. When an incoming call rings at your
phone, pick up the handset or press the
speaker button.
2. When you are done speaking place the
handset back in the cradle or press the
speaker button.
Place a Call
1. Dial the telephone number and wait 5
seconds or press the Center Navigation
Key
; or press an available line
button and then dial the number.
2. Begin speaking when the called party
answers or pick up the handset to speak
privately.
3. When you are done speaking, place the
handset back in the cradle or press the
speaker button.
Transfer a Call
1. While speaking to an outside party press
the Transfer button.
2. Press the programmed intercom button
or dial extension number of another
party.
3. Hang up to complete the transfer.
Creating a Conference Call
1. Dial the first telephone number or while
on a call place the first caller on hold
2. Press the down arrow
which will open a second calling path.
3. Dial the second party to be included in
the conference call.
4. When the second party answers, press
the conference button
and all
Parties will be in the conference.
Placing a Call on Hold
1. While on a call press the Hold button to
place the call on hold.
2. To retrieve the held call, press the hold
button again. To retrieve the held call
from another telephone press the
respective line button.
Redial
1. While your telephone is idle, press the
REDIAL button , the phone would
dial out the last dialed number
automatically.
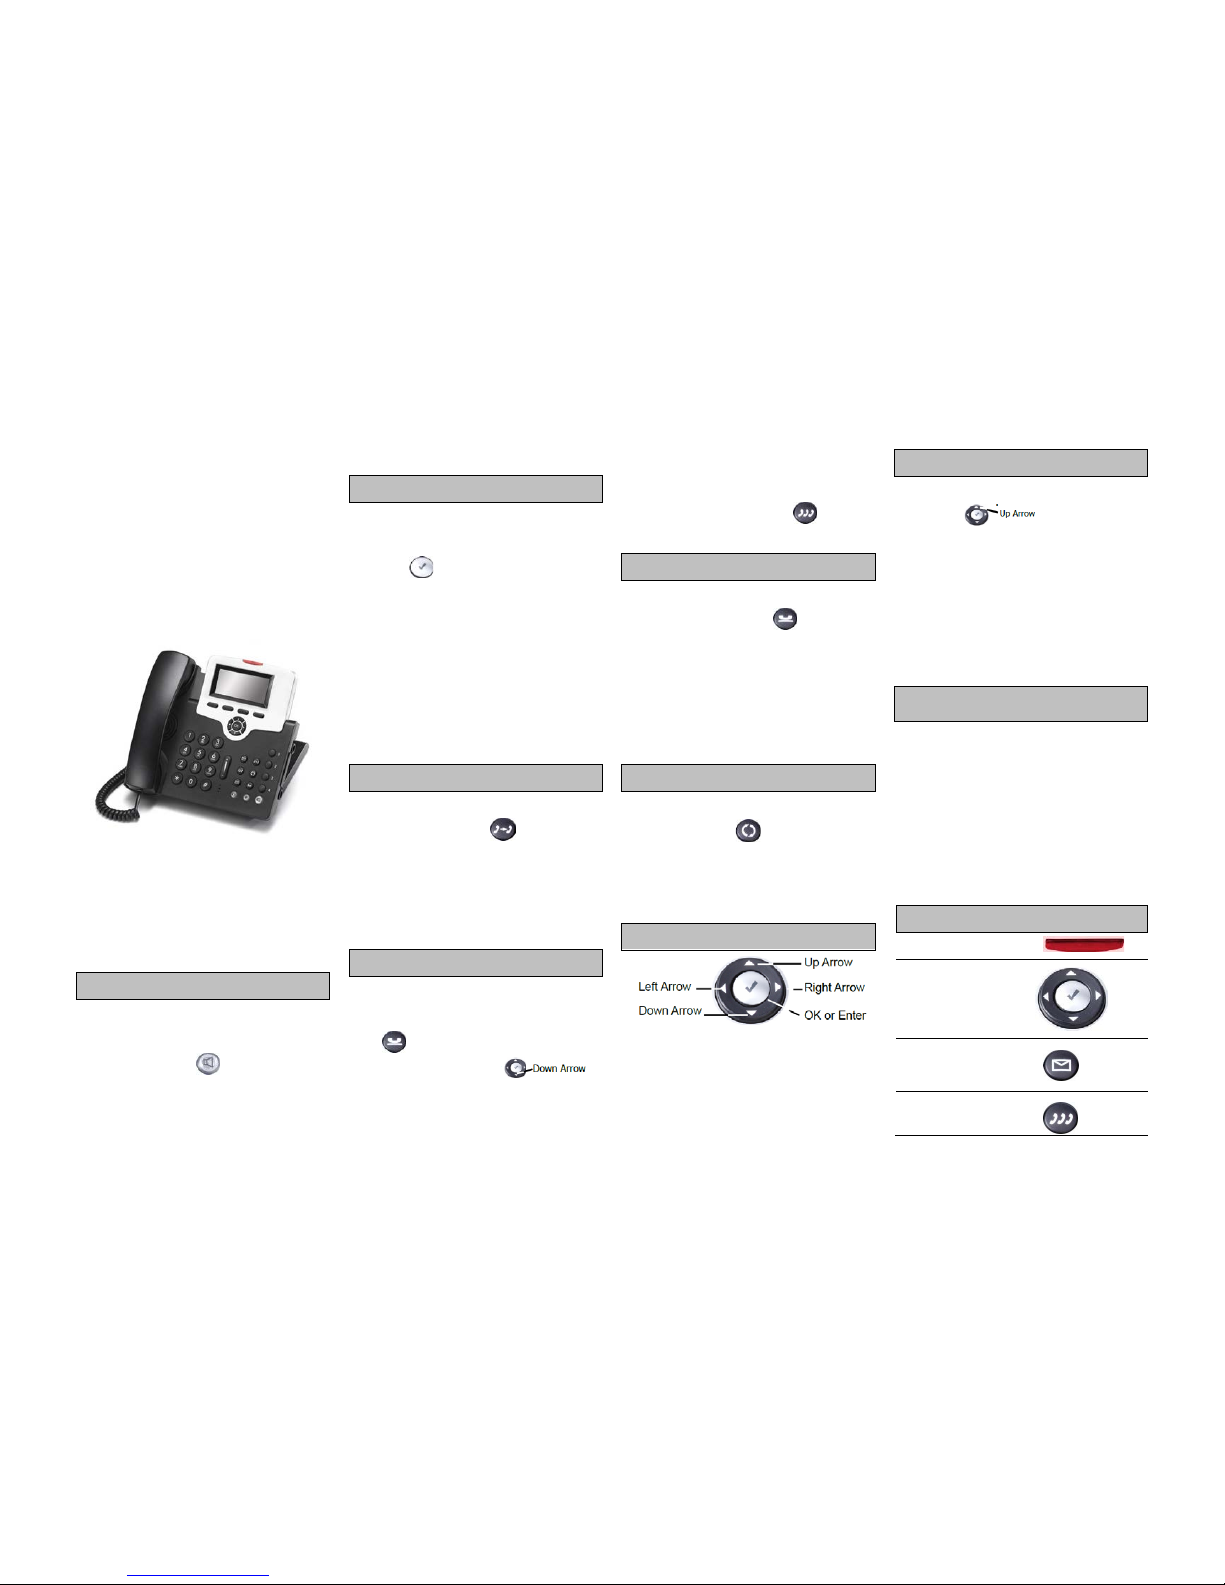
Using the Navigation Keys
Telephone Call Log
1. While your telephone is idle press the up
arrow
to access the Call
Log.
2. Select either Dialed, Missed or Received
Calls
3. Locate the number to be dialed
4. Press the OK button to begin dialing.
Programming and Using Speed
Dial Numbers
1. While your telephone is idle press the
down arrow to access or Edit the 10
speed dial bins.
2. Use the down or up arrow to locate the
desired number.
3. Press the Dial soft key to begin dialing.
Telephone ICONS
Message Light Bar
Cell Phone Like
Navigation Keys
Message Button
Conference Button
Personal Phone Book
Headset Button
Transfer Button
Redial Button
Hold Button
Mute Button
Speaker Button
Telephone Display ICONS
Connected Night DND Disconnected
Using Your Voice Mailbox
The display will show how many new
messages you have. For example, when you
have 1 new message the following will be
displayed.
1. Press the message key to access VM.
2. Enter your mailbox password. The
number of new messages will be
announced.
3. Press 1 to listen to your new messages
4. The message will be automatically
saved or you may delete the message
by pressing 3 and * while it is playing.
Password: ______________ (Default is 0000)
It is a good idea to change the default
password, record your personal greeting, and
record your name when setting up your voice
mailbox.
1 - Listen to New Messages
2 - Delete All Messages
3 - Record Personal Greeting
4 - Mailbox Password
5 - Record Your Name
6 - Send Message to Mailbox
* - Administration
If your name greeting is not recorded the
mailbox will not be in the dial by name search.
Accessing your Voice Mailbox
Remotely
1. Call into the system.
2. When the Auto Attendant answers dial
* and your extension number.
3. Dial your Mailbox password
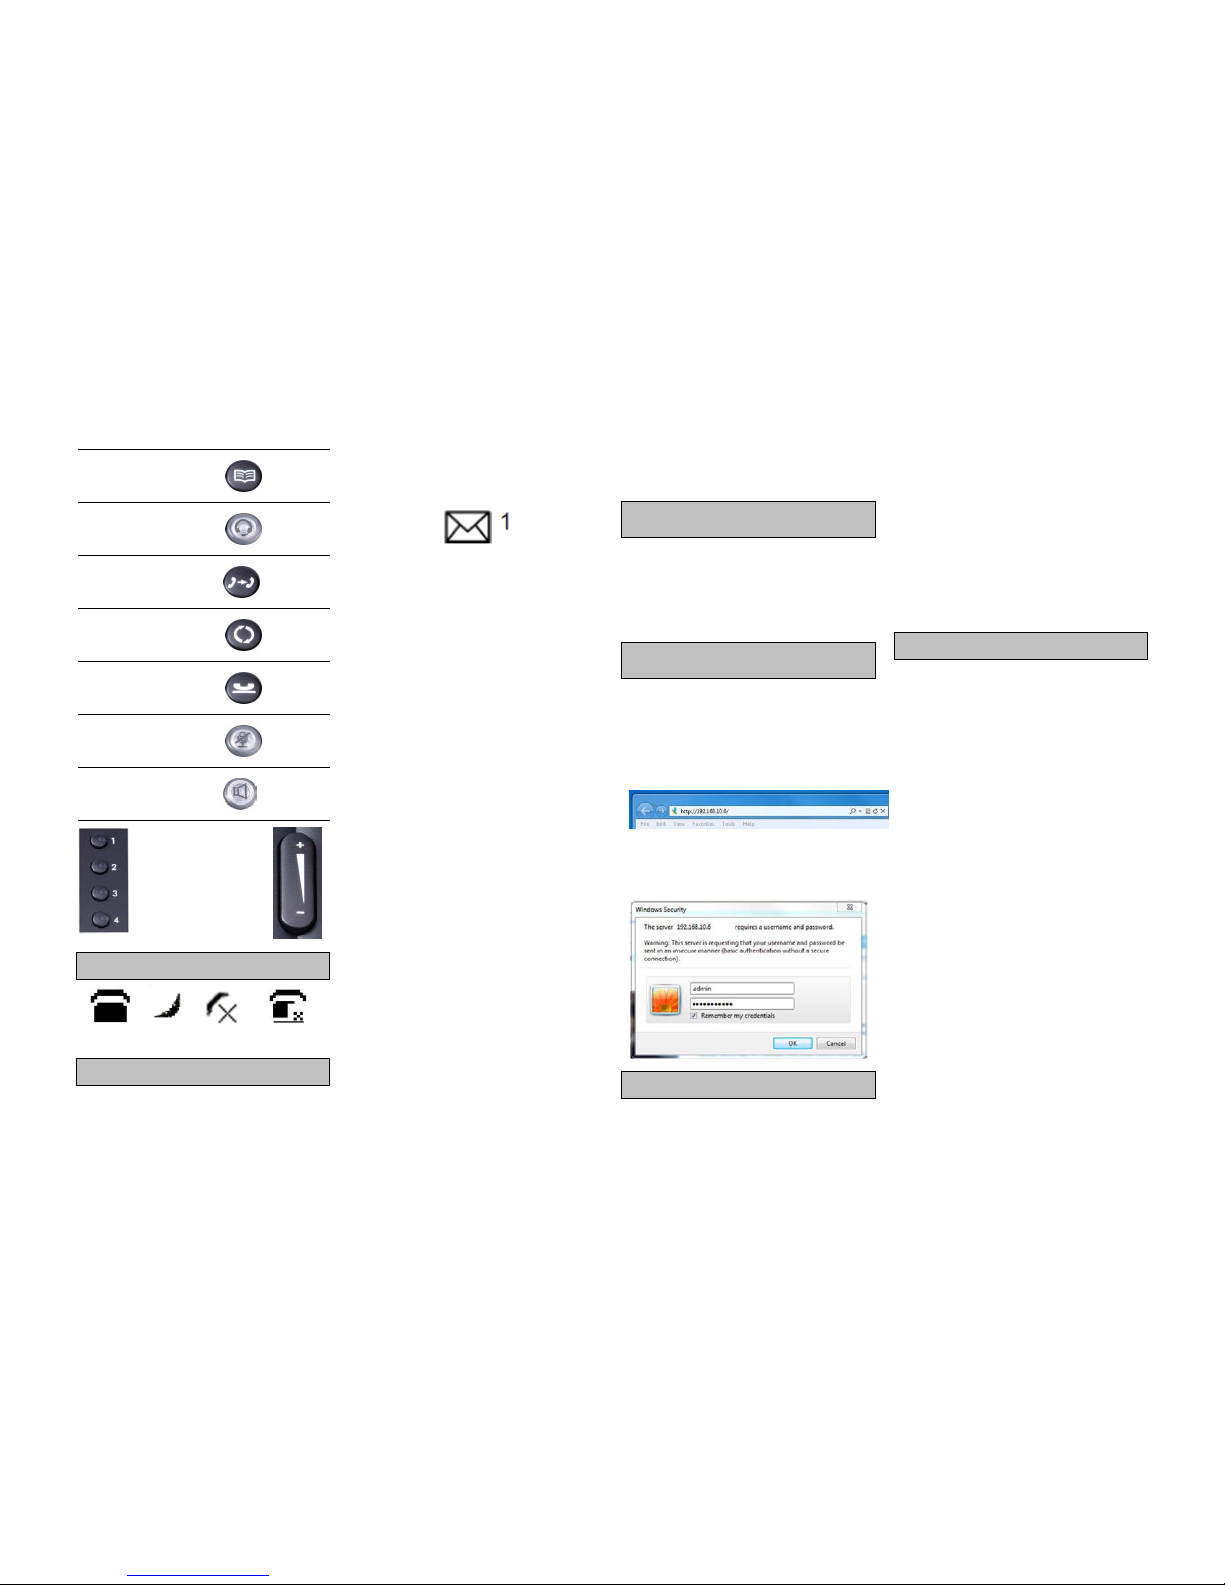
Web Browser Programming
Interface
1. Open your web browser and then enter
the IP Address of the phone, which is
found in the telephone Menu - by
scrolling to “6.Info”.
2. Login using admin, password (Default
is 1234).
Programming your Phonebook
1. In your Browser select the Phonebook
tab.
2. Enter the Name that will be associated
with this number.
3. Enter the Number.
4. Select a special ringing tone, if desired.
5. Select a group for this number.
Off Site Telephone Programming
1. In your Browser select the SIP tab.
2. Enter the static IP address* of the system
into the “SIP Proxy Server, Outbound
Proxy Server, Registrar Server, and
Registrar Outbound Server” parameters.
3. Set the Phone Number, Display Name,
Authorized ID and Authorized Password.
4. Only on Remote Workers - Click the
check box to enable “Session Timer”
5. Only on Remote Workers - Change the
“Session Expires” from 3600 to 20.
*Use DDNS or a Fixed IP Address on the for
remote workers
Up
Volume Bar
Down
Telephone
Line
Button
 Loading...