

MegaSat HD 601 User guide

HD 601
user manual

Contents
Safety instructions ............................................................................................ 03
1. Referenz
1.1 Genareal Features .................................................................................... 04
1.2 Delivery ............................................................................................................ 04
2. Names and key assignment
2.1 Front view ...................................................................................................... 05
2.2 Rear view ........................................................................................................ 05
2.3 Remote Control .......................................................................................... 06
3. Connecting the set-top box and a hard disk
3.1 Connecting the set-top box ............................................................... 07
4. Main Menu
4.1 Installation ..................................................................................................... 08
4.2 Channel edit ................................................................................................. 14
4.3 Settings ............................................................................................................ 17
4.4 Time settings ................................................................................................ 19
4.5 Advanced ....................................................................................................... 21
4.6 Receiver Informations ............................................................................. 22
02
5. Additional Information
5.1 Troubleshooting ......................................................................................... 23
5.2 Specifications ............................................................................................... 24
5.3 Informations ................................................................................................. 25
ENGLISH

Safety instructions
Please read the manual thoroughly before operating the equipment. In case of incorrect
or improper handling, the warranty becomes void.
Power supply: Before start please check the correct operation voltage of the
power point. The operating voltage of this device is AC 100 ~
240 V, 50/60 Hz.
Overload: Do not overload a wall outlet, extension cord or adapter, neither
use damaged power cord or touch it with wet hand as this may
result in electric shock.
Liquid: The device shall not be exposed to dripping or splashing water,
and that no objects filled with liquids, such as base, shall be
placed on the apparatus.
Ventilation: Keep the slots on top of the receiver uncover to allow sufficient
airflow to the unit. Do not put the receiver on soft furnishings or
carpets. Do not expose the receiver to direct light or do not
place it near a heater or in humid conditions. Do not stack other
electronic equipments on top of the receiver.
Risk of ssuocation: Do not let children play with films or other packaging
components, there is a risk of suffocation.
Cleaning: Plug out the receiver from the wall outlet before cleaning. Clean
the receiver by a soft cloth or mild solution of washing-up liquid
(no solvents).
Connection: Disconnect the receiver from the mains when you connect it to
satellite LNB or disconnect it from LNB. Failure would possibly
cause damage to the LNB.
Location: Put the receiver indoor in order to avoid lightening, raining or
sunlight.
Uncover: Do not remove the cover, to reduce the risk of electric shock.
Contact qualified and licensed service personnel to repair the
receiver, or contact your dealer.
ENGLISH
03

1. Referenz
1.1 General Features
• DVB-S/DVB-S2 Satellite Compliant (MPEG-II / MPEG-IV / H.264)
• DiSEqC 1.0, 1.1, (USALS) compatible
• 4-digit display
• Support SCPC & MCPC receivable from C / Ku-band satellite LNB
• Universal, Single, Single S & C band wideband LNBs
• Sensitive Tuner
• PAL / NTSC conversion
• Variable aspect ratio (4:3, 16:9) with Pan Vector or Letter Box
• Output resolution: 576p & 576i, 720p, 1080i & 1080p
• To improve HDMI with Upscalefunktion to picture quality
• 8 favorite lists
• Parental Control function
• 5 types of sorting function for channels
• Screen display with full color resolution
• Teletext and subtitle support (OSD)
• 7 days EPG (Electronic Program Guide) for On-Screen Program Information
• Multilingual menu
• Multichannel order
• USB 2.0 (Mediaplayer)
1.2 Delivery
• Megasat HD 601
• Remote control
• Batteries
• User manual
04 ENGLISH
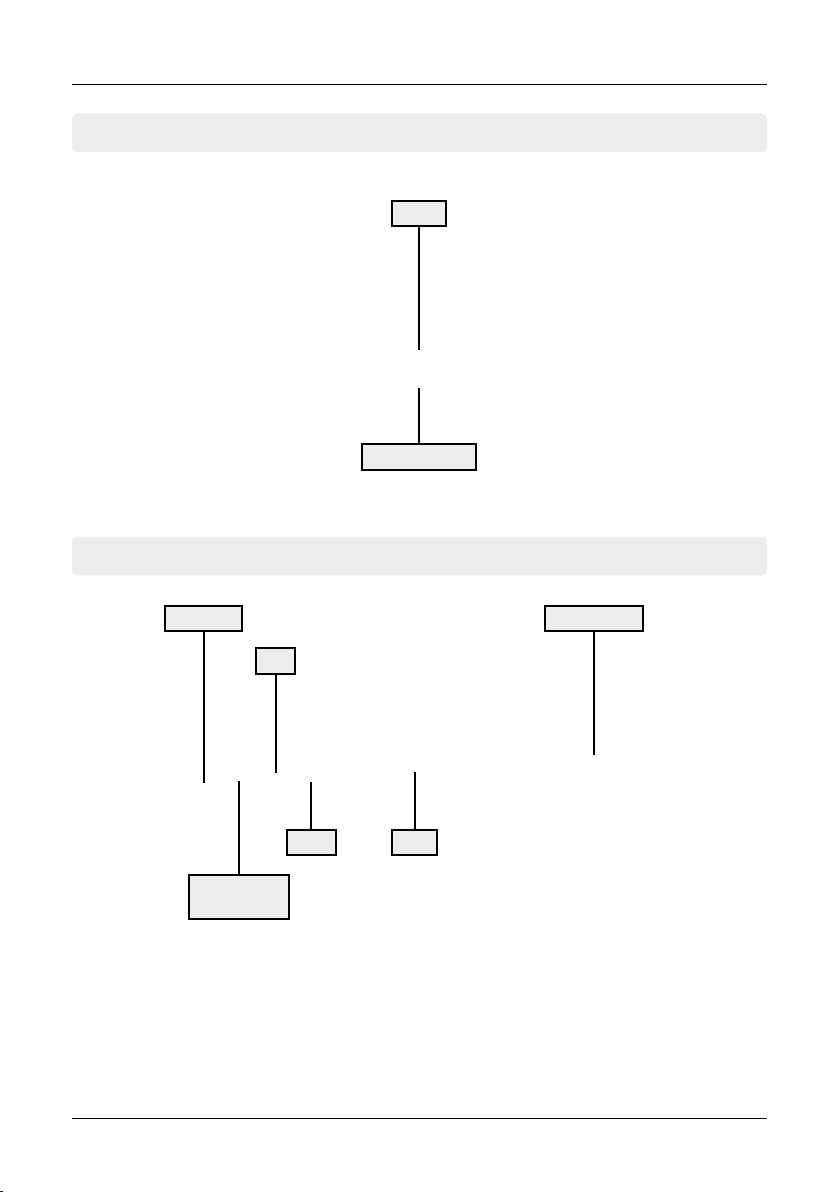
2. Names and key assignment
2.1 Front view
Diplay
Standby button
2.2 Rear view
Power switchLNB Input
USB
Digital Audio
(S/PDIF)
ScartHDMI
05ENGLISH
2. Names and key assignment
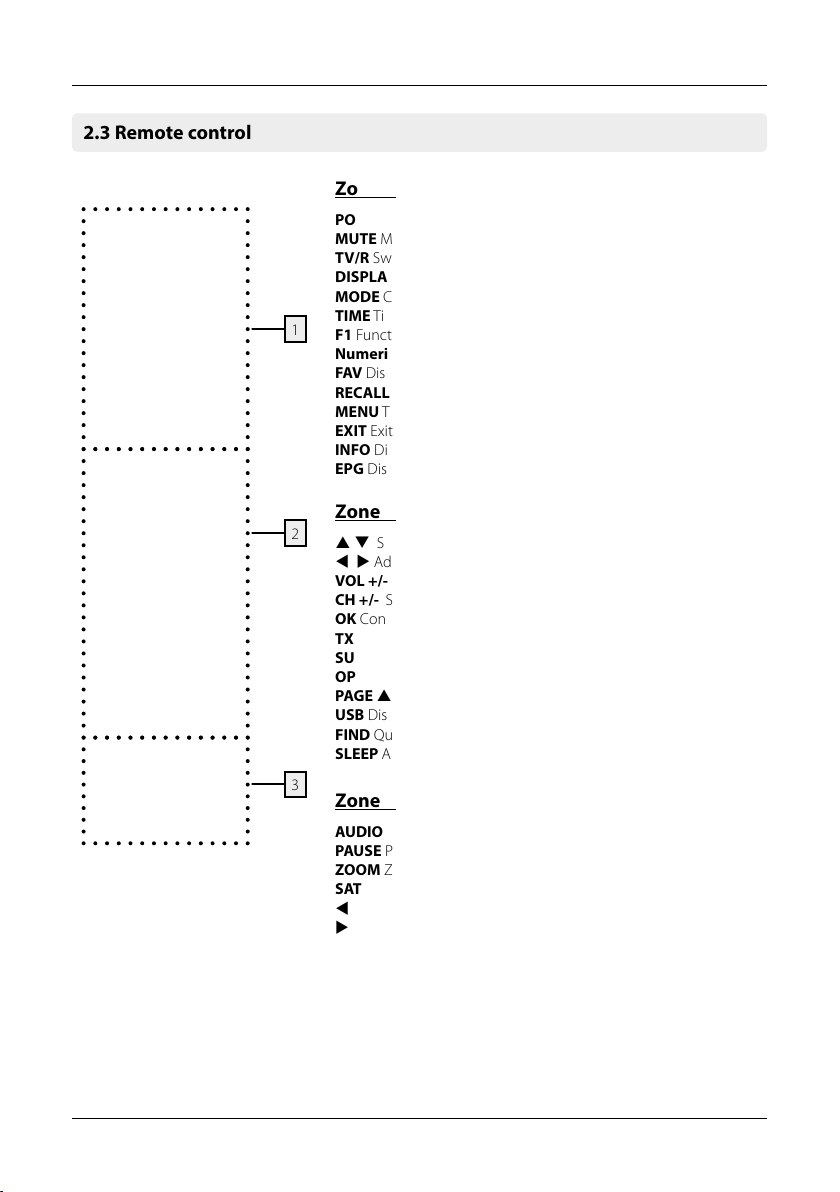
2.3 Remote control
Zone 1
POWER Turn on/off the unit (Standby)
MUTE Muting the sound
TV/R Switches between TV and radio reception
DISPLAY Switching between different display formats
MODE Change the TV resolution
TIME Timer Einstellungen
1
F1 Function key (optional)
Numeric keys (0~9) Program Change / Enter numbers
FAV Displays the Favorites list (if favorites available)
RECALL Switches between the last and current program
MENU To access the main menu
EXIT Exits the current menu step by step
INFO Displays information of the current program
EPG Displays the EPG (Electronic Program Guide)
Zone 2
2
p q Switches TV/radio programs (up/down)
t u Adjust the volume
VOL +/- Adjust the volume
CH +/- Switches TV/radio programs (up/down)
OK Confirm the current selection / Open the program list
TXT Displays the teletext of the respective program
SUB Displaying subtitles (if available)
OPT Option button
PAGE p/q Scroll page by page
USB Display menus of the USB if a USB device is connected
FIND Quick search of individual programs
SLEEP Activate Off-Timer (15, 30, 45, 60, 90, 120 min.)
3
Zone 3
AUDIO Selection or change the audio track
PAUSE Pauses the current TV picture (freeze picture)
ZOOM Zoom function of the current program
SAT Displays the stored satellite list
tt / uu Fast forward / reverse
u Start
n Stop
|
tt / uu| Chapter forward / backward
||
Pause
l Start recording (optional)
06
ENGLISH
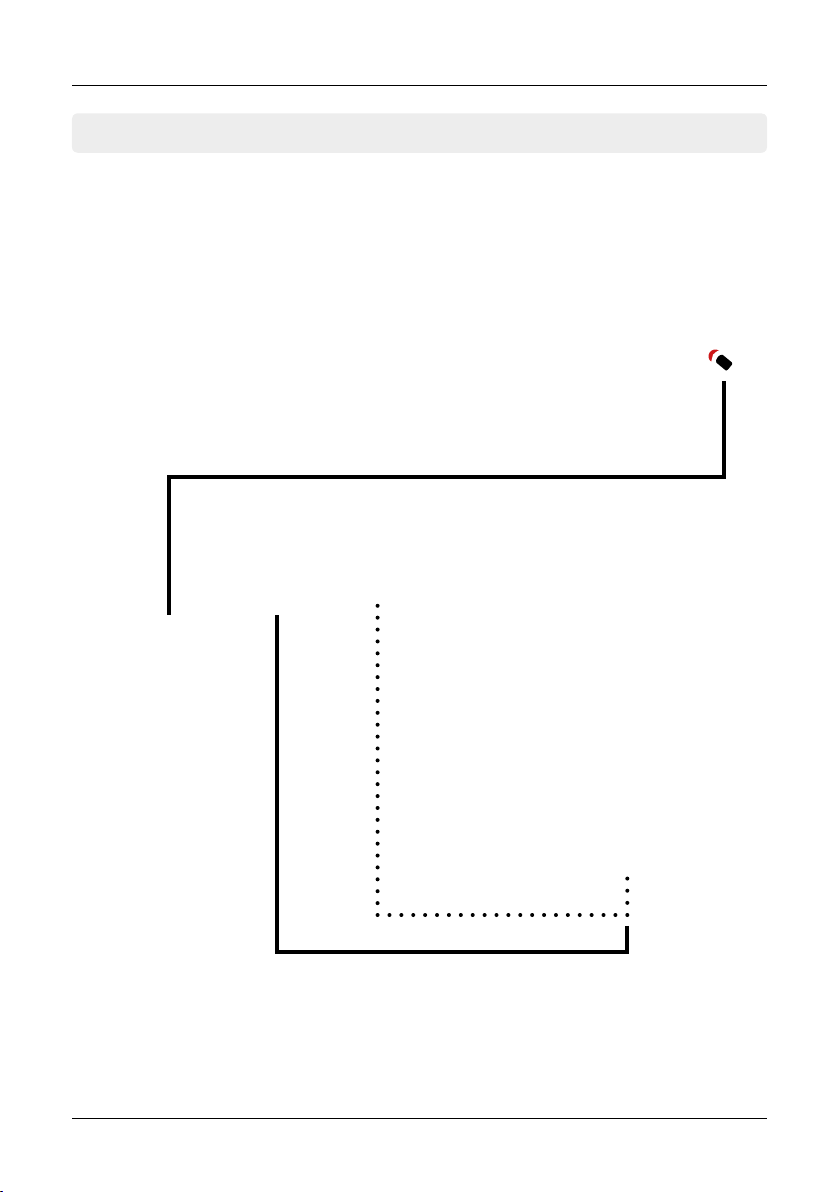
3. Connecting the set-top box
3.1 Connecting the set-top box
1. Connect the coaxial cable to the LNB.
(You can connect an LNB directly to the LNB IN,
or more LNBs through a DiSEqC switch or multiswitch.
2. Connect the HDMI or Scart cable with your TV.
3. Make sure that on your TV is selected corresponding
to the input channel (for example, HDMI 1).
HDMI cable
Scart cable (optional)
07ENGLISH
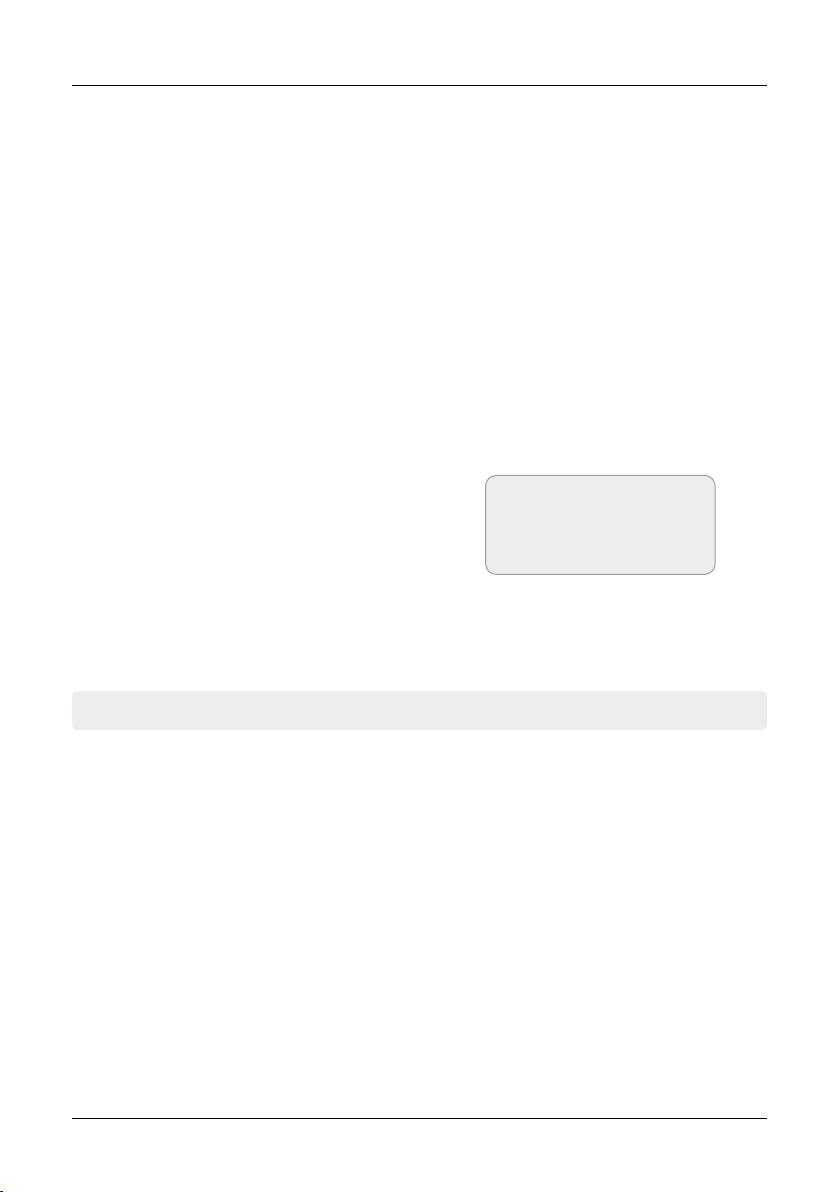
4. Main Menu
After connecting the receiver to other required equipment, turn on the set-top box
Press the MENU button to enter the
menu.
The main menu consists of:
• Installation
• Channel edit
• Settings
• Time settings
• Advanced
• Information
Use the t u button to select your subject and press OK to confirm your selection and enter that sub menu, press EXIT
button you can return to the previous
menu.
4.1 Installation
1. Antenna settings
Press OK to Enter Dish setup, here you can make Satellite Scan, Satellite Edit, TP Search,
TP Edit and other related Functions.
Satellite
Press the OK button to enter the list of
preset satellites. Use the pq buttons to
select a satellite, with the t u buttons you
can at select the symbol of the bottom of
the screen for editing and to the respective
satellite edit.
Note:
The default password for
the menu access is: 0000
08 ENGLISH
 Loading...