

Marmitek LK15 Owner's Manual
LK15
Home Control Kit
LK15-230401
OWNER’S MANUAL 3
BETRIEBSANLEITUNG 6
MODE D’EMPLOI 9
GEBRUIKSAANWIJZING 13
MANUAL DE USARIO 16

2
LK15

LK15 Home Control Kit
OWNERS’ MANUAL
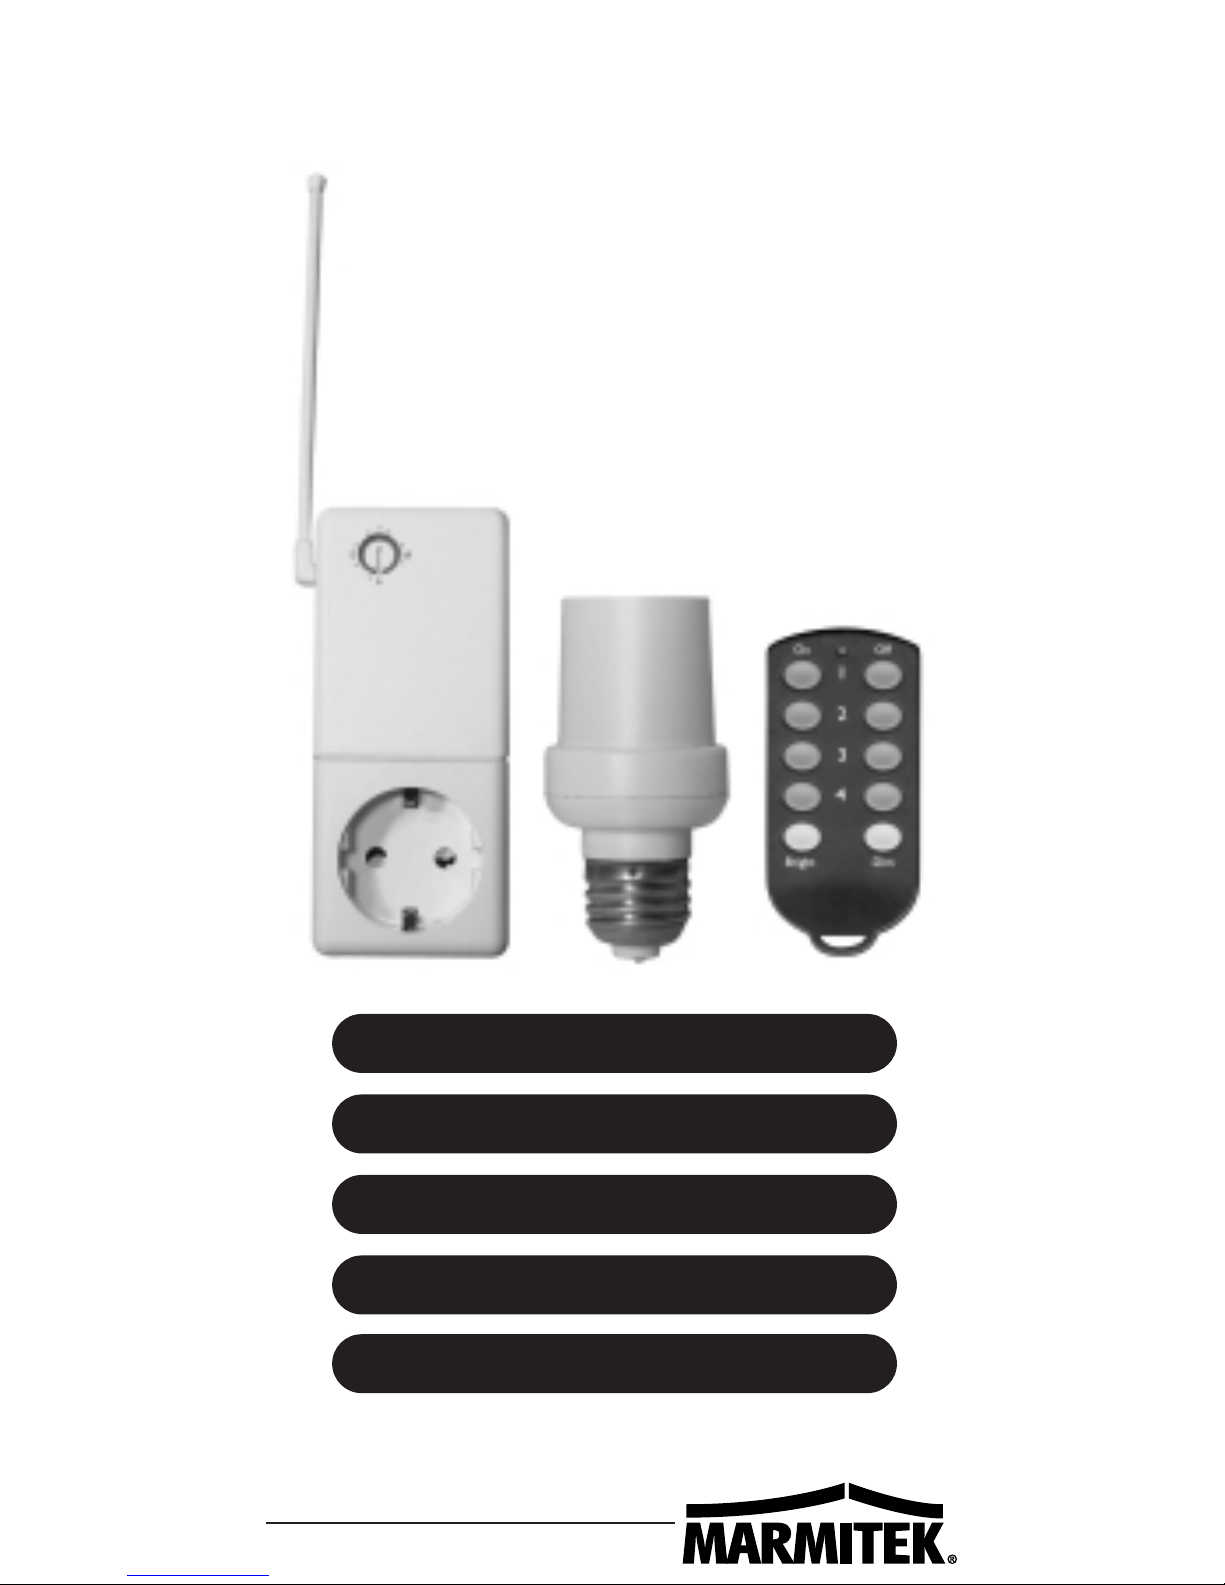
The 3 piece Wireless Control Kit includes:
• Key Chain Radio Remote KR22 (4 ch + dim)
• Radio Transceiver TM13 (1.000W on/off)
• Bayonet or Screw-In Lamp Socket LM15
(100W on/off)
1. Installation and set up of the LM15 Lamp Socket
A. Turn the power off.
B. Remove the light bulb from its socket and insert
the Lamp Socket LM15 into the lamp socket.
C. Insert a light bulb (100W max. open shade,
60W max. closed shade) into the Lamp Socket.
D. Turn the power back on again.
2. Take the Radio Transceiver TM13 out of the
packaging (white plug-in module with antenna) and
plug it into a wall outlet at a central place in your
home. Put the antenna in the upright position. Plug
an appliance or a table lamp into the socket of the
Radio Transceiver.
3. With the supplied Key Chain Radio Remote KR22, you
now can switch on the Radio Transceiver TM13 by
pushing the On button left of the number 1 on the
remote. You can switch it off again by pushing the
Off button right of the number 1. You can switch the
lamp in the Lamp Socket LM15 on and off with the
buttons left and right of the number 2 on the
remote.
How does Marmitek X-10 work?
Quite simple! The commands you’re transmitting from your
Key Chain Radio Remote are picked up by the Radio
Transceiver (also through walls and ceilings). This unit then
3
MARMITEK

sends your commands safely around the existing house
wiring to Lamp or Appliance Modules. Lamps & appliances
plugged into these modules, anywhere in the house, will
instantly respond to the commands you transmitted. There is
no need for any installation work, just plug in the Home
Automation Modules as you would do with any other
electrical equipment.
Changing the House Code and Unit Code
If necessary, you can change the standard House Code (A…P;
NOTE: this code needs to be the same for ALL the modules)
and Unit Code (numerical code of a module that
corresponds with a number assigned to your remote
control).
To change the House Code on the Radio
Transceiver TM13:
Set the dial on the front of the Radio Transceiver to a new
code, for instance to B. The Unit Code of the Radio
Transceiver is fixed to number 1.
To change the House Code of the KR22 Key Chain
Remote:
1. Press and hold the top On button. The red light starts
flashing and 3 seconds later blinks the current setting:
1 blink is House Code A, 2 blinks is House Code B, etc..
2. Release the top On button (you have now entered the
remote’s programming mode).
3. Set the required new House Code by pressing the top On
button (once for A, twice for B, etc.). IMPORTANT: Hold
the button on your last press and 3 seconds later the red
light will blink the new setting.
4. Release the On button.
To change the Unit Code of the KR22 Key Chain
Remote:
To program a new Unit Code, you will only have to program
the keys. The other buttons will then automatically be one
4
LK15

Unit Code higher than the first one. For instance when you
give the top buttons (button 1) Unit Code number 6, the
next buttons (2) automatically get Unit Code 7.
1. Press and hold the top Off button. The red light will start
flashing and 3 seconds later blinks the current setting:
1 blink is Unit Code 1, 2 blinks is Unit Code 2, etc..
2. Release the top Off button (you now entered the
remote’s programming mode).
3. Set the required new Unit Code by pressing the top Off
button: once for 1, twice for 2, etc.. IMPORTANT: Hold
the button on your last press and 3 seconds later the red
light will blink the new setting.
4. Release the Off button.
To change the House Code and/or Unit Code of the
LM15 Lamp Socket:
1. Set the remote control to the required House and Unit
Code as described above.
2. Turn the power off and wait a few seconds.
3. Turn the power back on again.
4. You now can give a new code for the Lamp Socket within
30 seconds. To do so press the button (On) left of the
number of your choice on the remote control 3 times.
When for instance you want the LM15 to react to button
number 4, push the button left of number 4 on the
remote control 3 times.
5. From now on the LM15 will react to the buttons left (On)
and right (Off) of the number 4.
For changing the batteries of the Key Chain Remote KR22E,
remove the back lid of the remote (for instance by using
your finger nails in the groove on the side). Exchange the
batteries for the same type (2 x CR2016, 3V lithium). Please
take care in observing the polarity.
WWW.MARMITEK.COM
5
MARMITEK

LK15 Haus-Kontroll-Set
BEDIENUNGSANLEITUNG
3-teiliges drahtloses Schalterset
Inhalt:
• HF-Schlüsselanhänger-Fernbedienung KR22
(4 Kanäle + Dimm)
• Transceiver TM13 (1000W An/Aus)
• Fassungsschalter LM15 (100W An/Aus)
1. Installieren des LM15 Fassungsschalters
A. Schalten Sie den Strom aus.
B.
Drehen Sie die vorhandene Lampe aus der Armatur und
drehen Sie den LM15 Fassungsschalter in die Armatur.
C. Drehen Sie eine Lampe (max. 100W offene
Armaturen, max. 60W geschlossene Armaturen)
in die Fassung.
D. Schalten Sie den Strom wieder ein.
2. Nehmen Sie den Transceiver aus der Verpackung
(weisse Steckereinheit mit Antenne) und stecken ihn
in eine Steckdose an einer zentralen Stelle im Haus.
Stellen Sie die Antenne gerade. Schliessen Sie den
Transceiver auf eine Lampe oder ein Gerät an.
3. Mit dem Knopf links neben der Nummer 1 auf der
mitgelieferten Fernbedienung können Sie den
Transceiver nun einschalten (1-On). Mit dem Knopf
rechts neben der Nummer 1 (1-Off) können Sie ihn
auch wieder ausschalten. Mit den Knöpfen links und
rechts neben der Nummer 2 der Fernbedienung
können Sie den Fassungsschalter LM15 Ein- oder
Ausschalten (2-An/Aus).
Wie funktioniert Marmitek X-10?
Ganz einfach. Den Befehl, den Sie mit der Fernbedienung
geben, wird durch das Transceivermodul empfangen. Der
6
LK15
 Loading...