

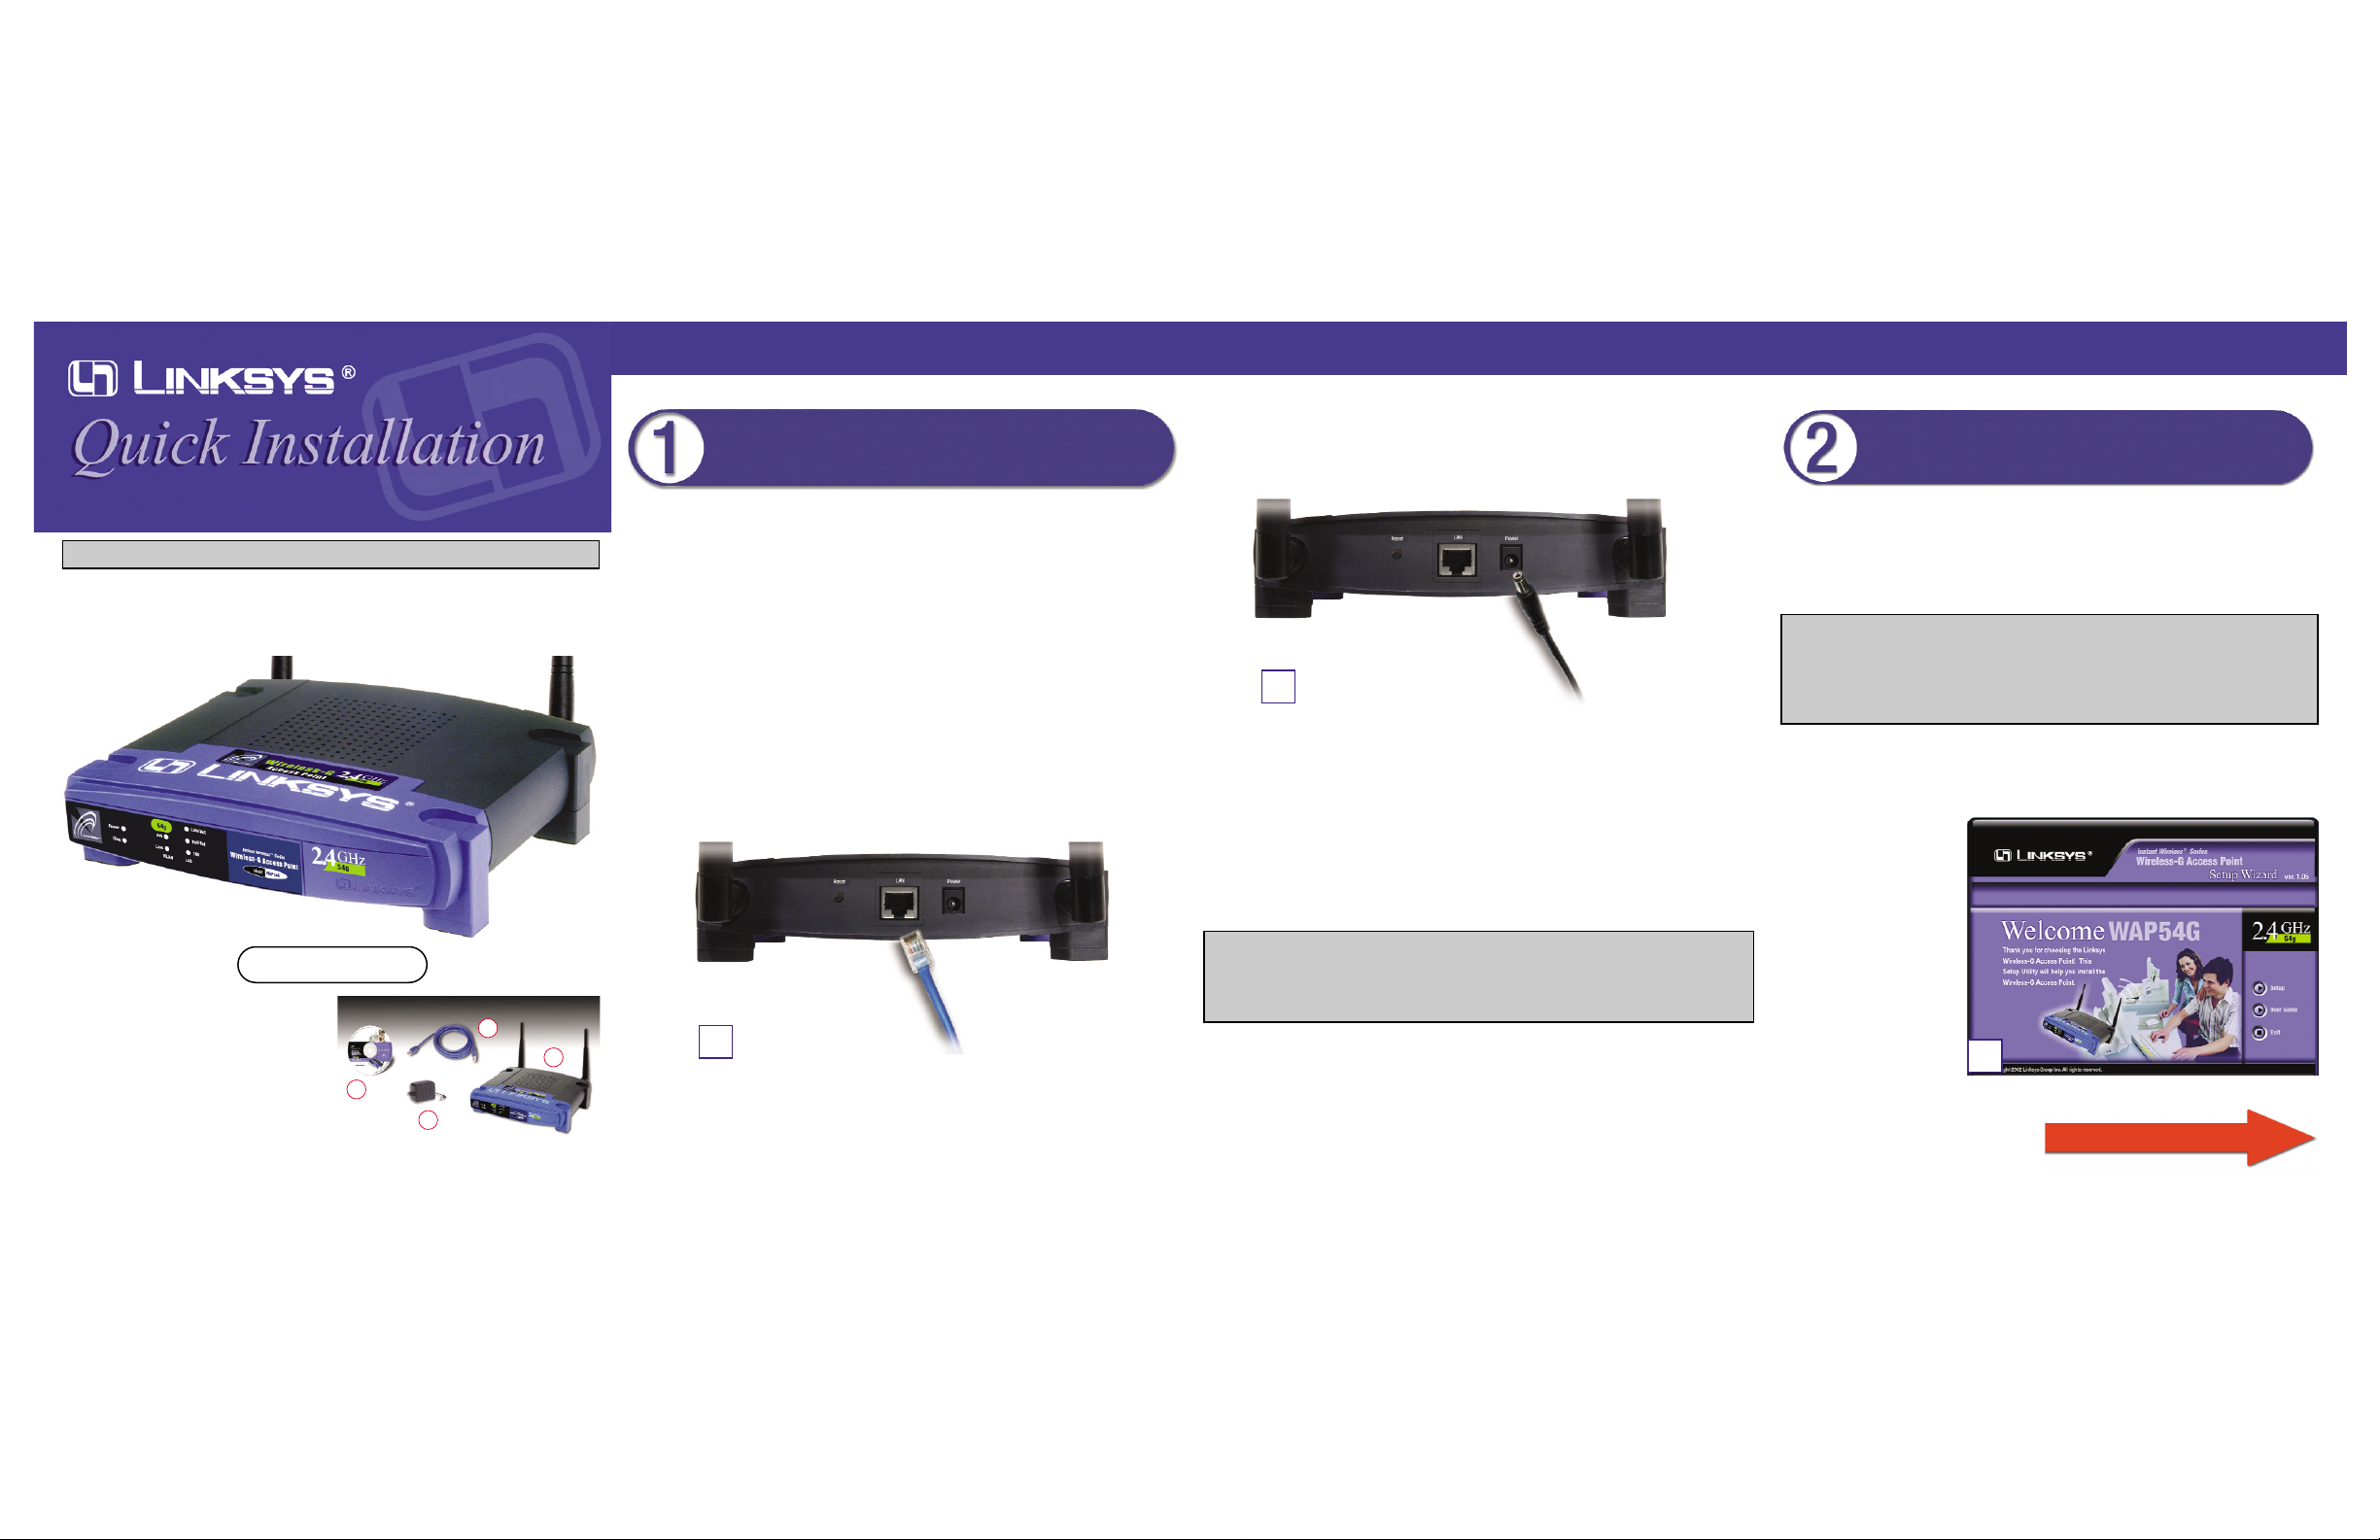
Now that you’ve connected the Access Point to your wired network, you are
ready to begin setting it up. The Setup Wizard will take you through all the
steps necessary to get the Access Point connecting your wireless network to
your wired network and communicating more eff iciently.
A. Insert the Setup Wizard CD into your PC’s CD-ROM drive. Optimally,
your PC should be on your wired network.
B. The Welcome screen
should appear on your
monitor. If it does not,
this means the autorun
is not functioning.
Start the autorun manually by clicking the
Start button, selecting Run, and typing
D:\setup.exe (if “D”
is your PC’s CD-ROM
drive). Then click the
Setup button.
WAP54G
Package Contents
• One Wireless-G Access Point with
Detachable Antennas (1)
• One Power Adapter (2)
• One Setup Wizard CD-ROM with User
Guide (3)
• One Category 5 Ethernet Network
Cable (4)
• One Quick Installation
• One Registration Card
Continued on back
This Quick Installation is meant to help you install the product quickly and easily. For detailed instructions on installation,
configuration, and further setup options, please consult the User Guide.
Instant Wireless®Series
WWiirreelleessss-GG AAcccceessss PPooiinntt
A. Locate an optimum location for the Access Point. The best place for the
Access Point is usually at the center of your wireless network, with line of
sight to all of your mobile stations.
B. Fix the direction of the antenna. Try to place it in a position that can best
cover your wireless network. Normally, the higher you place the antenna,
the better the performance will be. The antenna’s position enhances the
receiving sensitivity. Both antennas should be perpendicular to the ground
and parallel to each other.
C. Connect the included Category 5 Ethernet network cable to the Access
Point. Then connect the other end of the network cable to a switch or hub.
The Access Point will then be connected to your 10/100 network.
Connecting the Wireless-G
Access Point
C
D. Connect the AC power adapter to the Access Point’s Power port. Only use
the pow er adapter supplied with the Access Point. Use of a different adapter
may result in product damage.
Proceed to Step 2.
D
B
Note: In order for all other wireless devices to communicate with the Access
Point, those devices must be operating in infrastructure mode. If any wireless
devices are configured in ad-hoc mode, they WILL NOT be recognized b y the
Access Point.
Setting Up the Wireless-G
Access Point
Note: While the Access Point has been designed to work correctly right out
of the box, setting it up on a wireless-equipped computer will require you to
use the Linksys default settings. These settings can then be changed through
the Web-based Utility. For more details, refer to the User Guide on the Setup
Wizard CD-ROM.
3
4
2
1

C. You can configure the Access
Point through any PC connected to your Ethernet network. Make sure the Access
Point is connected to one of
your network switches or
hubs. Click the Next button.
D. The next screen will display a
list of access points on your
network, along with the status
information for each access
point. If there is only one
access point on your network,
it will be the only one displayed. If there are more than
one displayed, select the
Access Point by clicking on it,
and then click the Yes button.
E. On the Enter Network
Password screen, enter the
default password, admin, in
the Password field. Then
click the OK button. For
added security, remember to
change this password later
through the Web-based
Utility’s Password screen.
WWW.LINKS YS .C O M
F. The IP Settings screen will
appear. Enter an IP Address
and Subnet Mask appropriate
to your network. Then enter a
unique name in the AP Name
field. Click the Next button.
G.The Basic Settings screen
will appear. Enter your wireless network’s SSID, and
select the channel at which
the network broadcasts its
wireless signal. Then click
the Next button.
H.The Security screen will
appear. Set the Wired
Equivalent Privacy (WEP)
encryption for your wireless
network. Select a WEP configuration method and a
passphrase. Then click the
Next button.
I. The second Security screen
shows the WEP key. If you
entered a passphrase, then the
Key 1 field will display the
automatically generated
WEP key. If you did not enter
a passphrase, then enter a
WEP key in the Key 1 field.
Each point in your wireless
network must use the same
WEP key for the network to
function properly. Click the
Next button.
J. The next screen will allow
you to review your settings.
If these settings are correct,
click the Ye s button to save
these settings. If there are
any problems with the settings, click the No button to
exit the Setup Wizard.
K.At this point, the configura-
tion performed with the
Setup Wizard is complete.
To configure any other
access points in your network, you can run this
Setup Wizard again. Click
the Exit button to exit the
Setup Wizard.
Congratulations! The installation of the Wireless-G Access Point is
complete.
For additional details,advanced configuration, or any other questions,
refer to the User Guide on the Setup Wizard CD-ROM.
QI_WAP54G-121602NC BW
C
D
F
E
G
H
I
J
K
 Loading...