


z
User Guide
Velop
WHW01/VLP01
1

Table of Contents
Product Overview___________________________________________________________________________________________3
Front/top ______________________________________________________________________________________________________3 Back ____________________________________________________________________________________________________________4 Bottom _________________________________________________________________________________________________________5 Where to find more help ____________________________________________________________________________________6
Set Up _________________________________________________________________________________________________________7
What you’ll need______________________________________________________________________________________________8
Velop System Settings____________________________________________________________________________________ 12
Log in to your Linksys Smart Wi-Fi cloud account ____________________________________________________ 12
Dashboard___________________________________________________________________________________________________ 13 DevicesTo view____________________________or change device details____________________________________ ____________________________________ ________________________ 154 WiAdvanced-Fi SettingsSettings_____________________________________________________________________ _________________________________________________________________________________________________________________________________ 176
Connect a Device with WPS 18
Guest Access_________________________________________________________________________________________________ 19 Speed Test ___________________________________________________________________________________________________ 20 Parental Controls___________________________________________________________________________________________ 21 Device Prioritization_______________________________________________________________________________________ 22 Notifications_________________________________________________________________________________________________ 23
Velop Administration______________________________________________________________________________________ 24 AdvancInternetdSettings___________________________________ _____________________________________________________________________________ 26 Port Settings __________________________________________________________________________________________________________ 27
My Account __________________________________________________________________________________________________ 29 Help___________________________________________________________________________________________________________ 30
Feedback_____________________________________________________________________________________________________ 31
ConnectVelopDirectlyadmin passwordTo Velop____________________________________________________________________ ___ ___ __________________________________ ___ ___ 3233
How to restore factory defaults________________________________________________________________________ 34 Specifications______________________________________________________________________________________________ 35
Linksys Velop _______________________________________________________________________________________________ 35 Environmental______________________________________________________________________________________________ 35
2
Product Overview
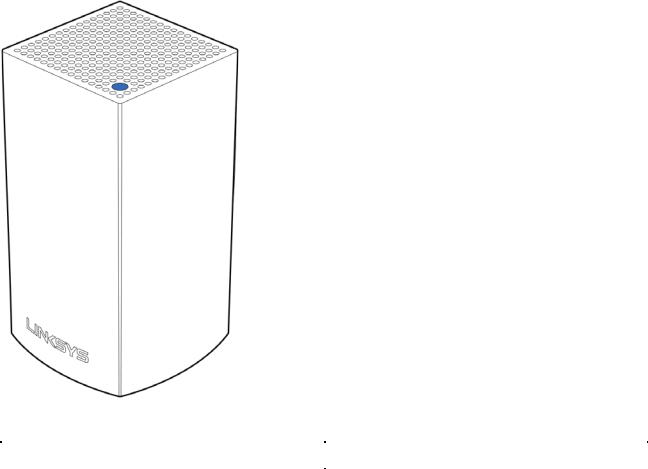
Front/top
The light on the top of your node gives you information about the node’s operation.
Light description |
Status |
Blinking blue |
Node is starting up |
|
|
Solid blue |
Node is working great |
|
|
Blinking purple |
Node is paired with phone for setup |
|
|
Solid purple |
Node is ready for setup |
|
|
Blinking red |
Node has lost connection to primary node |
|
|
Solid red |
Node has lost connection to the internet |
|
|
Solid yellow |
Node is too far from another node connected to |
|
your Velop system |
|
|
3

Back
Ethernet ports---- Connect to other wired devices on your network with ethernet cables. One node in your Velop system must be connected to your modem or modem router. Nodes know whether they are connected to a modem or a client device.
Note—For best performance, use a CAT5e or higher rated cable on the ethernet port. Power port—Connect the included AC power adapter to this port.
4
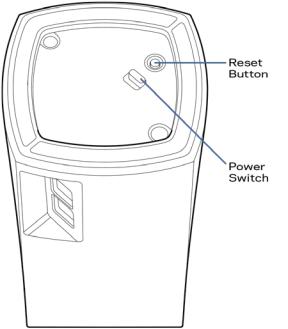
Bottom
Reset button----Press and hold until the light on top of the node turns red, fades and flashes bright red again to reset the node to its factory defaults.
Power switch-----Press | (on) to power on the node.
5

Help
Where to find more help
•Linksys.com/support/Velop
•Linksys app help (launch the app and click Help in the main navigation menu)
Note—Licenses and notices for third party software used in this product may be viewed on http://support.linksys.com/en-us/license. Please contact http://support.linksys.com/enus/gplcodecenter for questions or GPL source code requests.
6
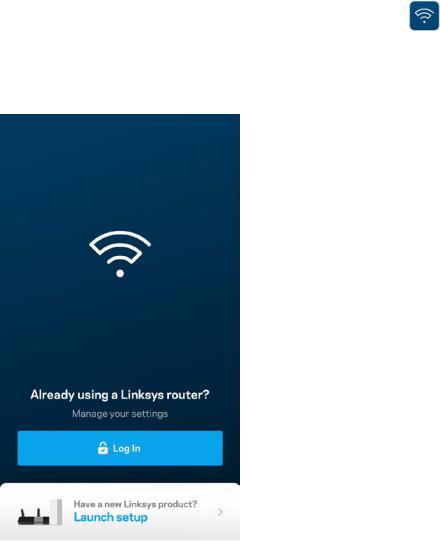
Set Up
Download the Linksys app. You need this app to set up Velop.
Go to the app store for your device and search for Linksys.
Install the app, open it and follow the instructions.
Note— Before downloading, make sure the app works with your version of Apple iOS or Android OS.
During setup you will create a Linksys Smart Wi-Fi account so you can use the app to view or change your Velop system settings from anywhere you have an internet connection.
Among the many things you can do with Linksys Smart Wi-Fi:
•Change your Wi-Fi name and password
•Set up guest access
•Connect devices to Wi-Fi with WPS
•Block internet with parental controls
•Test your internet connection speed
Note—During setup we’ll send a verification email. From your home network, click the link in the email.
7
Other than plugging in the power and the ethernet cable, the app-based setup process does the work for you. Once connected, use the app to personalize your Wi-Fi by giving it a name and password. You also can give nodes names based on where they are so you can identify them in the rare case where things need attention.
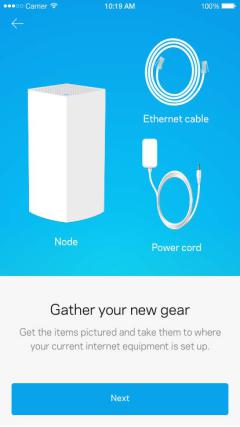
What you’ll need
8
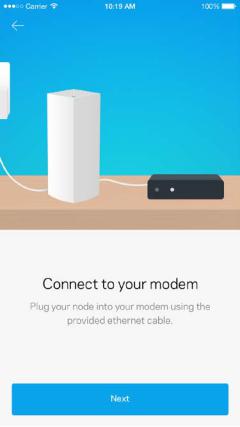
Find a power source near to your modem or modem router. Connect to your first node.
9
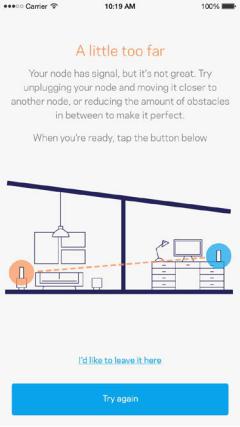
If you have more than one node, they can be set up anywhere within range of another working node. Only one node has to be wired to the modem or modem router. Don’t worry, the app will help you place your nodes.
10
Print this page, then record your Wi-Fi and account settings in the table as a reference. Store your notes in a safe place.
Wi-Fi Name
Wi-Fi Password
Admin Password
Guest Network Name
Guest Network Password
Linksys Smart Wi-Fi Username
Linksys Smart Wi-Fi Password
11
Velop System Settings
Using your Linksys app, you can view or change Velop system settings to make your Wi-Fi more secure or to work better with a device or game. You can access settings from anywhere in the world if you have an internet connection, but you can also access your Velop system directly from your home network if you are not online.
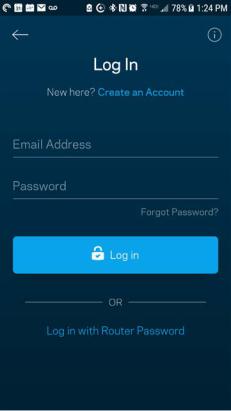
Log in to your Linksys Smart Wi-Fi cloud account
1. Open the Linksys app.
2.Enter the email address you used when creating your account.
3.Enter your account password.
4.Tap Log in.
12

Dashboard
Dashboard is a snapshot of your Wi-Fi. See how many devices are connected to your Velop system. Share Wi-Fi password and allow guest access to your Wi-Fi. Dashboard also shows you if any devices have parental controls on them or have been prioritized for Wi-Fi access.
13
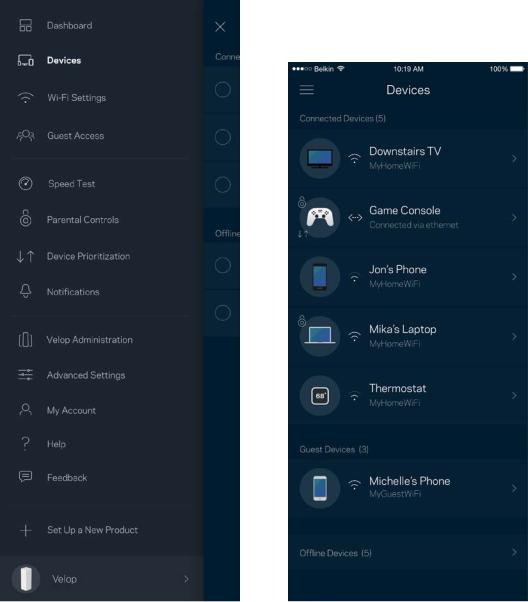
Devices
View and change details for all devices connected to your Wi-Fi. You can view devices on your main network and your guest network, or display information about each device.
14

To view or change device details
From the Devices screen you can edit device names and change the device icons. You also can prioritize devices, set parental controls, and see Wi-Fi details. Tap on any device to see details.
15
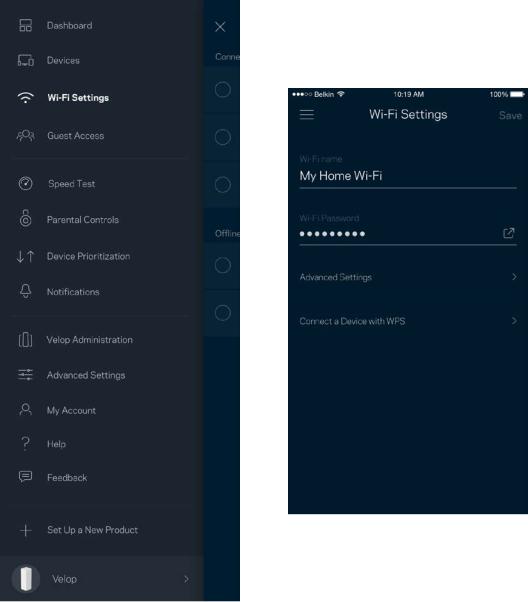
Wi-Fi Settings
View or change your Wi-Fi name and password and connect devices using Wi-Fi Protected Setup™.
16
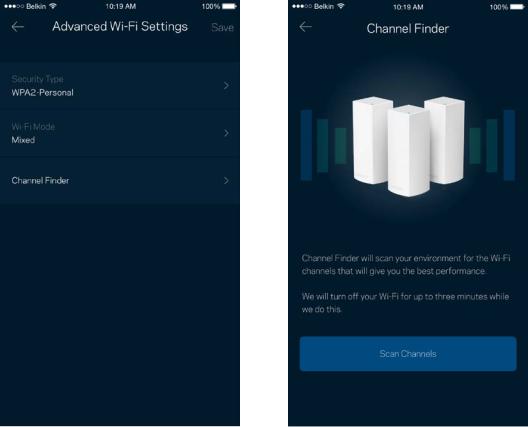
Advanced Settings
Advanced users can change the default security type and Wi-Fi mode. Do not change these unless you have a lot of experience with Wi-Fi networks. Channel Finder will search for the most-open Wi-Fi channels in your area to ensure you get the best performance from your Velop system. If you have more than one node in your Velop system, Channel Finder will find the best channel for each node.
17
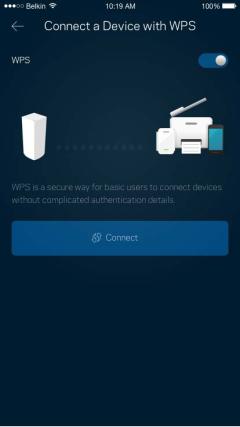
Connect a Device with WPS
Wi-Fi Protected Setup allows you to easily connect wireless devices to your Wi-Fi without manually entering security settings.
18

Guest Access
Use your Guest Access to allow guests to get online while restricting their access to other resources connected to your Wi-Fi. Send the password by text message or email.
19
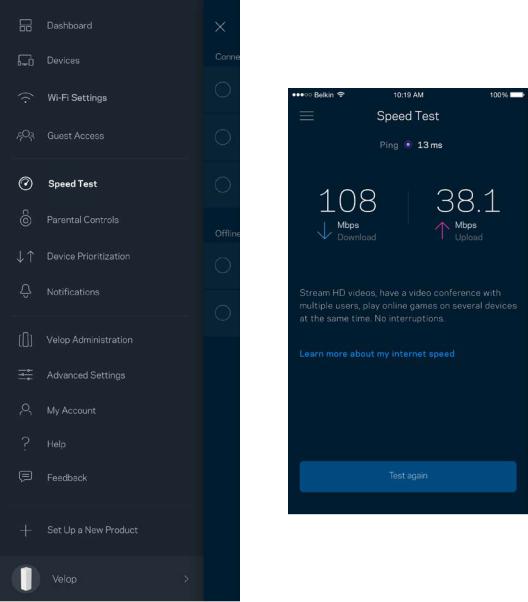
Speed Test
Run a speed test to make sure you are getting the speeds you are paying for. Speed test also helps in Device Prioritization because results determine how Wi-Fi is distributed to the prioritized devices.
•Download speed is the rate at which internet content is transferred to your Velop system.
•Upload speed is the rate at which you can upload content to the internet.
Note—Internet connection speeds are determined by a variety of factors, including ISP account type, local and worldwide internet traffic, and number of devices in your home that are sharing the internet connection.
20
Parental Controls
Parental controls allow you to control when your kids are online and what they’re doing there. Block internet to specific devices, or block specific websites.
21
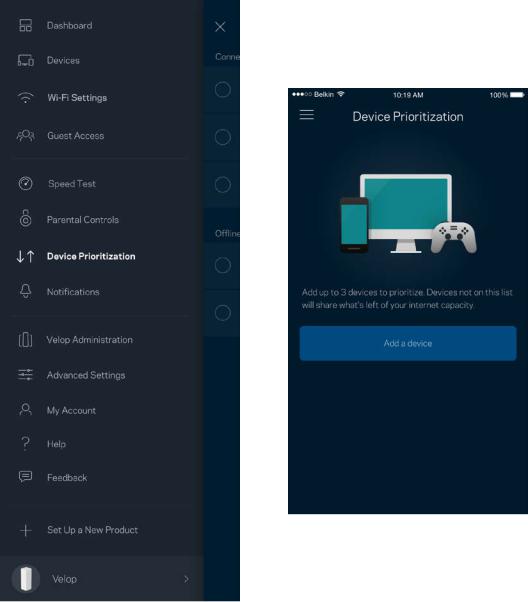
Device Prioritization
Choose up to three devices for priority usage of your internet connection. Those devices -- wired and/or wireless -- always will have the best access when connected. Velop runs a speed test to determine how to best distribute Wi-Fi to prioritized devices. Other devices will share the leftover capacity. Prioritized devices appear on Dashboard.
22
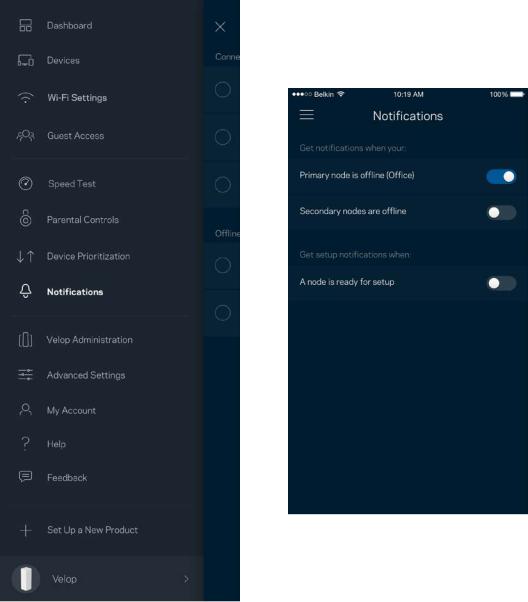
Notifications
Velop can notify you when nodes in your system go offline. You can also ask Velop to alert you when a node is connected with an Ethernet cable to another node and is ready for setup. You have to turn on notifications in your mobile device settings to allow Velop to notify you.
23

Velop Administration
Use the Velop Administration screen to change the admin password and hint, and check various identifiers (model number, serial number, and IP details) for all nodes in your Wi-Fi.
Opt in to automatically report crashes to Linksys and contribute to improving the Wi-Fi experience. You also can manually report specific issues to Linksys.
24
The following information will be sent with your description of the issue:
• |
App version |
• |
Login Type (cloud: show email address associated, |
|
|
|
local: display "Velop admin") |
|
|
|
|
• |
Device model |
• |
WAN Connection type (display Wi-Fi or Ethernet) |
|
|
|
|
• |
Device OS version |
• |
Time: date (mo/day/year, time, time zone) |
|
|
|
|
25
Advanced Settings
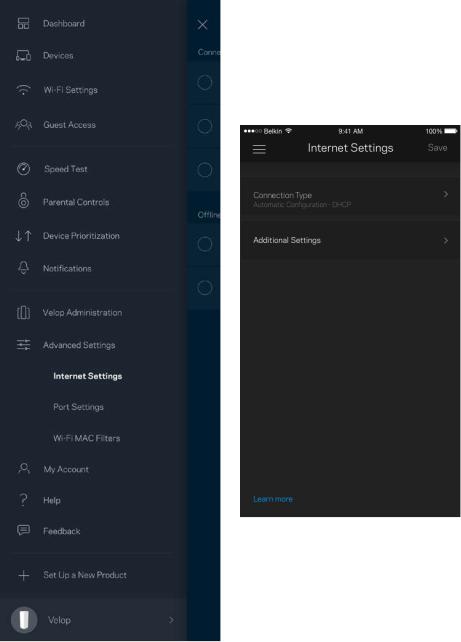
Internet Settings
You can choose how your Velop system connects to the internet. The default is Automatic Configuration – DHCP. Other connection types depend on your internet service provider or how you plan to use your Velop system. Advanced users can use Additional Settings to clone MAC addresses and set MTU (maximum transmission unit).
26
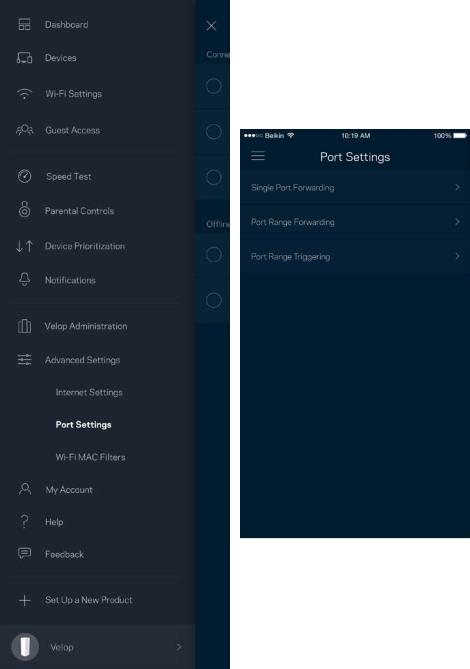
Port Settings
Port forwarding-----for a single port, multiple ports or a range of ports-----sends traffic inbound on a specific port or ports to a specific device or port on your Wi-Fi. In port range triggering, Velop watches outgoing data for specific port numbers. Velop remembers the IP address of the device that requests the data so that when the requested data returns, it is routed back to the proper device.
27
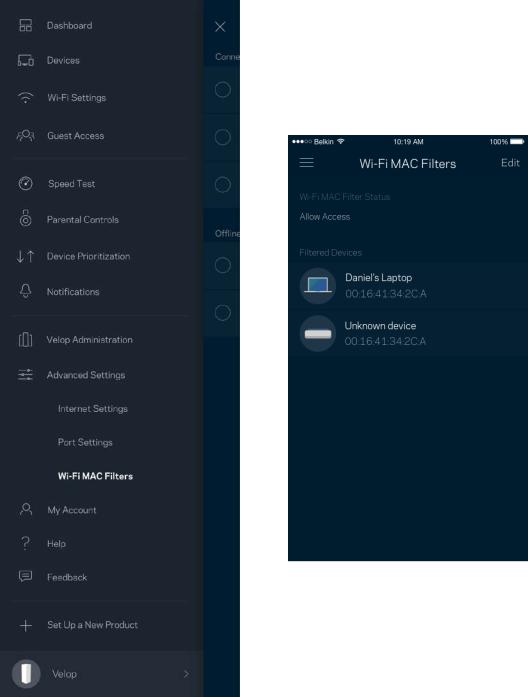
Wi-Fi MAC Filters
Every network device has a unique 12-digit MAC (media access control) address. You can create a list of MAC addresses, and then allow or deny those devices on your Wi-Fi.
28
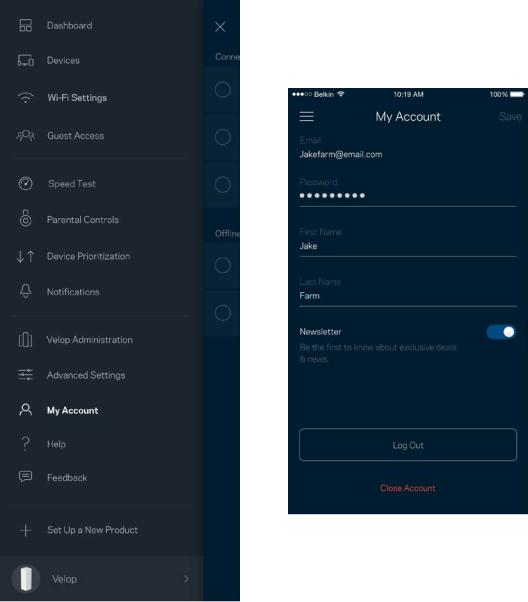
My Account
Change your Linksys account password and opt in to receive the latest news and deals from Linksys.
29
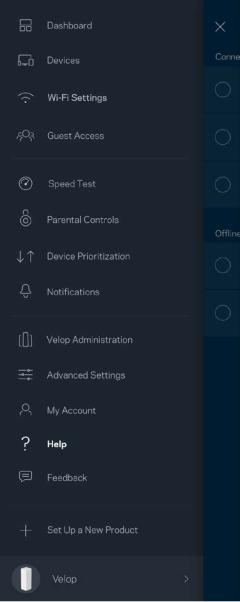
Help
Having trouble with the app? Just need a little more information about a feature? Tap Help for an explanation.
30
 Loading...