

Page 1
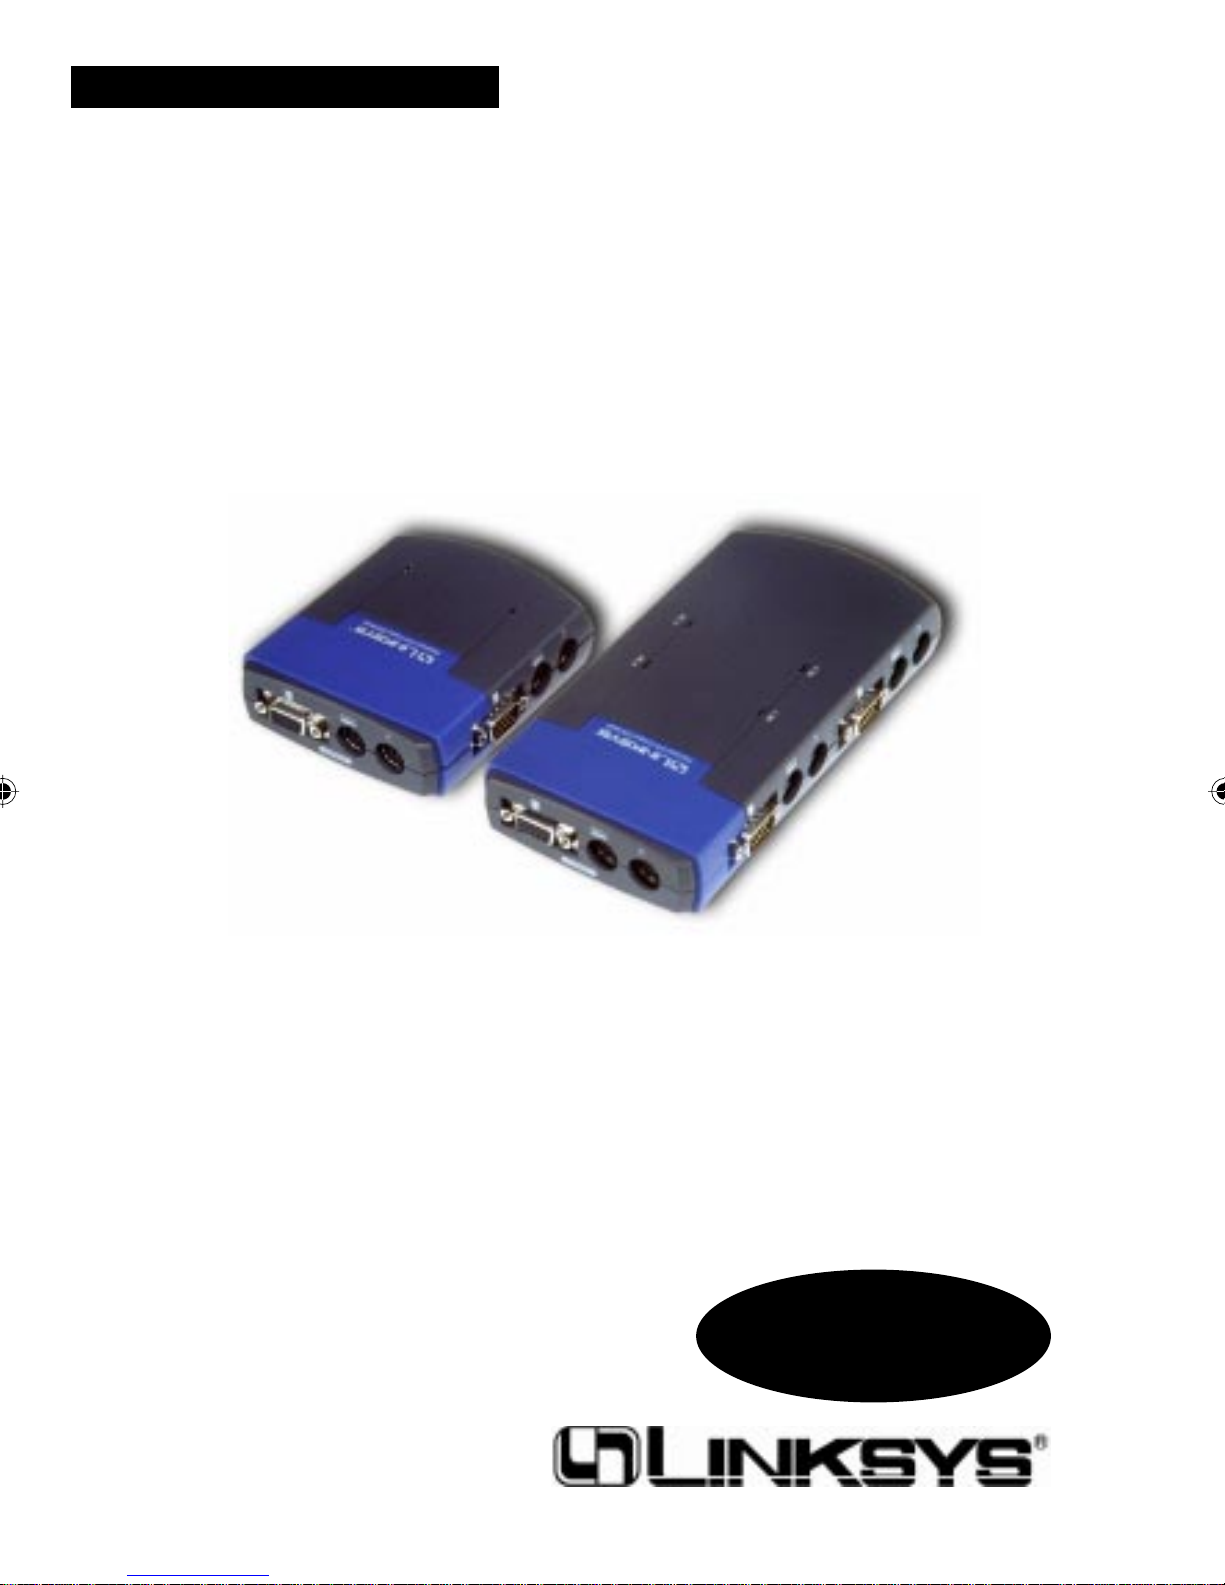
ProConnect® Series
Compact KVM
Switches
Use this guide to install these Linksys products:
2-Port Compact KVM Switch (PS/2)
4-Port Compact KVM Switch (PS/2)
2-Port Compact KVM Switch Kit (PS/2)
User Guide
Page 2

COPYRIGHT & TRADEMARKS
Copyright © 1999 Linksys, All Rights Reserved. ProConnect is a registered trademark
of Linksys. Microsoft, Windows, and the Windows logo are registered trademarks of
Microsoft Corporation. All other trademarks and brand names are the property of their
respective proprietors.
LIMITED WARRANTY
Linksys guarantees that every ProConnect 2-Port Compact KVM Switch (PS/2), 4-Port
Compact KVM Switch (PS/2), and 2-Port Compact KVM Switch Kit (PS/2) is free from
physical defects in material and workmanship under normal use for one (1) year from
the date of purchase. If the product proves defective during this warranty period, call
Linksys Customer Support in order to obtain a Return Authorization number. Warranty
is for repair or replacement only. Linksys does not issue any refunds. BE SURE TO
HAVE YOUR PROOF OF PURCHASE AND PRODUCT BARCODE ON HAND WHEN
CALLING. RETURN REQUESTS CANNOT BE PROCESSED WITHOUT PROOF OF
PURCHASE AND PRODUCT BARCODE. When returning a product, mark the Return
Authorization number clearly on the outside of the package and include your original
proof of purchase and package barcode.
IN NO EVENT SHALL LINKSYS’ LIABILITY EXCEED THE PRICE PAID FOR
THE PRODUCT FROM DIRECT, INDIRECT, SPECIAL, INCIDENTAL, OR
CONSEQUENTIAL DAMAGES RESULTING FROM THE USE OF THE PRODUCT,
ITS ACCOMPANYING SOFTWARE, OR ITS DOCUMENTATION. Linksys makes no
warranty or representation, expressed, implied, or statutory, with respect to its products
or the contents or use of this documentation and all accompanying software, and specifically disclaims its quality, performance, merchantability, or fitness for any particular
purpose. Linksys reserves the right to revise or update its products, software, or
documentation without obligation to notify any individual or entity. Please direct all
inquiries to:
Linksys P.O. Box 18558, Irvine, CA 92623.
FCC STATEMENT
This equipment has been tested and found to comply with the limits for a Class B
digital device, pursuant to Part 15 of the FCC Rules. These limits are designed to
provide reasonable protection against harmful interference in a residential installation.
This equipment generates, uses, and can radiate radio frequency energy and, if not
installed and used according to the instructions, may cause harmful interference to
radio communications. However, there is no guarantee that interference will not occur
in a particular installation. If this equipment does cause harmful interference to radio
or television reception, which is found by turning the equipment off and on, the user is
encouraged to try to correct the interference by one or more of the following measures:
• Reorient or relocate the receiving antenna
• Increase the separation between the equipment or device
• Connect the equipment to an outlet other than the receiver’s
• Consult a dealer or an experienced radio/TV technician for assistance
1099
Page 3

Table of Contents
Introduction 1
Linksys ProConnect Compact KVM Switches 1
Features 1
Pack age Contents 2
Getting to Know the Compact KVM Switch 3
Ports and Buttons 3
System Requirements 4
Cables 4
Installing the Hardware 5
Connecting Everything Together 5
Switch Operation 6
Manually Toggling Between PCs 6
Toggling Between PCs with the Hot Keys 6
Troubleshooting 8
General Troubleshooting Hints 8
Specifi c Problems 8
Appendix 10
2-Port KVM Switch Specifi cations 10
4-Port KVM Switch Specifi cations 11
Cables 12
LEDs 13
Customer Support 13
Page 4

1
Introduction
Linksys ProConnect® Compact KVM Switches
Congratulations on the purchase of a Linksys ProConnect Compact KVM
Switch. If you operate or monitor two or more PCs at the same time and
you’re tired of hustling back and forth between them, then the Linksys
ProConnect Compact KVM Switch (PS/2) is for you. Linksys's Compact
KVM Switches allow you to instantly toggle between multiple PS/2-equipped
desktop or notebook PCs while using a single monitor, PS/2 keyboard, and
PS/2 mouse.
Switch between multiple PCs with the press of a button. Plug your notebook
PC into the KVM Switch and control it from a standard desktop PC’s monitor,
keyboard, and mouse. Built to last and ready to run directly out of the
box, the ProConnect Compact KVM Switch eliminates cable swapping while
conserving desktop space and hundreds of dollars of hardware costs. Because
it doesn’t use software, your ProConnect Compact KVM Switch is compatible
with all major desktop and laptop computers. It’s the perfect choice for the
home, the office, or anywhere else you manage multiple PCs.
Features
• Control Multiple Computers from a Single Keyboard, Monitor, and Mouse
• Switch Instantly Between PCs
• Save Hundreds of Dollars in Equipment and Energy Costs
• Serves as a Quick Docking Station for Notebook Computers
• Quick PC Toggling with Keyboard Hot Keys
• Supports an Incredible 1920 x 1440 Maximum Screen Resolution
• Full Plug & Play Monitor Support
• Caps Lock, Num. Lock, and Scroll Lock Settings Are Automatically
Recalled by each PC
• Runs with Virtually All Software and Operating Systems
• Runs with Most PS/2 and Windows 95 Keyboards
• Compatible with Virtually All Major PS/2 Mice
• No Software Required
• Sturdy Chassis and Quality Connectors for Long Life
• Free Technical Support
• One Year Warranty
Page 5
2
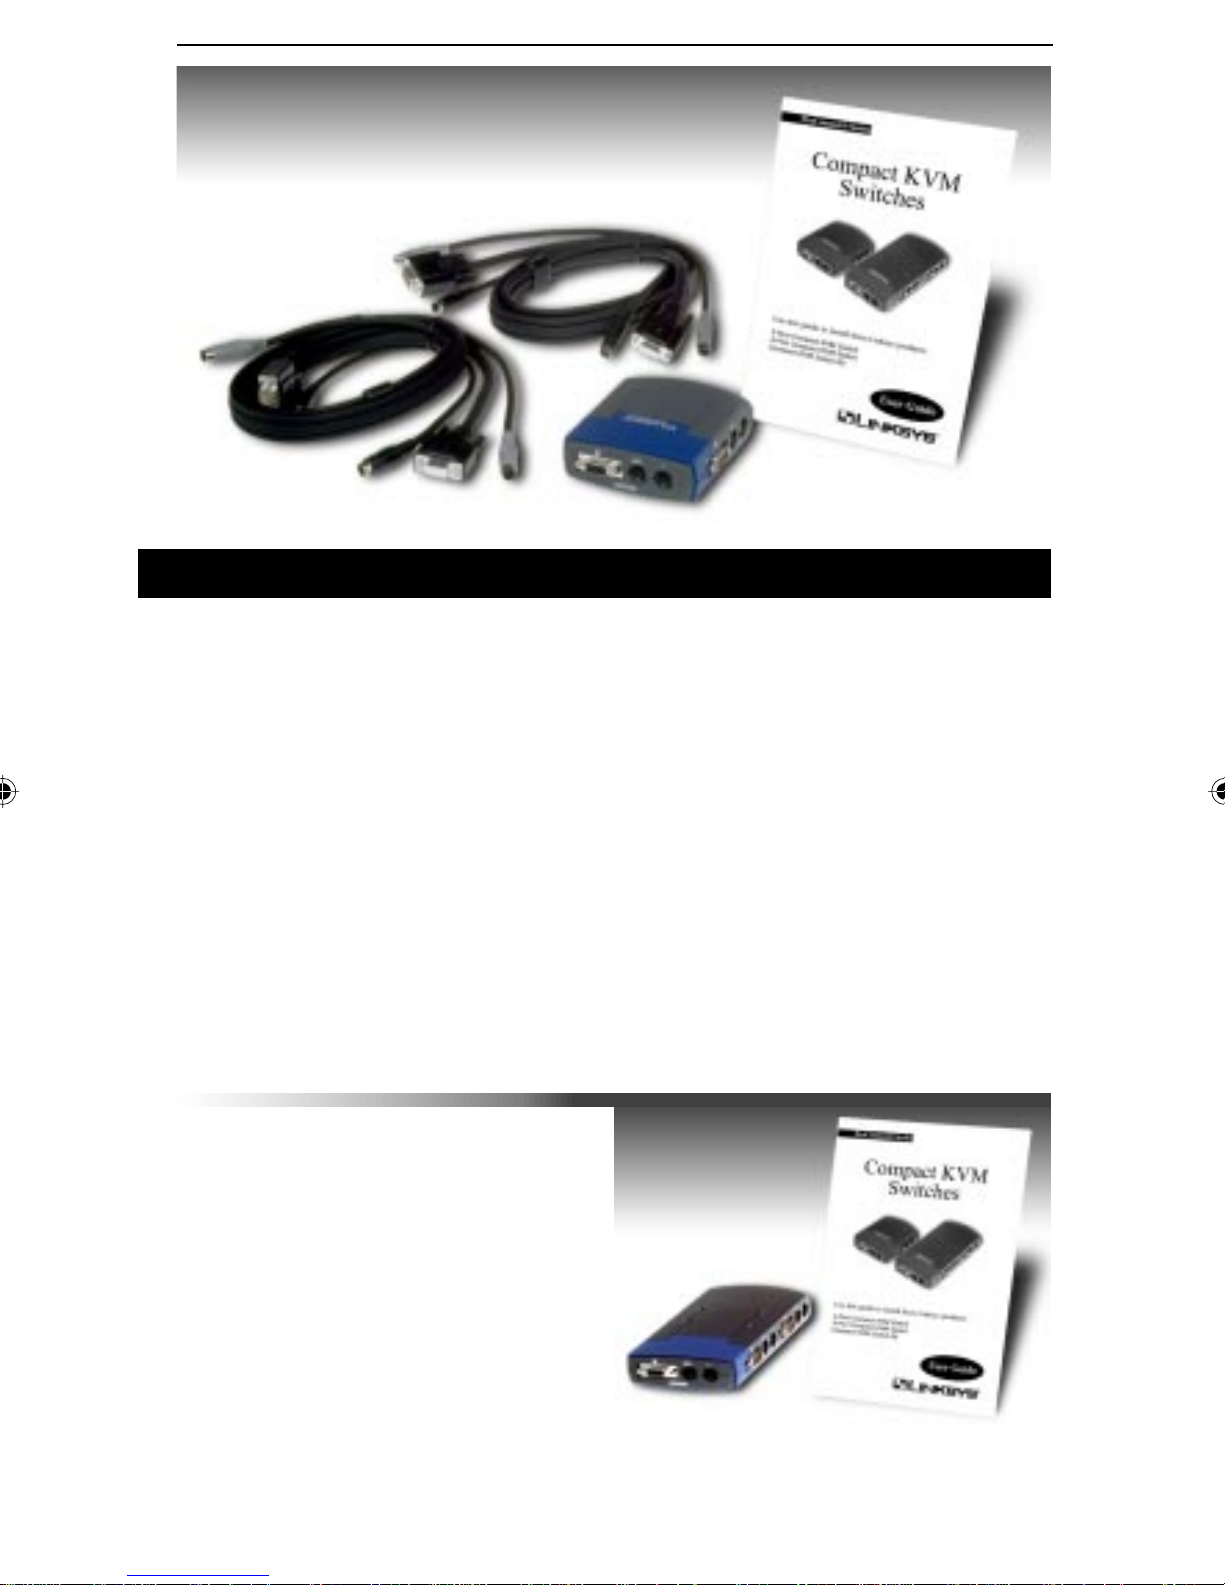
Package Contents
2-Port Compact KVM Switch Kit (PS/2)
• One ProConnect 2-Port Compact KVM Switch
• Two Custom Keyboard, Video, and Mouse Cables (PS/2)
• One User Guide and Registration Card
2-Port Compact KVM Switch (PS/2)
• One 2-Port Compact KVM Switch (PS/2)
• One User Guide and Registration Card
4-Port Compact KVM Switch
(PS/2)
• One 4-Port Compact KVM Switch
(PS/2)
• One User Guide and Registration
Card
Page 6
Getting to Know the
Compact KVM Switch
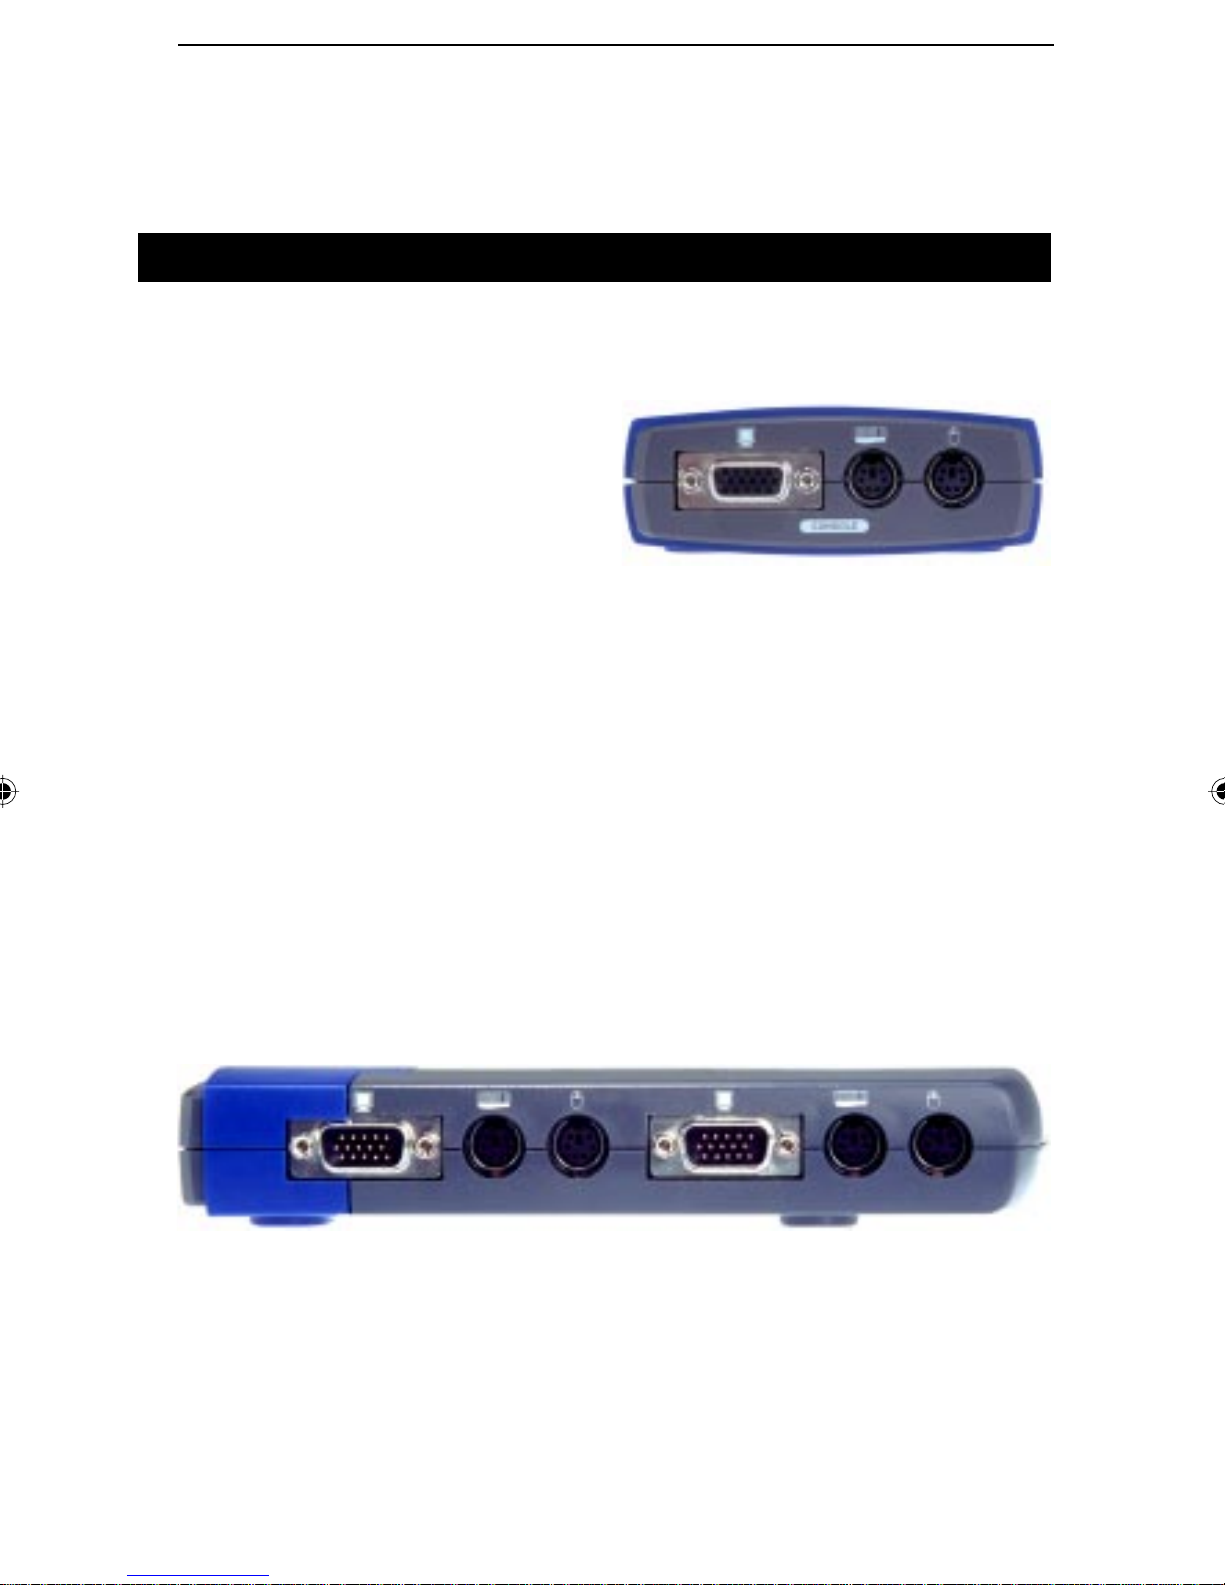
Ports and Buttons
An oval-shaped button lies on the front side of the KVM Switch. This button
allows you to manually toggle between PCs.
Your KVM Switch has multiple sets
of ports on three of its four sides. The
three ports on the switch's rear are
labeled, "Console." The console connectors are where you will attach the
following:
Console Connectors
3
• 1 VGA, SVGA, or Multisync monitor. It must be capable of the highest
resolution that you will be using on any computer in the installation.
• 1 PS/2 Keyboard.
• 1 PS/2 Style Mouse
The sides of the KVM switch will have either three or six ports each, depending on whether you have a 2-Port Switch or a 4-Port Switch. This is where
you will connect your PC's video, mouse, and keyboard cables to the switch.
Video, Keyboard and Mouse
Connectors
Page 7

4
System Requirements
In order for your input devices and your monitor to properly communicate
with the PCs on the switch, you must ensure that the following equipment is
installed on the computers which you plan to use with the switch.
• A VGA, SVGA or Multisync card
• PS/2 Mouse Ports
• PS/2 Keyboard Ports
Linksys does not support the use of ProConnect Compact KVM Switches with
AT-style ports. Nor does Linksys support the use of AT to PS/2 or PS/2 to
AT adapters.
Cables
For your convenience, you can use any standard PS/2 cable to connect your
PCs to the Compact KVM Switch. We recommend, however, that you use
cables which are no more than 6 feet long. Not only will this simplify the
installation procedure and help keep your work area free of excess cable clutter, but it will also keep your system functioning properly. Longer cables may
compromise the data that travels through them, possibly causing screen distortion,
as well as keyboard or mouse problems.
Page 8

Installing the
Hardware
Connecting Everything Together
Before you begin installing the hardware, make
sure that the KVM Switch and all of your PCs
are turned OFF.
1. Find the Console connectors on the rear of
the KVM Switch. Plug in your mouse, keyboard, and monitor here.
2. Connect the ends of the custom extender
cable (included with the KVM Switch Kit), or
any standard PS/2 and monitor cables to the
keyboard, monitor, and mouse ports of your
PC.
5
Note for Switch Kit
Users: The keyboard and
mouse connectors at the
ends of the Switch Kit's
cables are PS/2-style. If
you are using the standard extender cables, you
cannot use a Serial-toPS/2 converter at the end
of the cable to connect
your mouse port to the
switch. Wiring and pin
assignments on the different interfaces make this
translation impossible. If
you need more cables,
they can be purchased
anywhere you can find
Linksys products (Part
No.: SVPS06).
3. Connect the other ends of the cable to the set of connectors marked PC
1 on the KVM switch.
4. Repeat steps 2 and 3 for all of your PCs.
5. Power everything on.
One of the LEDs on the switch will light, indicating which PC is being
controlled by your monitor, keyboard and mouse. To switch to any of the
other PCs, press the select button on the KVM switch or use the Hot Keys,
which are explained on the next page.
Page 9

6
Switch Operation
Manually Toggling Between PCs
To toggle between computers, simply press the Port Selection button on the
front of the KVM Switch. One of the LEDs will illuminate, signifying which
of the KVM Switch's ports is currently active. The PC attached to that port
will be the PC visible on your monitor screen and the PC accessible by your
keyboard and mouse.
Toggling Between PCs with the Hot Keys
The KVM Switch is able to toggle between your
PCs using nothing but the console's keyboard. This
allows you to switch between PCs without having
to touch the Switch. These keyboard commands are
called Hot Keys.
Hot Key Function One — Select the Active PC
2-Port KVM Switch To switch between PCs with
the 2-Port KVM Switch, simply hit the CTRL key
twice. You must hit the same CTRL key twice.
Pressing one, then the other, will not work.
Note: Most Hot Key
operations begin by
pressing alt, then ctrl,
then shift. (With some
setups, the three keys
may be pressed then
released simultaneously.) The pressed
alt, ctrl, and shift keys
must be located on the
same side of the keyboard — the three-key
group beneath Enter,
or the three-key group
beneath Caps Lock on
most systems.
4-Port KVM Switch Each PC on your KVM Switch is assigned an ID
number (PC 1, PC 2, etc.), depending on through which set of ports the
PC uses to connect to the switch. By using a combination of keys, you can
designate which PC you'd like to control.
1. Press and release ALT, then CTRL, then SHIFT, one at a time.
2. Select a PC by pressing and releasing its corresponding number (1, 2, etc.)
from the top of your keyboard.
3. Hit Enter.
Page 10

7
Hot Key Function Two — Auto Scan Mode
The KVM Switch can also scan between your PCs at
set intervals. Once this mode has been set, the switch
will continuously scan through your PCs until you
command it to stop. This method allows you to monitor all of your PCs without having to manually toggle
between them.
Note: When Auto
Scan Mode is in
effect, your keyboard will be unusable. Only after you
press the spacebar
to stop the Auto
Scan will you regain
the regular use of
your keyboard.
1. Press and release ALT, then CTRL, then SHIFT,
one at a time.
2. Press and release the 0 (zero) on the top of the keyboard.
3. Hit Enter.
The KVM Switch will continuously cycle between your PCs until you press
the spacebar. The Switch then returns to normal operation.
Hot Key Function 3 — Last/Next Mode
The KVM switch allows you to manually cycle between PCs by using only
one key. Unlike the Auto Scan Mode which automatically sets the time
between toggles, the Last/Next mode makes it possible to cycle between your
PCs while keeping each PC active for the amount of time you choose. To set
up the Last/Next mode, do the following:
1. Press and release ALT, then CTRL, then SHIFT, one at a time.
2. Press and release the 9 on the top of your keyboard.
3. Hit Enter.
Now that the Last/Next mode is active, press the left Shift key (L SHIFT)
or right Shift key (R SHIFT) to switch between PCs. L SHIFT will cycle
downwards until it reaches PC 1. R SHIFT will cycle upwards, stopping at
PC 2 or PC 4, depending on which switch you are using. While you are in
Last/Next mode, none of the other keys on the keyboard will work. Exit Last/
Next mode by pressing the spacebar to resume normal mouse and keyboard
operation.
Page 11

8
Troubleshooting
General Troubleshooting Hints
Make sure that your cables are properly connected, make sure that there are
no problems with your cables, and be certain that all of your PC hardware
is fully operational.
If any of your PCs have a power saving feature for the keyboard, you must
disable it. The KVM switch draws power from the keyboard ports of your
PCs. If you cannot disable the power saving feature, then you may lose the
operation of your keyboard and mouse when your PC goes into sleep mode.
Some notebooks, namely the IBM Thinkpad and some Toshiba models, will
cause problems when used with the KVM switch. They are sensitive and may
not function normally when the mouse and keyboard ports are both being used
at the same time. To avoid these problems, only connect the keyboard port or
the mouse port to the KVM switch. If you only connect the mouse port, when
you make the notebook the active PC, you will not be able to use the console
keyboard. You will have to use the notebook's keyboard instead.
Specific Problems
1. The mouse won't respond.
• Try resetting the KVM switch. Turn off your PCs. Turn off your monitor,
wait five seconds, then power on the PCs and the monitor.
• The KVM Switch does not support some special "combo" mice - the ones
that can switch between PS/2 and serial modes. Switch the mouse to
PS/2 mode if you want to use the extra features. If the mouse still won't
respond, change the mouse and/or the driver. Try using a generic PS/2
mouse and the drivers that are built into your operating system.
• Your mouse acceleration may be too high. Reconfigure your mouse to
operate at a lower acceleration.
• If you are using an IBM system, there may be a conflict between the
KVM Switch and the IBM's internal configuration. IBM computers may
attempt to use one of the keyboard cable's connection pins for the mouse,
while the switch is trying to use it for internal detection purposes. To
correct this problem, you can purchase two PS/2 to AT adapters, connect
them to each other, then insert them between the keyboard cable and the
KVM Switch. The conversion from PS/2, to AT, then back to PS/2 will
alleviate the conflict. Linksys does not offer technical support for PS/2
to AT adapters. A less expensive solution is to clip the sixth pin on
the cable connecting the keyboard (not the mouse) to the Switch.
Page 12

This will also bypass the conflict,
and it shouldn't create other problems. Linksys, however, does
not offer technical or customer
support for modified equipment.
Equipment modifications, under
any circumstance, are done at
the user's risk.
2. The keyboard won't respond.
• You may have the KVM switch set in Auto Scan or Last/Next mode. Hit
the spacebar to return to normal operation.
• Try resetting the KVM switch. Turn off your PCs. Turn off your monitor,
wait five seconds, then power on the PCs and the monitor.
3. The video monitor is not working properly.
• The cable quality is not good enough. Some monitors may require
specially shielded high-definition coaxial VGA cables in order to work
properly. Try using the cable that came with the monitor.
9
Page 13

10
Appendix
2-Port KVM Switch
Specifications
Model Number: PS2KVM2
Standards: PS/2
Protocol: Microsoft PS/2 Protocol
Ports:
Keyboard: 1 PS/2 female - Console
2 PS/2 female - CPU Ports
Mouse: 1 PS/2 female - Console
2 PS/2 female - CPU Ports
Video: 1 HDB-15 female - Console
2 HDB-15 male - CPU Ports
LED Indicators: PC1, PC2
Resolution: Max 1920 x 1440 at 85Hz, DDC2B*
Scan Interval: 3 seconds
Environmental
Dimensions: 4.3 x 3.9 x 1.4 inches
Unit Weight: 4.8 oz.
Power: DC 5V 20mA (max), powered by PS/2 port on
PC
Certifications: FCC Class B, CE Mark Commercial
Operating Temperature: 41°F to 104°F (5°C to 40°C)
Storage Temperature: 32°F to 140°F (0°C to 60°C)
Operating Humidity: 5% to 80% Non-condensing
Storage Humidity: 5% to 80% Non-condensing
*Maximum resolution is best reached using shielded cables, such as the cables
provided with the Switch Kit (page 12).
Page 14

4-Port KVM Switch
Specifications
Model Number: PS2KVM4
Standards: PS/2
Protocol: Microsoft PS/2 Protocol
Ports:
Keyboard: 1 PS/2 female - Console
4 PS/2 female - CPU Ports
Mouse: 1 PS/2 female - Console
4 PS/2 female - CPU Ports
Video: 1 HDB-15 female - Console
4 HDB-15 male - CPU Ports
LED Indicators: PC1, PC2, PC3, PC4
Resolution: Max 1920 x 1440 at 85Hz, DDC2B*
Scan Interval: 3 seconds
11
Environmental
Dimensions: 5.1 x 3.9 x 1.4 inches
Unit Weight: 6.1 oz.
Power: DC 5V 20mA (max) powered by PS/2 port on
PC
Certifications: FCC Class B, CE Mark Commercial
Operating Temperature: 41°F to 104°F (5°C to 40°C)
Storage Temperature: 32°F to 140°F (0°C to 60°C)
Operating Humidity: 5% to 80% Non-condensing
Storage Humidity: 5% to 80% Non-condensing
*Maximum resolution is best reached using shielded cables, such as the cables
provided with the Switch Kit (page 12).
Page 15

12
Cables
Speci••cations
• Video: Female-to-Male 15-pin DB-15 High Density
VGA/SVGA monitor cable, fully compatible with
Note: The cables
included in the
Switch Kit are4-foot
cables. 6-foot cables
are available from
Linksys, Part No.:
SVPS06.
most standard monitors and Multisync monitor
ports.
• Keyboard: Male-to-Male 6-pin Mini-DIN PS/2 keyboard cable, fully compatible with most PS/2 keyboard ports.
• Mouse: Male-to-Male 6-pin Mini-DIN PS/2 mouse cable, fully compatible
with most PS/2 mouse ports.
Page 16

13
LEDs
The KVM switch has LEDs marked for each PC port. The LED will turn on
when the corresponding PC has been selected on the KVM switch.
If the LEDs are regularly switching to different PC numbers, the KVM switch
is in Auto Scan mode.
Customer Support
For help with the installation or operation of your KVM 2-Port Switch,
your KVM 4-Port Switch, or your KVM 2-Port Switch Kit, contact Linksys
Customer Support at one of the phone numbers or Internet addresses below.
Customer Support 800-326-7114
949-261-1288
Fax 949-261-8868
Email support@linksys.com
Web http://www.linksys.com
FTP Site ftp.linksys.com
Page 17

www.linksys.com
Irvine, CA 92614
Copyright ©1999 Linksys
All rights reserved
 Loading...