

LG GC-051SNS User Manual

NO.12 Ying Bin Road,Hai Ling District,Tai Zhou,Jiang Su,China
http://www.lg.com
REFRIGERATOR
OWNER'S MANUAL(2~9)
PLEASE
READ THIS OWNER'S MANUAL THOROUGHLY
BEFORE OPERATING AND KEEP IT HANDY
FOR REFERENCE AT ALL TIMES.
REFRIGERADOR
MANUAL DEL
USUARIO(10~17)
LEA ESTE MANUAL EN SU TOTALIDAD ANTES DE
UTILIZAR EL EQUIPO Y MANTÉNGALO SIEMPRE A
MANO PARA POSIBLES CONSULTAS
FRIGORÍFICO
MANUAL DE
INSTRUÇÕES(18~25)
LEIA
ATENTAMENTE ESTE MANUAL
ANTES DE UTILIZAR O FRIGORÍFICO E
MANTENHAO SEMPRE À MÃO NO CASO
DE NECESSITAR DELE.
Lea detenidamente el contenido de
esta tarjeta de Garantia
P/No.: 3828JS8034A

2
INSTALLATION ........................................... 3
FEATURE CHART ...................................... 4
OPERATION ................................................ 5
Starting
Temperature Control
Ice Making
SUGGESTIONS ON FOOD STORAGE ...... 6
CLEANING .................................................. 6
GENERAL INFORMATION ......................... 6
CAN SERVER ......................................... 7~8
IMPORTANT WARNINGS ........................... 9
BEFORE CALLING FOR SERVICE ........... 9
CONTENTS
3828JD8498C(OM)¿ ”» 2~9 02.9.2 3:47 PM ˘`2
1. Select a good location.
Place your refrigerator where it is easy to use.
2.
Avoid placing the unit near heat sources, direct
sunlight or moisture.
3. To ensure proper air circulation around the
fridge-freezer, please maintain sufficient space
on both the sides as well as top and maintain at
least 2 inches (5 cm) from the rear wall.
4.
To avoid vibrations, the unit must be level.
If required, adjust the leveling screw to
compensate for unevenness of the floo
r.
The front should be slightly higher than the rear
to aid in door closing.
Leveling screw can be turned easily by tipping
the cabinet slightly.
Turn the leveling screw clockwise to raise the
unit, counterclockwise to lower it.
5. Install this appliance between 10°C and 43°C.
If the temperature around the appliance is too
low or high, cooling ability may lessen.
6. Clean your refrigerator thoroughly and wipe o
ff
all dust accumulated during shipping.
7. Install accessories such as ice tra
y, shelf, etc.,
in their proper places.They are packed together
to prevent possible damage during shipment.
8. Connect the power supply cord (or plug) to the
outlet. Don't double up with other appliances on
the same outlet.
9. Prior to use, leave your refrigerator on for 2 or 3
hours.
Check the flow of cold air on the evaporator to
ensure proper cooling.
Your refrigerator is now ready for use.
3
INSTALLATION
THIS REFRIGERATOR IS MANUFACTURED WITH GREAT CARE, AND UTILIZES THE
LATEST IN TECHNOLOGY.
WE ARE CONFIDENT TH
AT YOU WILL BE FULLY SATISFIED WITH IT'S PERFORMANCE
AND RELIABILIT
Y.
BEFORE YOU S
TART YOUR REFRIGERATOR, PLEASE READ THIS BOOKLET CAREFULLY.
IT PROVIDES EXACT INSTRUCTIONS FOR INS
TALLATION, OPERATION AND
MAINTENANCE, AND ALSO SUPPLIES SOME USEFUL HINTS.
3828JD8498C(OM)¿ ”» 2~9 02.9.23:47PM ˘ ` 3
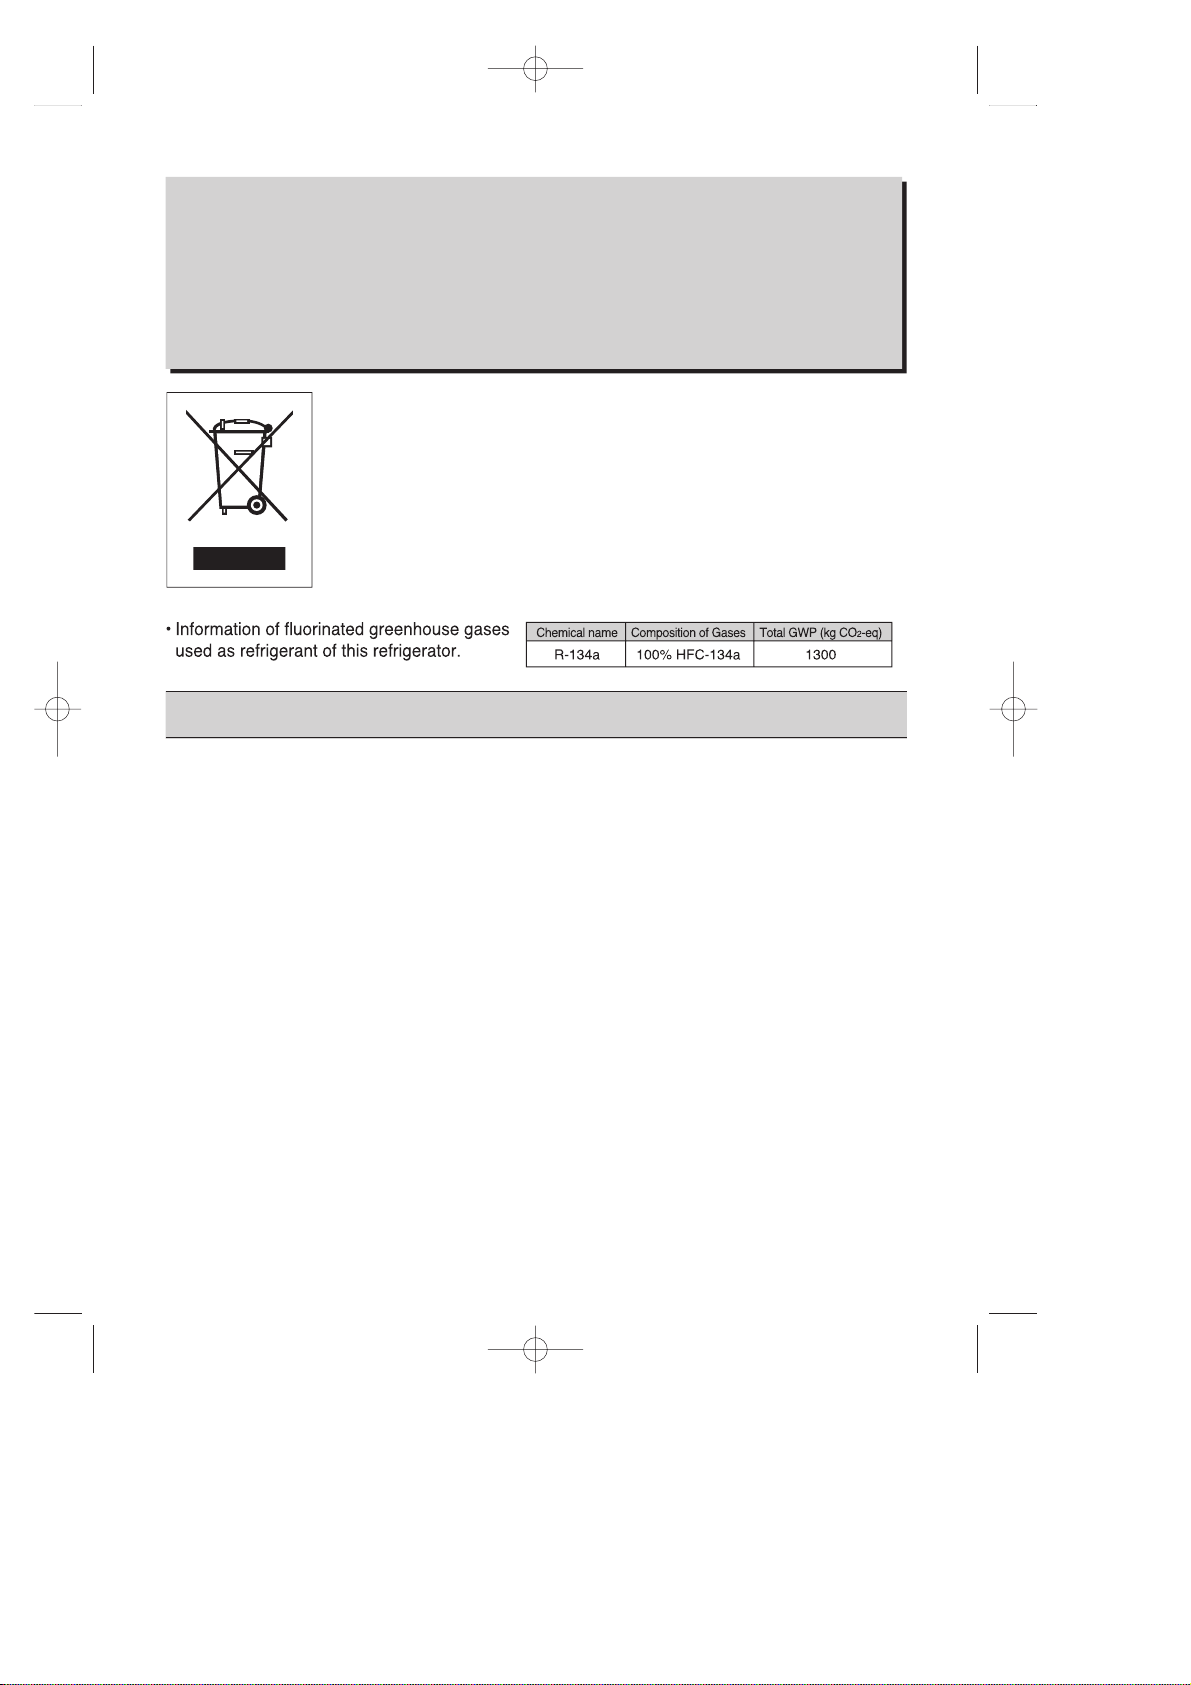
Disposal of your old appliance
1. When this crossed-out wheeled bin symbol is attached to a product it means
the product is covered by the European Directive 2002/96/EC.
2. All electrical and electronic products should be disposed of separately from
the municipal waste stream via designated collection facilities appointed by
the government or the local authorities.
3. The correct disposal of your old appliance will help prevent potential negative
consequences for the environment and human health.
4. For more detailed information about disposal of your old appliance, please
contact your city office, waste disposal service or the shop where you
purchased the product.
 Loading...