

Page 1

Contents
Setup troubleshooting . . . . . . . . . . . . . . . . . . . . . . . . . . . . . . . . . . . . . . . . . . . . . . . . . . 3
Removing and reinstalling the software . . . . . . . . . . . . . . . .3
Checking the printer status . . . . . . . . . . . . . . . . . . . . . . . . .3
Using the control panel . . . . . . . . . . . . . . . . . . . . . . . . . . . . . . . . . . . . . . . . . . . . . . . . . .4
2400 Series
Getting Started
See the complete User’s Guide on the CD for more
detailed information about the following tasks:
• Setting up the printer
• Learning about the printer
• Loading paper and original documents
• Printing
• Working with photos
• Copying
• Scanning
• Faxing
• Networking the printer
• Maintaining the printer
– Changing a print cartridge
– Ordering supplies
– Recycling Lexmark products
• Troubleshooting
– Print, copy, scan, and fax troubleshooting
– Jams and misfeeds troubleshooting
– Error messages troubleshooting
• Notices
Printing . . . . . . . . . . . . . . . . . . . . . . . . . . . . . . . . . . . . . . . . . . . . . . . . . . . . . . . . . . . . . . .4
Printing a document . . . . . . . . . . . . . . . . . . . . . . . . . . . . . . .4
Printing other projects . . . . . . . . . . . . . . . . . . . . . . . . . . . . .4
Copying . . . . . . . . . . . . . . . . . . . . . . . . . . . . . . . . . . . . . . . . . . . . . . . . . . . . . . . . . . . . . .4
Making a copy . . . . . . . . . . . . . . . . . . . . . . . . . . . . . . . . . . .4
Scanning . . . . . . . . . . . . . . . . . . . . . . . . . . . . . . . . . . . . . . . . . . . . . . . . . . . . . . . . . . . . . .5
Scanning an item . . . . . . . . . . . . . . . . . . . . . . . . . . . . . . . . .5
Working with photos . . . . . . . . . . . . . . . . . . . . . . . . . . . . . . . . . . . . . . . . . . . . . . . . . . . .5
Copying 4 x 6 photos . . . . . . . . . . . . . . . . . . . . . . . . . . . . . .5
Using a PictBridge-enabled camera to print photos . . . . . . .5
Understanding the software . . . . . . . . . . . . . . . . . . . . . . . . . . . . . . . . . . . . . . . . . . . . . .5
Using the Imaging Studio . . . . . . . . . . . . . . . . . . . . . . . . . . .5
Using the All-In-One Center . . . . . . . . . . . . . . . . . . . . . . . . .5
Using the Solution Center . . . . . . . . . . . . . . . . . . . . . . . . . .6
Using Print Properties . . . . . . . . . . . . . . . . . . . . . . . . . . . . .6
Using the Photo Editor . . . . . . . . . . . . . . . . . . . . . . . . . . . . .6
Using the Web Toolbar . . . . . . . . . . . . . . . . . . . . . . . . . . . .6
Print troubleshooting . . . . . . . . . . . . . . . . . . . . . . . . . . . . . . . . . . . . . . . . . . . . . . . . . . .6
Improving print quality . . . . . . . . . . . . . . . . . . . . . . . . . . . . .7
Aligning the print cartridge using the computer . . . . . . . .7
Cleaning the print cartridge nozzles . . . . . . . . . . . . . . . . .7
Wiping the print cartridge nozzles and contacts . . . . . . .7
US Statement of Limited Warranty . . . . . . . . . . . . . . . . . . . . . . . . . . . . . . . . . . . . . . . . .8
Canadian Statement of Limited Warranty . . . . . . . . . . . . . . . . . . . . . . . . . . . . . . . . . . .9
Page 2

Edition: February 2006
The following paragraph does not apply to any country where such provisions are inconsistent with local law: LEXMARK INTERNATIONAL, INC., PROVIDES THIS
PUBLICATION “AS IS” WITHOUT WARRANTY OF ANY KIND, EITHER EXPRESS OR IMPLIED, INCLUDING, BUT NOT LIMITED TO, THE IMPLIED WARRANTIES OF
MERCHANTABILITY OR FITNESS FOR A PARTICULAR PURPOSE. Some states do not allow disclaimer of express or implied warranties in certain transactions; therefore,
this statement may not apply to you.
This publication could include technical inaccuracies or typographical errors. Changes are periodically made to the information herein; these changes will be incorporated in
later editions. Improvements or changes in the products or the programs described may be made at any time.
Comments about this publication may be addressed to Lexmark International, Inc., Department F95/032-2, 740 West New Circle Road, Lexington, Kentucky 40550, U.S.A. In
the United Kingdom and Eire, send to Lexmark International Ltd., Marketing and Services Department, Westhorpe House, Westhorpe, Marlow Bucks SL7 3RQ. Lexmark may
use or distribute any of the information you supply in any way it believes appropriate without incurring any obligation to you. You can purchase additional copies of publications
related to this product by calling 1-800-553-9727. In the United Kingdom and Eire, call +44 (0)8704 440 044. In other countries, contact your point of purchase.
References in this publication to products, programs, or services do not imply that the manufacturer intends to make these available in all countries in which it operates. Any
reference to a product, program, or service is not intended to state or imply that only that product, program, or service may be used. Any functionally equivalent product, program,
or service that does not infringe any existing intellectual property right may be used instead. Evaluation and verification of operation in conjunction with other products, programs,
or services, except those expressly designated by the manufacturer, are the user’s responsibility.
© 2006 Lexmark International, Inc.
All rights reserved. Printed in China
UNITED STATES GOVERNMENT RIGHTS
This software and any accompanying documentation provided under this agreement are commercial computer software and documentation developed exclusively at private
expense.
Federal Communications Commission (FCC) compliance information statement
This product has been tested and found to comply with the limits for a Class B digital device, pursuant to Part 15 of the FCC Rules. Operation is subject to the following two
conditions: (1) this device may not cause harmful interference, and (2) this device must accept any interference received, including interference that may cause undesired
operation. See the User's Guide for further information.
Page 3
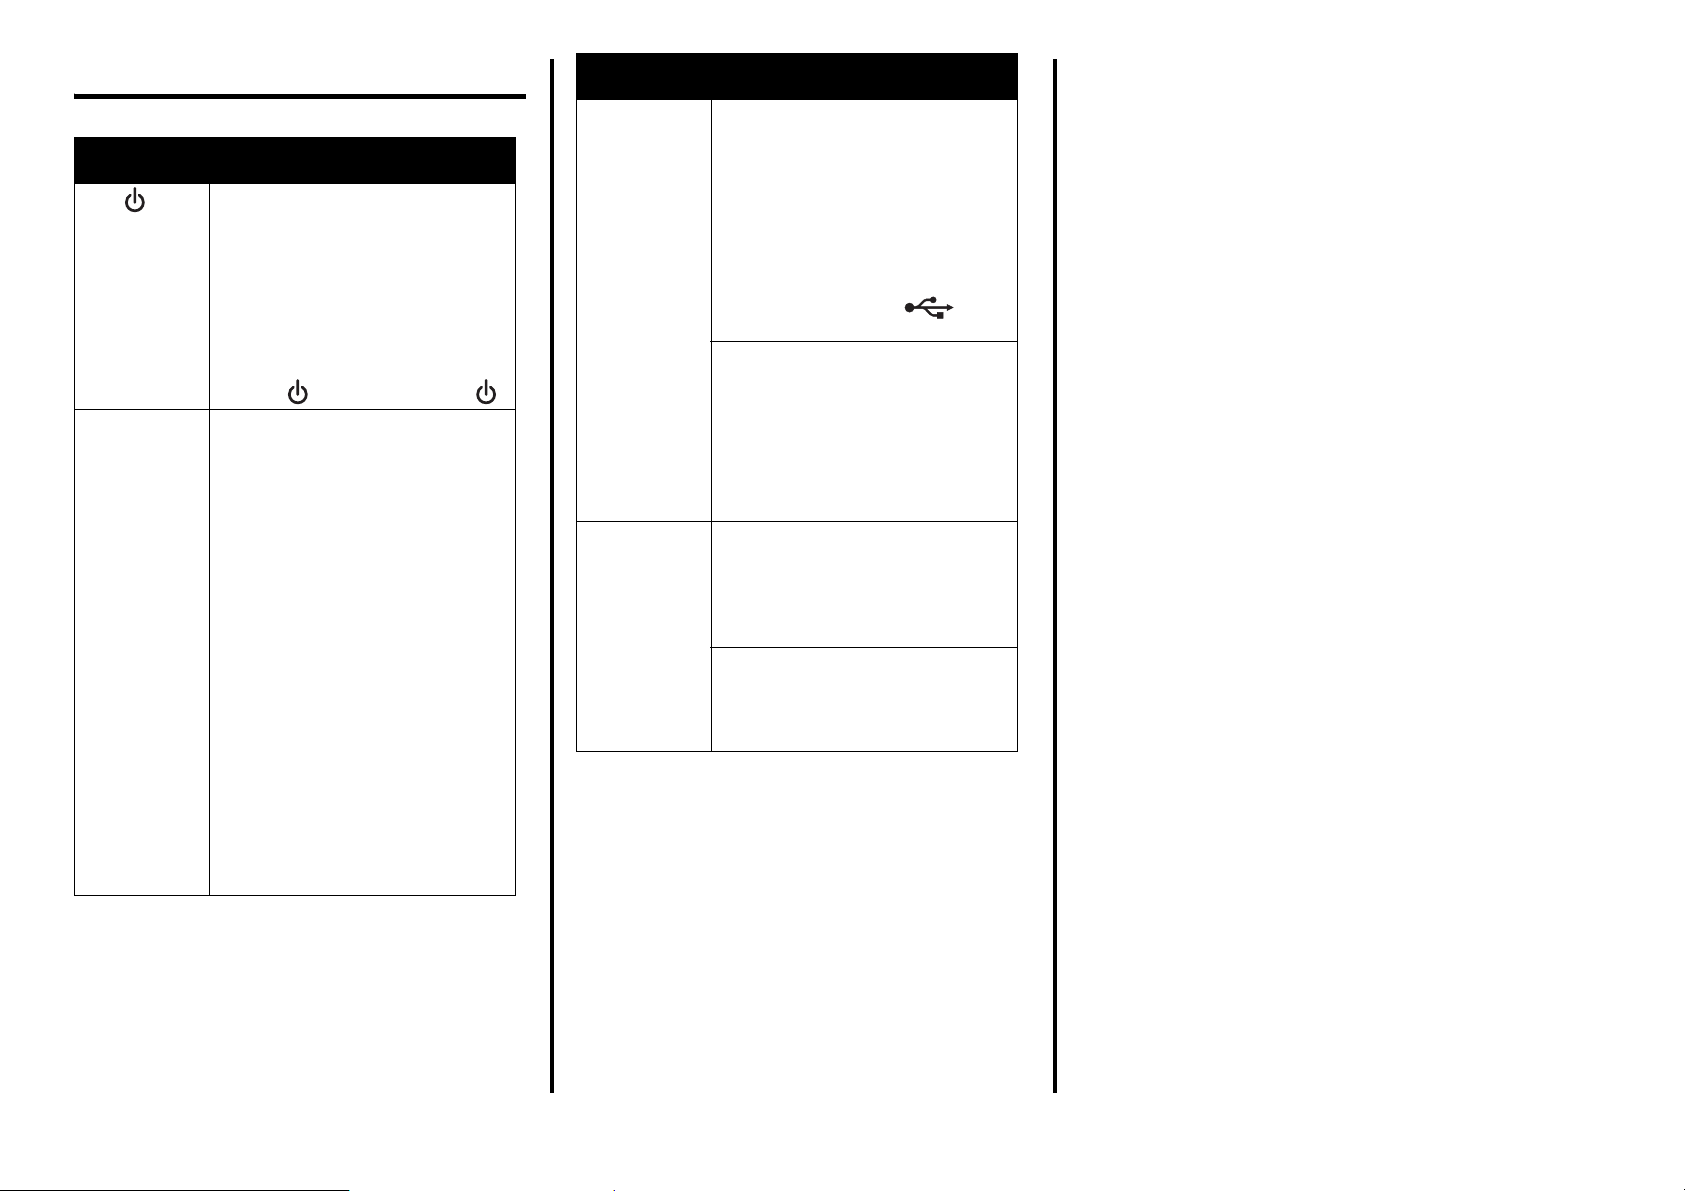
Setup troubleshooting
Symptom Solution
The light
is not lit
Software
does not
install
1 Disconnect the power cord from
the wall outlet and then from the
printer.
2 Plug the cord all the way into the
power supply on the printer.
3 Plug the cord into an electrical
outlet that other electrical
devices have been using.
4 If the light is not on, press .
If the software does not launch
automatically when you insert the
CD:
1 Close all open software
applications.
2 Temporarily disable any anti-
virus programs.
3 Double-click the My Computer
icon.
In Windows XP, click Start to
access the My Computer icon.
4 Double-click the CD-ROM drive
icon. If necessary, double-click
setup.exe.
5 Follow the instructions on the
computer screen to install the
software.
Note: After installing the software,
be sure to re-enable your anti-virus
software.
Symptom Solution
Software
does not
install
Page does
not print
1 Check the USB cable for any
obvious damage.
2 Firmly plug the square end of the
USB cable into the back of the
printer.
3 Firmly plug the rectangular end
of the USB cable into the USB
port of the computer. The USB
port is marked with .
If the printer is connected to the
computer through another device:
1 Disconnect the USB cable from
any other device such as a USB
hub or switch box.
2 Directly connect the cable to the
printer and the computer.
Make sure the printer is set as the
default printer and is not on hold or
paused. For more information, see
“Checking the printer status” in this
booklet.
Make sure the tape has been
removed from the print cartridge
and that the print cartridge has been
installed properly.
Removing and reinstalling the
software
1 From the desktop, click Start Æ Programs Æ
Lexmark 2400 Series Æ Uninstall.
2 Follow the instructions on the computer screen
to remove the printer software.
3 Restart the computer.
4 Click Cancel on any Add New Hardware
screens.
5 Eject and reinsert the software CD.
If the printer software installation screen does
not appear:
a From the desktop, double-click My
Computer.
In Windows XP, click Start to access the My
Computer icon.
b Double-click the CD-ROM drive icon.
If necessary, double-click setup.exe.
c When the printer software installation
screen appears, click Install or Install
Now.
d Follow the instructions on the computer
screen to complete the installation.
Checking the printer status
1 Click Start Æ Settings Æ Printers and Faxes
or Printers.
or
Click Start Æ Control Panel Æ Printers and
Other Hardware Æ Printers and Faxes.
2 Double-click the Lexmark 2400 Series icon.
3 Click Printer, and make sure no check mark
appears next to Pause Printing.
4 Make sure a check mark does appear next to
Set As Default.
English
3
Page 4

Using the control panel Printing
Copying
Use this
button
1 Make a color copy.
2 Make a 4 x 6 borderless, color
3 • Open the All-In-One Center
4 • Turn the printer on or off.
To
copy of a photo.
to preview the scan on the
computer screen.
• Initiate scan-back alignment
if the button is held down for
three seconds.
• Cancel a print job.
• Reset the printer.
Note: If the power light blinks,
see “Error messages” in the
User’s Guide on the CD.
Printing a document
1 Load paper.
1
2
2 With the document open, click File Æ Print.
3 Click Properties, Preferences, Options, or
Setup.
4 Adjust the settings.
5 Click OK.
6 Click OK or Print.
Printing other projects
The “I Want To” menu provides wizards for creating
projects. You can print a photo, print on an
envelope, print a banner, make a poster, create a
booklet, or print a greeting card.
1 With the document open, click File Æ Print.
2 Click Properties, Preferences, Options, or
Setup to customize print settings.
The Print Properties dialog appears along with
the “I Want To” menu.
3 Select one of the available projects, or click
See more printing ideas.
4 Follow the instructions on the computer screen
to complete the project.
Making a copy
1 Load paper.
1
2
2 Load an original document facedown on the
scanner glass.
3 Press .
4
Page 5

Scanning
Scanning an item
1 Make sure the printer is connected to a
computer, and both the printer and the
computer are on.
2 Load an original document facedown on the
scanner glass.
Working with photos
For more information on working with photos, see
the complete User’s Guide on the CD.
Copying 4 x 6 photos
1 Place the 4 x 6 photo facedown on the scanner
glass.
Understanding the
software
Using the Imaging Studio
3 Press .
The All-In-One Center appears on the
computer screen with a preview of the scan.
4 If you want to scan only a portion of the
document, click and drag the dotted line box to
select a specific area of the preview image to
scan.
5 From the “Send scanned image to:” menu,
select a program.
6 Click Scan Now.
2 Load 4 x 6 photo paper.
3 Press .
Using a PictBridge-enabled
camera to print photos
You can connect a PictBridge-enabled camera to
the printer and use the buttons on the camera to
select and print your photos. See the User’s Guide
and the instructions that came with the camera for
more information.
The Imaging Studio buttons link to software and
information that help you with the following tasks:
• Browse & Print Photos
• Share Photos
• Scan & Edit Text (OCR)
• Scan
• Copy
• Fax
To open the Imaging Studio, use one of these
methods:
Method 1 Method 2
From the desktop,
double-click the
Imaging Studio icon.
1 Click Start
or All programs
Lexmark 2400 Series.
2 Select Imaging Studio.
Æ Programs
Æ
Using the All-In-One Center
Use the All-In-One Center to perform creative tasks
such as repeating an image several times on a
page, enlarging or reducing an image, printing an
image as a multiple-page poster, faxing using a PC
modem, and modifying an image with a photo
editor.
English
5
Page 6

To open the All-In-One Center, use one of these
methods:
Method 1 Method 2
Press . 1 Click Start Æ Programs
or All programs
Lexmark 2400 Series.
2 Select All-In-One
Center.
Æ
Using the Solution Center
The Solution Center provides help, as well as
information about the printer status and ink level.
To open the Solution Center, use one of these
methods:
Method 1 Method 2
From the desktop,
double-click the
Imaging Studio icon,
and then click the
Maintain/
Troubleshoot button.
1 Click Start
or All programs
Lexmark 2400 Series.
2 Select Solution Center.
Æ Programs
Æ
Using Print Properties
Print Properties is the software that controls the
printing function when the printer is connected to
a computer. You can change the settings in Print
Properties based on the type of project you want to
create. You can open Print Properties from almost
any program:
1 With a document open, click File Æ Print.
2 From the Print dialog, click Properties,
Preferences, Options, or Setup.
Using the Photo Editor
Use the Photo Editor software to edit graphics or
photos.
From the Photo Editor, you can reduce red-eye,
crop your photos, resize your photos, adjust
brightness and contrast, and use other tools.
1 Click Start Æ Programs or All Programs Æ
Lexmark 2400 Series.
2 Select Photo Editor.
3 Click File Æ Open to select the image you
want to edit.
4 Edit the image with the available tools.
5 Click File Æ Save as.
6 Enter a file name and file type, and then click
Save.
Using the Web Toolbar
The Lexmark Web Toolbar can be used to print
printer-friendly Web pages.
Note: The Web Toolbar launches
automatically whenever you browse
the Web using Microsoft Windows
Internet Explorer version 5.5 or later.
Use the Web Toolbar to:
• Change printer settings.
• Find more information about the printer.
• Print an entire Web page in normal or draft
quality.
• Print only the text of a Web page.
• Print only the photos or images from a Web
page.
• Preview a Web page before printing.
Print troubleshooting
Symptom Solution
Poor text and
graphic quality,
including:
• Blank pages
•Incorrect
colors
• Missing
characters
• Faded print
• Dark print
• Skewed
lines
• Smudges
•Streaks
• Unexpected
characters
• White lines
in print
Poor text and
graphic quality
at the edges of
the page
Poor text and
graphic quality
at the edges of
the page
Check the ink level, and install a
new print cartridge if necessary.
See “Improving print quality” in this
booklet.
To avoid ink smudging, remove
each sheet as it exits, and allow it
to dry before stacking.
Transparencies may take up to 15
minutes to dry.
Use a different brand of paper.
Each paper brand accepts ink
differently. Use Lexmark Premium
Photo Paper if you are printing
photos or other high-quality
images.
Use only new, unwrinkled paper.
Unless you are using the
borderless feature, use these
minimum print margin settings:
• Left and right margins:
– 6.35 mm (0.25 inches) for all
paper except A4
– 3.175 mm (0.125 inches) for
A4 size paper
• Top margin: 1.7 mm (0.067
inches)
• Bottom margin: 19 mm (0.75
inches)
Select the Borderless print feature.
1 From the software application,
click File
2 Click Properties, Preferences,
Options, or Setup.
3 Click Print Layout.
4 Click Borderless.
Æ Print.
6
Page 7

Improving print quality
If you are not satisfied with the print quality of a
document, make sure you:
• Use the appropriate paper for the document.
Use Lexmark Premium Photo Paper if you are
printing photos or other high-quality images.
• Use a paper that is a heavier weight, bright
white, or coated.
• Select a higher print quality.
If the document still does not have the print quality
you want, align the print cartridge.
Aligning the print cartridge using the
computer
For instructions on aligning the print cartridge
without a computer, see the Setup sheet.
1 Load paper.
2 From the desktop, double-click the Imaging
Studio icon.
3 Click the Maintain/Troubleshoot button.
4 Click Maintenance.
5 Click Align to fix blurry edges.
6 Click Print.
A page prints, forcing ink through the print
cartridge nozzles to clean them.
Wiping the print cartridge nozzles and
contacts
1 Remove the print cartridge.
2 Dampen a clean, lint-free cloth with water.
3 Gently hold the cloth against the nozzles for
about three seconds, and then wipe in the
direction shown.
4 Using another clean section of the cloth, gently
hold the cloth against the contacts for about
three seconds, and then wipe in the direction
shown.
English
An alignment page prints.
7 Follow the instructions on the computer
screen.
Cleaning the print cartridge nozzles
1 Load paper.
2 From the desktop, double-click the Imaging
Studio icon.
3 Click the Maintain/Troubleshoot button.
4 Click Maintenance.
5 Click Clean to fix horizontal streaks.
6 Click Print.
5 With another clean section of the cloth, repeat
steps 3 and 4.
6 Let the nozzles and contacts dry completely.
7 Reinsert the print cartridge.
8 Print the document again.
7
Page 8

US Statement of
Limited Warranty
Lexmark International, Inc. Lexington, KY
This limited warranty applies to the United States. For customers
outside the U.S., refer to the country-specific warranty
information that came with your product.
This limited warranty applies to this product only if it was
originally purchased for your use, and not for resale, from
Lexmark or a Lexmark remarketer, referred to in this statement
as “Remarketer.”
Limited warranty
Lexmark warrants that this product:
• Is manufactured from new parts, or new and
serviceable used parts, which perform like new parts
• Is, during normal use, free from defects in material and
workmanship
If this product does not function as warranted during the warranty
period, contact a Remarketer or Lexmark for repair or
replacement (at Lexmark's option).
If this product is a feature or option, this statement applies only
when that feature or option is used with the product for which it
was designed. To obtain warranty service, you may be required
to present the feature or option with the product.
If you transfer this product to another user, warranty service
under the terms of this statement is available to that user for the
remainder of the warranty period. You should transfer proof of
original purchase and this statement to that user.
Limited warranty service
The warranty period starts on the date of original purchase as
shown on the purchase receipt. The warranty period ends 12
months later.
To obtain warranty service you may be required to present proof
of original purchase. You may be required to deliver your product
to the Remarketer or Lexmark, or ship it prepaid and suitably
packaged to a Lexmark designated location. You are responsible
for loss of, or damage to, a product in transit to the Remarketer
or the designated location.
When warranty service involves the exchange of a product or
part, the item replaced becomes the property of the Remarketer
or Lexmark. The replacement may be a new or repaired item.
The replacement item assumes the remaining warranty period of
the original product.
Replacement is not available to you if the product you present for
exchange is defaced, altered, in need of a repair not included in
warranty service, damaged beyond repair, or if the product is not
free of all legal obligations, restrictions, liens, and
encumbrances.
Before you present this product for warranty service, remove all
print cartridges, programs, data, and removable storage media
(unless directed otherwise by Lexmark).
For further explanation of your warranty alternatives and the
nearest Lexmark authorized servicer in your area, contact
Lexmark at
(800) 332-4120, or on the World Wide Web at http://
support.lexmark.com.
Remote technical support is provided for this product throughout
its warranty period. For products no longer covered by a Lexmark
warranty, technical support may not be available or only be
available for a fee.
Extent of limited warranty
We do not warrant uninterrupted or error-free operation of any
product.
Warranty service does not include repair of failures caused by:
• Modification or attachments
• Accidents or misuse
• Unsuitable physical or operating environment
• Maintenance by anyone other than Lexmark or a
Lexmark authorized servicer
• Operation of a product beyond the limit of its duty cycle
• Use of printing media outside of Lexmark
specifications
• Supplies (such as ink) not furnished by Lexmark
• Products, components, parts, materials, software, or
interfaces not furnished by Lexmark
TO THE EXTENT PERMITTED BY APPLICABLE LAW,
NEITHER LEXMARK NOR ITS THIRD PARTY SUPPLIERS OR
REMARKETERS MAKE ANY OTHER WARRANTY OR
CONDITION OF ANY KIND, WHETHER EXPRESS OR
IMPLIED, WITH RESPECT TO THIS PRODUCT, AND
SPECIFICALLY DISCLAIM THE IMPLIED WARRANTIES OR
CONDITIONS OF MERCHANTABILITY, FITNESS FOR A
PARTICULAR PURPOSE, AND SATISFACTORY QUALITY.
ANY WARRANTIES THAT MAY NOT BE DISCLAIMED
UNDER APPLICABLE LAW ARE LIMITED IN DURATION TO
THE WARRANTY PERIOD. NO WARRANTIES, EXPRESS OR
IMPLIED, WILL APPLY AFTER THIS PERIOD. ALL
INFORMATION, SPECIFICATIONS, PRICES, AND SERVICES
ARE SUBJECT TO CHANGE AT ANY TIME WITHOUT
NOTICE.
Limitation of liability
Your sole remedy under this limited warranty is set forth in this
document. For any claim concerning performance or
nonperformance of Lexmark or a Remarketer for this product
under this limited warranty, you may recover actual damages up
to the limit set forth in the following paragraph.
Lexmark's liability for actual damages from any cause
whatsoever will be limited to the amount you paid for the product
that caused the damages. This limitation of liability will not apply
to claims by you for bodily injury or damage to real property or
tangible personal property for which Lexmark is legally liable. IN
NO EVENT WILL LEXMARK BE LIABLE FOR ANY LOST
PROFITS, LOST SAVINGS, INCIDENTAL DAMAGE, OR
OTHER ECONOMIC OR CONSEQUENTIAL DAMAGES. This is
true even if you advise Lexmark or a Remarketer of the
possibility of such damages. Lexmark is not liable for any claim
by you based on a third party claim.
This limitation of remedies also applies to claims against any
Suppliers and Remarketers of Lexmark. Lexmark's and its
Suppliers' and Remarketers' limitations of remedies are not
cumulative. Such Suppliers and Remarketers are intended
beneficiaries of this limitation.
Additional rights
Some states do not allow limitations on how long an implied
warranty lasts, or do not allow the exclusion or limitation of
incidental or consequential damages, so the limitations or
exclusions contained above may not apply to you.
This limited warranty gives you specific legal rights. You may also
have other rights that vary from state to state.
8
Page 9

Canadian Statement of
Limited Warranty
Lexmark Canada, Inc.
50 Leek Crescent
Richmond Hill, Ontario
L4B 4J3
This warranty applies to Canada. For customers outside
Canada, refer to the country-specific warranty information that
came with your product.
This Statement of Warranty applies to this product if it was
originally purchased for your use, and not for resale, from
Lexmark Canada, Inc. (“Lexmark”) or a Lexmark remarketer,
referred to in this statement as “Remarketer.”
Warranty
Lexmark warrants that this product:
• Is manufactured from new parts, or new and
serviceable used parts, which perform like new parts
• Is, during normal use, free from defects in material and
workmanship
If this product does not function as warranted during the warranty
period, contact a Remarketer or Lexmark for repair or
replacement (at Lexmark's option).
If this product is a feature or option (e.g., additional paper tray,
envelope feeder, scanner, etc.), this statement applies only when
that feature or option is used with the product for which it was
designed. To obtain warranty service, you may be required to
present the feature or option with the product.
If you transfer this product to another user, warranty service
under the terms of this statement is available to that user for the
remainder of the warranty period. The transferee may be
required to present proof of original purchase and a copy of this
statement to obtain warranty service.
Warranty service
The warranty period is 12 months and starts on the date of
original purchase as shown on the purchase receipt.
To obtain warranty service you may be required to present proof
of original purchase. You may be required to deliver your product
to the Remarketer or Lexmark, or ship it, suitably packaged, to a
Lexmark designated location. Unless otherwise provided for by
provincial law, you are responsible for shipping charges and for
loss of, or damage to, a product in transit to the Remarketer or
the designated location.
When warranty service involves the exchange of a product or
part, the item replaced becomes the property of the Remarketer
or Lexmark. The replacement may be a new or repaired item.
The replacement item assumes the remaining warranty period of
the original product.
Before you present this product for warranty service, remove any
print cartridge(s), programs, data, and removable storage media
(unless otherwise directed by Lexmark).
For further explanation of your warranty alternatives and the
nearest Lexmark authorized servicer in your area, please contact
Lexmark at 1-800-539-6275, or on the World Wide Web at
http://support.lexmark.com.
Remote technical support is provided for this product throughout
its warranty period. For products no longer covered by a Lexmark
warranty, technical support may not be available or only be
available for a fee.
Extent of warranty
We do not warrant uninterrupted or error-free operation of a
product.
Replacement is not available to you if the product you present for
exchange is defaced, altered, or damaged or in need of a repair
not included in warranty service (as listed below). Also, such
product must be free of any legal obligations and restrictions.
Warranty service does not include repair of failures caused by:
• Modification or attachments
• Accidents or misuse
• Unsuitable physical or operating environment
• Maintenance by anyone other than Lexmark or a
Lexmark authorized servicer
• Operation of a product beyond the limit of its duty cycle
(the maximum number of pages that the product is
designed to process monthly)
• Failure to have installed a maintenance kit as specified
(if applicable)
• Use of printing media outside of Lexmark
specifications
• Use of other than Lexmark supplies (such as toner
cartridges, inkjet cartridges, and ribbons), except
where such mandatory use of Lexmark supplies is
prohibited by provincial law.
ALL EXPRESS, IMPLIED AND STATUTORY WARRANTIES
AND CONDITIONS, INCLUDING THE IMPLIED WARRANTIES
AND CONDITIONS OF MERCHANTABILITY AND FITNESS
FOR A PARTICULAR PURPOSE, ARE LIMITED IN DURATION
TO THE WARRANTY PERIOD. NO WARRANTIES AND
CONDITIONS, EXPRESS OR IMPLIED, WILL APPLY AFTER
THIS PERIOD.
Limitation of liability
Your sole remedy under this Statement of Warranty is set forth in
this section. For any claim against Lexmark or a Remarketer
concerning performance or nonperformance of this product, you
may only recover direct damages up to the limit set forth as
follows:
To the maximum extent permitted by applicable law, Lexmark's
liability for direct damages from any cause whatsoever will be
limited to the lesser of 1) $5,000 or 2) the amount you paid for the
product that caused the damages, including claims by you for
bodily injury or damage to real property or tangible personal
property. In no event will Lexmark be liable for any special or
indirect damages, lost profits, lost savings, incidental or other
economic consequential damages, or other economic damages
or losses. This is true even if you advise Lexmark or the
Remarketer of the possibility of such damages or losses.
Lexmark is not liable for any claim by you based on a third party
claim.
This limitation of liability also applies to any claim by you against
any developer, including Lexmark International, Inc., of materials
or products supplied to Lexmark. Lexmark's, the developer's and
the manufacturer’s limitations of liability are not cumulative. Such
developers and manufacturers are intended beneficiaries of this
limitation.
Additional rights
You may have greater rights existing under legislation in your
province or territory. Where any term of this warranty is
prohibited by such laws, it shall be null and void, but the
remainder of the warranty shall remain in effect.
English
9
 Loading...